A virtual machine is the key to efficiently working with different operating systems on the same device. And if you are a Mac OS user and dream of experimenting with Windows 11, then here you are! In this in-depth guide, we will reveal all the secrets of creating and configuring a VM Ware virtual machine on Mac OS, thanks to a Windows 11 ISO image. Mastering VM Ware on Mac OS is becoming an integral part of the arsenal of IT professionals. From the detailed process of installing Windows 11 on Mac to the finer points of tweaking for maximum performance, we’ve got it all covered! Do you want to install a game on Windows or need specific Windows-only software on your Mac? Or maybe you’re an ambitious hacker looking to expand your horizons and explore the potential of Windows 11? Our detailed guide will provide you with all the knowledge you need.

What is the difference between VMware Workstation Player and Virtual Box?
Virtual machines are becoming a key tool for those seeking maximum security in the online space. They create an isolated environment that effectively blocks out potential threats and malware. Using a virtual machine reduces the risk of compromising the underlying system and provides an additional layer of protection against intrusions. Thus, for those who want to keep their data safe, virtual machines are becoming an indispensable tool in today’s digital world. VMware Player and VirtualBox are two well-known virtualization platforms for creating a virtual machine. Their key difference is that VMware Player is free for personal use only, while VirtualBox is completely free and open source software available for personal and commercial use. VMware Player is developed by VMware, a leader in virtualization, while VirtualBox is owned by Oracle. “Oracle” is an American corporation that specializes in the production of software, hardware for computing and other products and services in the field of information technology. VirtualBox, thanks to its transparent operation, has a larger set of features and settings, so we consider this virtual machine to be the best. Also, VirtualBox provides more flexible options and this is all thanks to its open source. On top of that, compatibility in VirtualBox, thanks to its open nature, supports a wider range of operating systems compared to VMware Player. Both tools, VMWare Player and VirtualBox, have their merits and each of them may be better depending on the specific use case scenario. The best way to determine which app best suits your needs is to install both and experiment with them. Only practice will help you figure out which virtual machine best meets your requirements.
Step-by-step installation instructions
We download the Windows 10 OC image
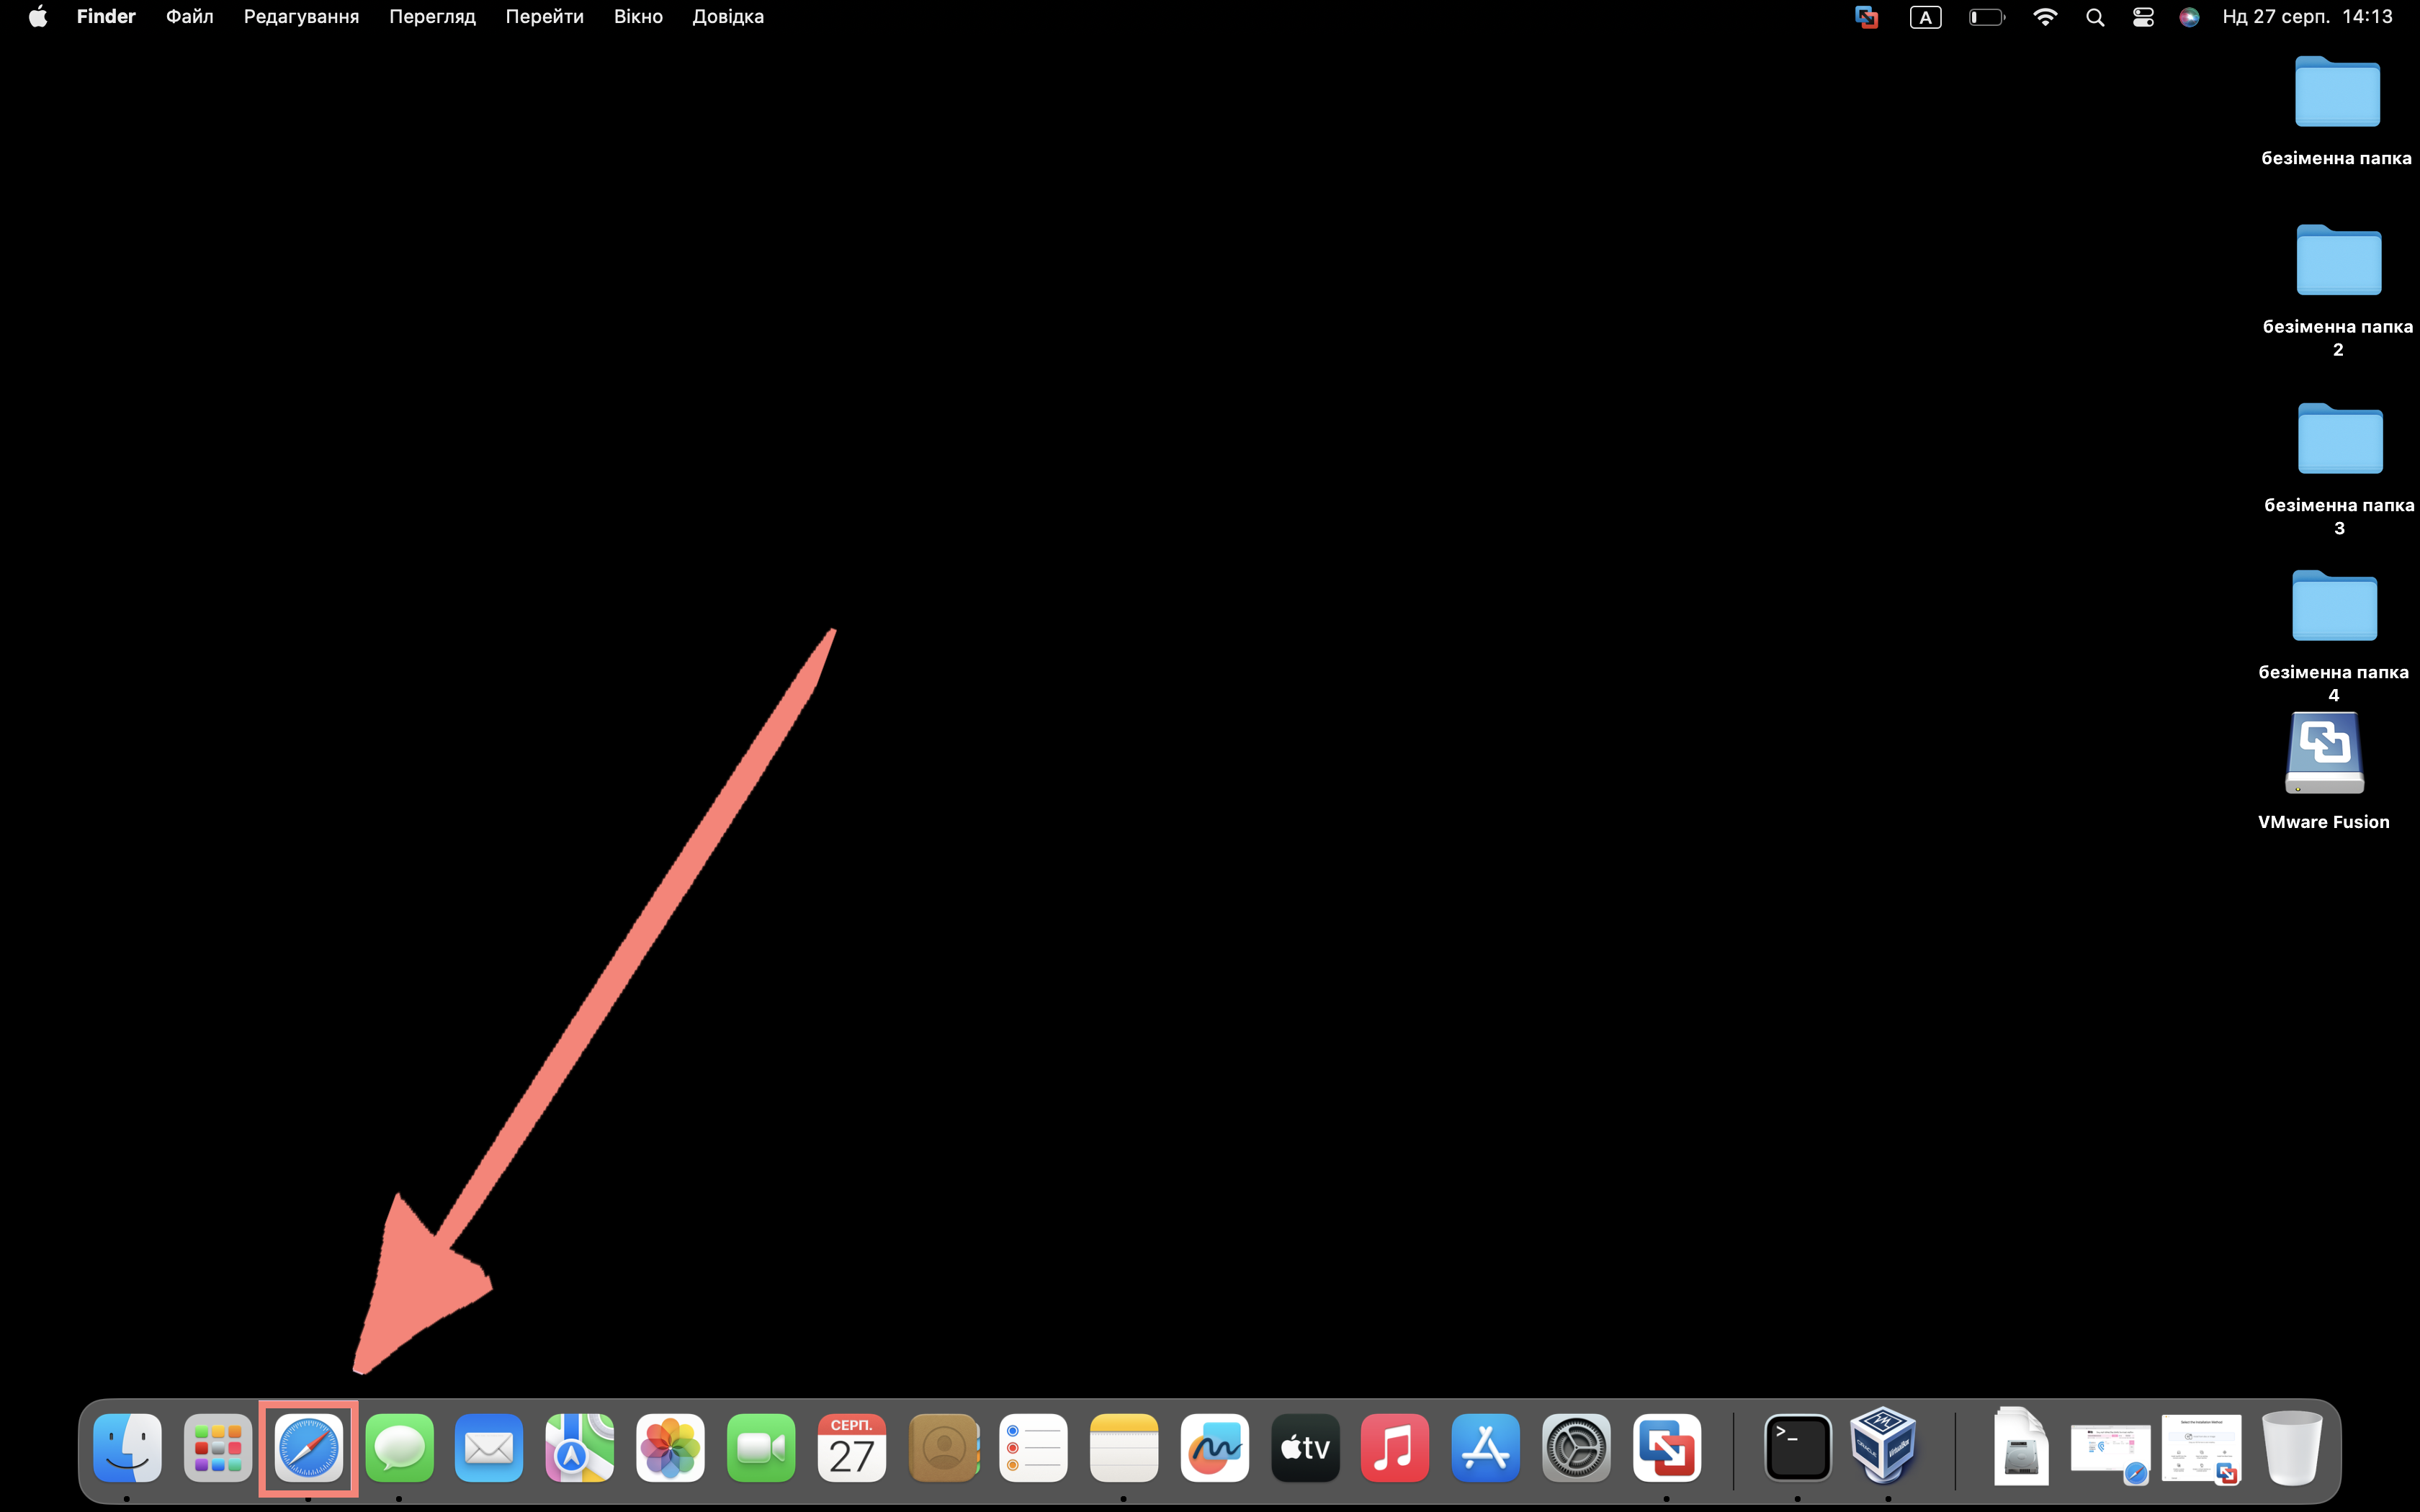
Step 1

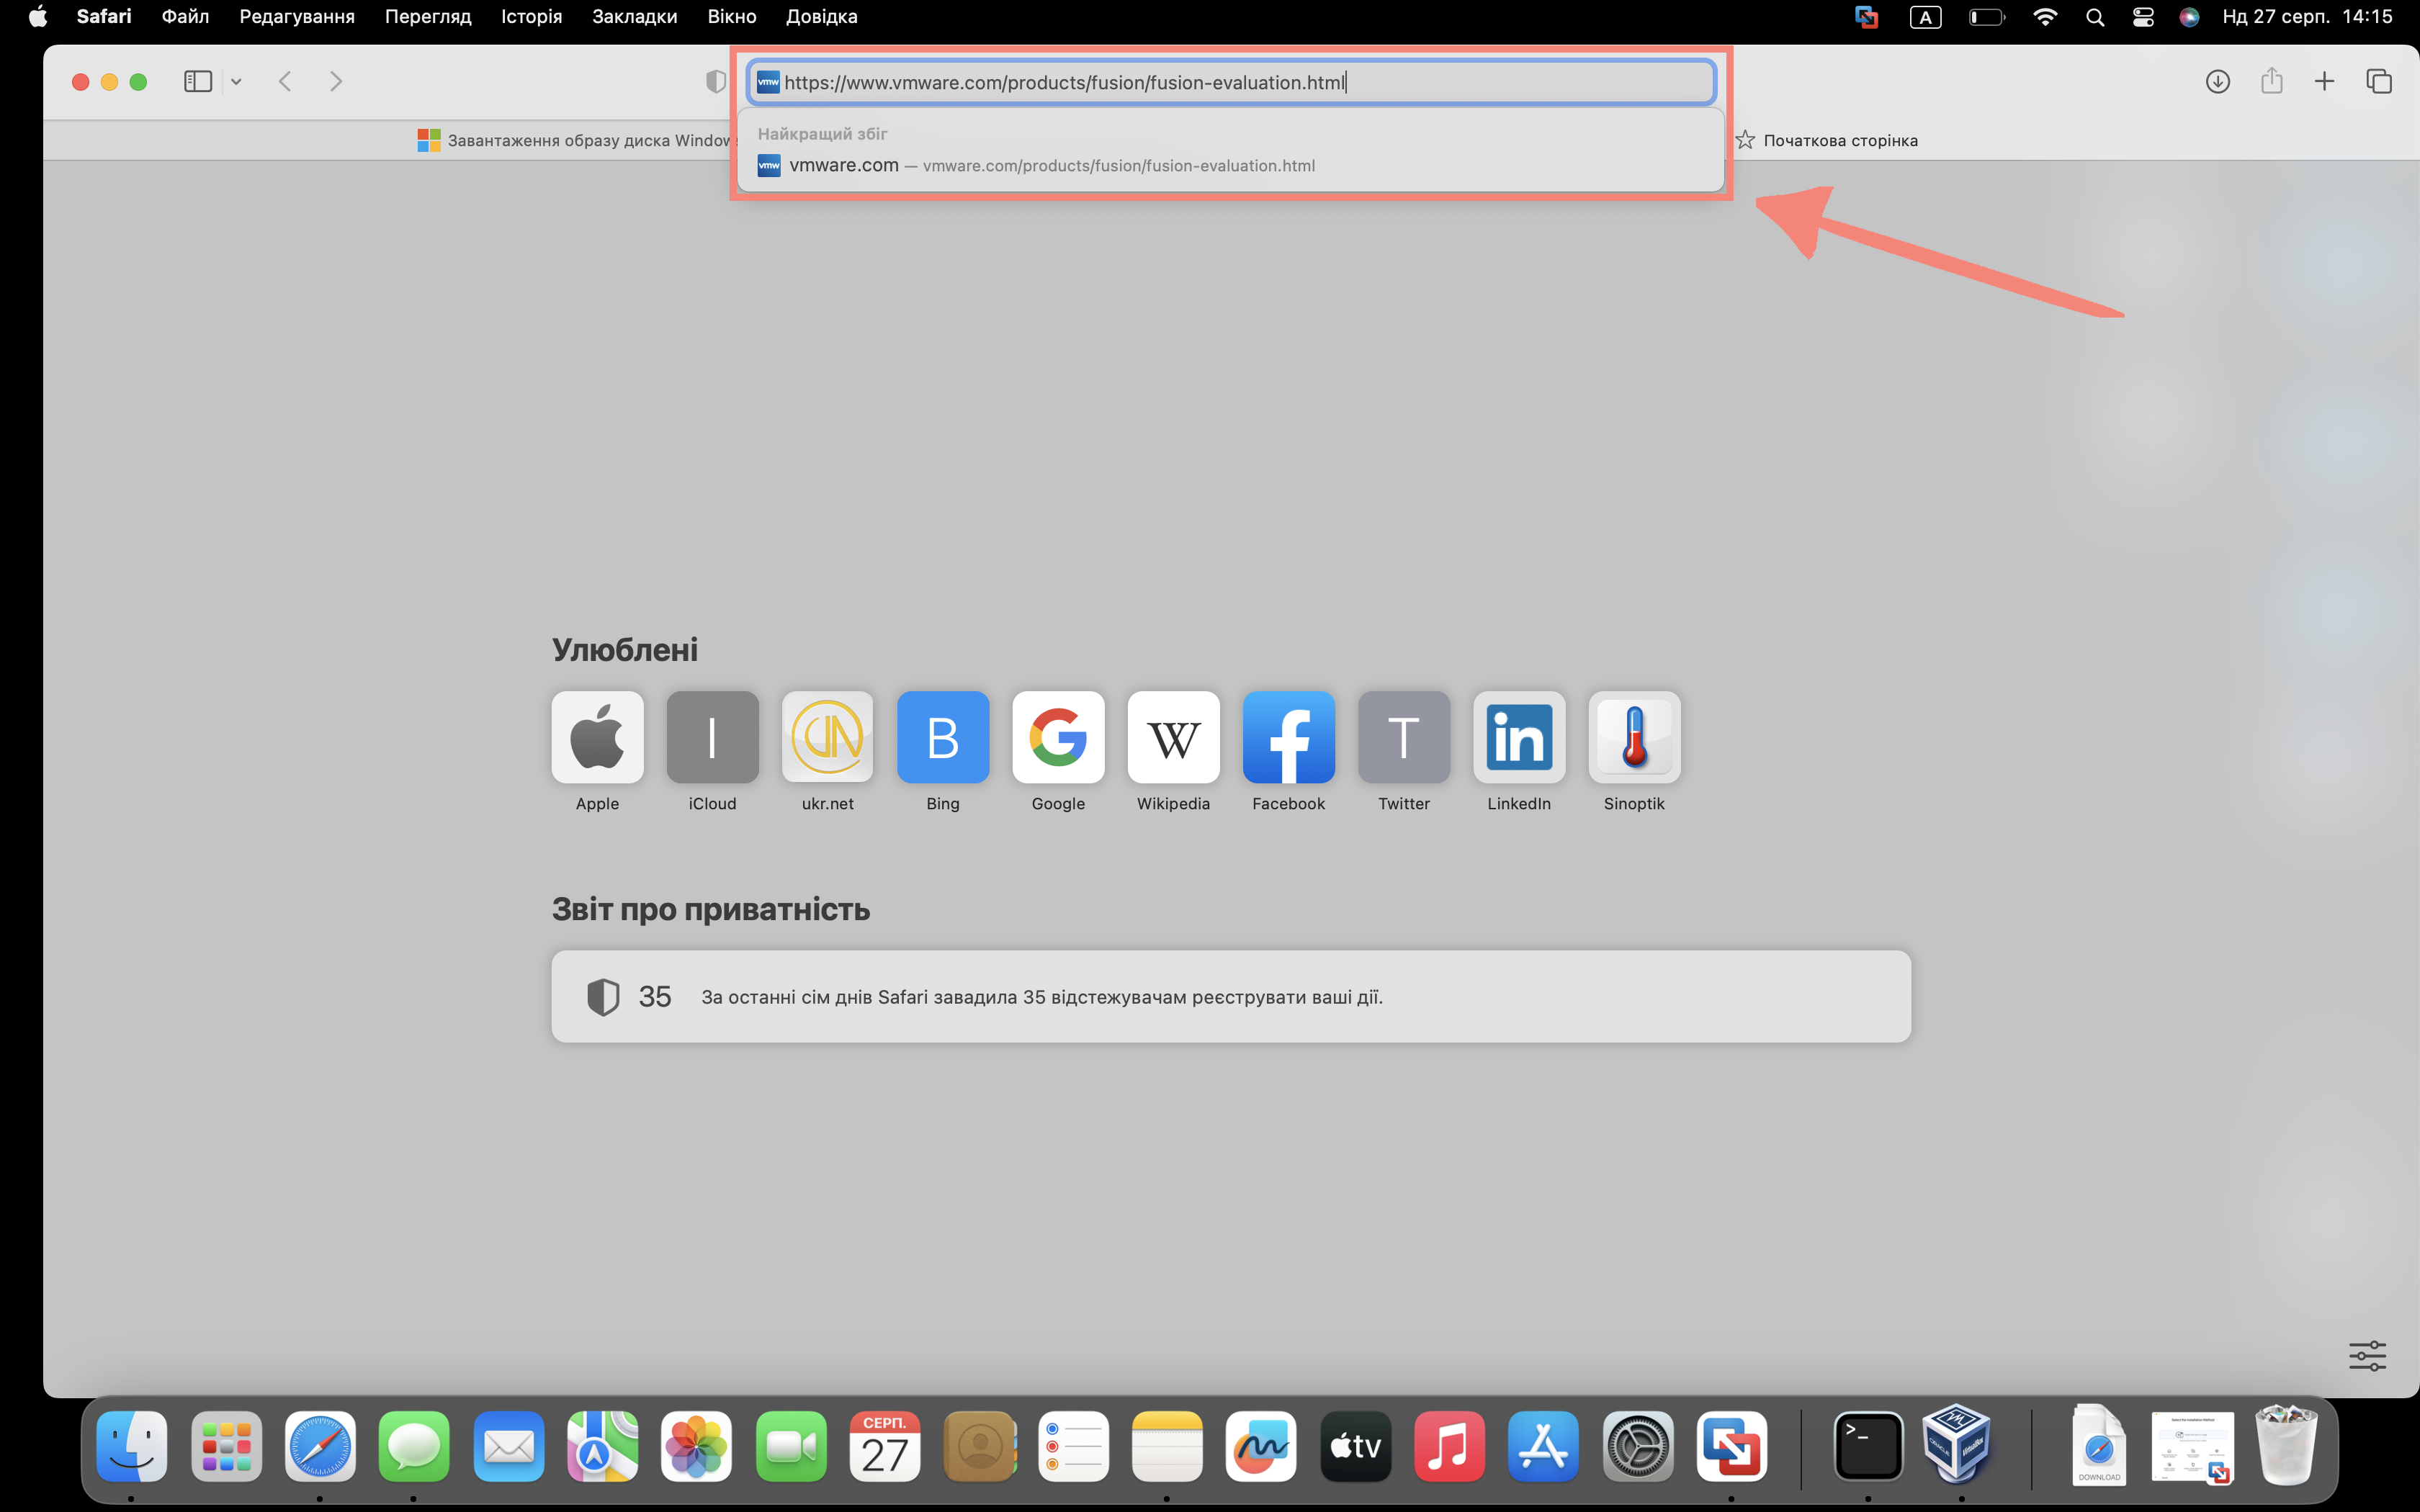
Go to the browser
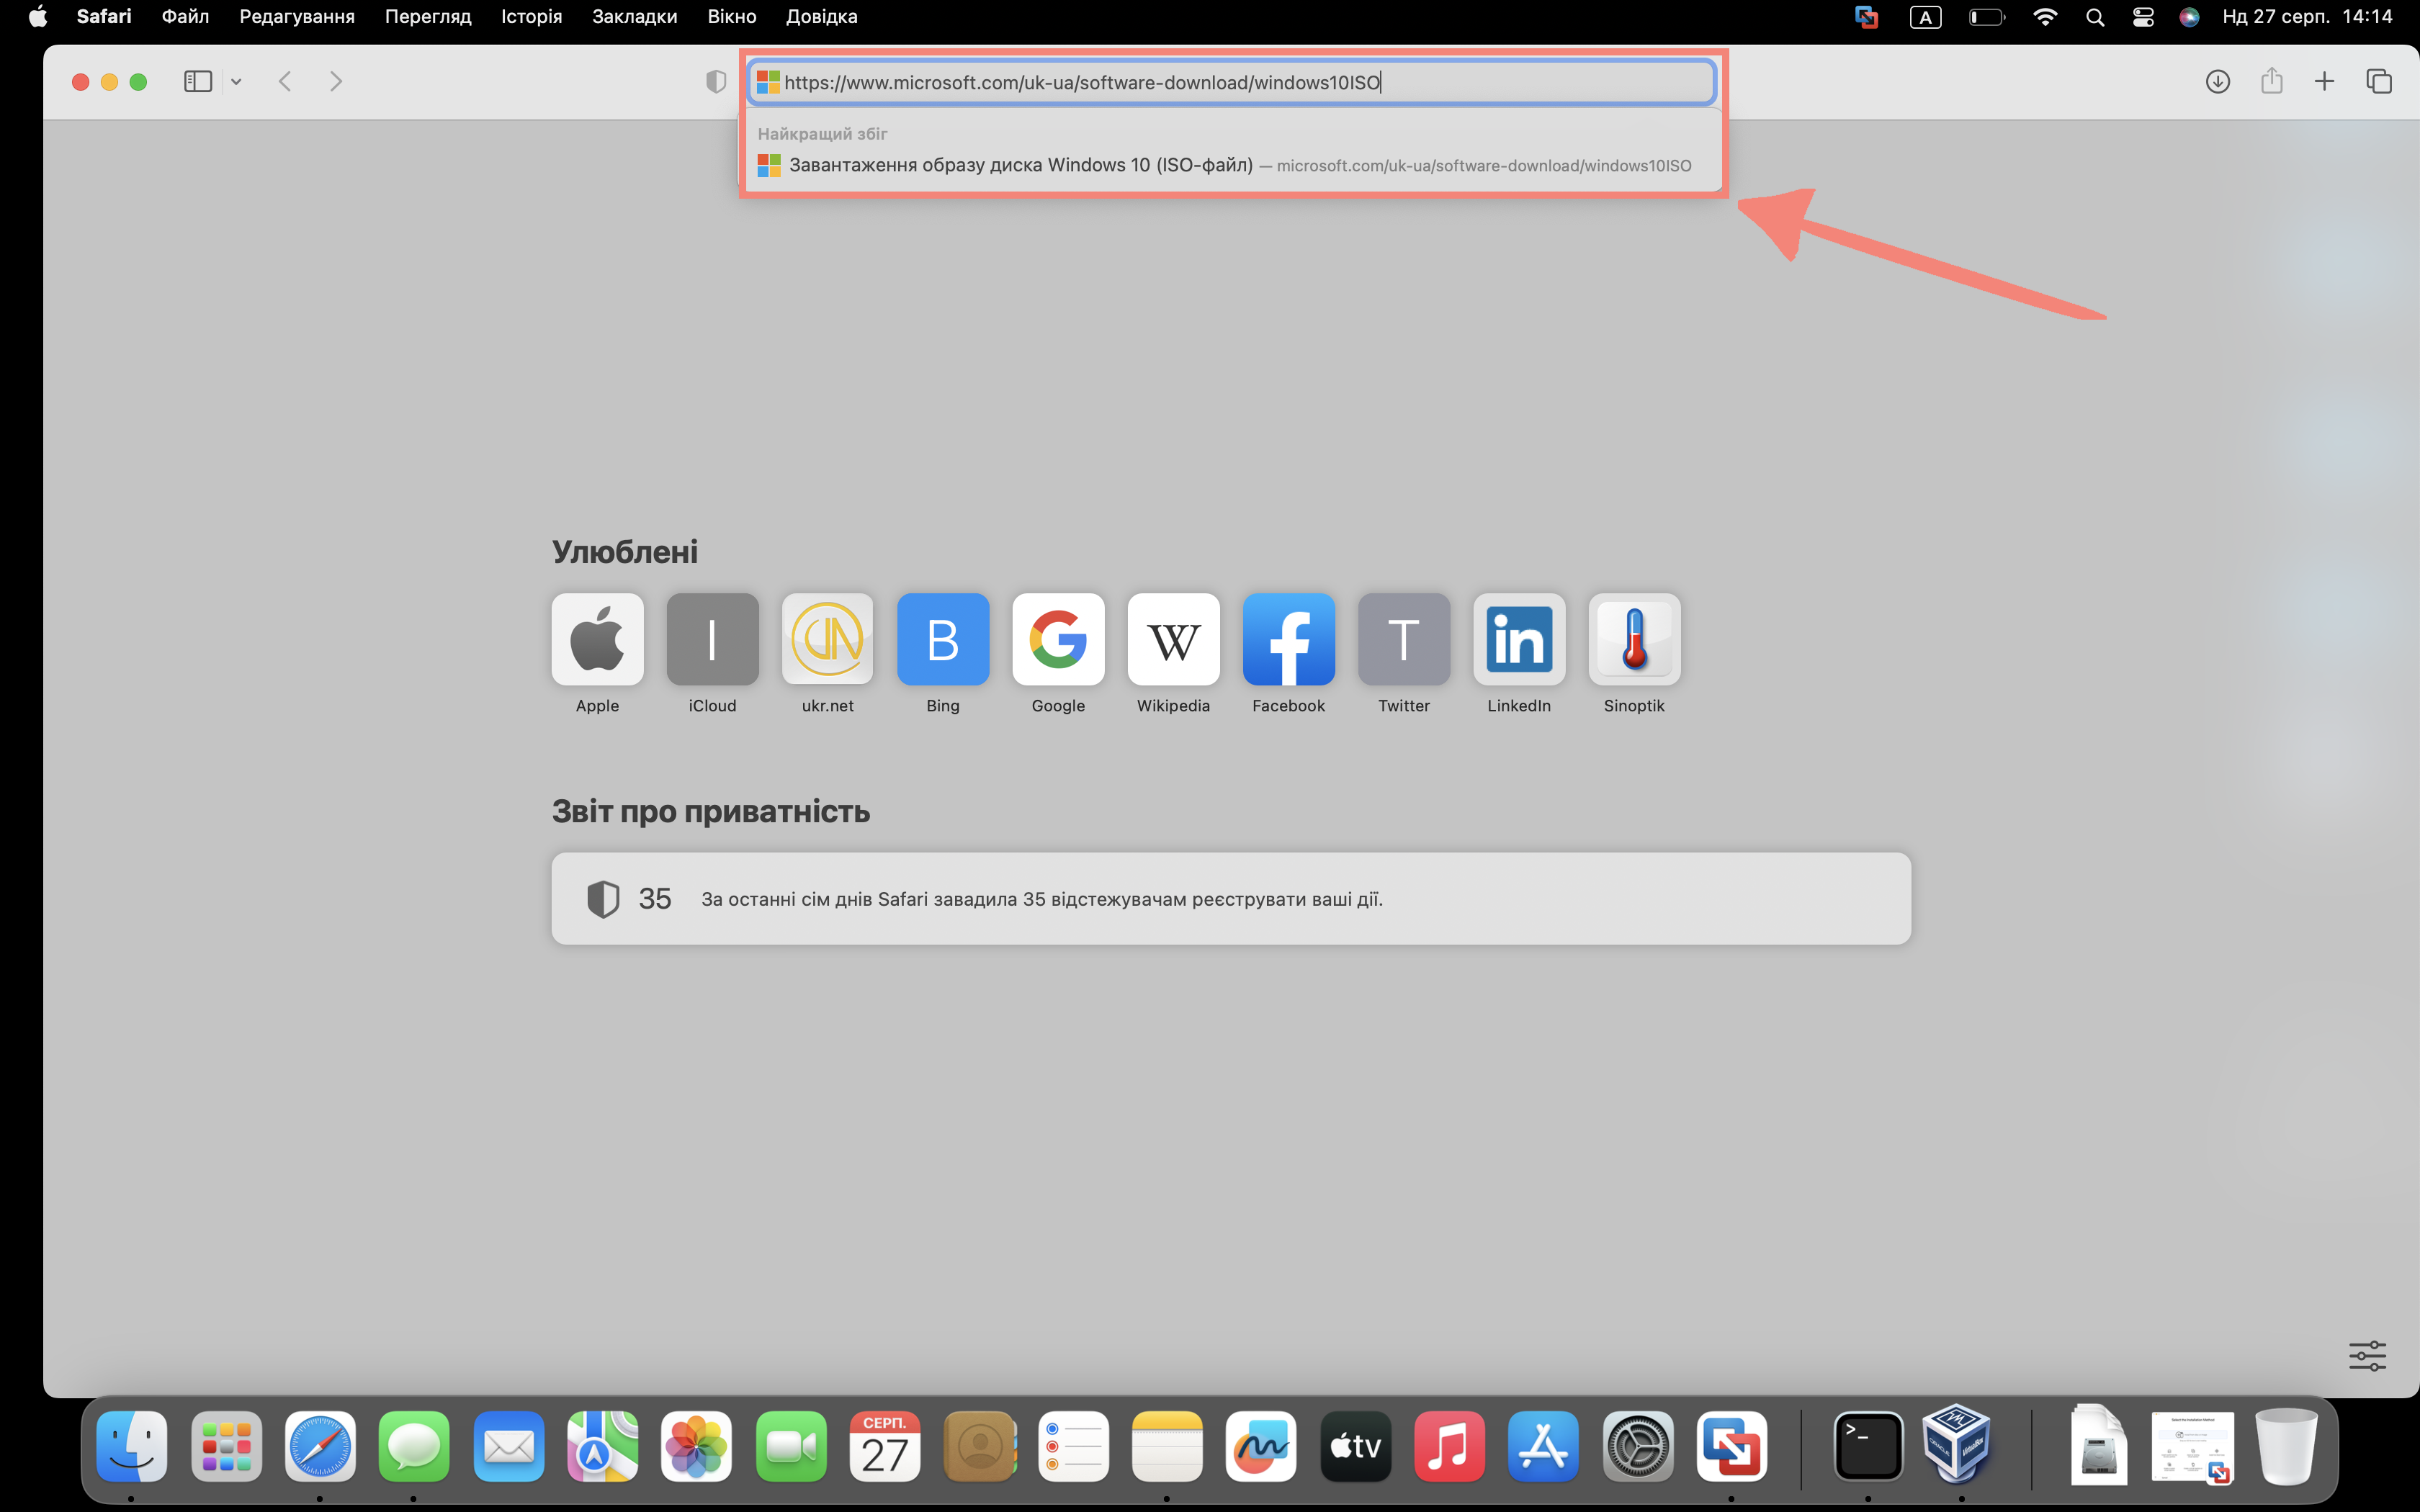
Step 3

Step by step, press as indicated on the screenshot
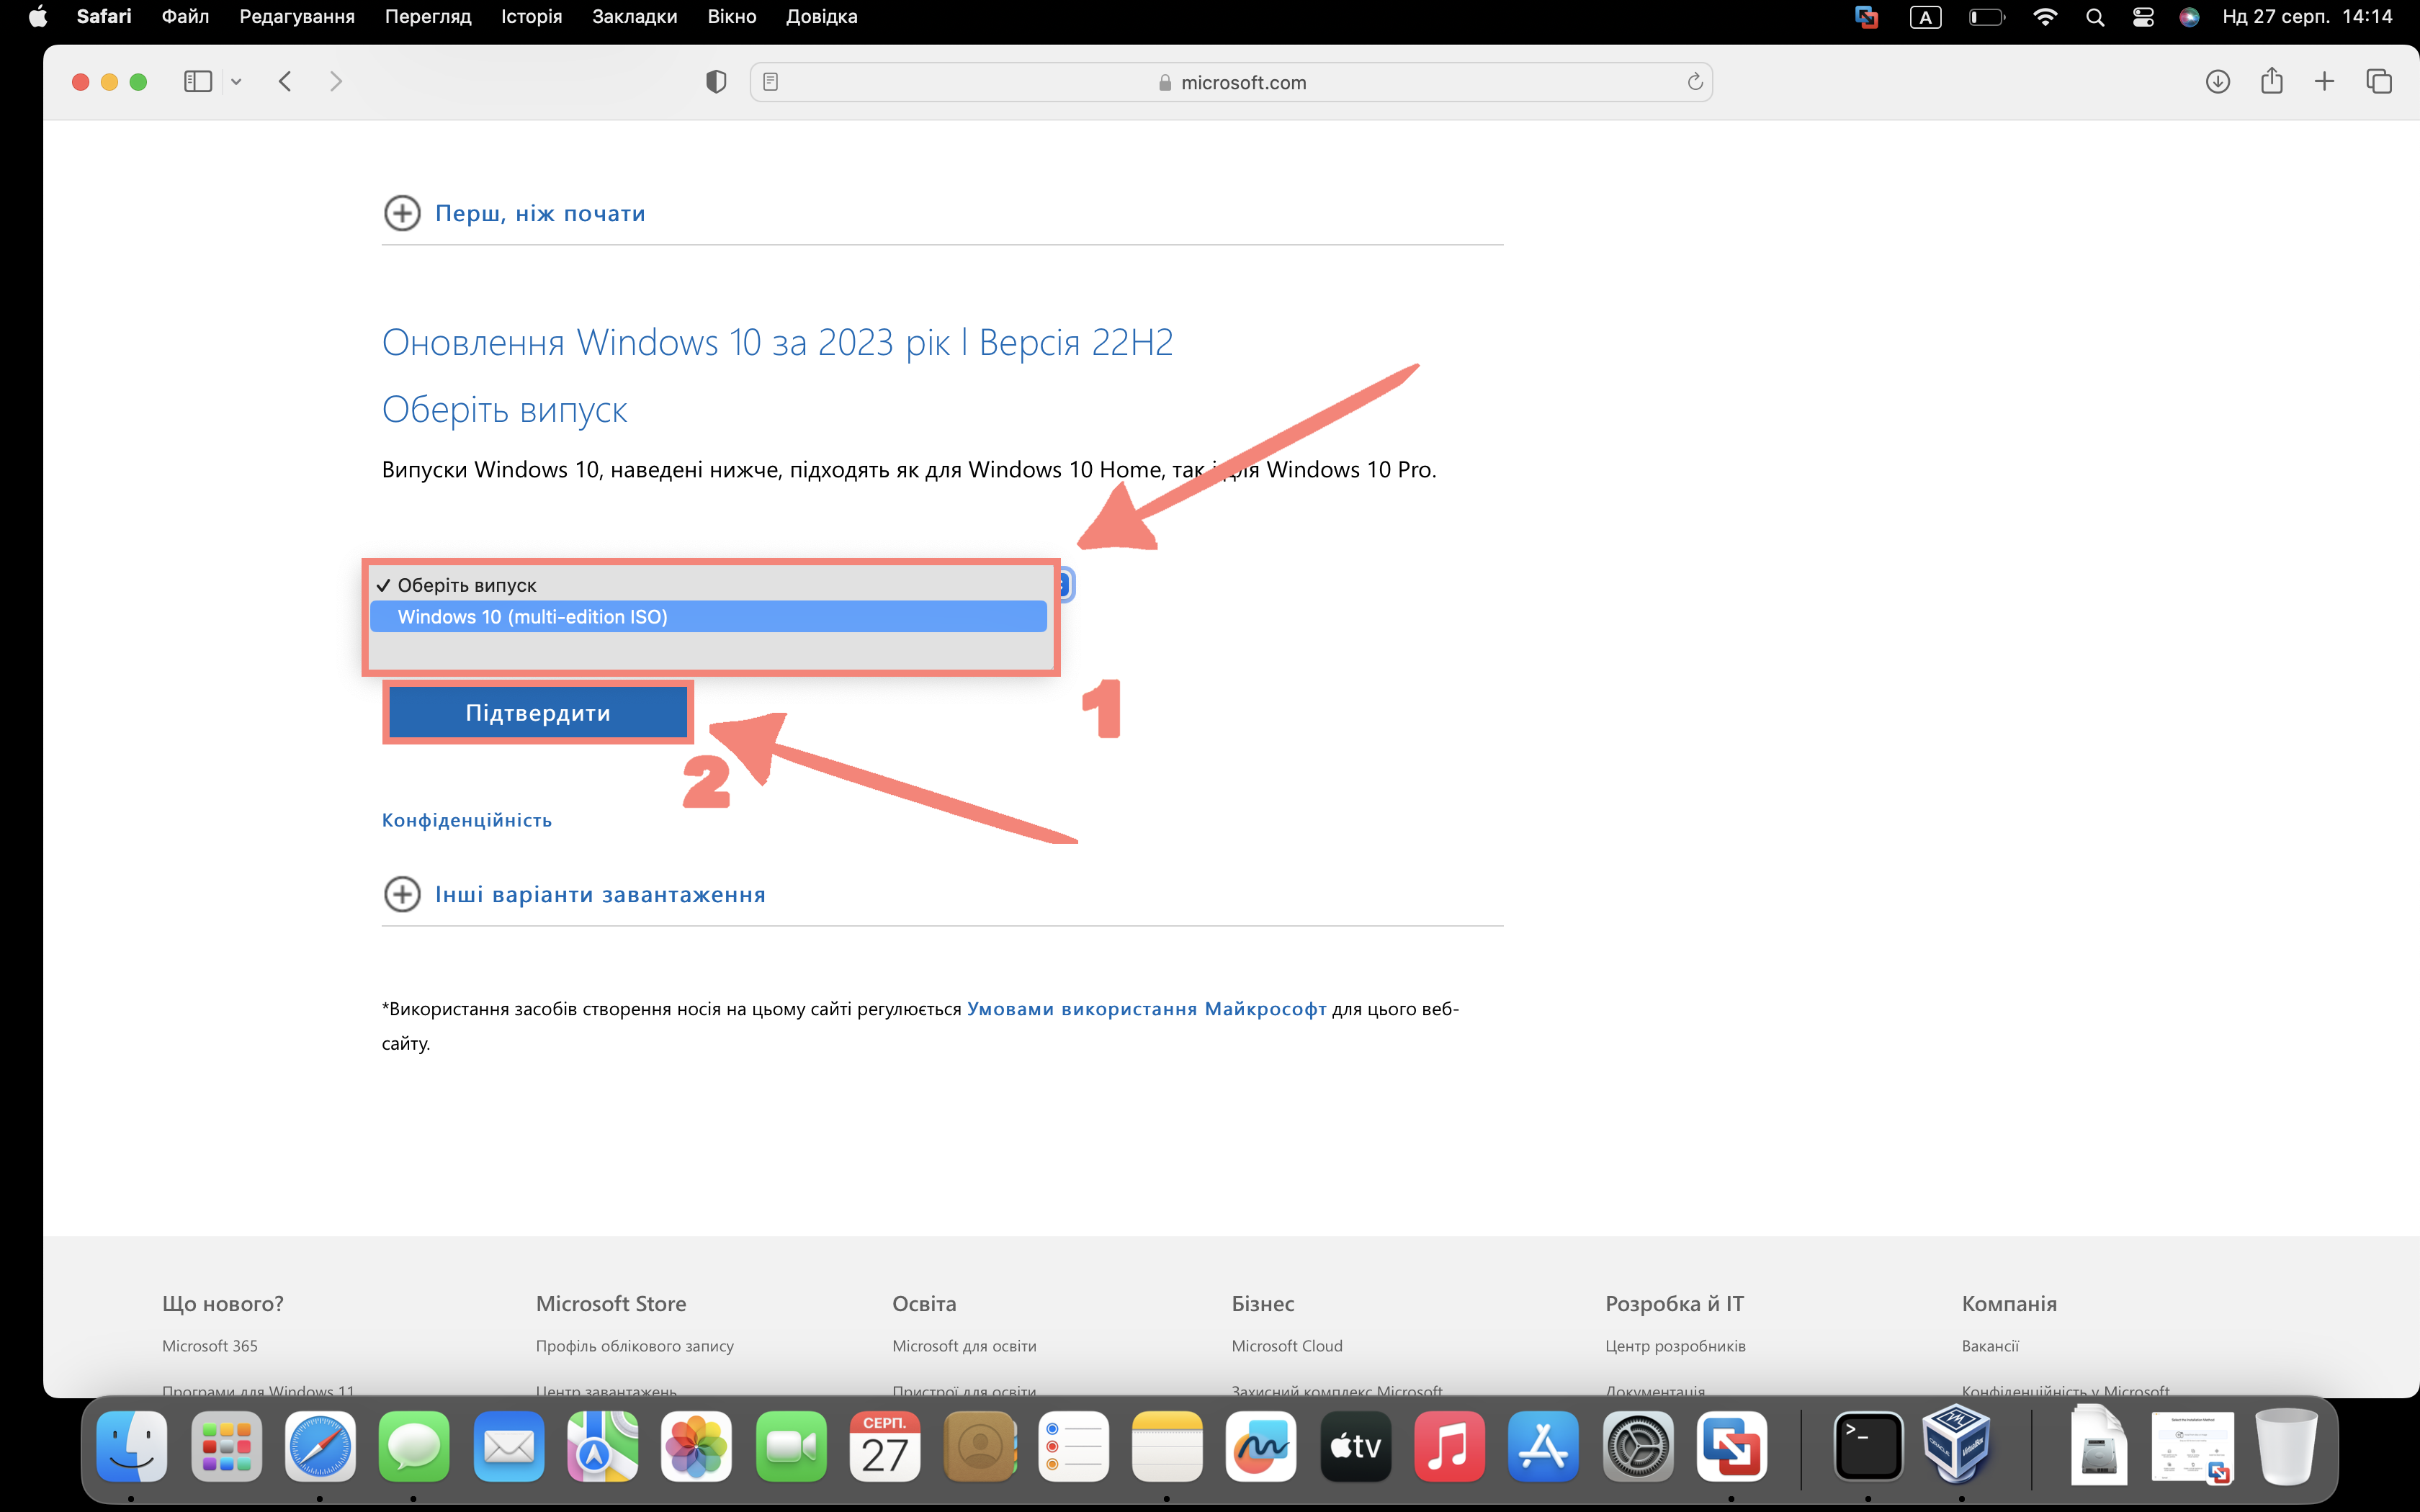
Step 4
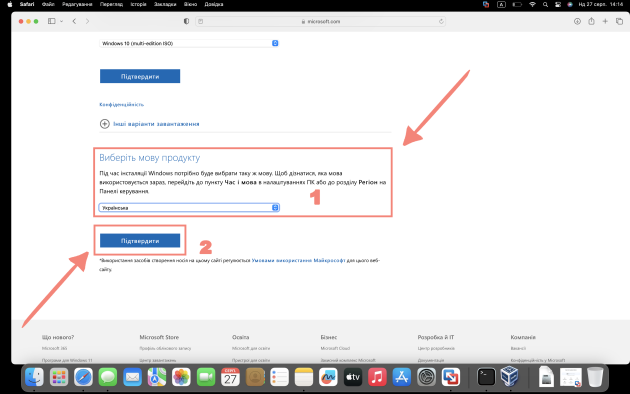
Select the language and click “Confirm”
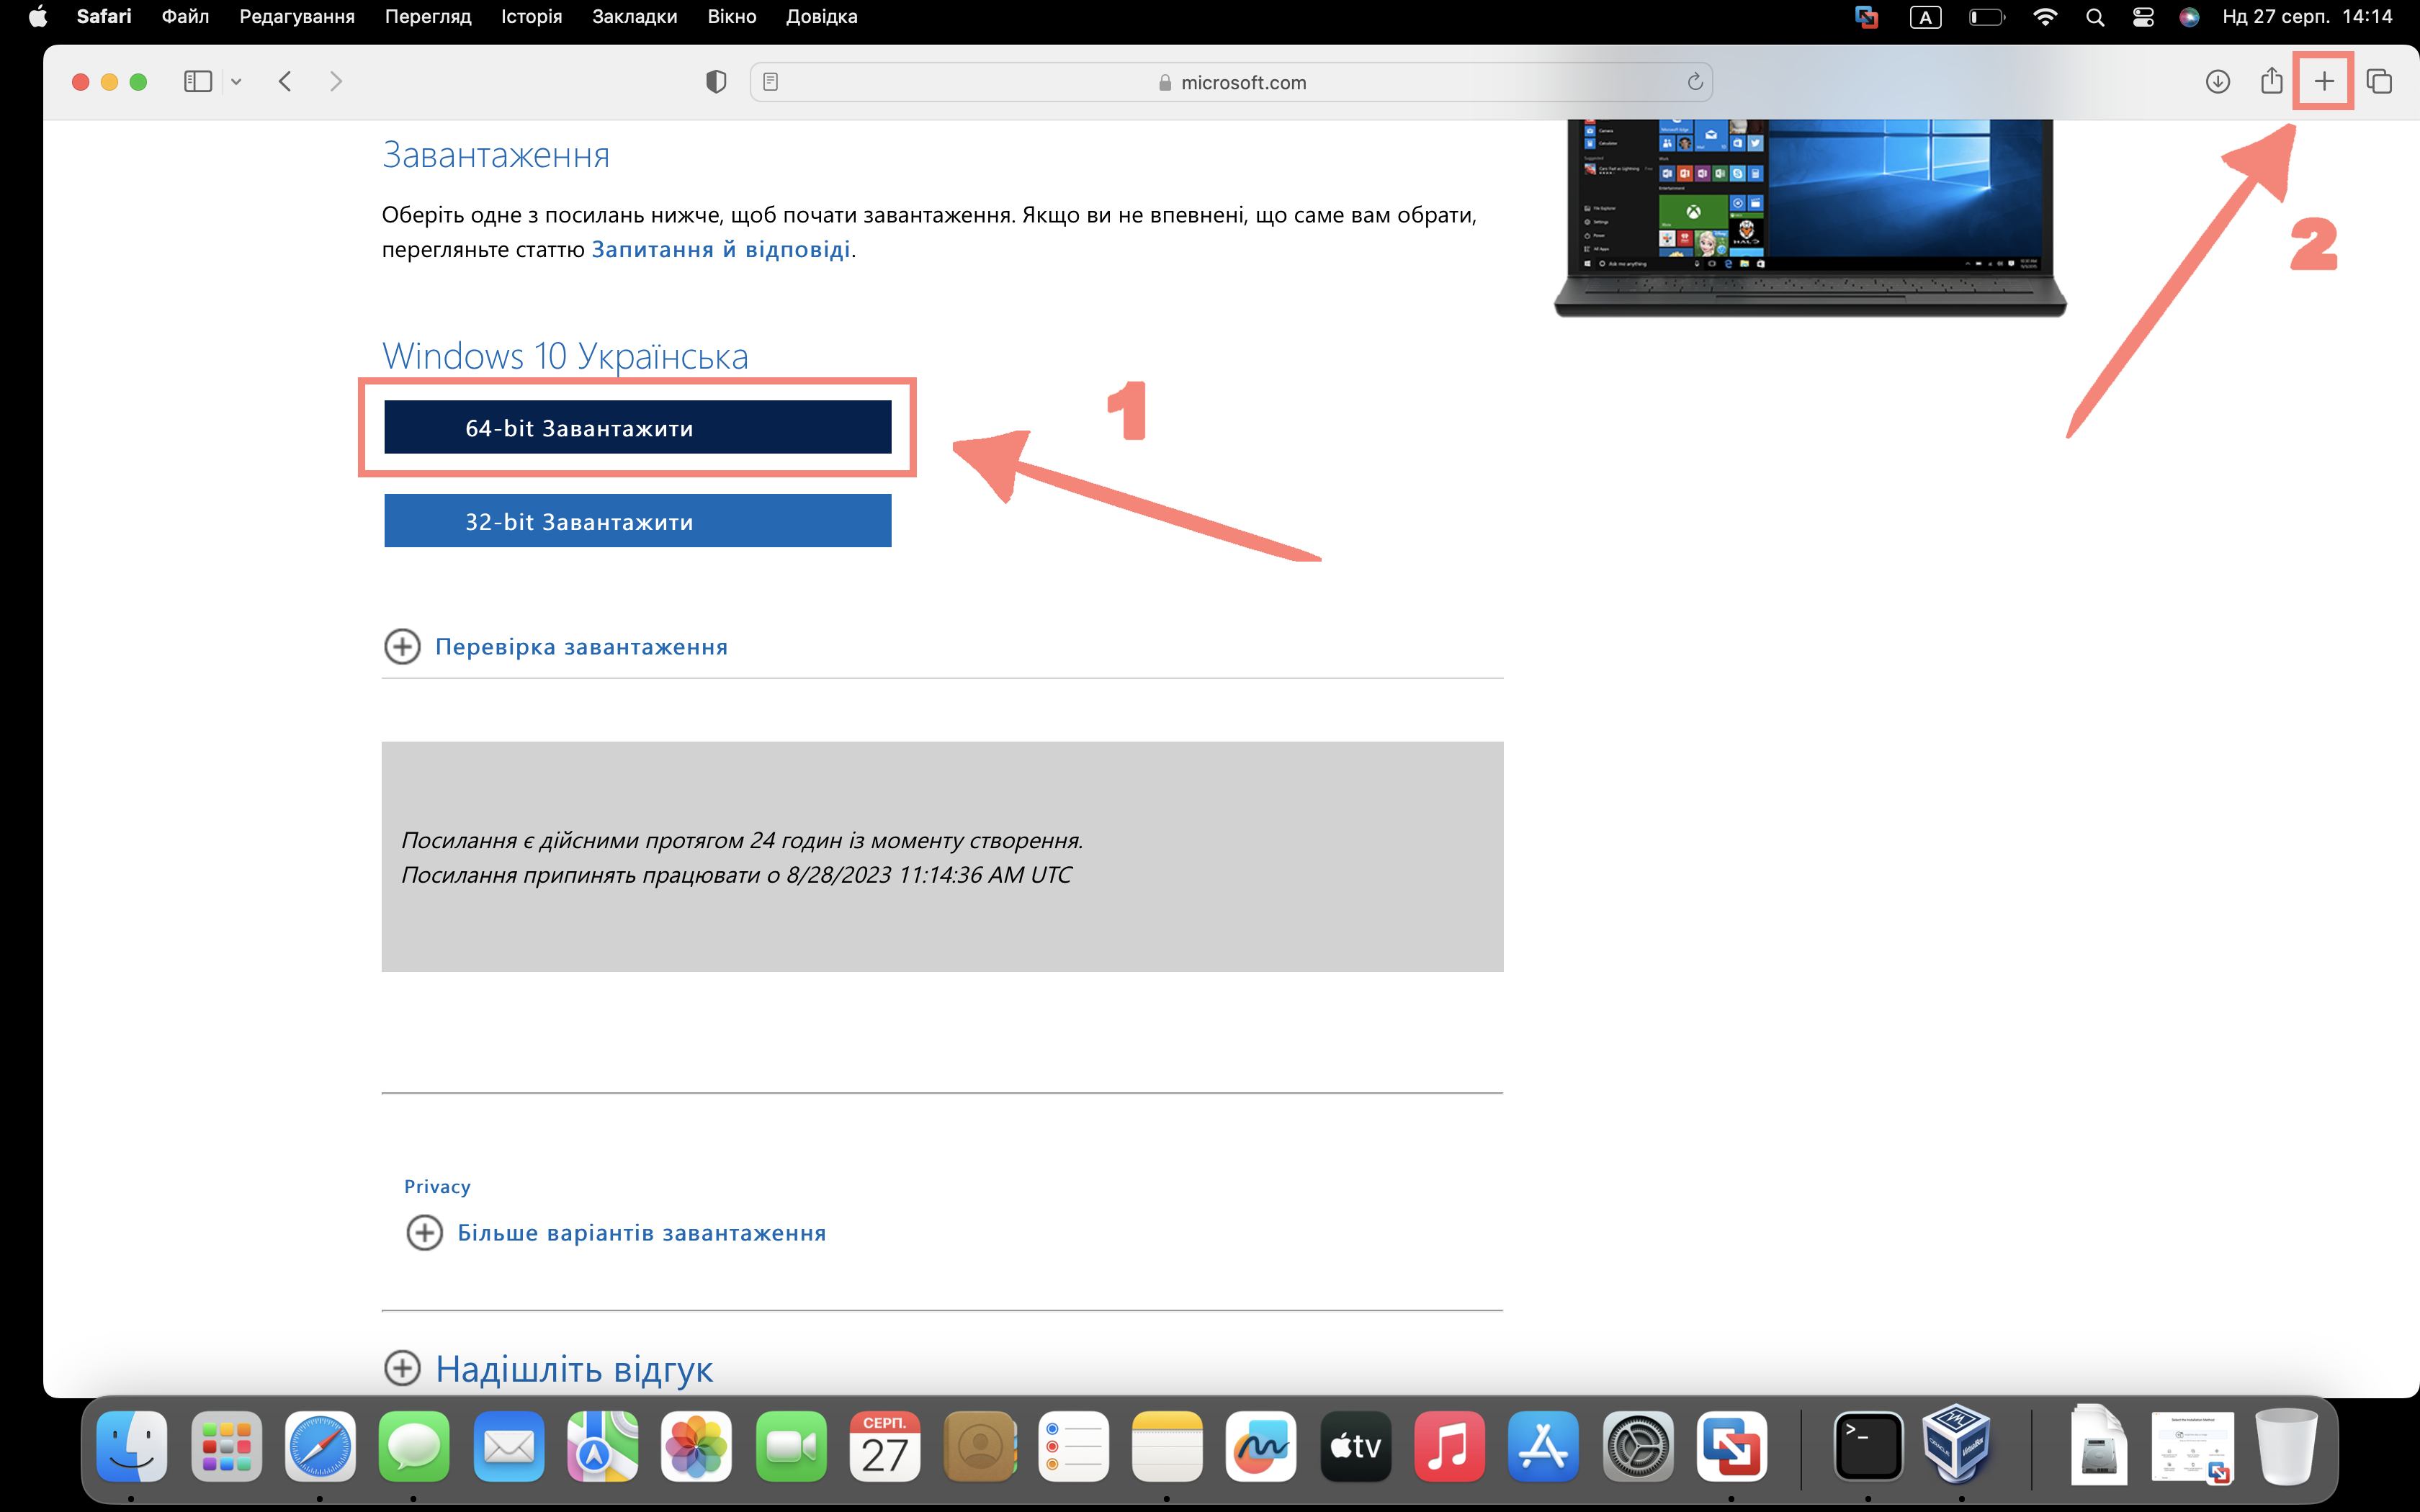
Step 5
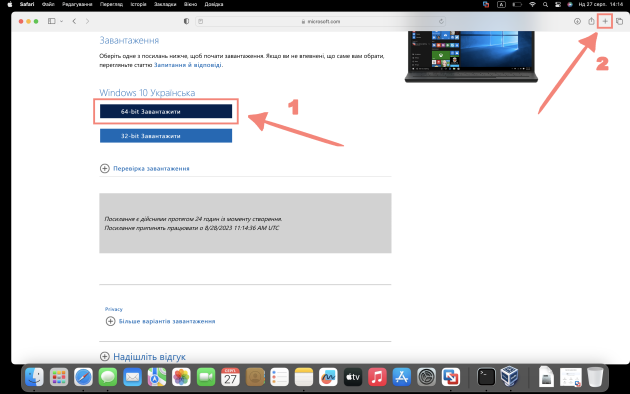
Download the 64-bit version
Installing VMware 13 on MAC OS
Step 7
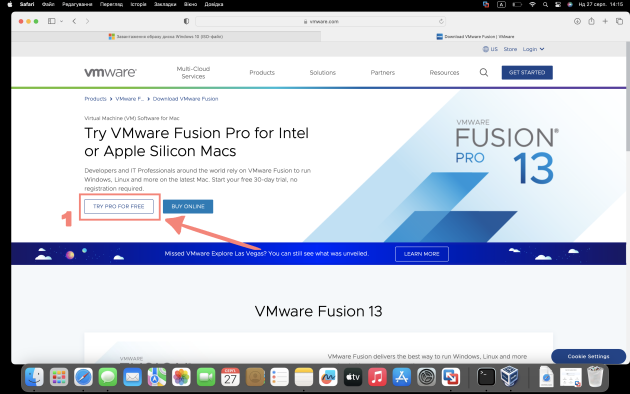
Click “Try Pro For Free”
Step 8
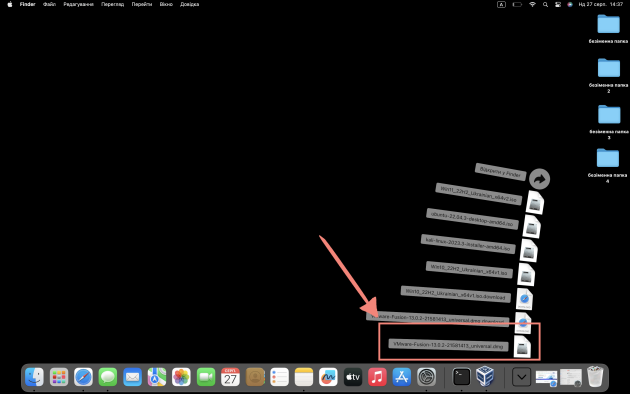
In this screenshot, we can verify that our sixth action completed successfully. Our file has been uploaded
Configuring VMware 13 on MAC OS
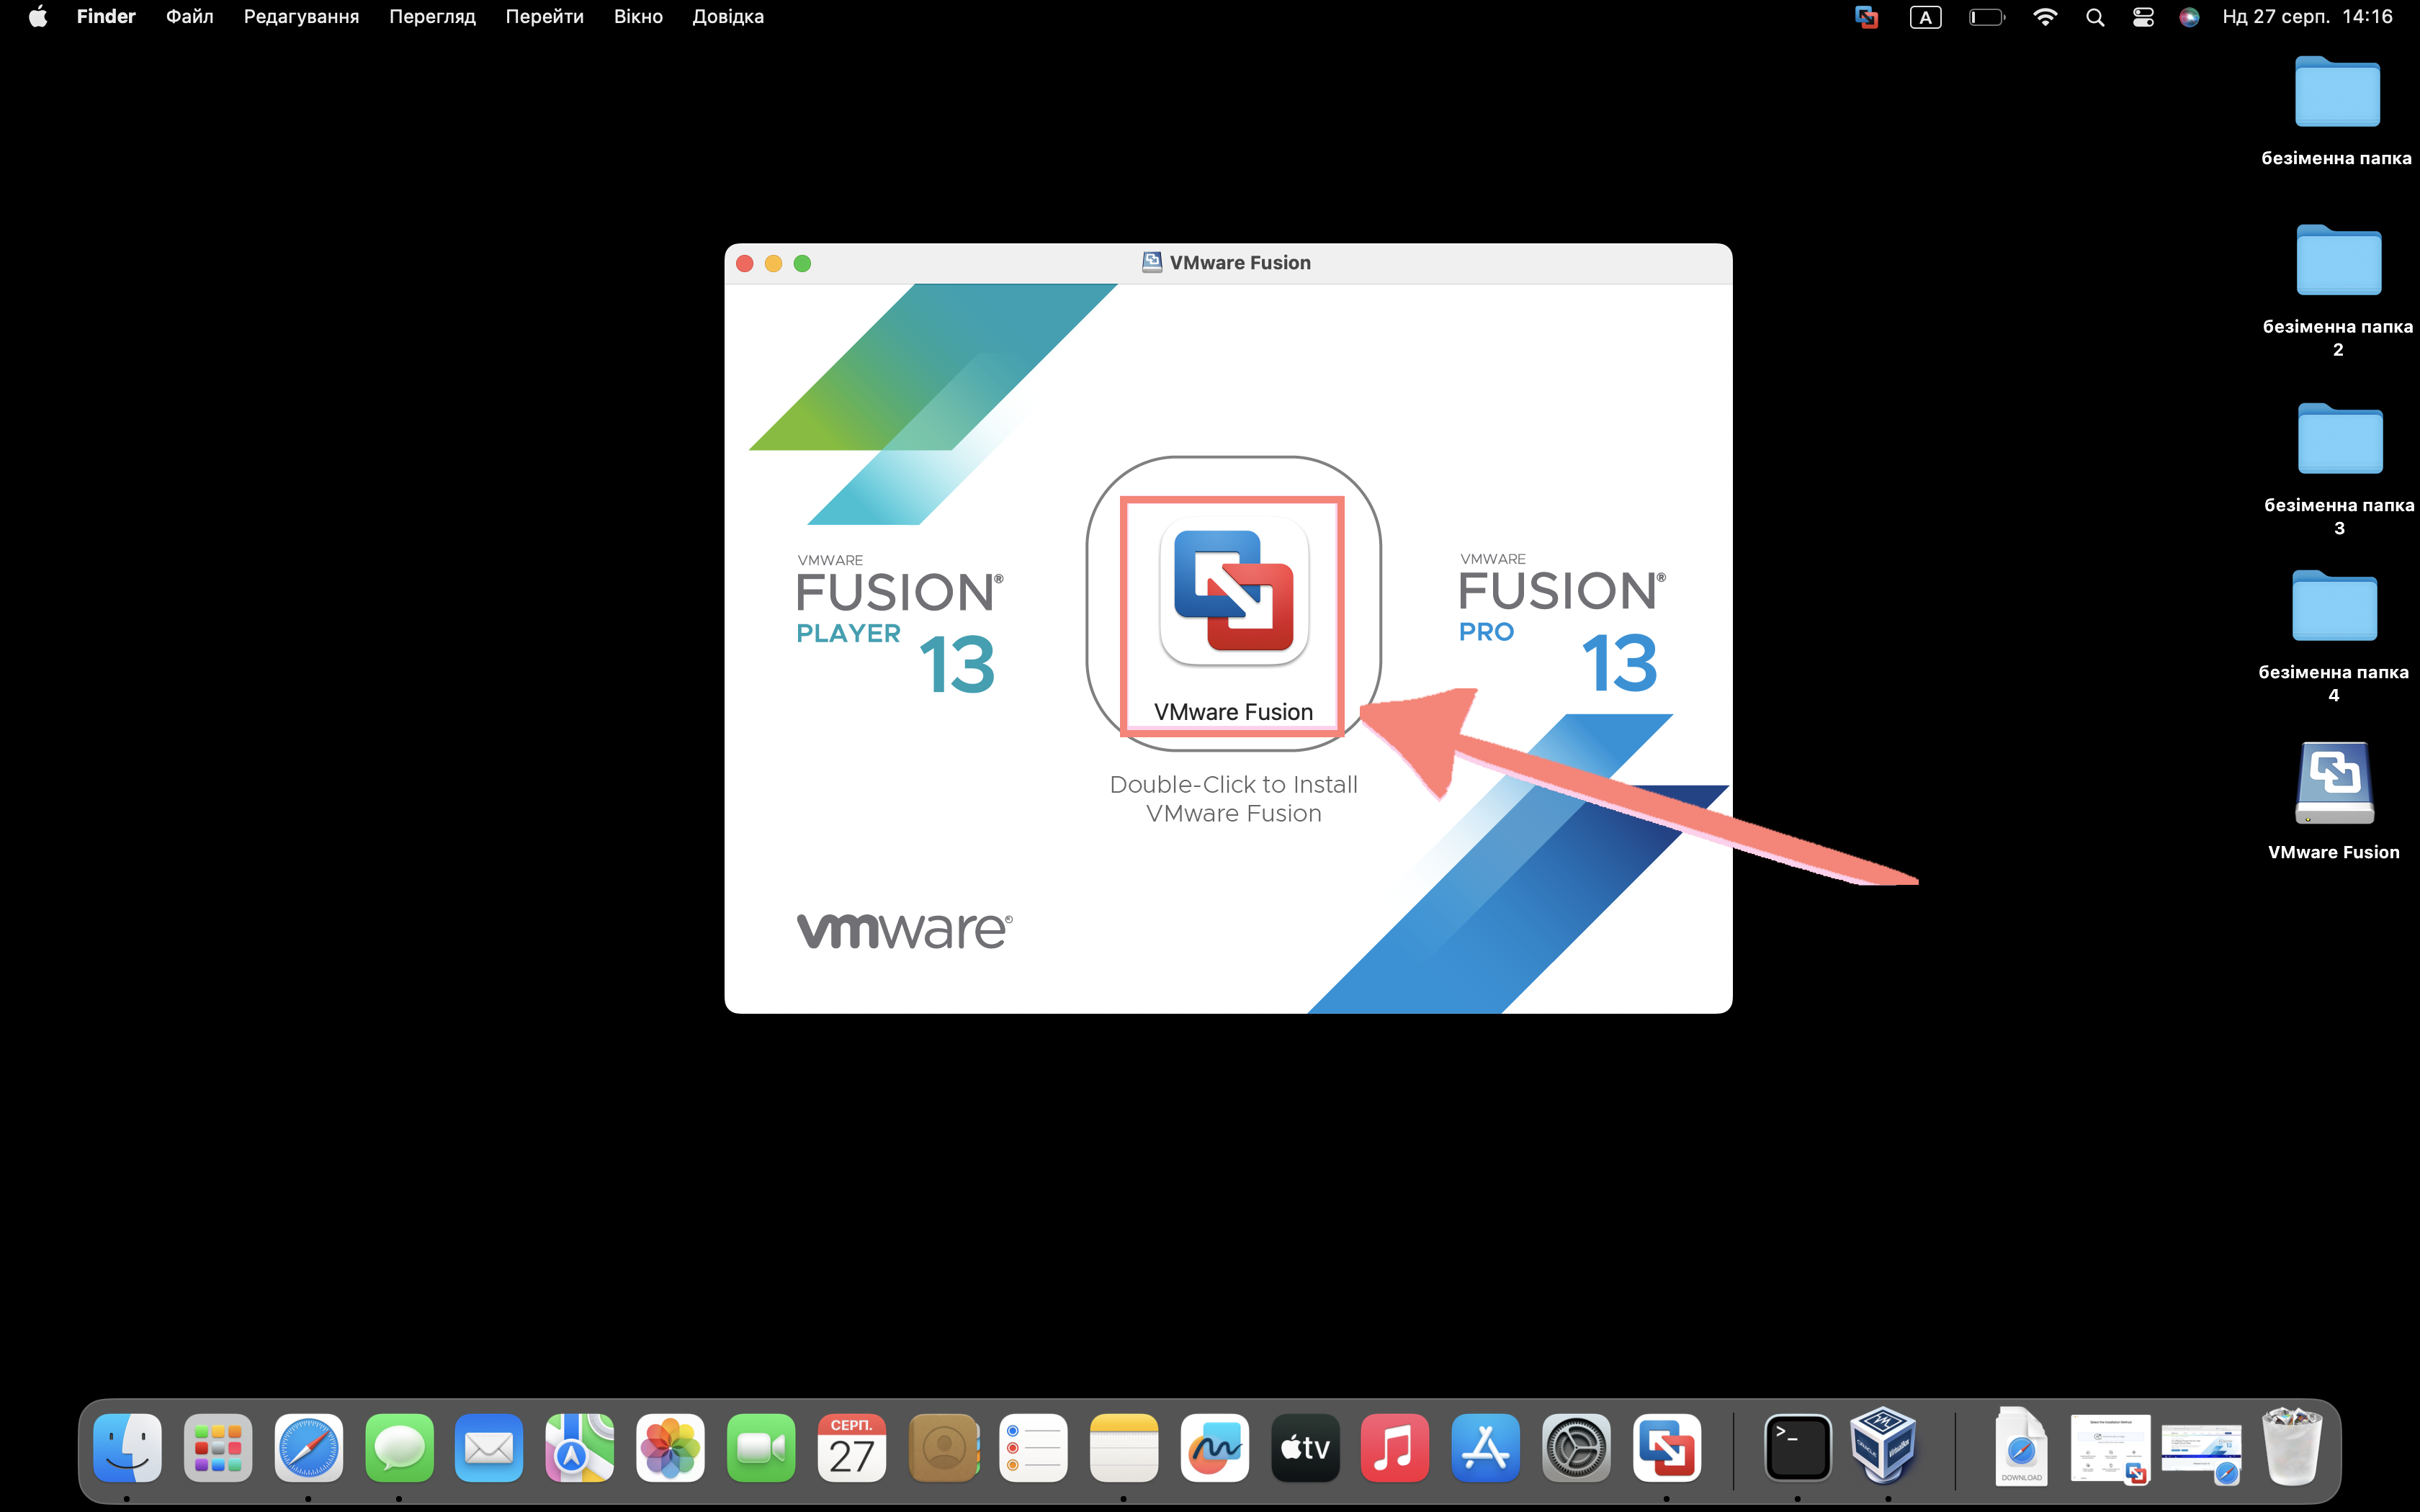
Step 9

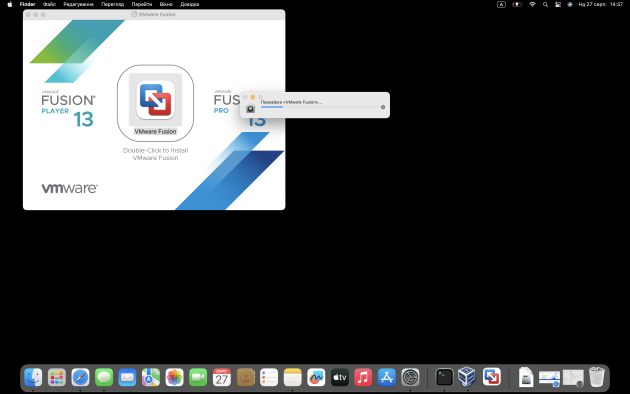
Double click on the icon
Step 10
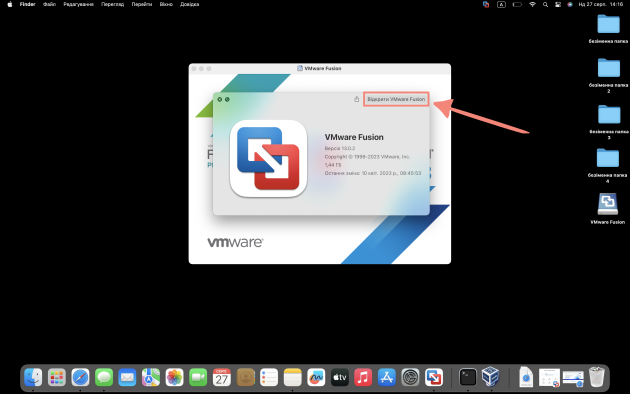
Open VMware Fusion
Step 11
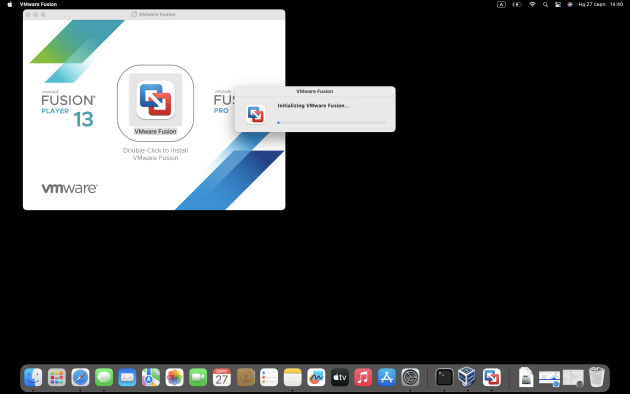
We are waiting for the verification to finish
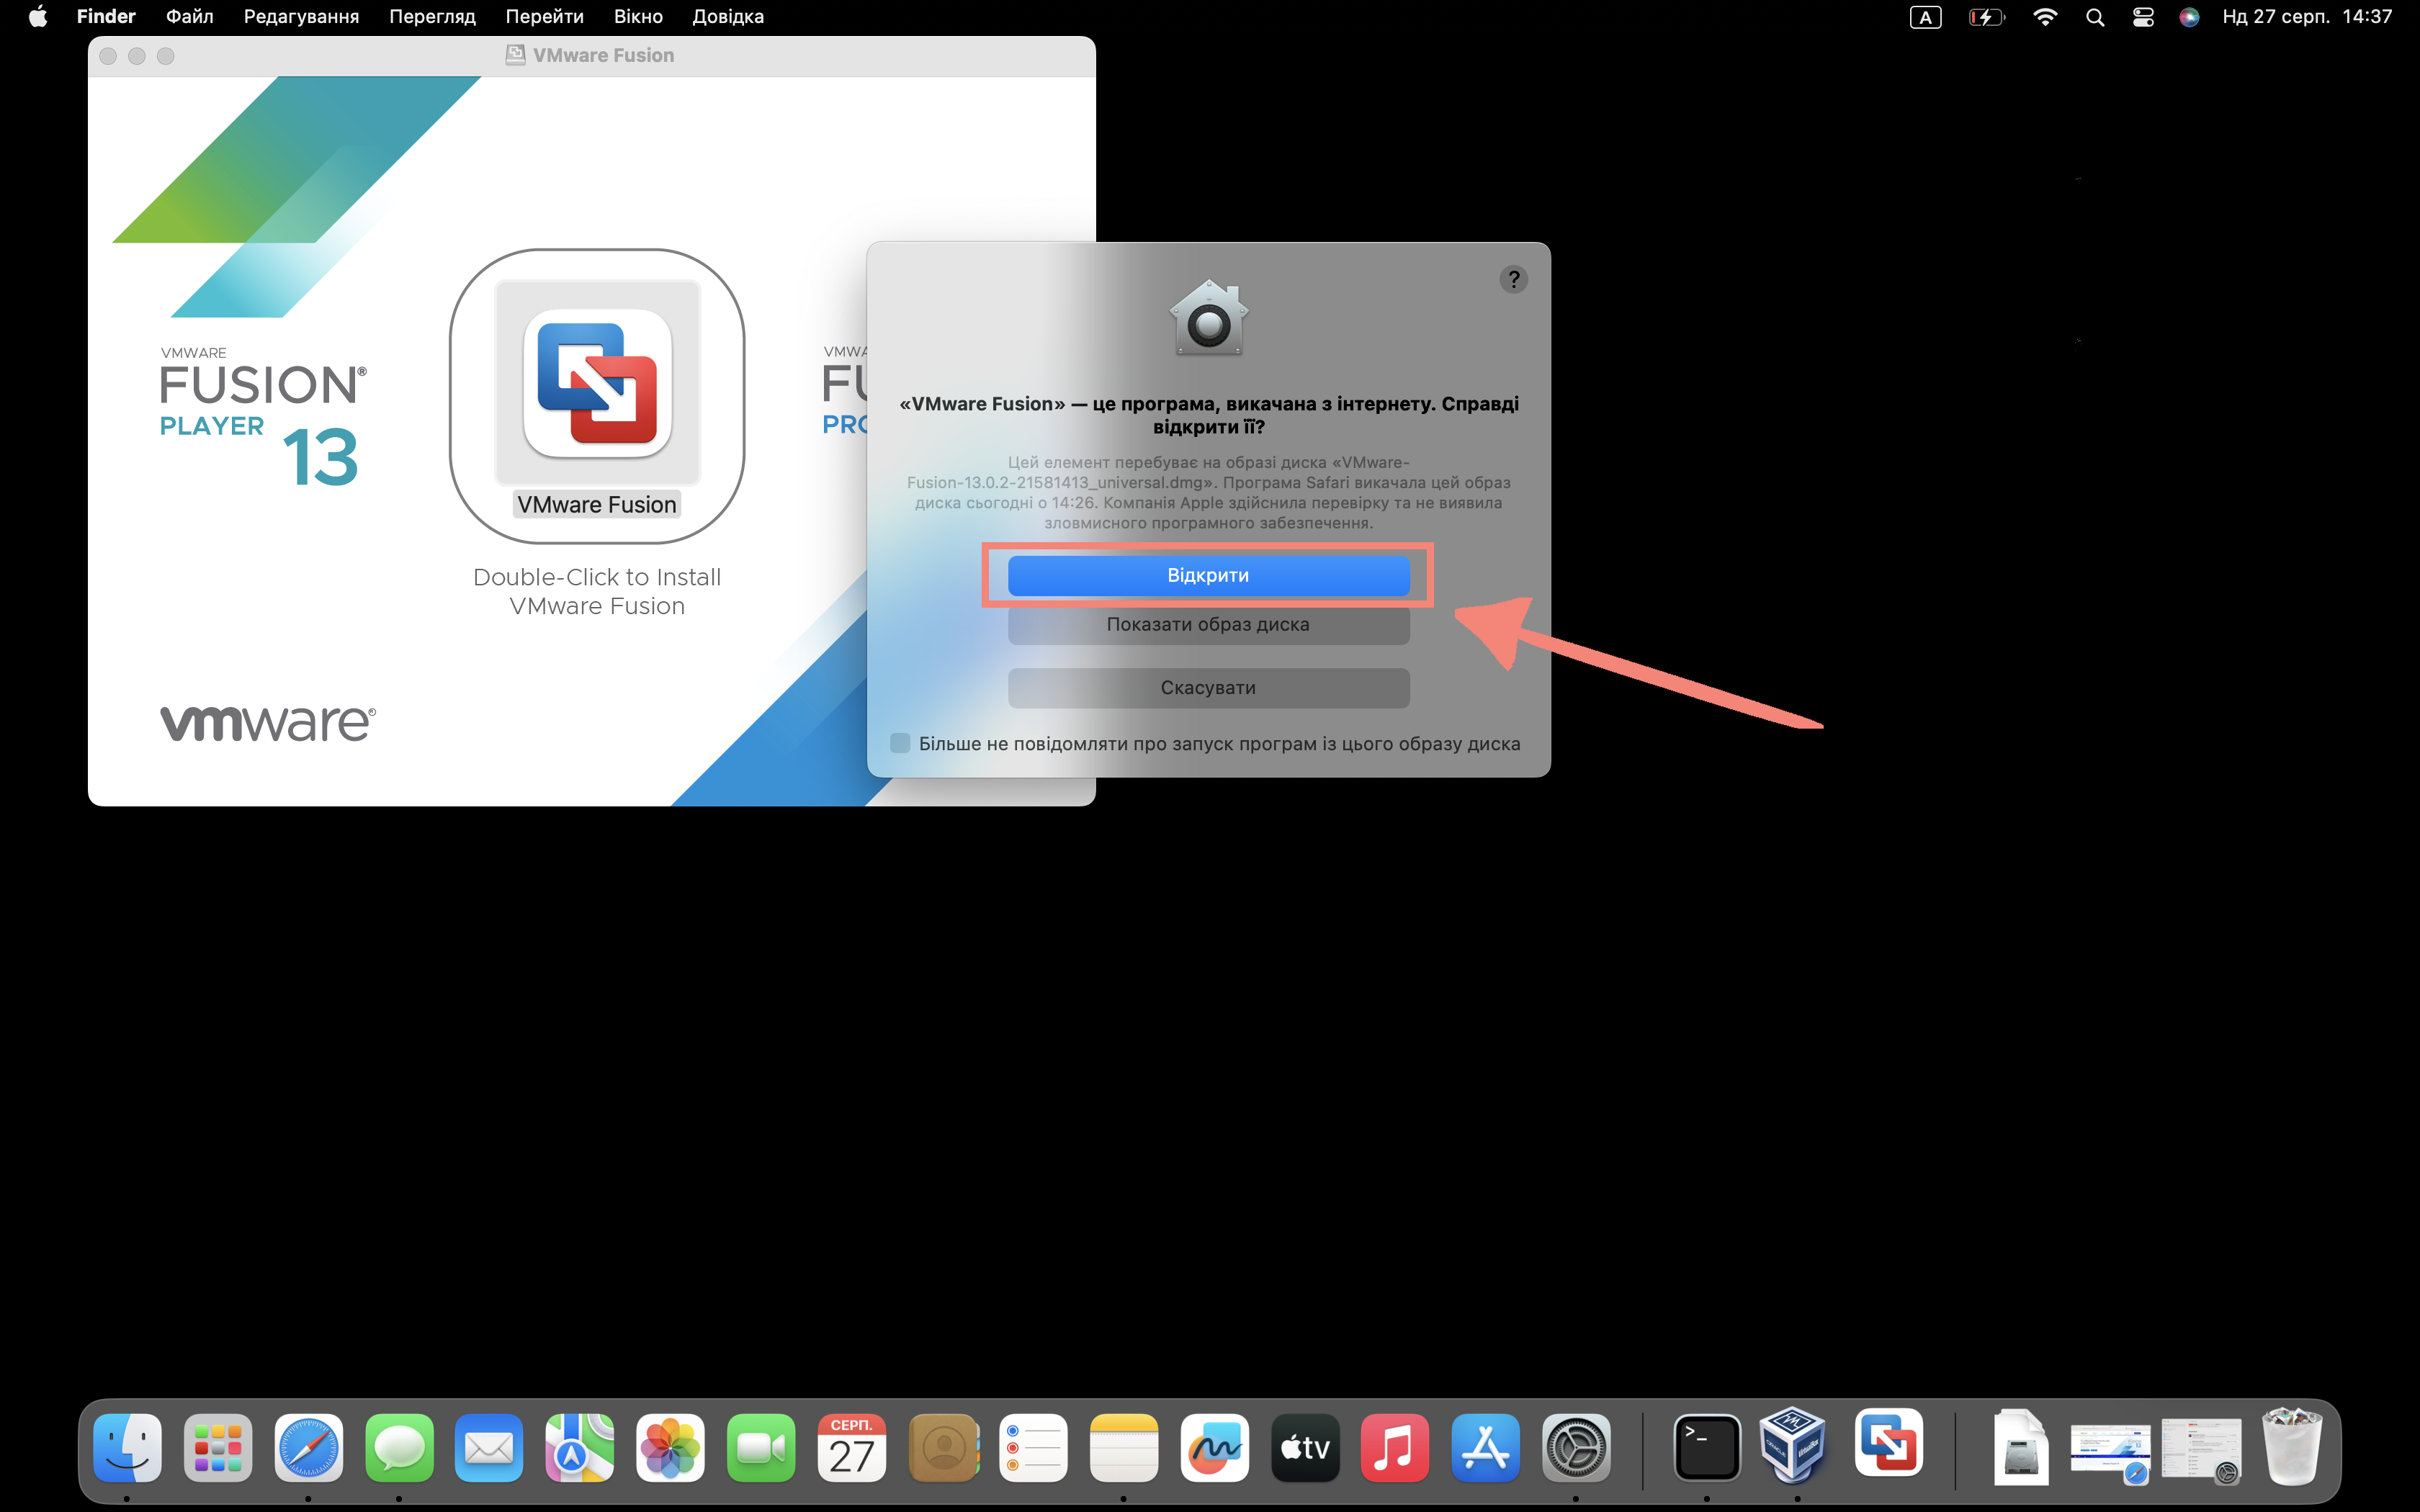
Step 12

Click “Open”
Step 13
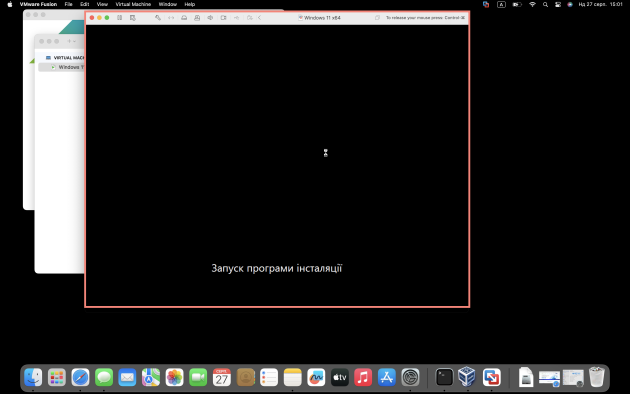
We are waiting while the installation is in progress
Step 14
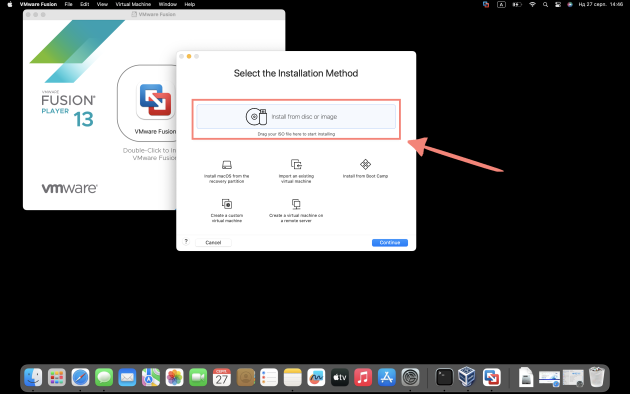
Click on “Install from disc or image”
Step 15
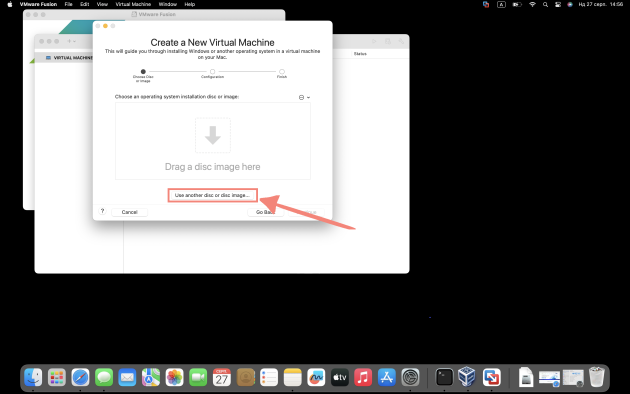
Click on the selected fragment, as shown in the screenshot
We install the Windows 11 OC image on MAC OS
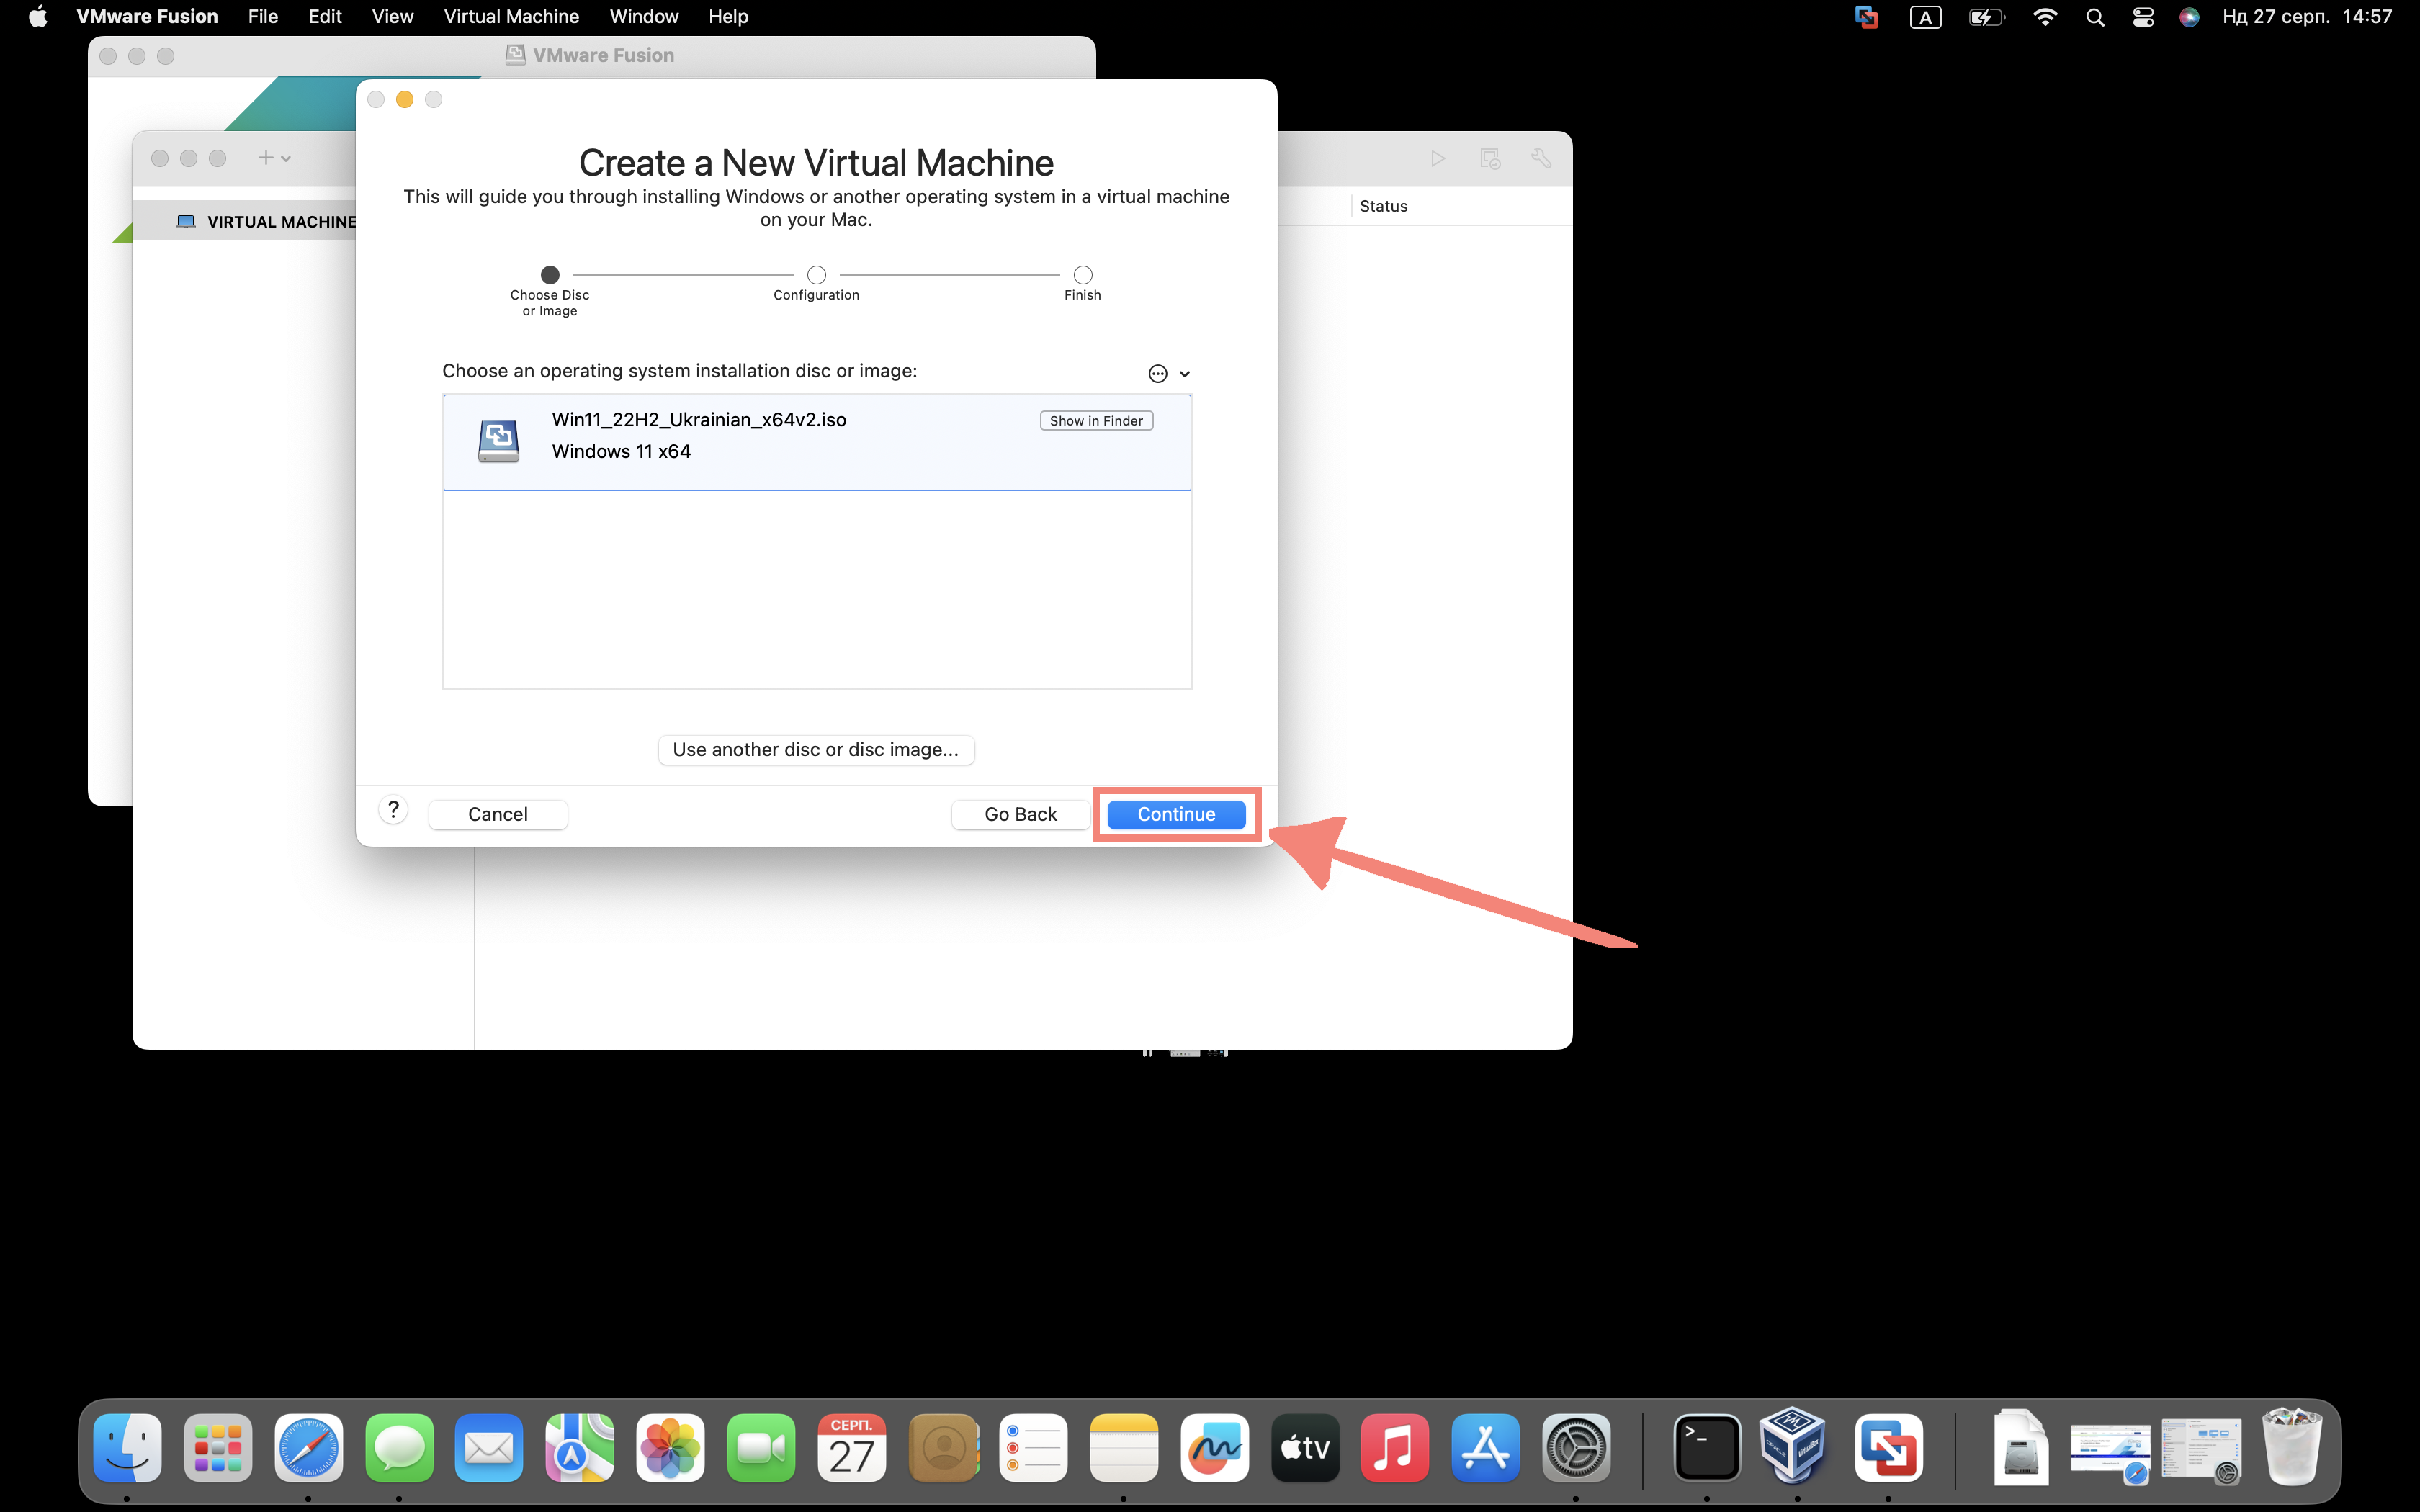
Step 16

Click “Continue”
Step 17
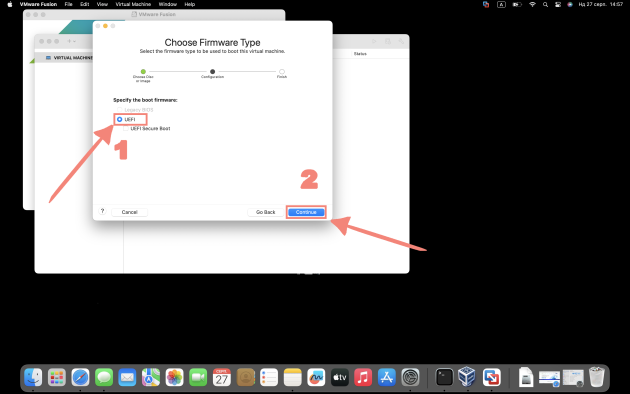
Select “UEFI” and click next
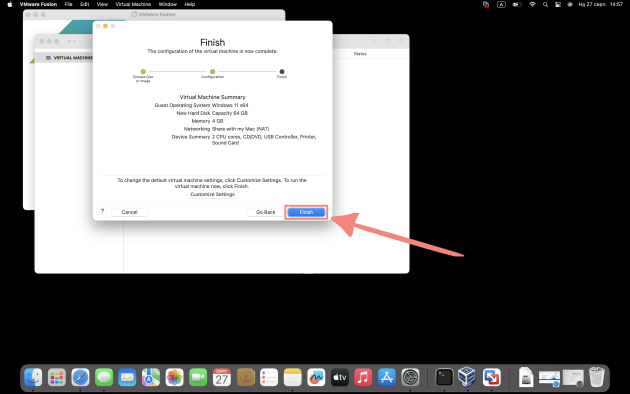
Step 18

Click “Finish”
Step 19
We repeat the previous step
Step 20

Click “Save”
Step 21
Click on the icon as shown in the screenshot
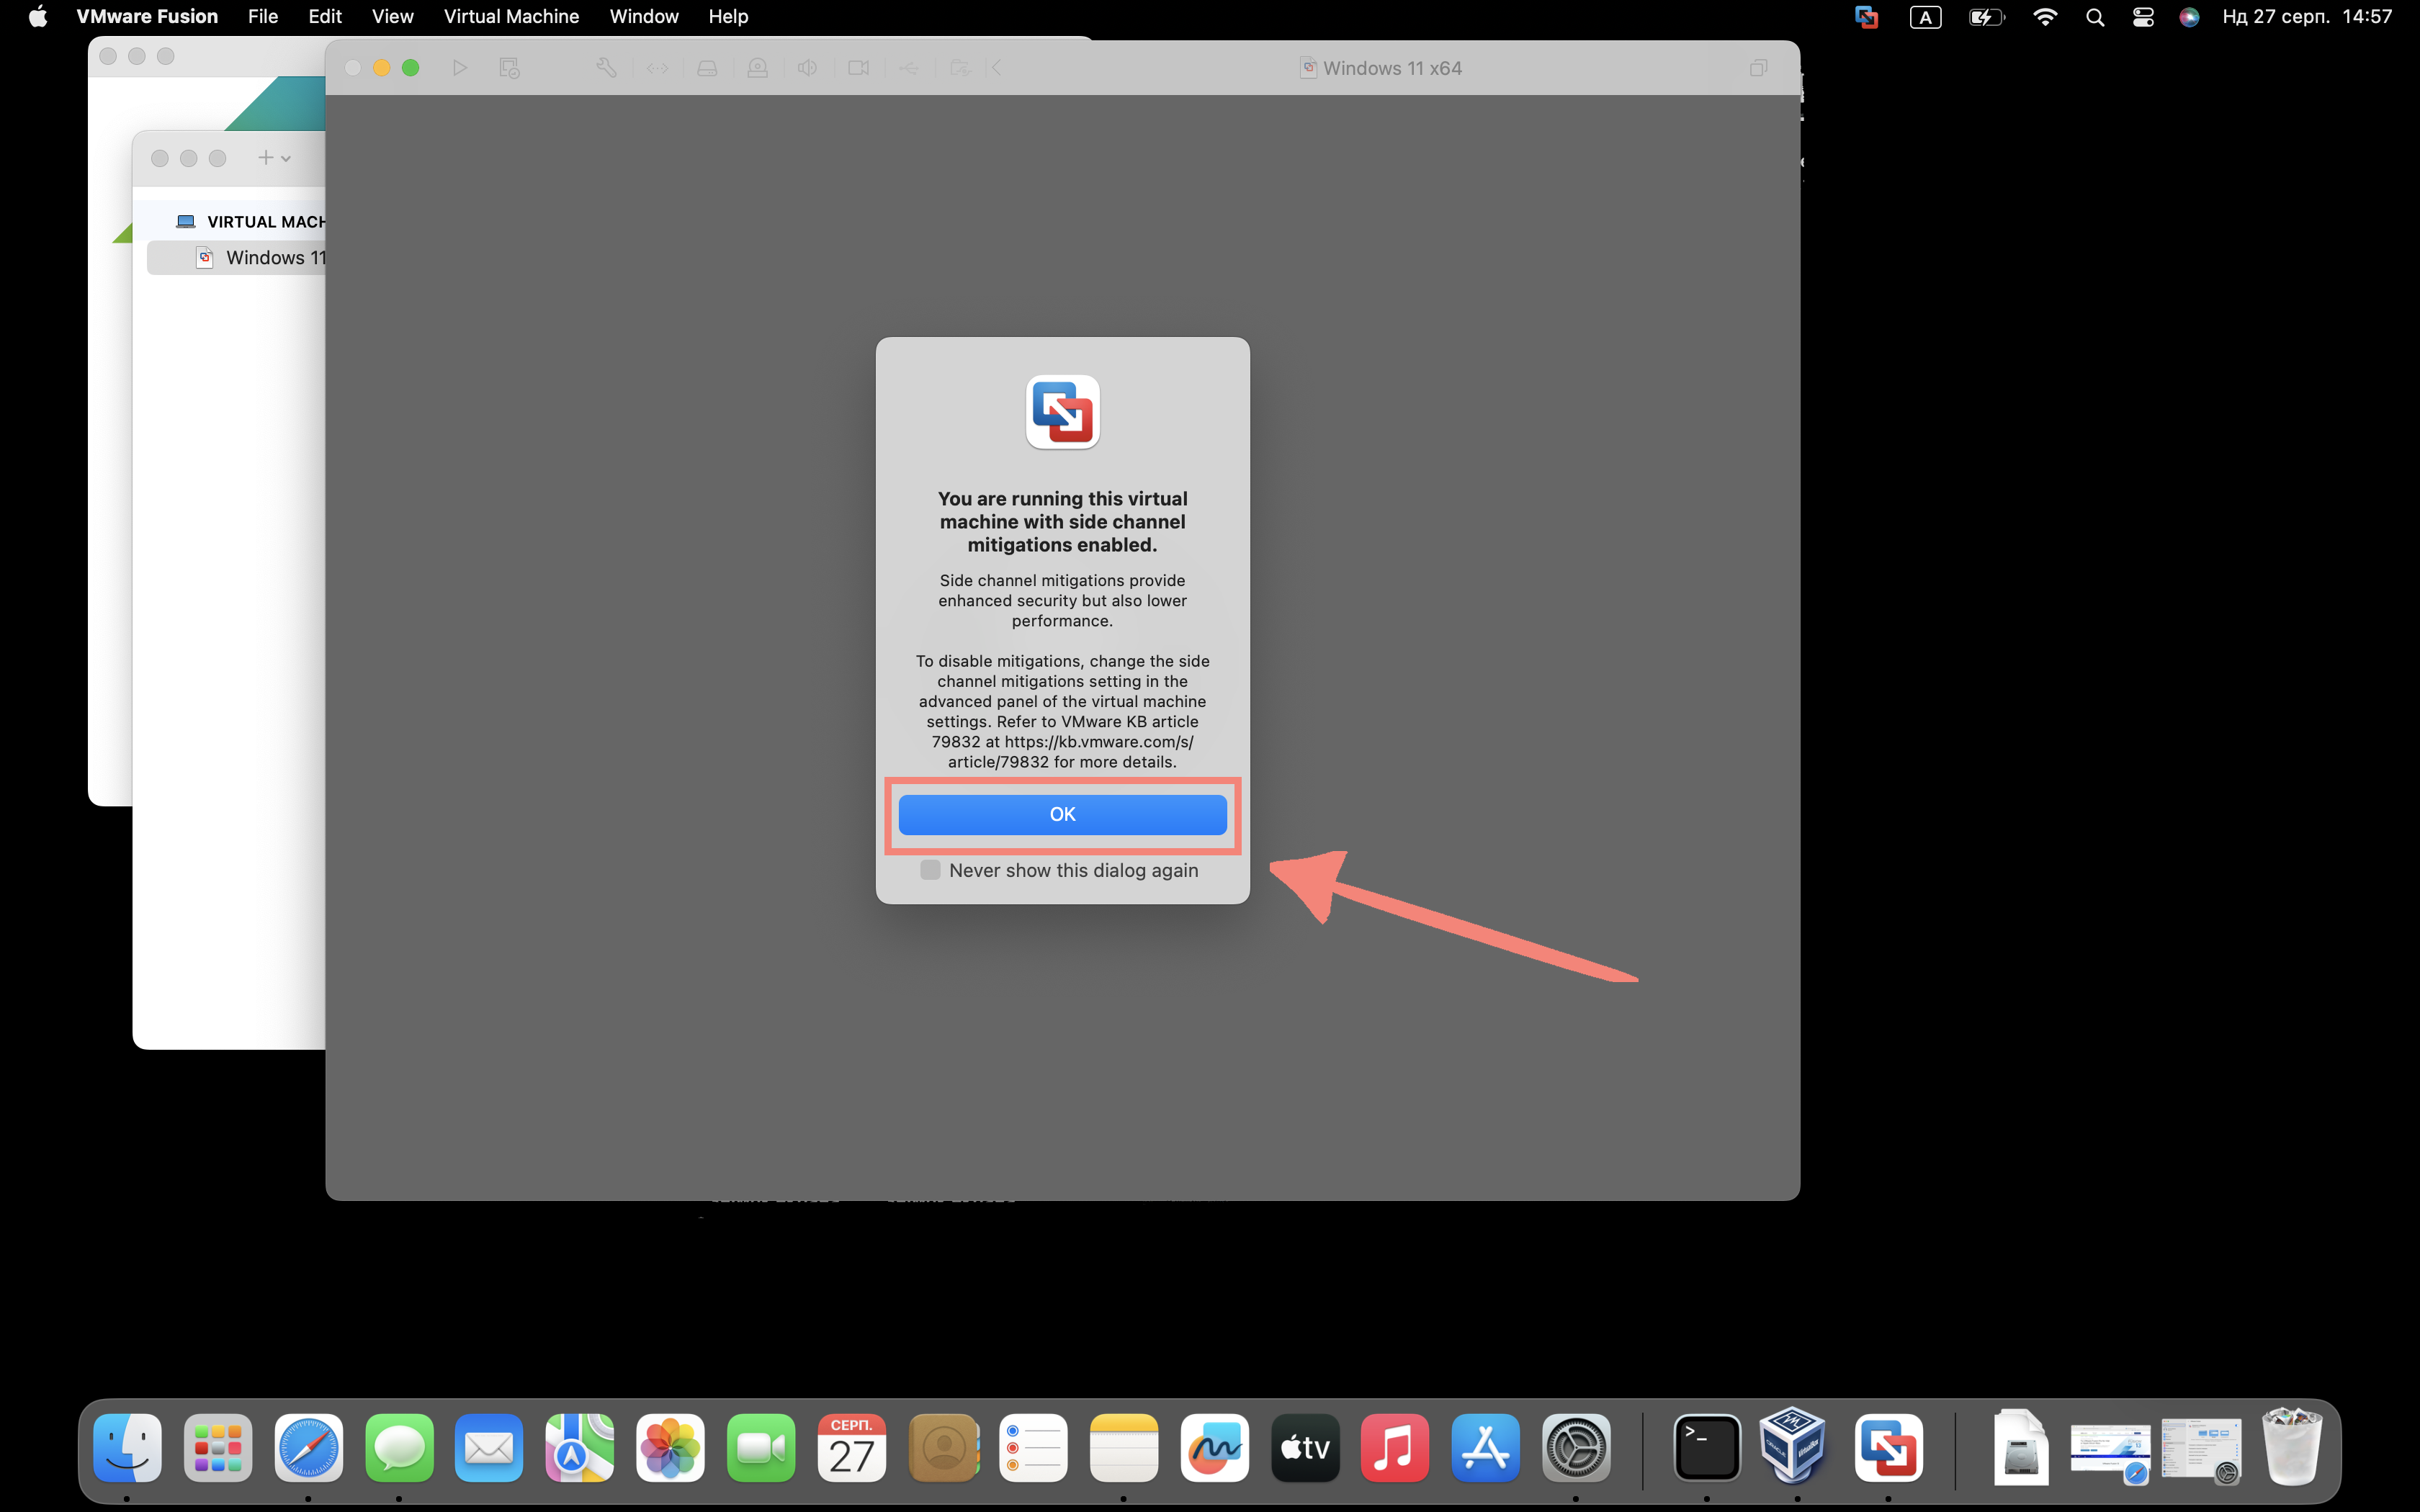
Step 22

Click “OK”
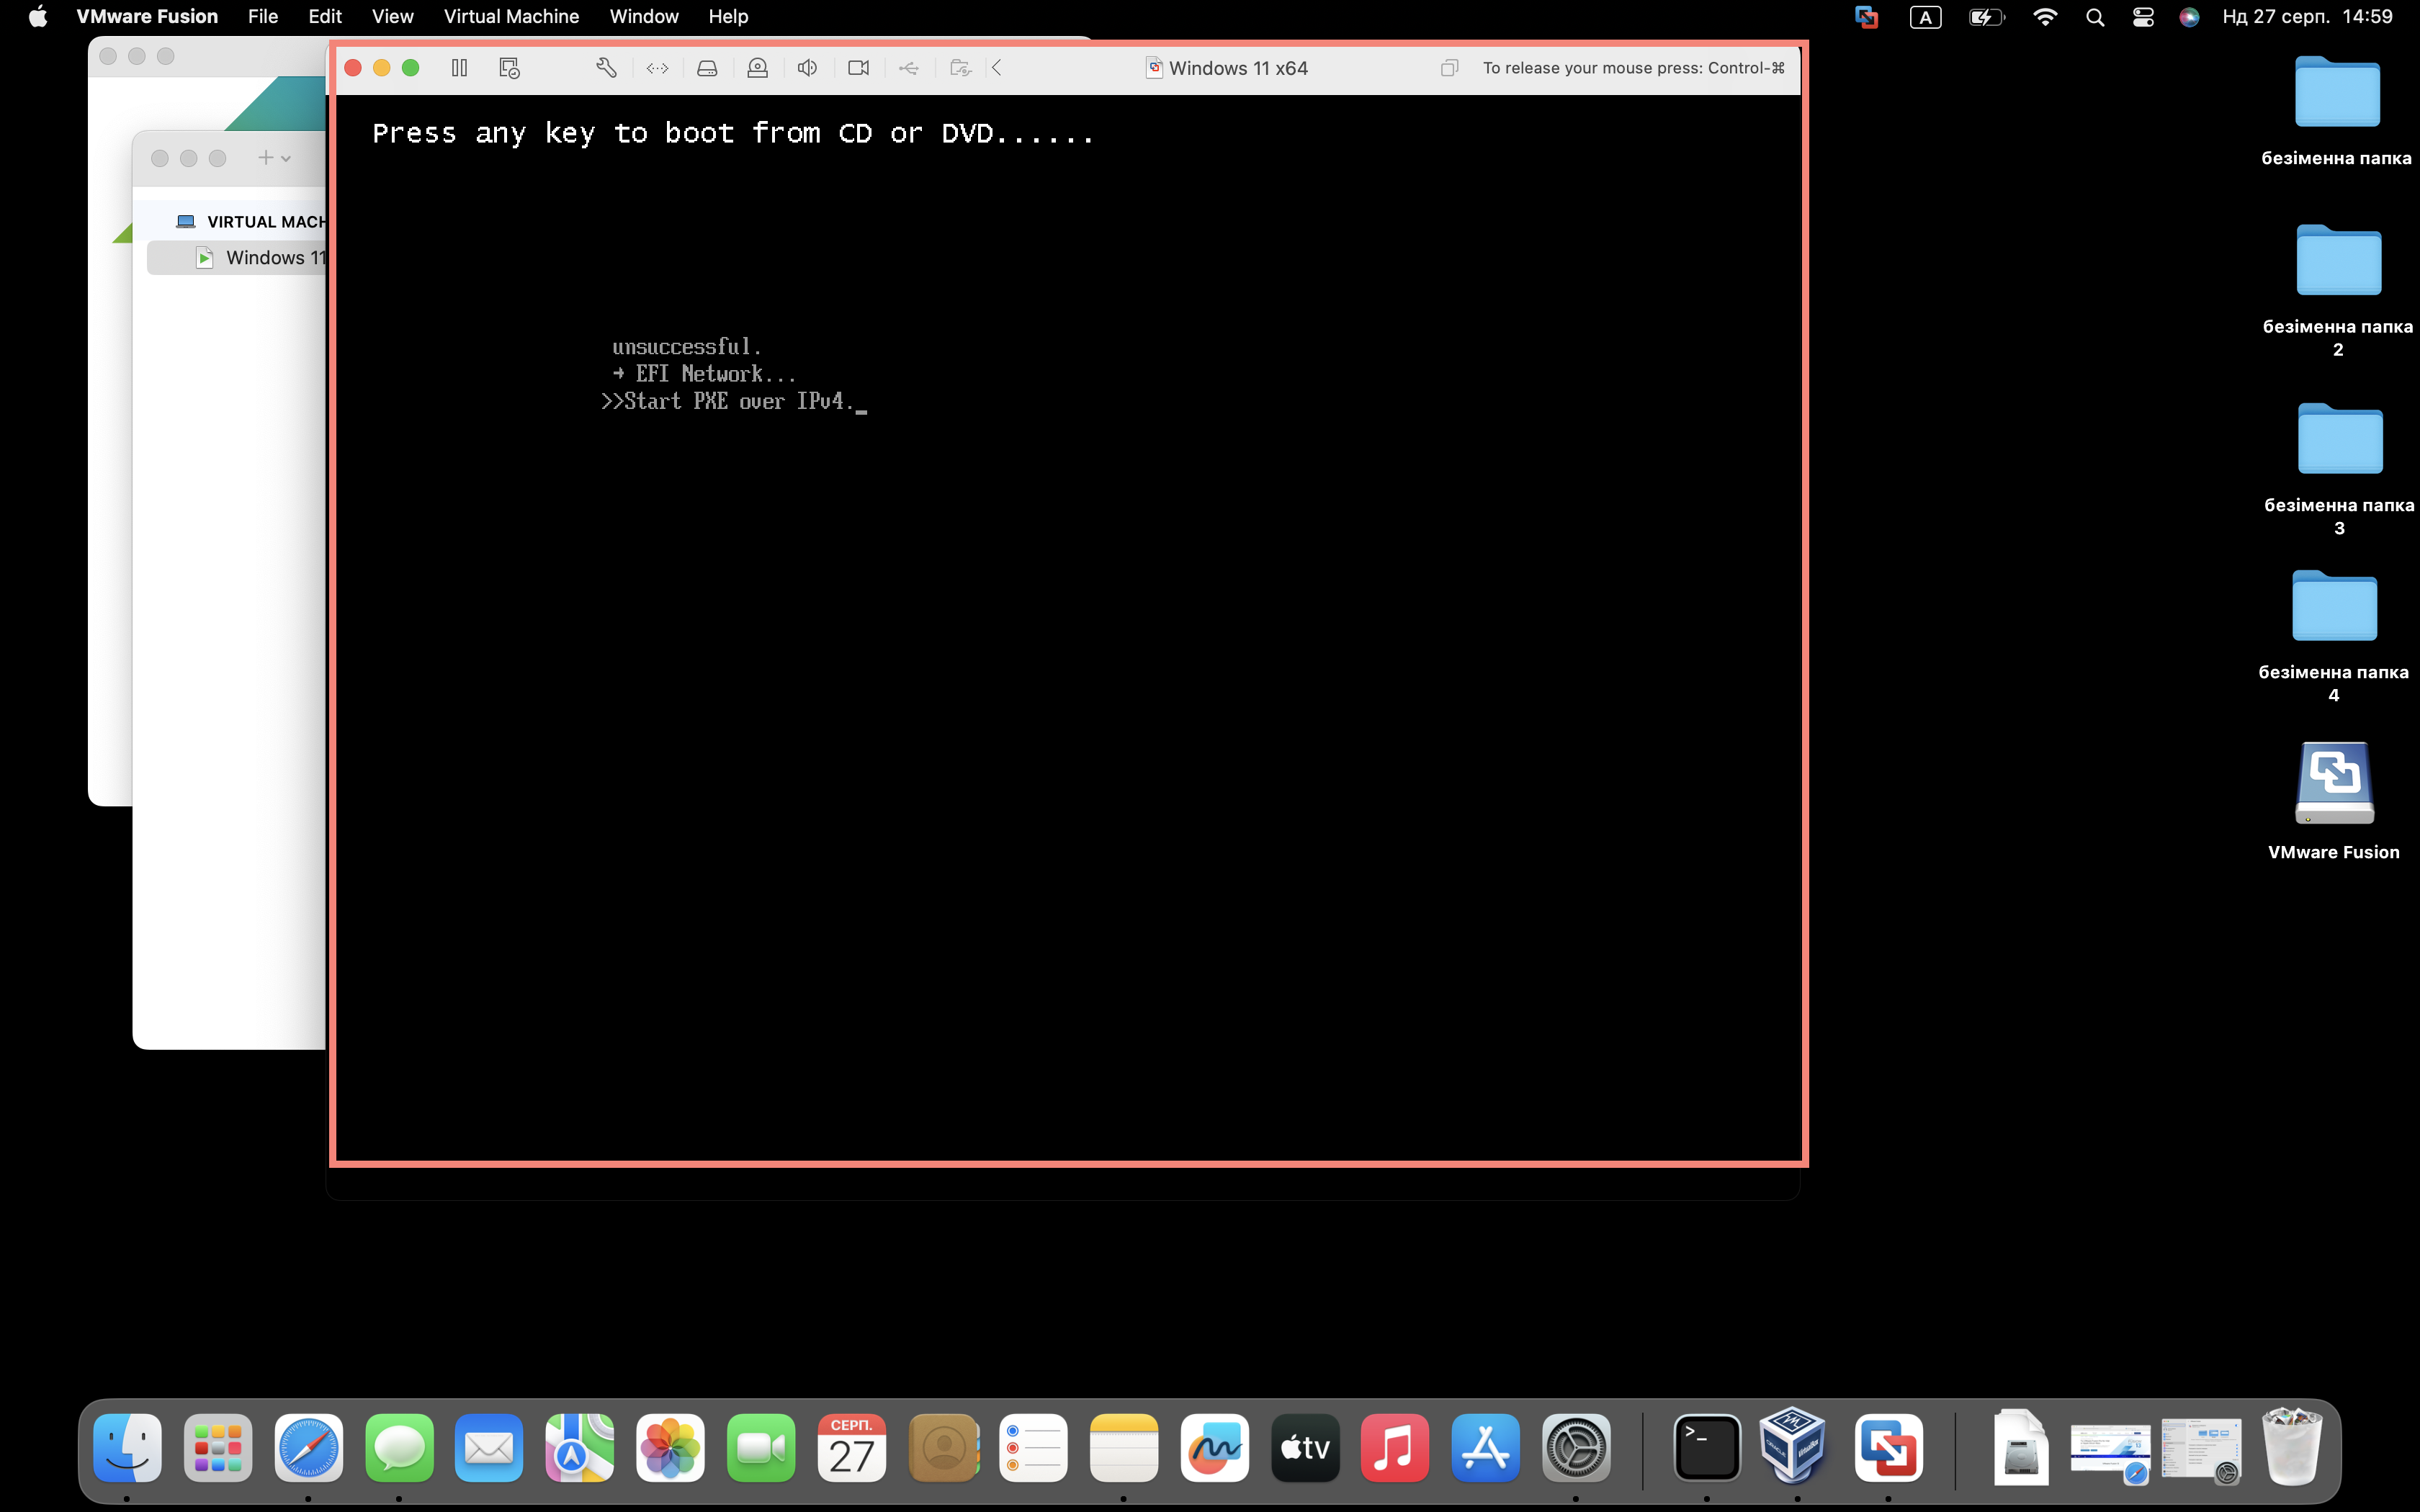
Step 23

Waiting for the download to finish
Step 24
We repeat the previous step, continue to wait, there is not much left
Step 25

Select the language and click next
Step 26

Click “Install now”
Step 27
Running the installer, just waiting
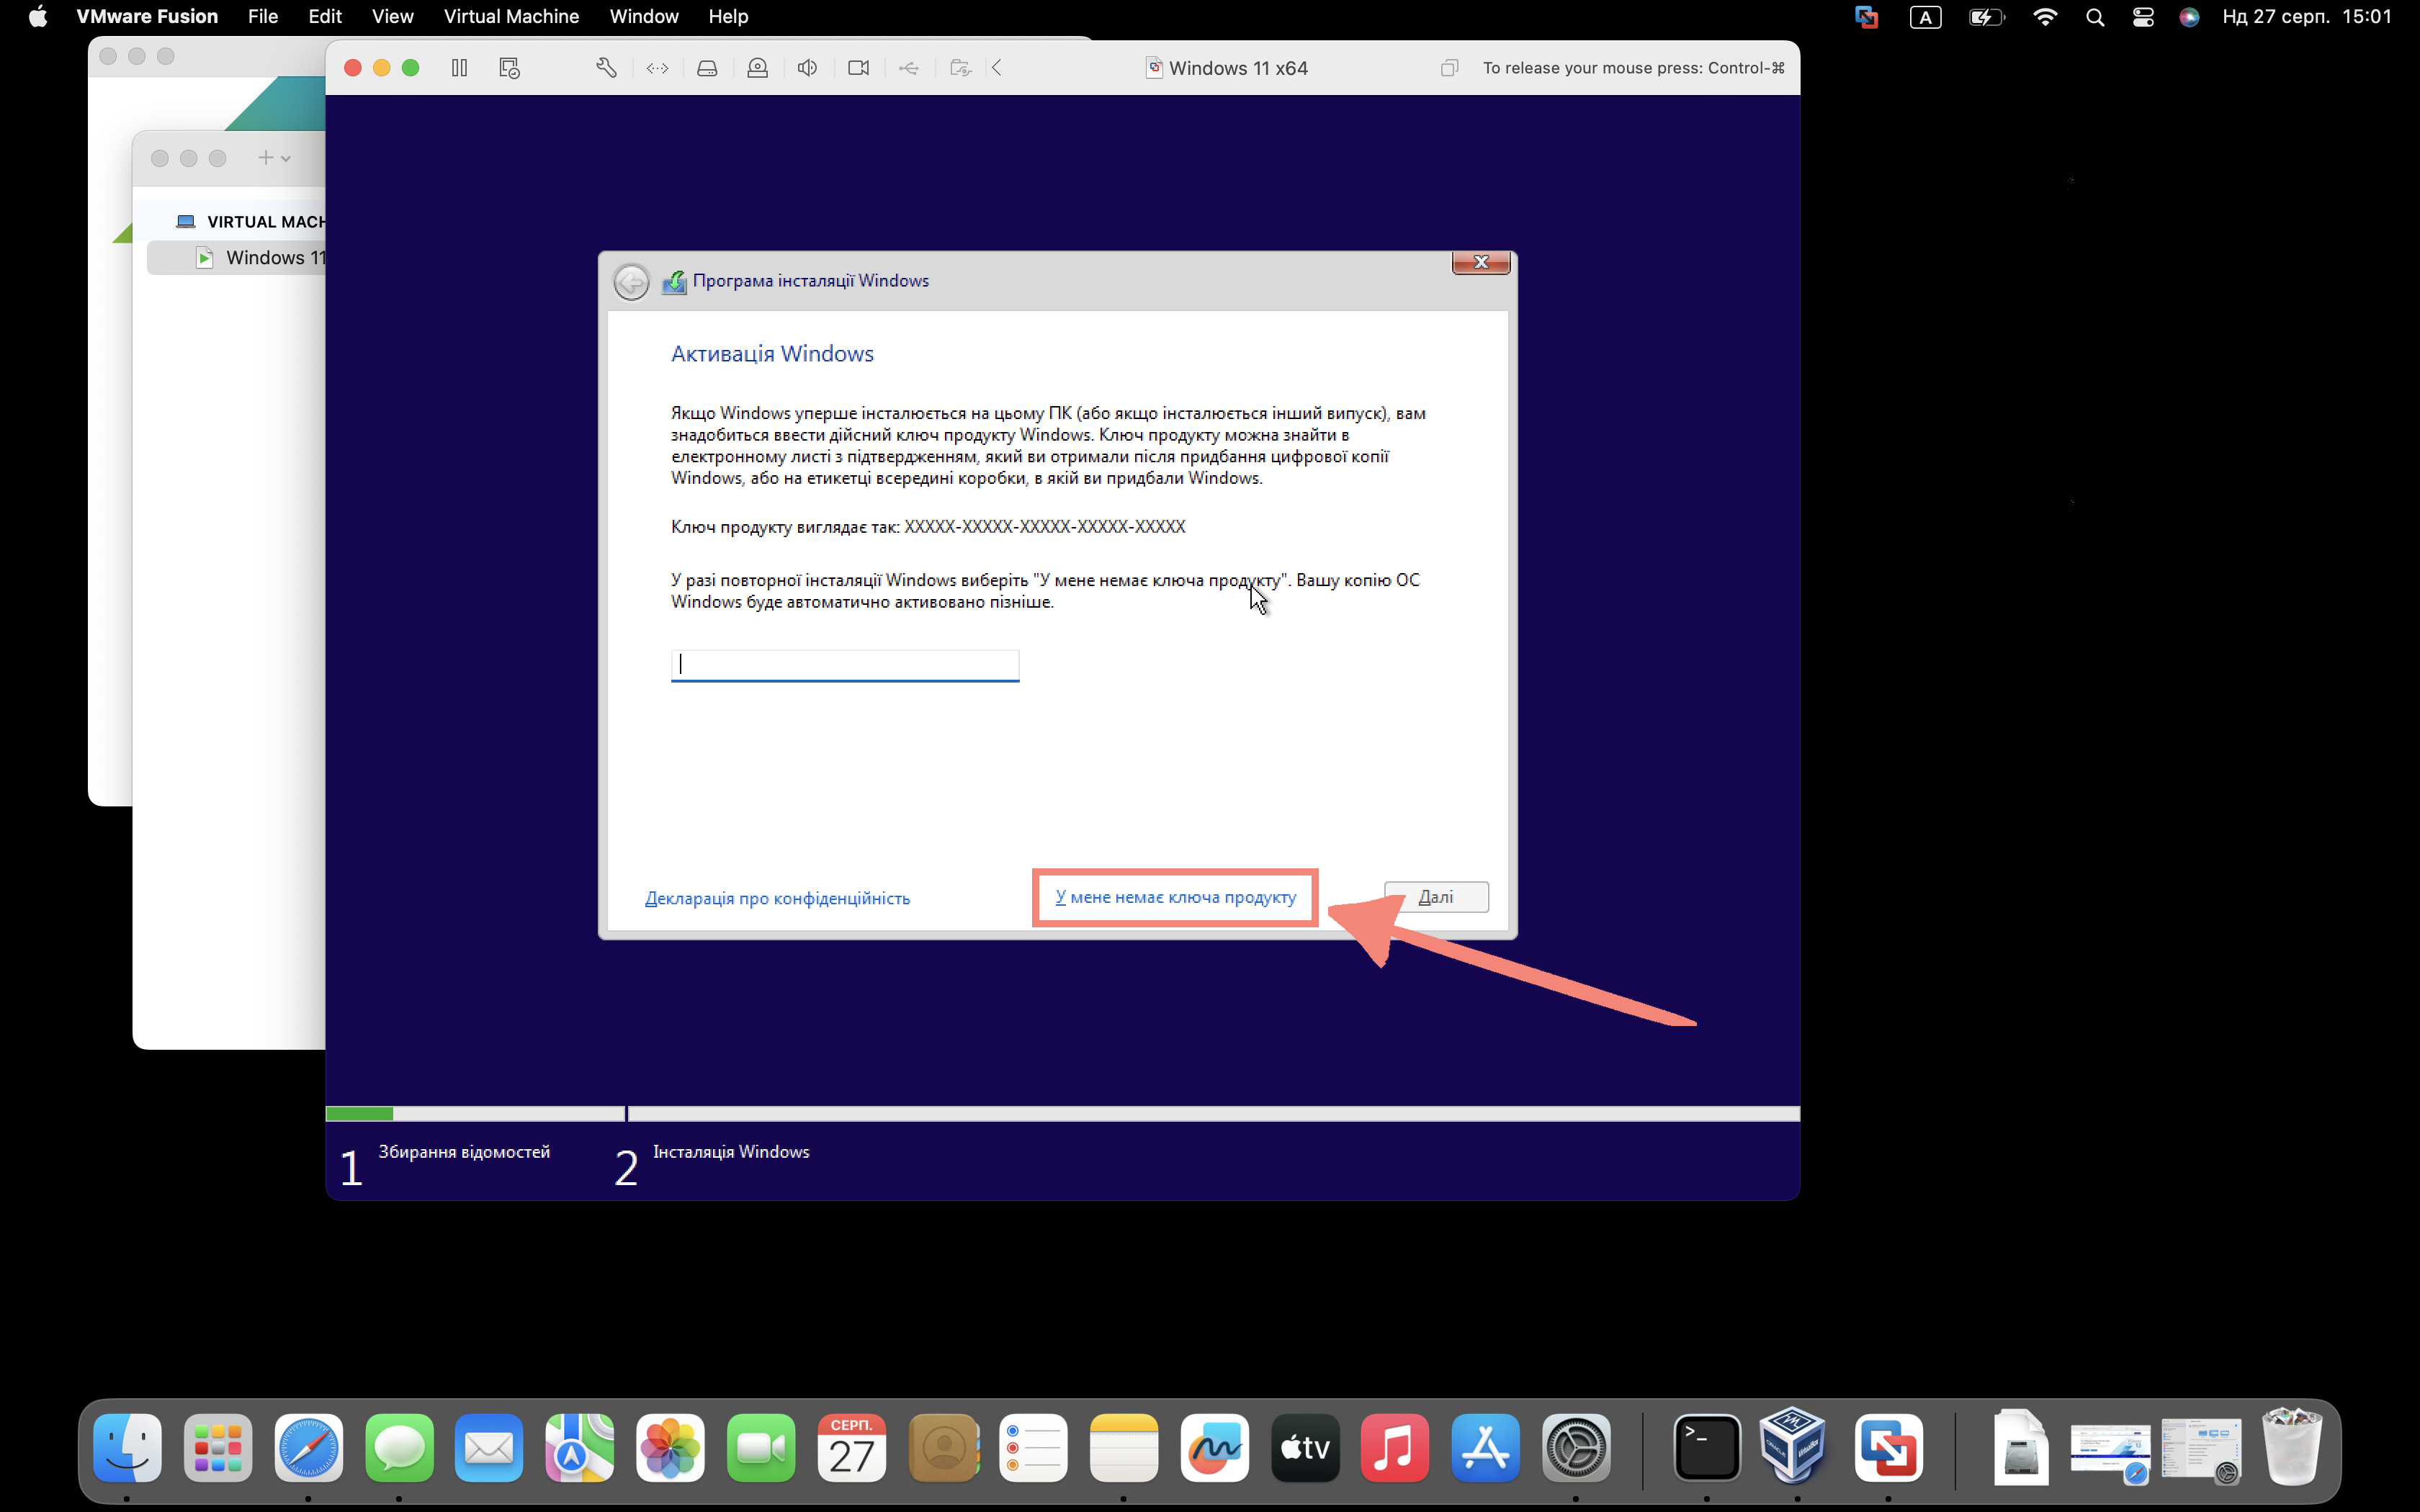
Step 28

Click “I don’t have a product key”
Step 29

Select the operating system and click next
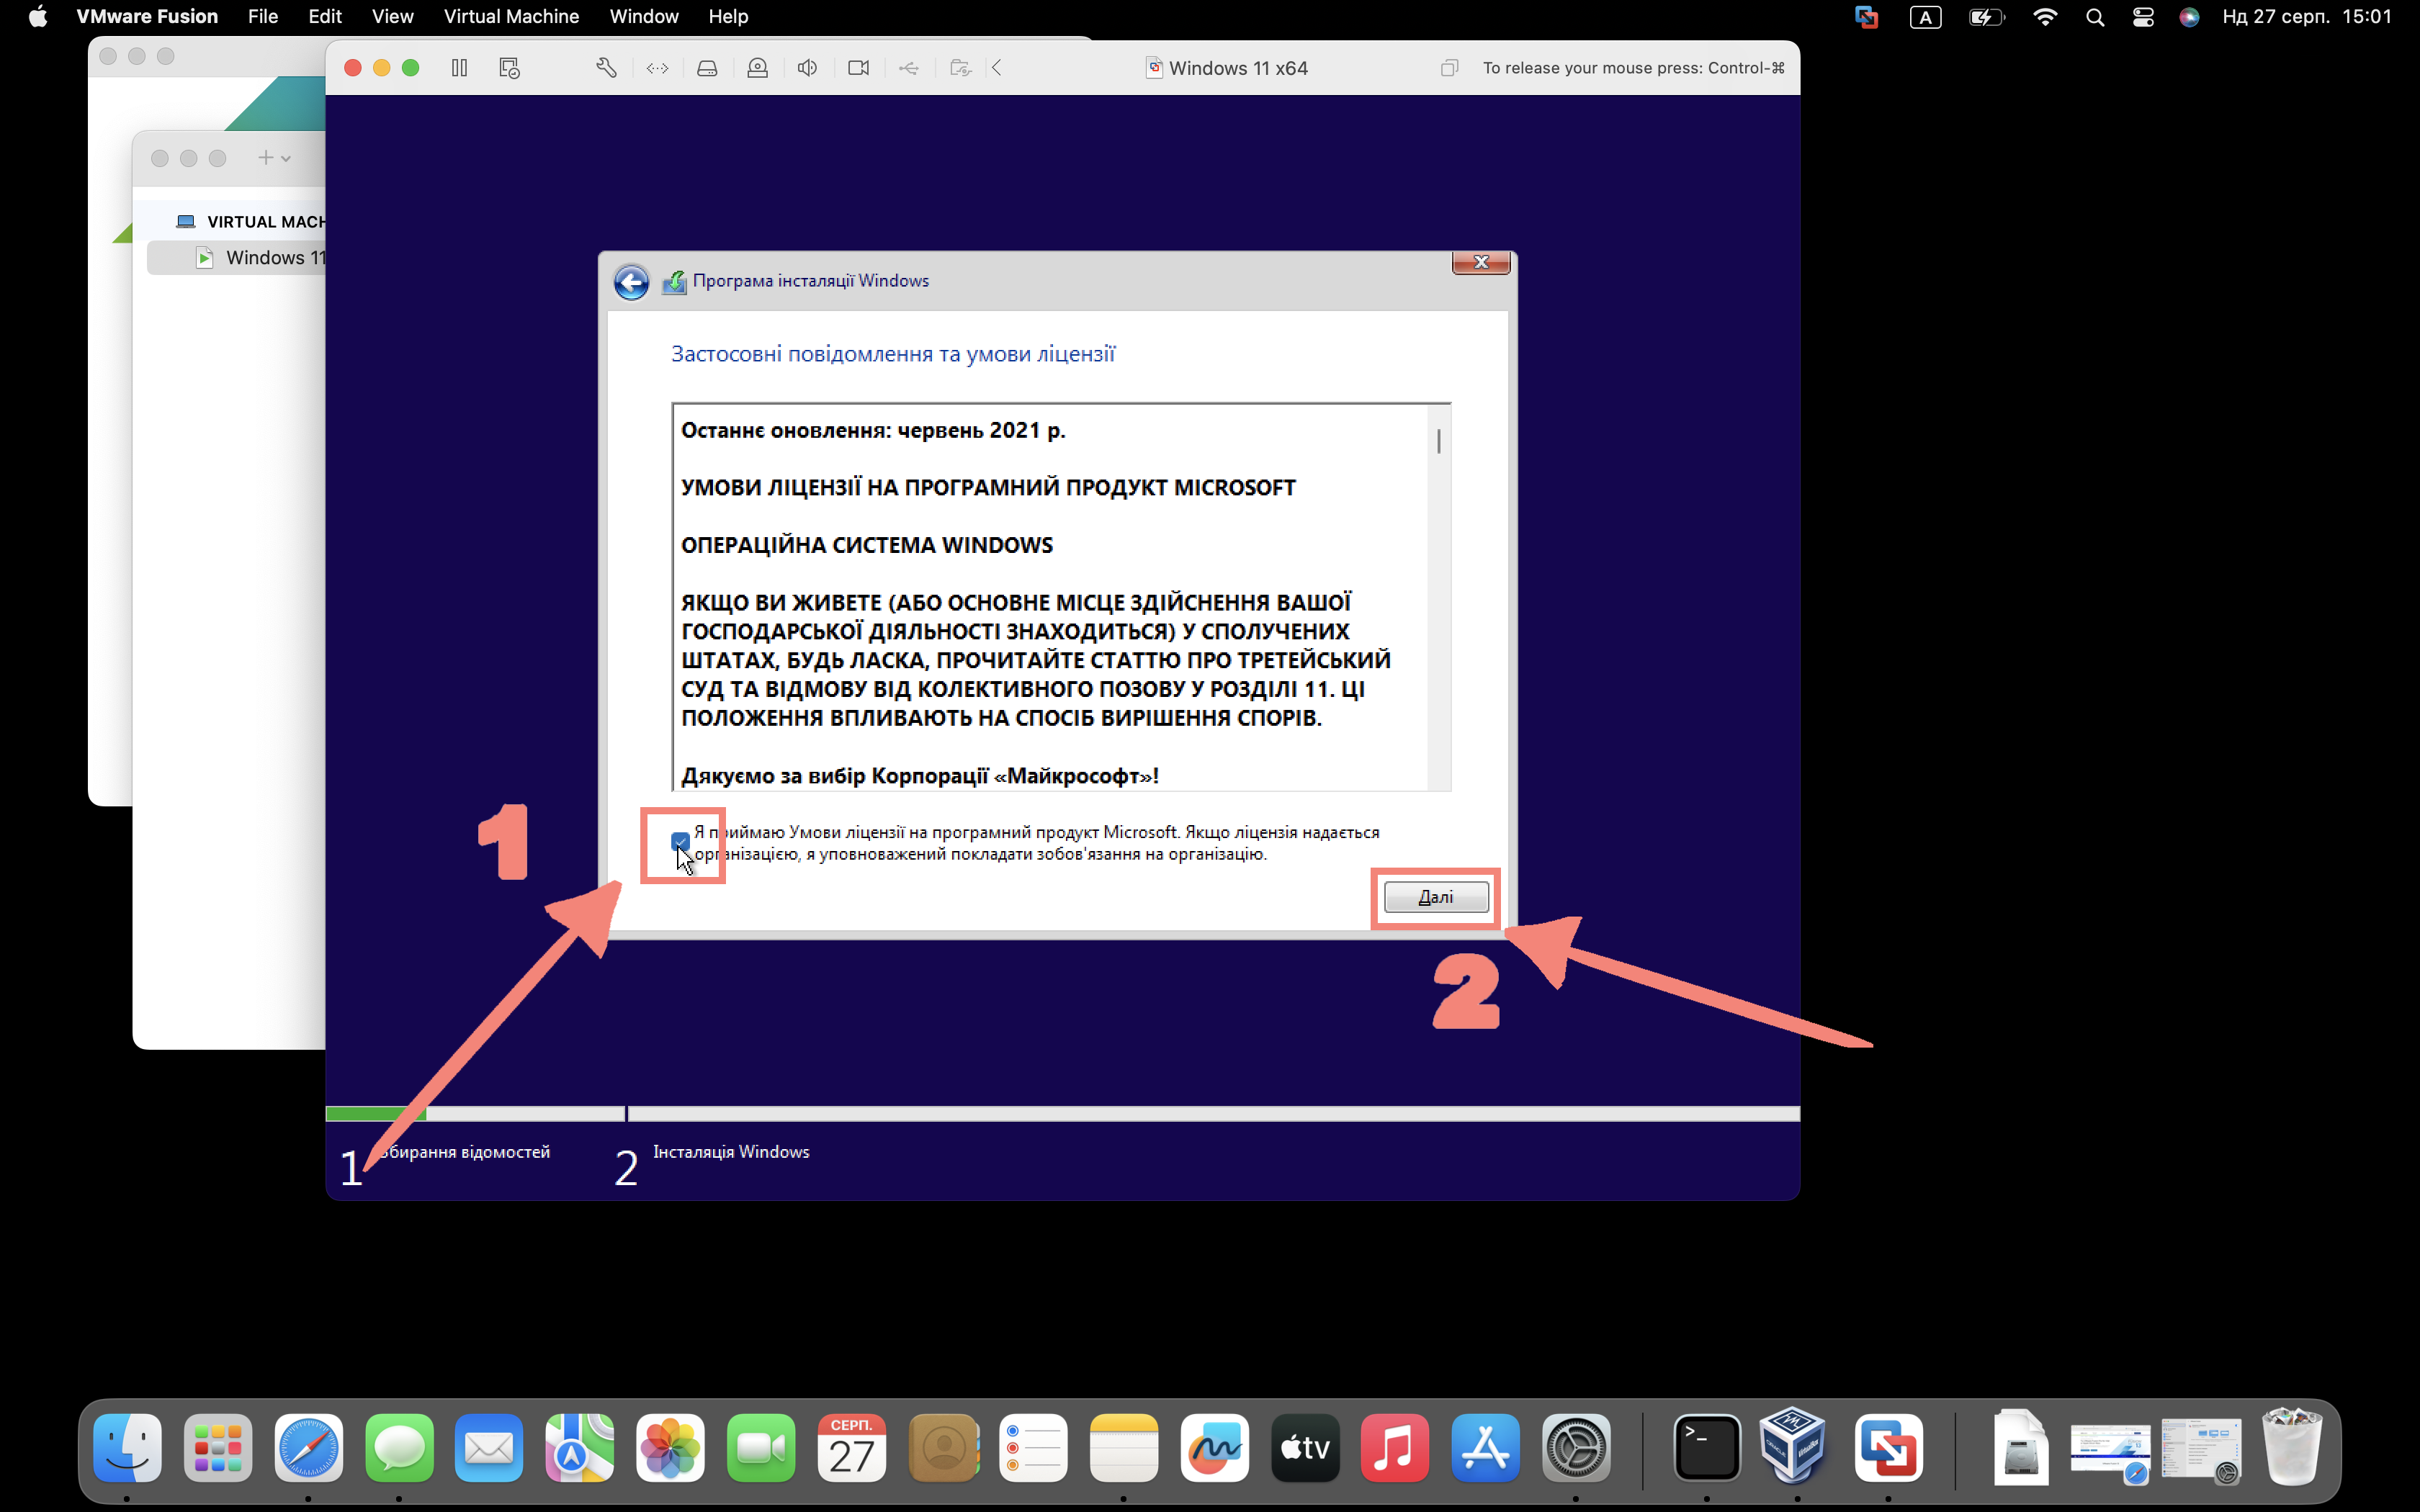
Step 30

We accept the terms of the license
Step 31
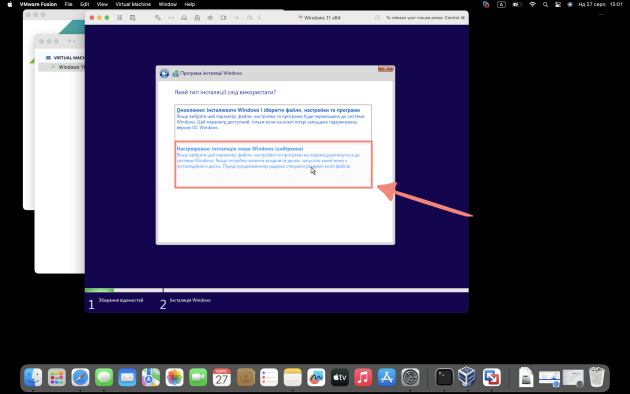
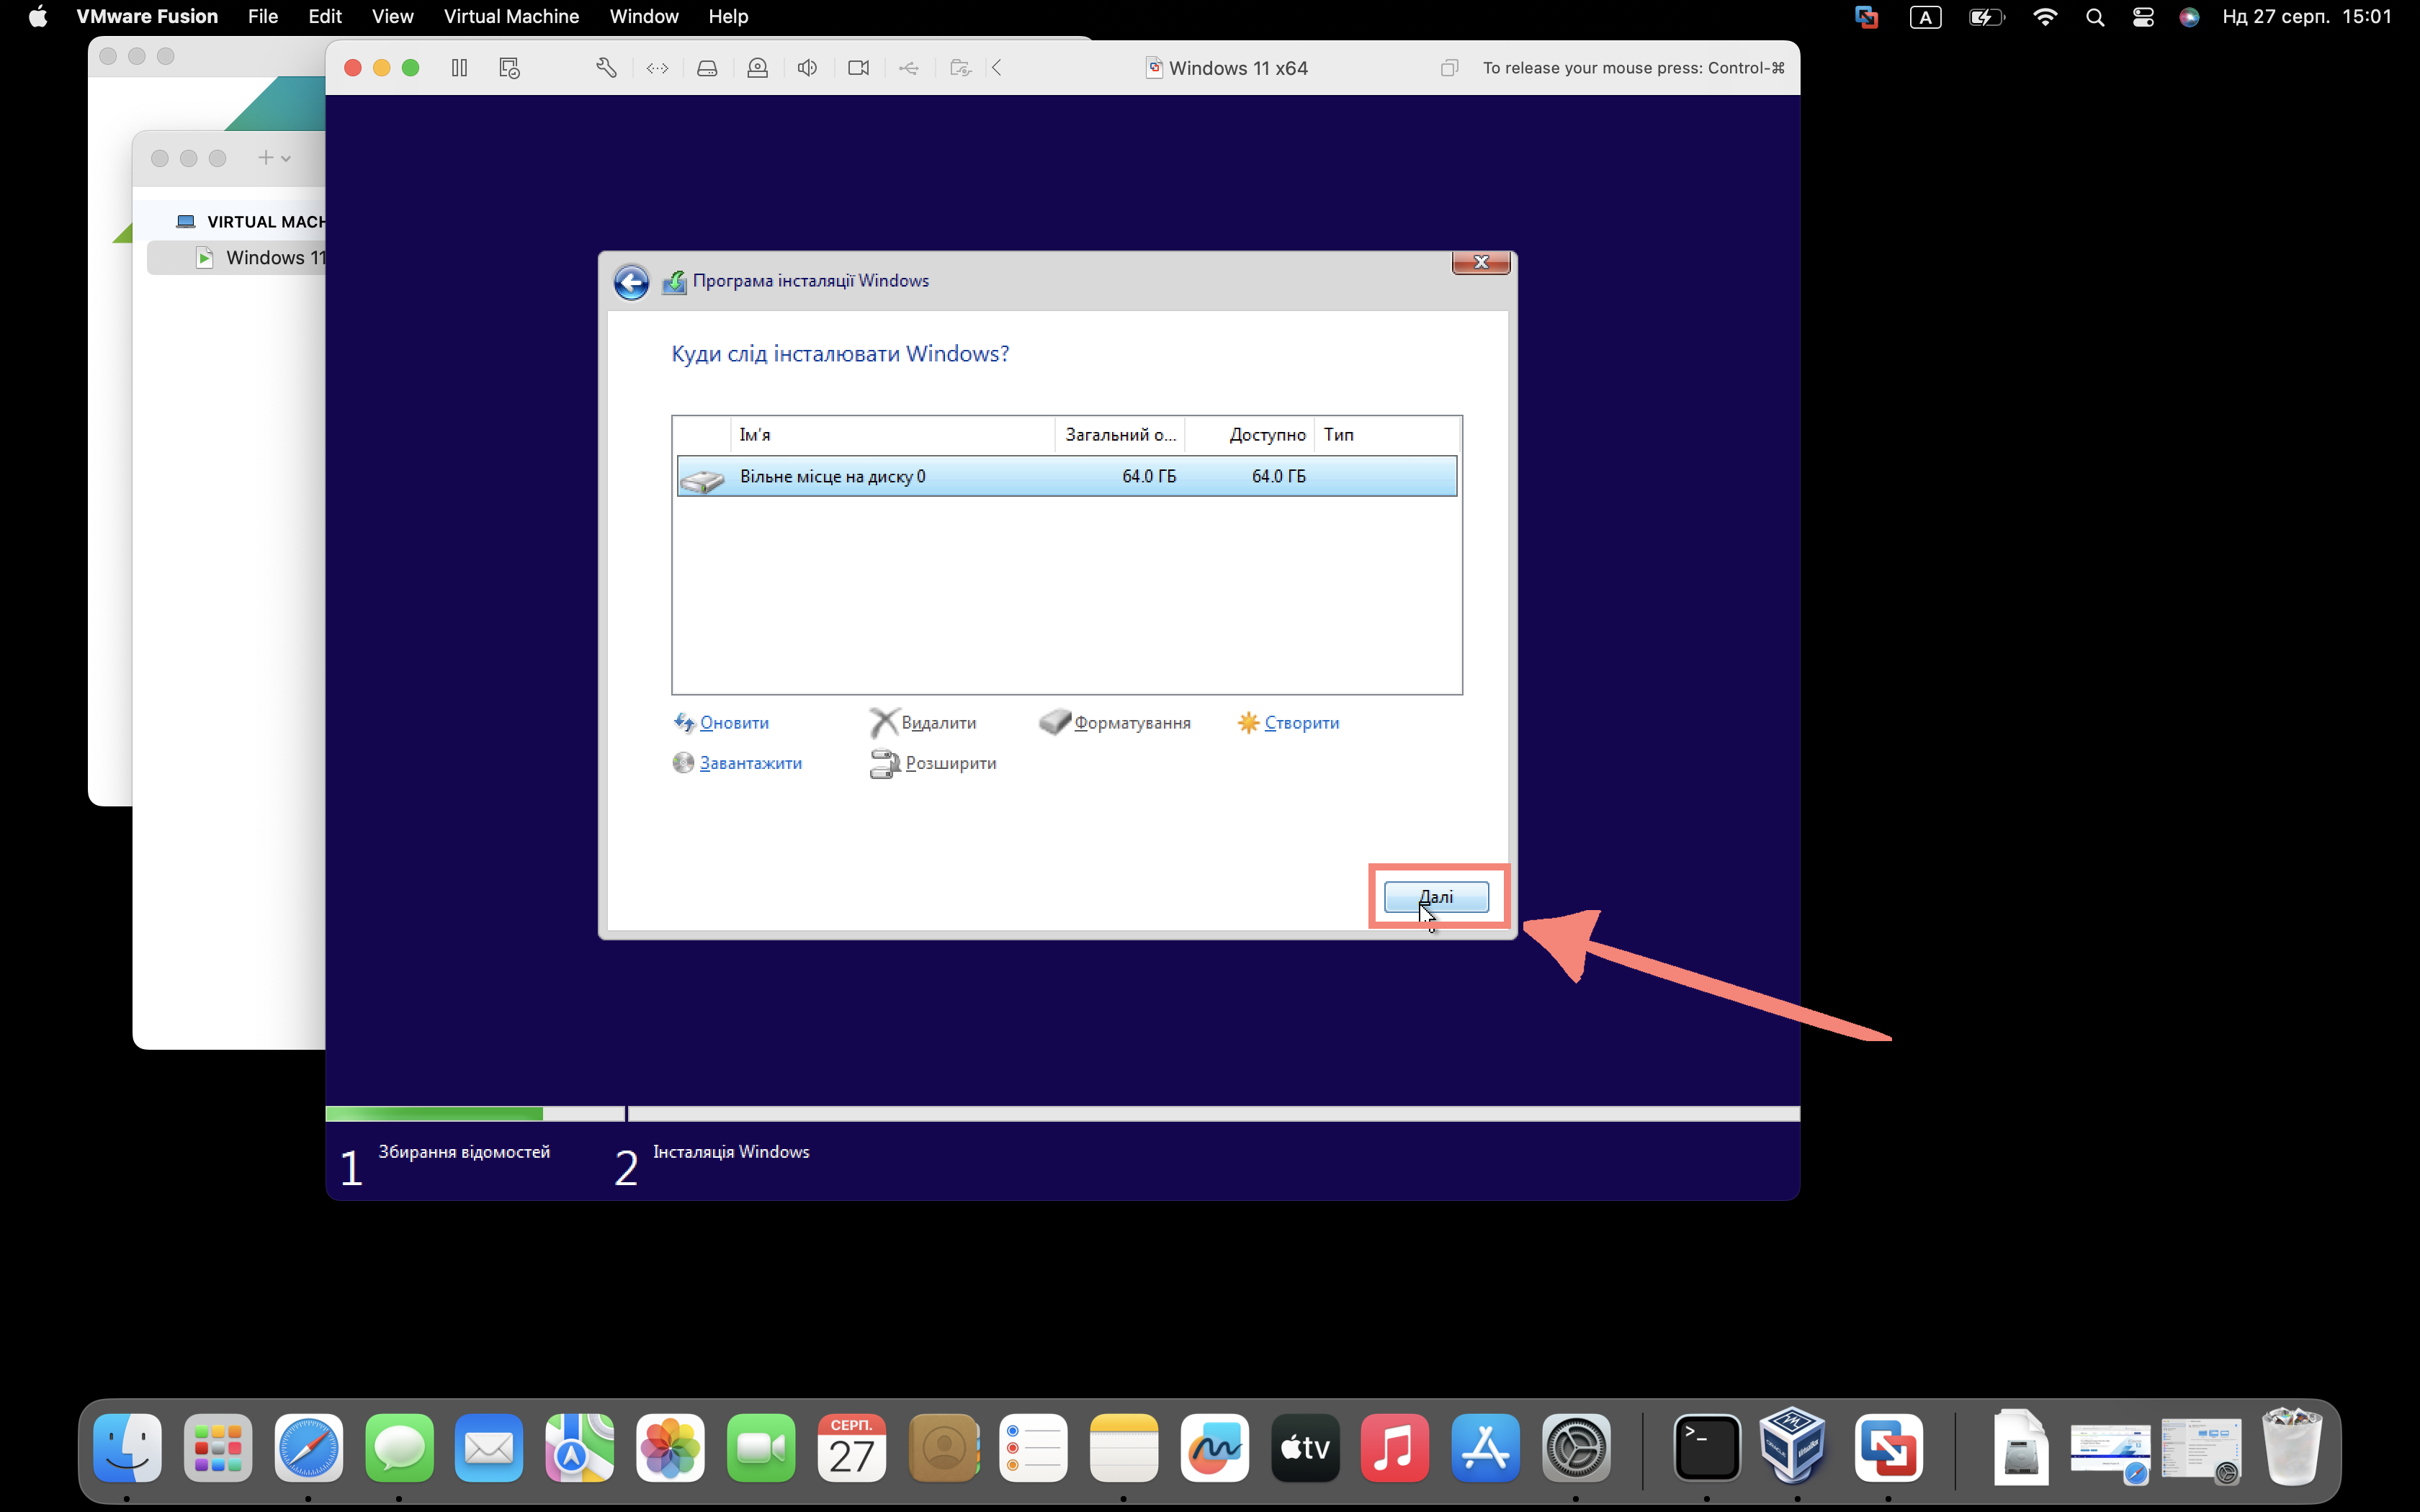
Select the type of installation as shown in the screenshot
Step 32

We install Windows on the disk, as shown in the screenshot. We press further
Step 33

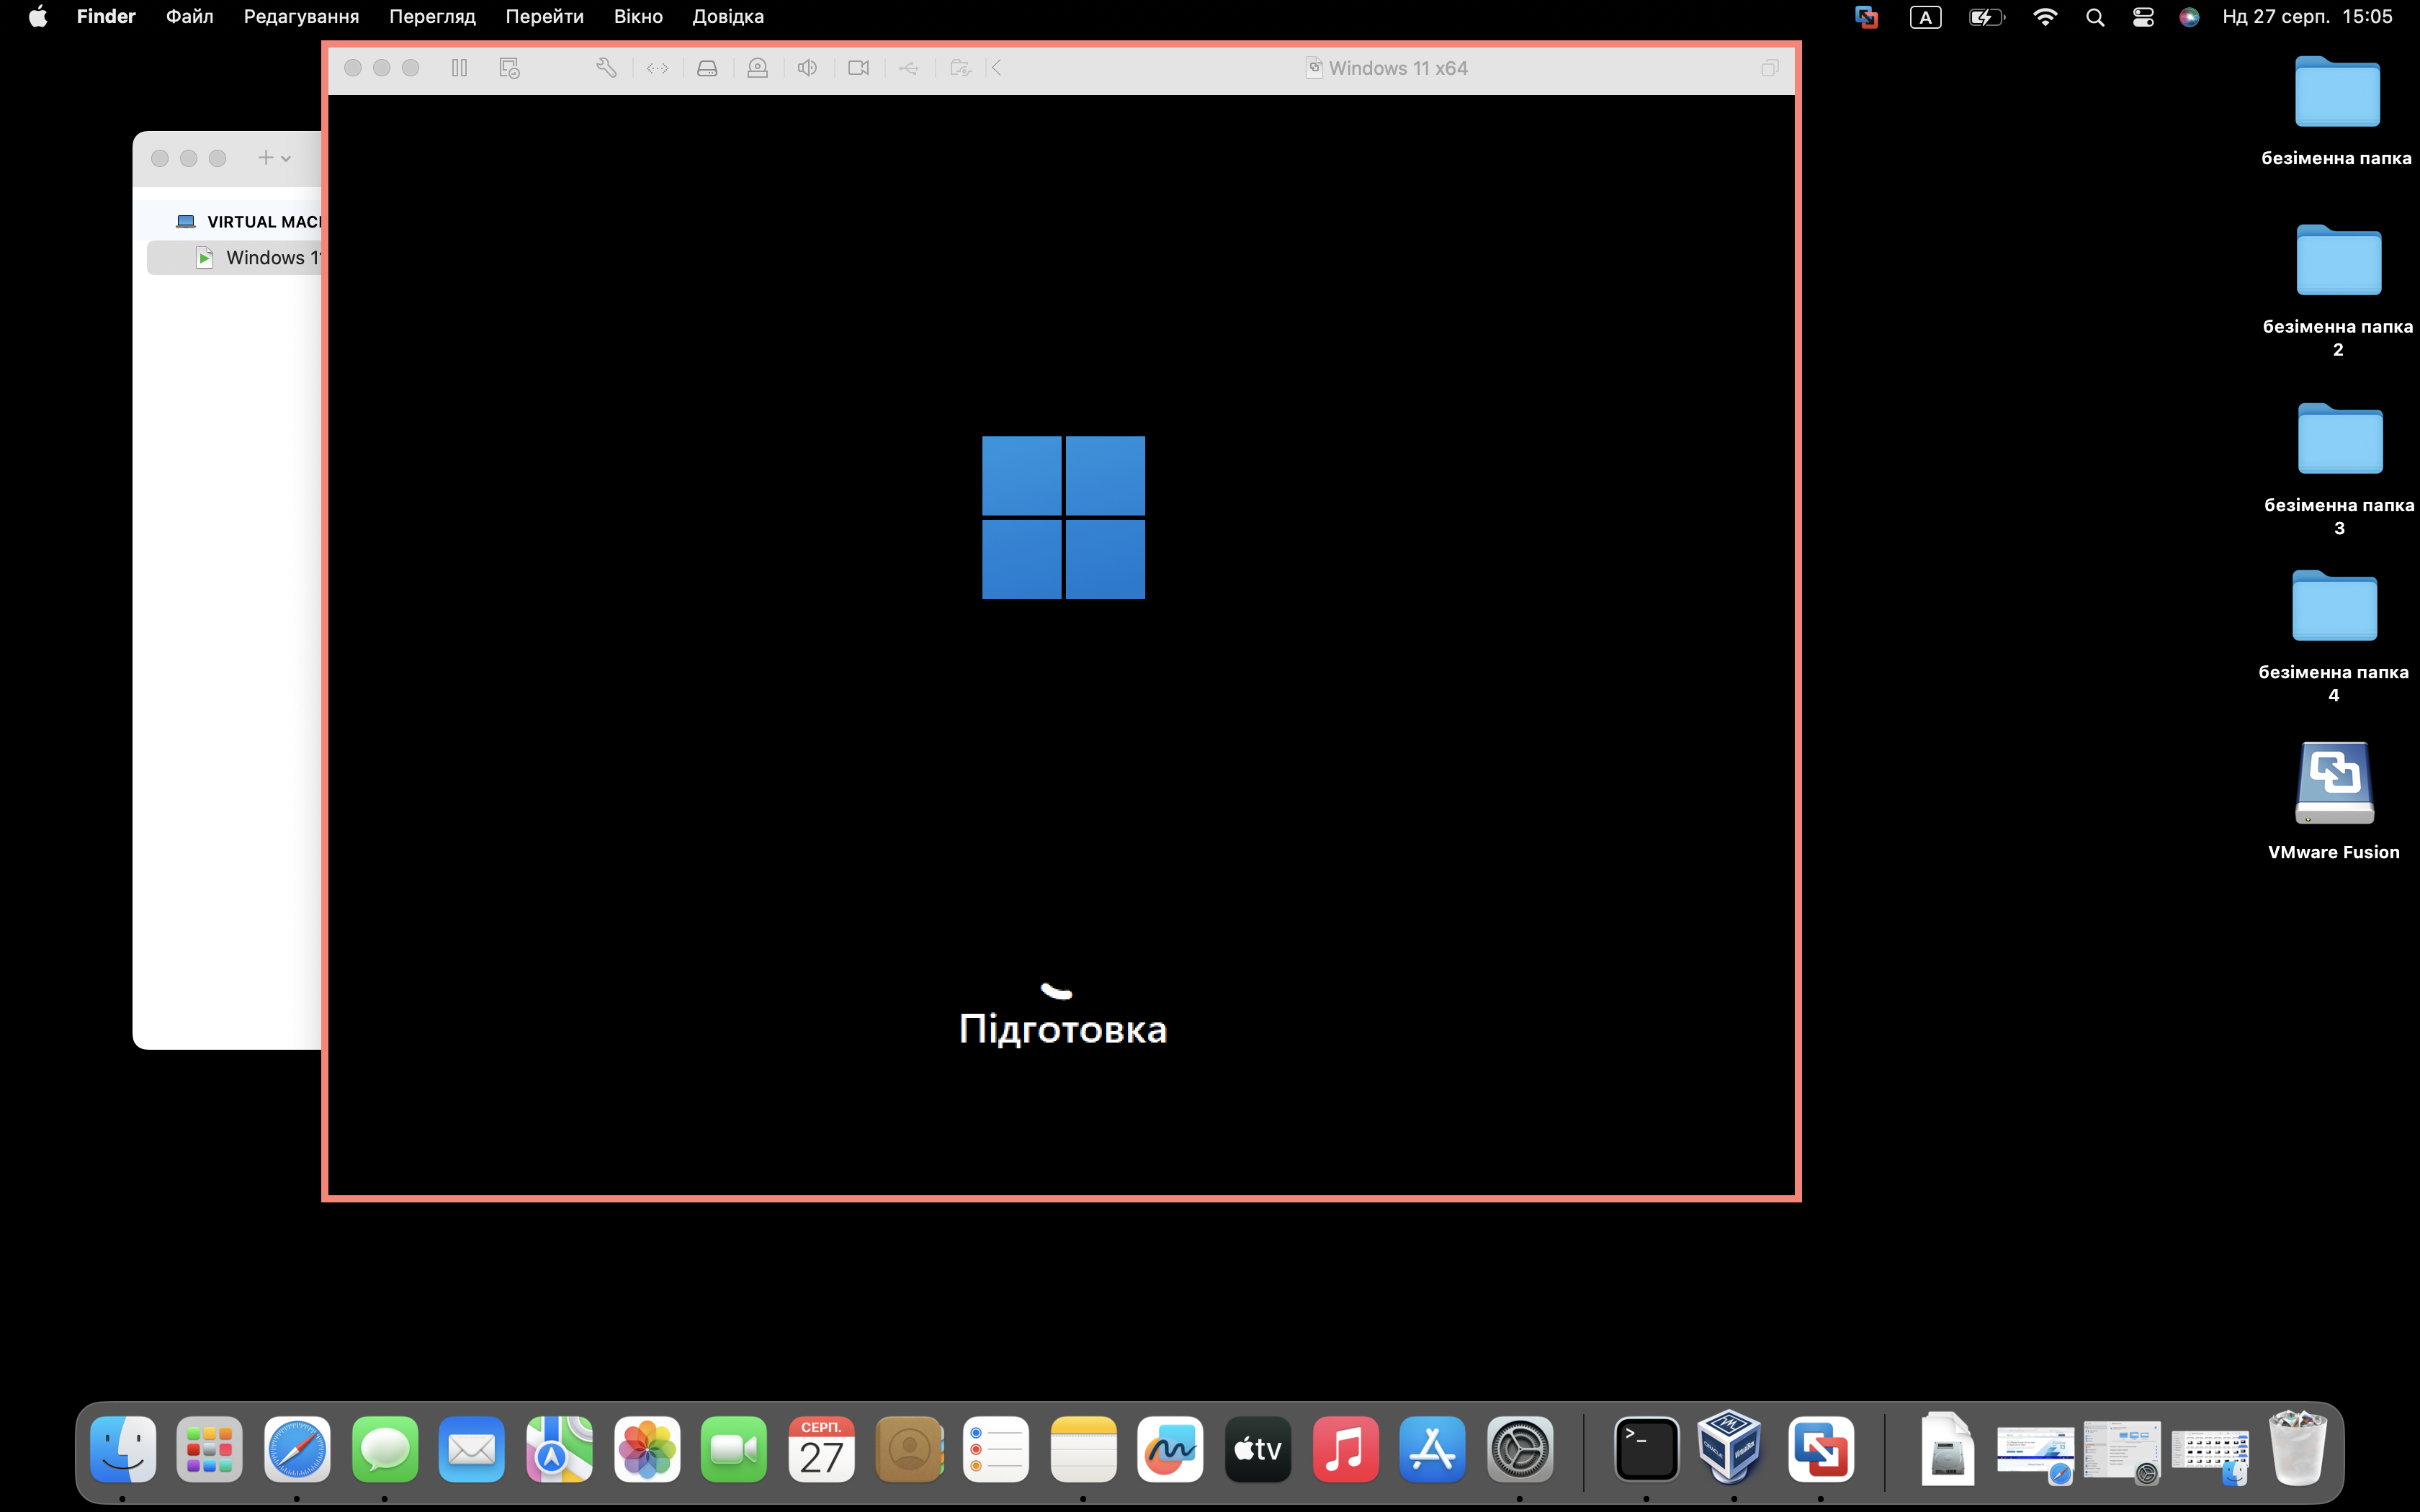
We are waiting for the installation of Windows
Step 34
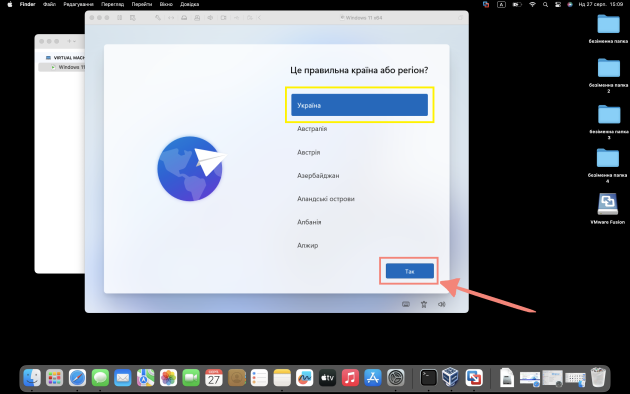
Select the country and click “Yes”
Step 35
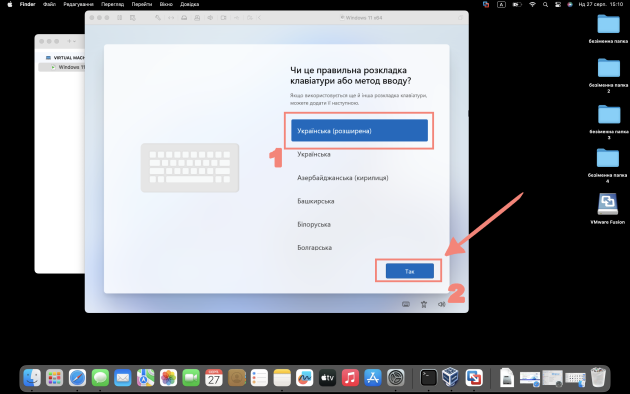
Select the keyboard layout
Step 36
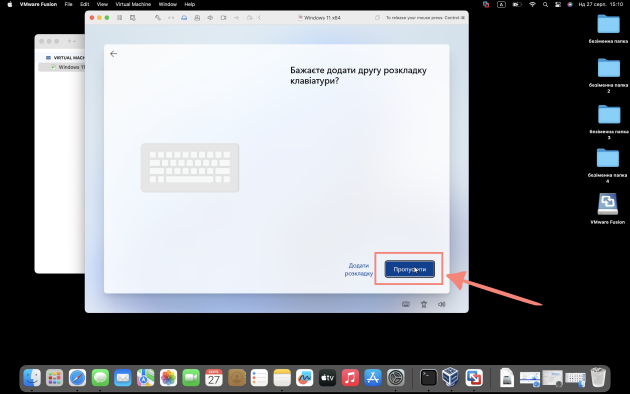
We skip this step
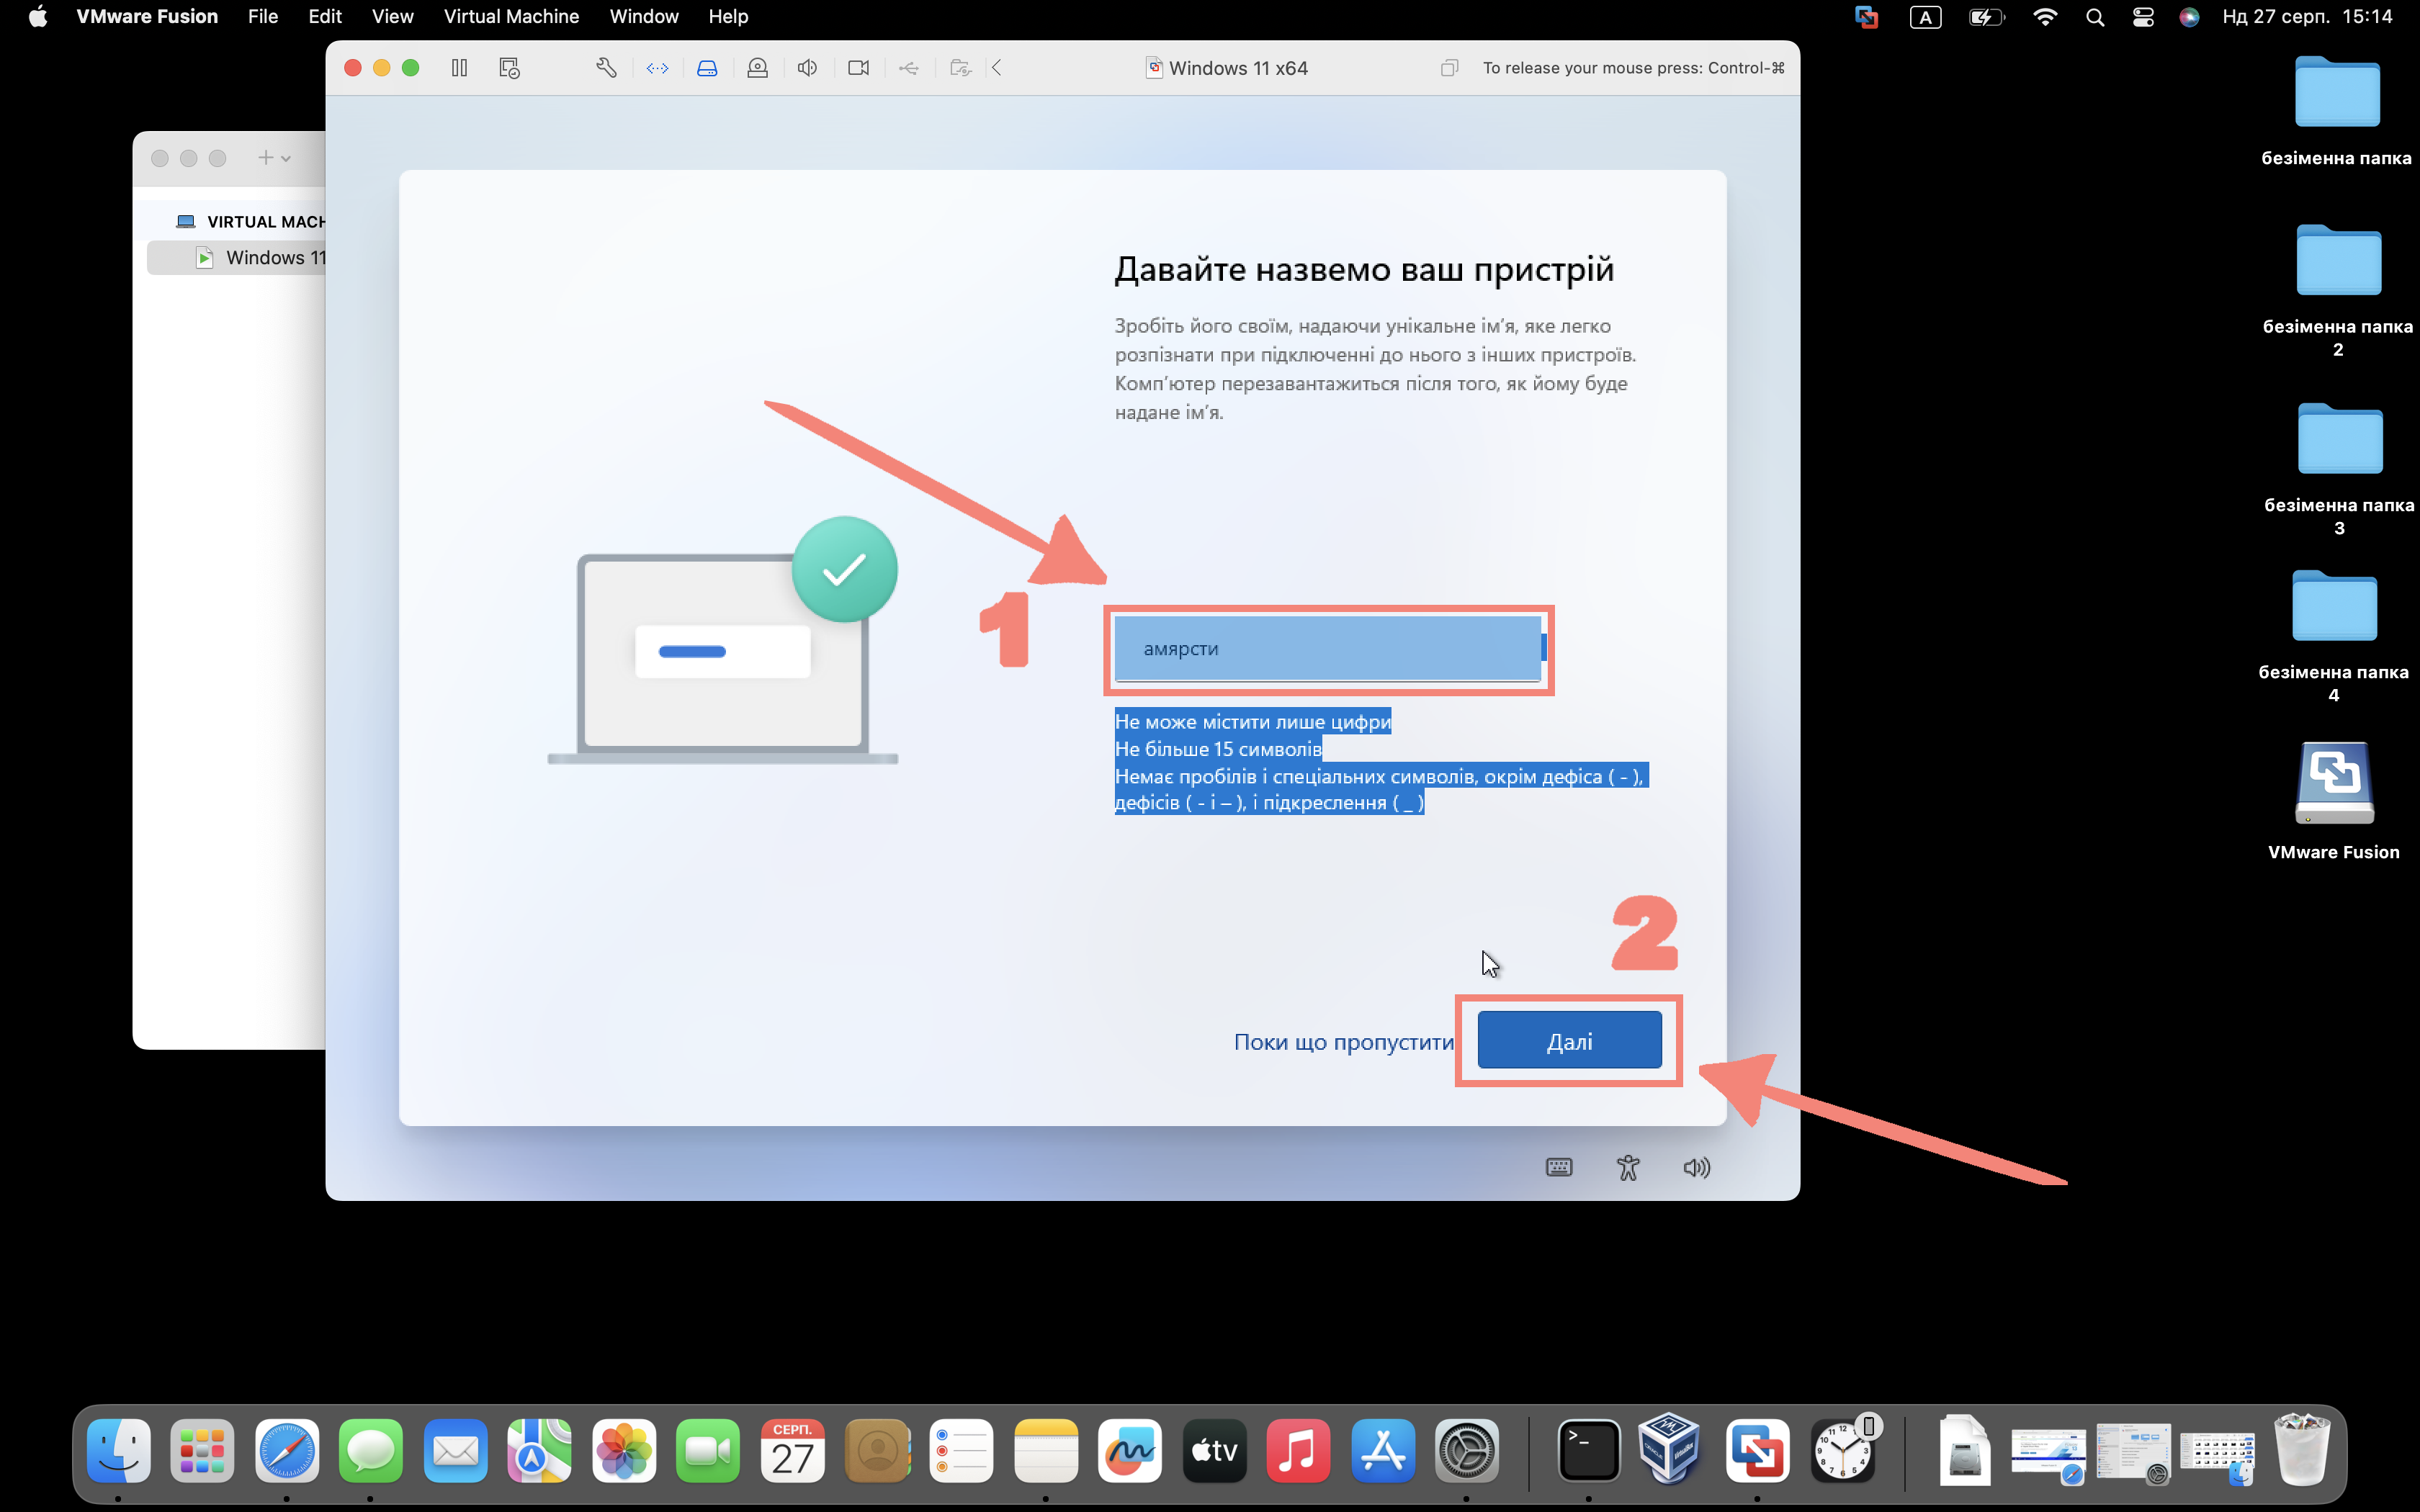
Step 37

Here we need to come up with a name for our device
Step 38

Click “Login”
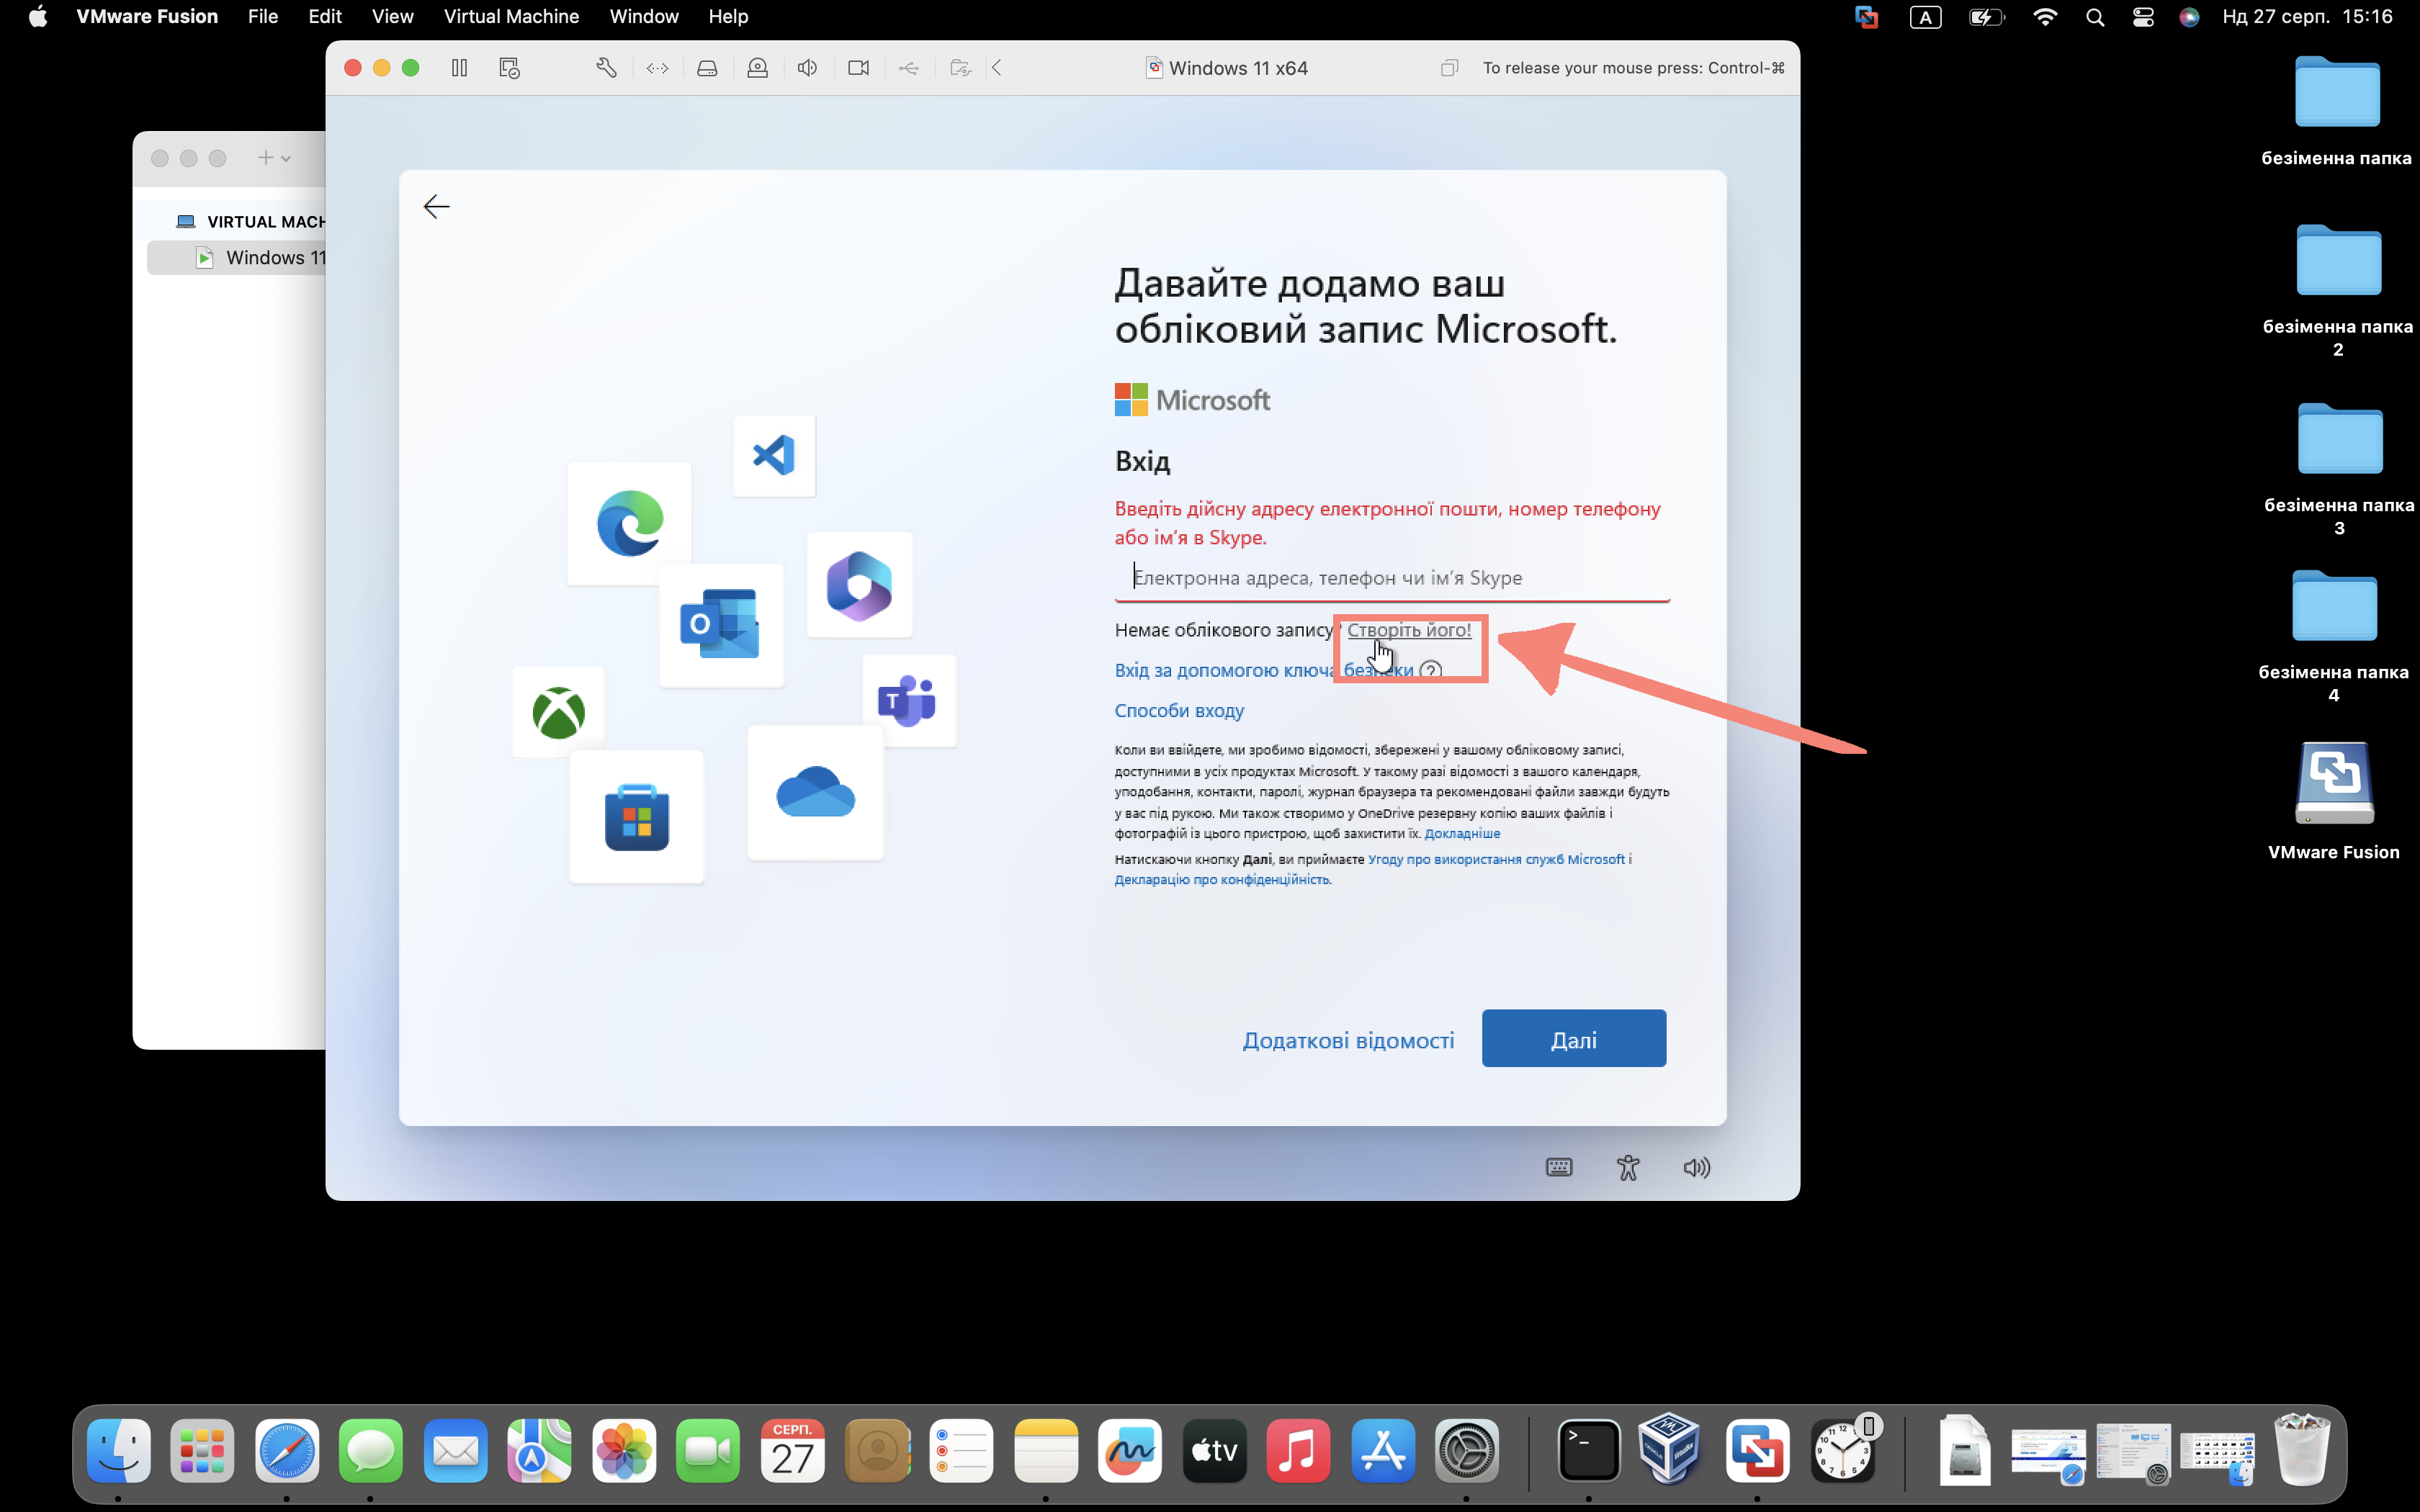
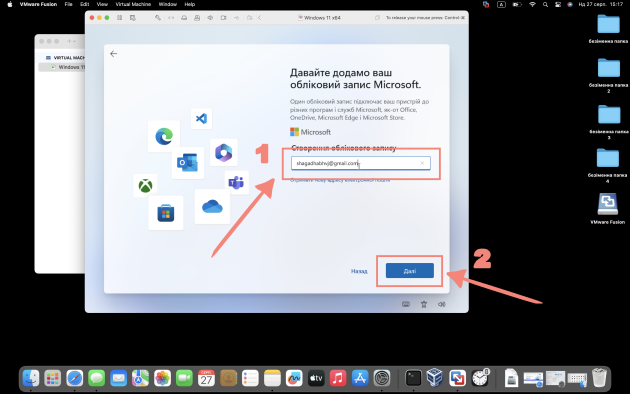
Step 39

We need to create a Microsoft account. Click “Create it” as shown in the screenshot. Click “Next”
Step 40
Log in to your account. Click “Next”
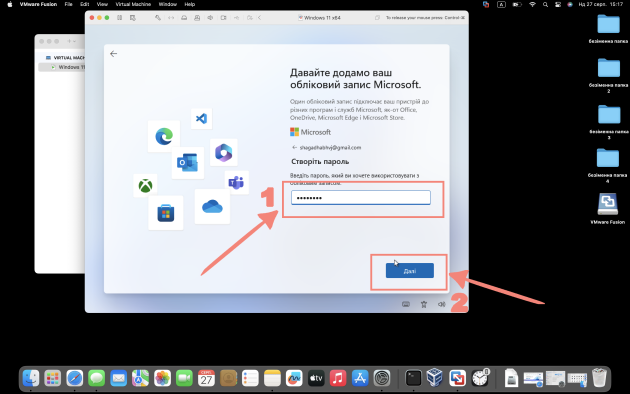
Step 41

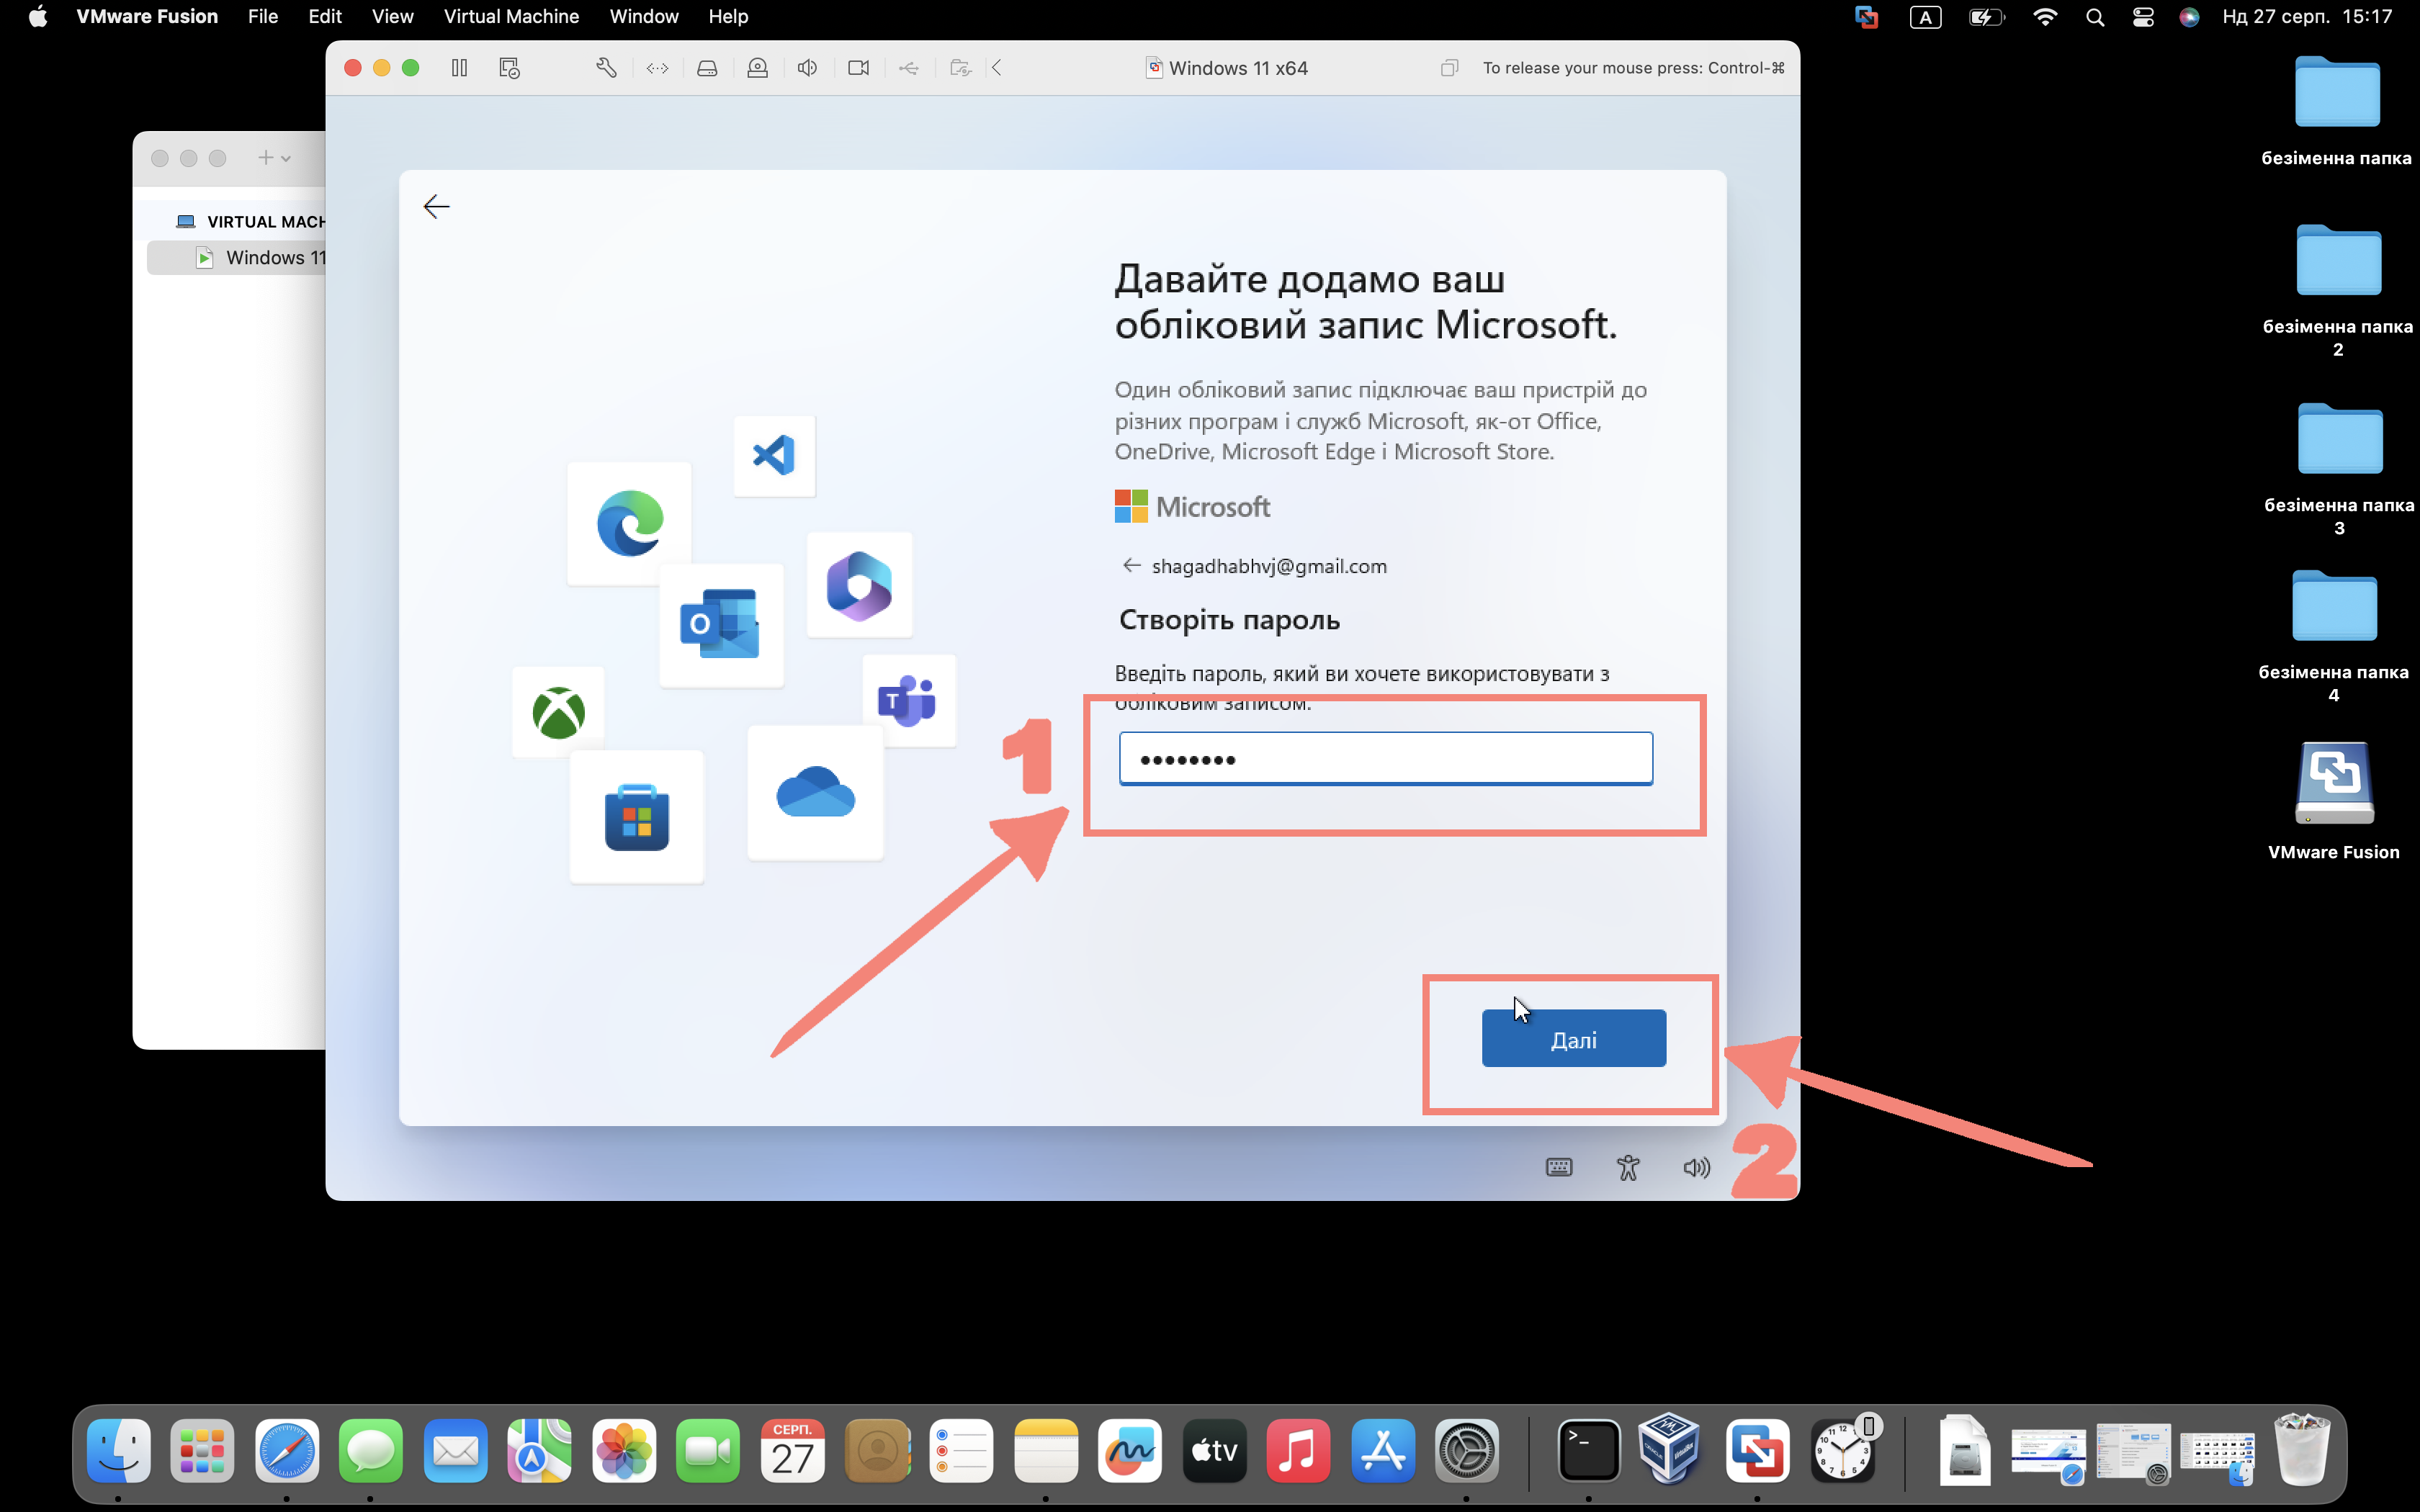
Create a password and click “Next”
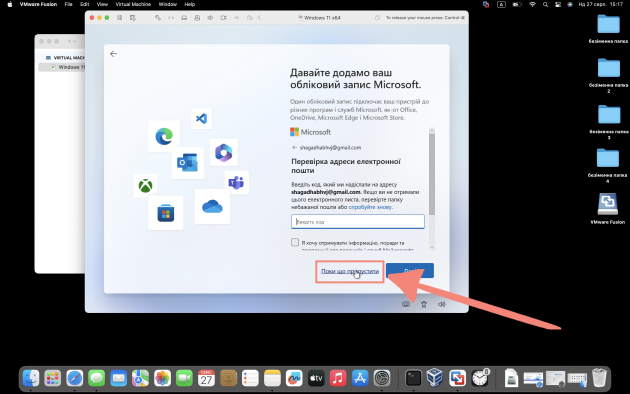
Step 42
Enter the password we just created. Click “Next”
Step 43

Enter the name and surname. Click “Next”
Step 44

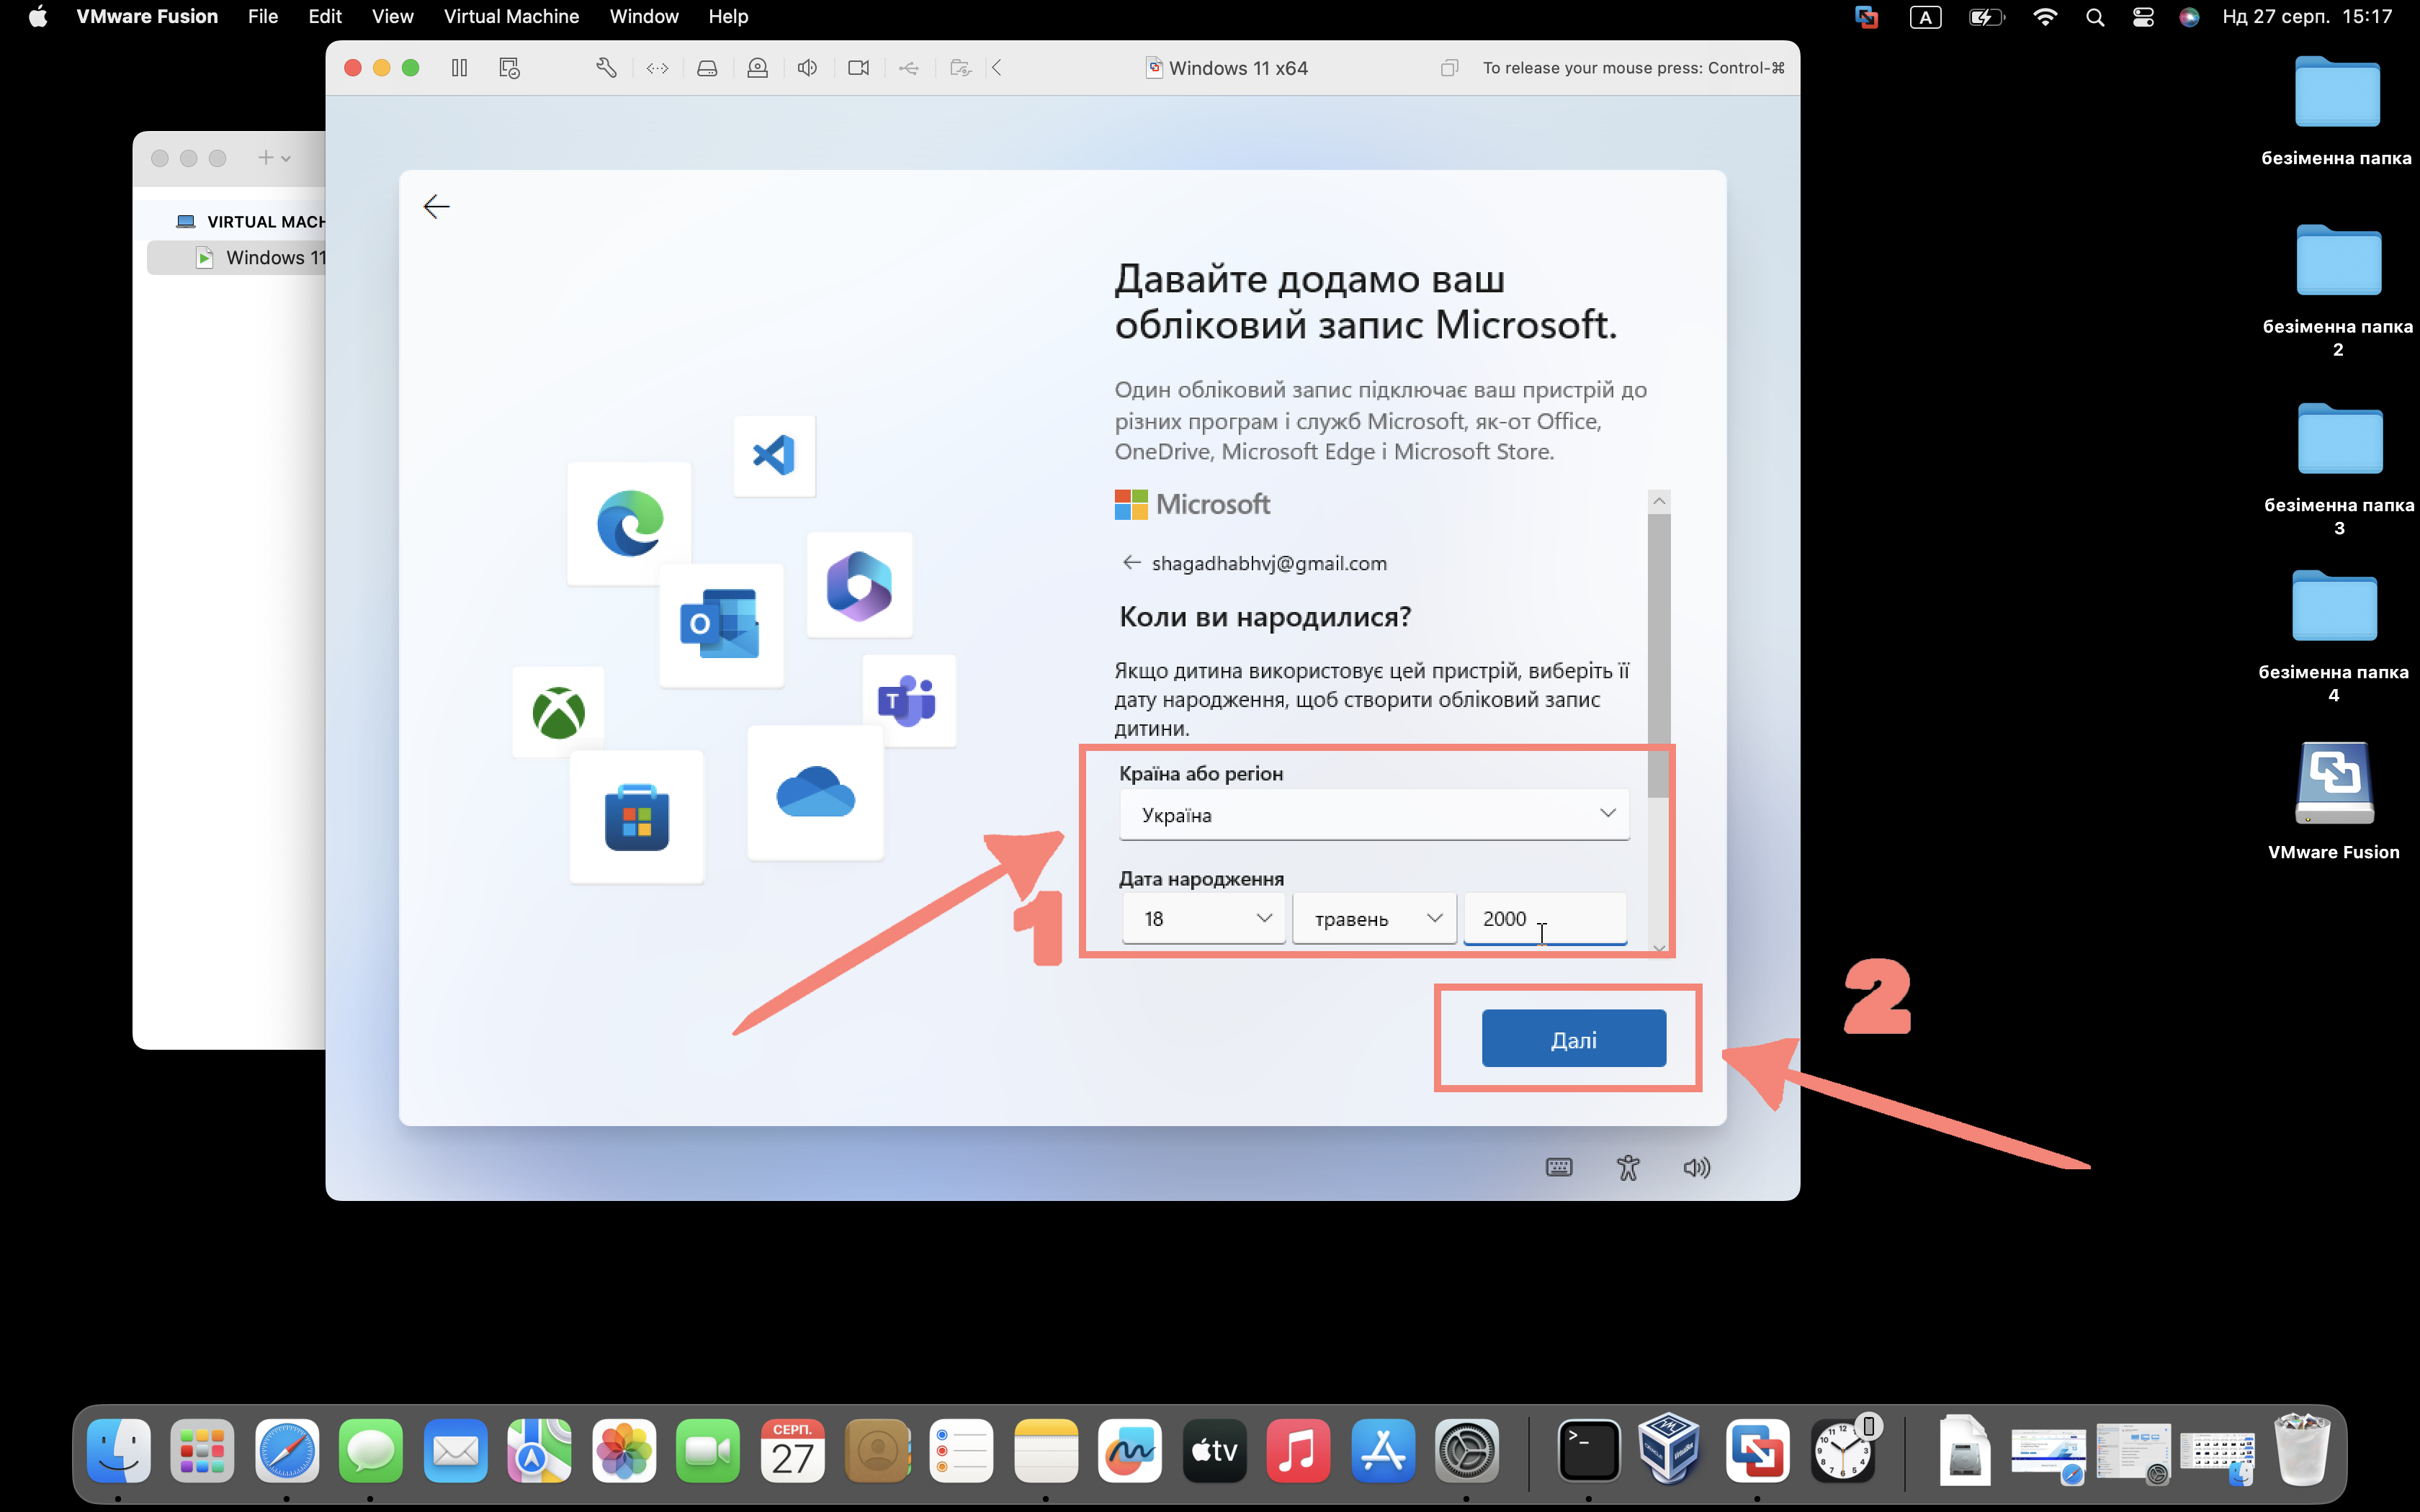
Enter your date of birth. Click “Next”
Step 45
We skip this action
Step 46

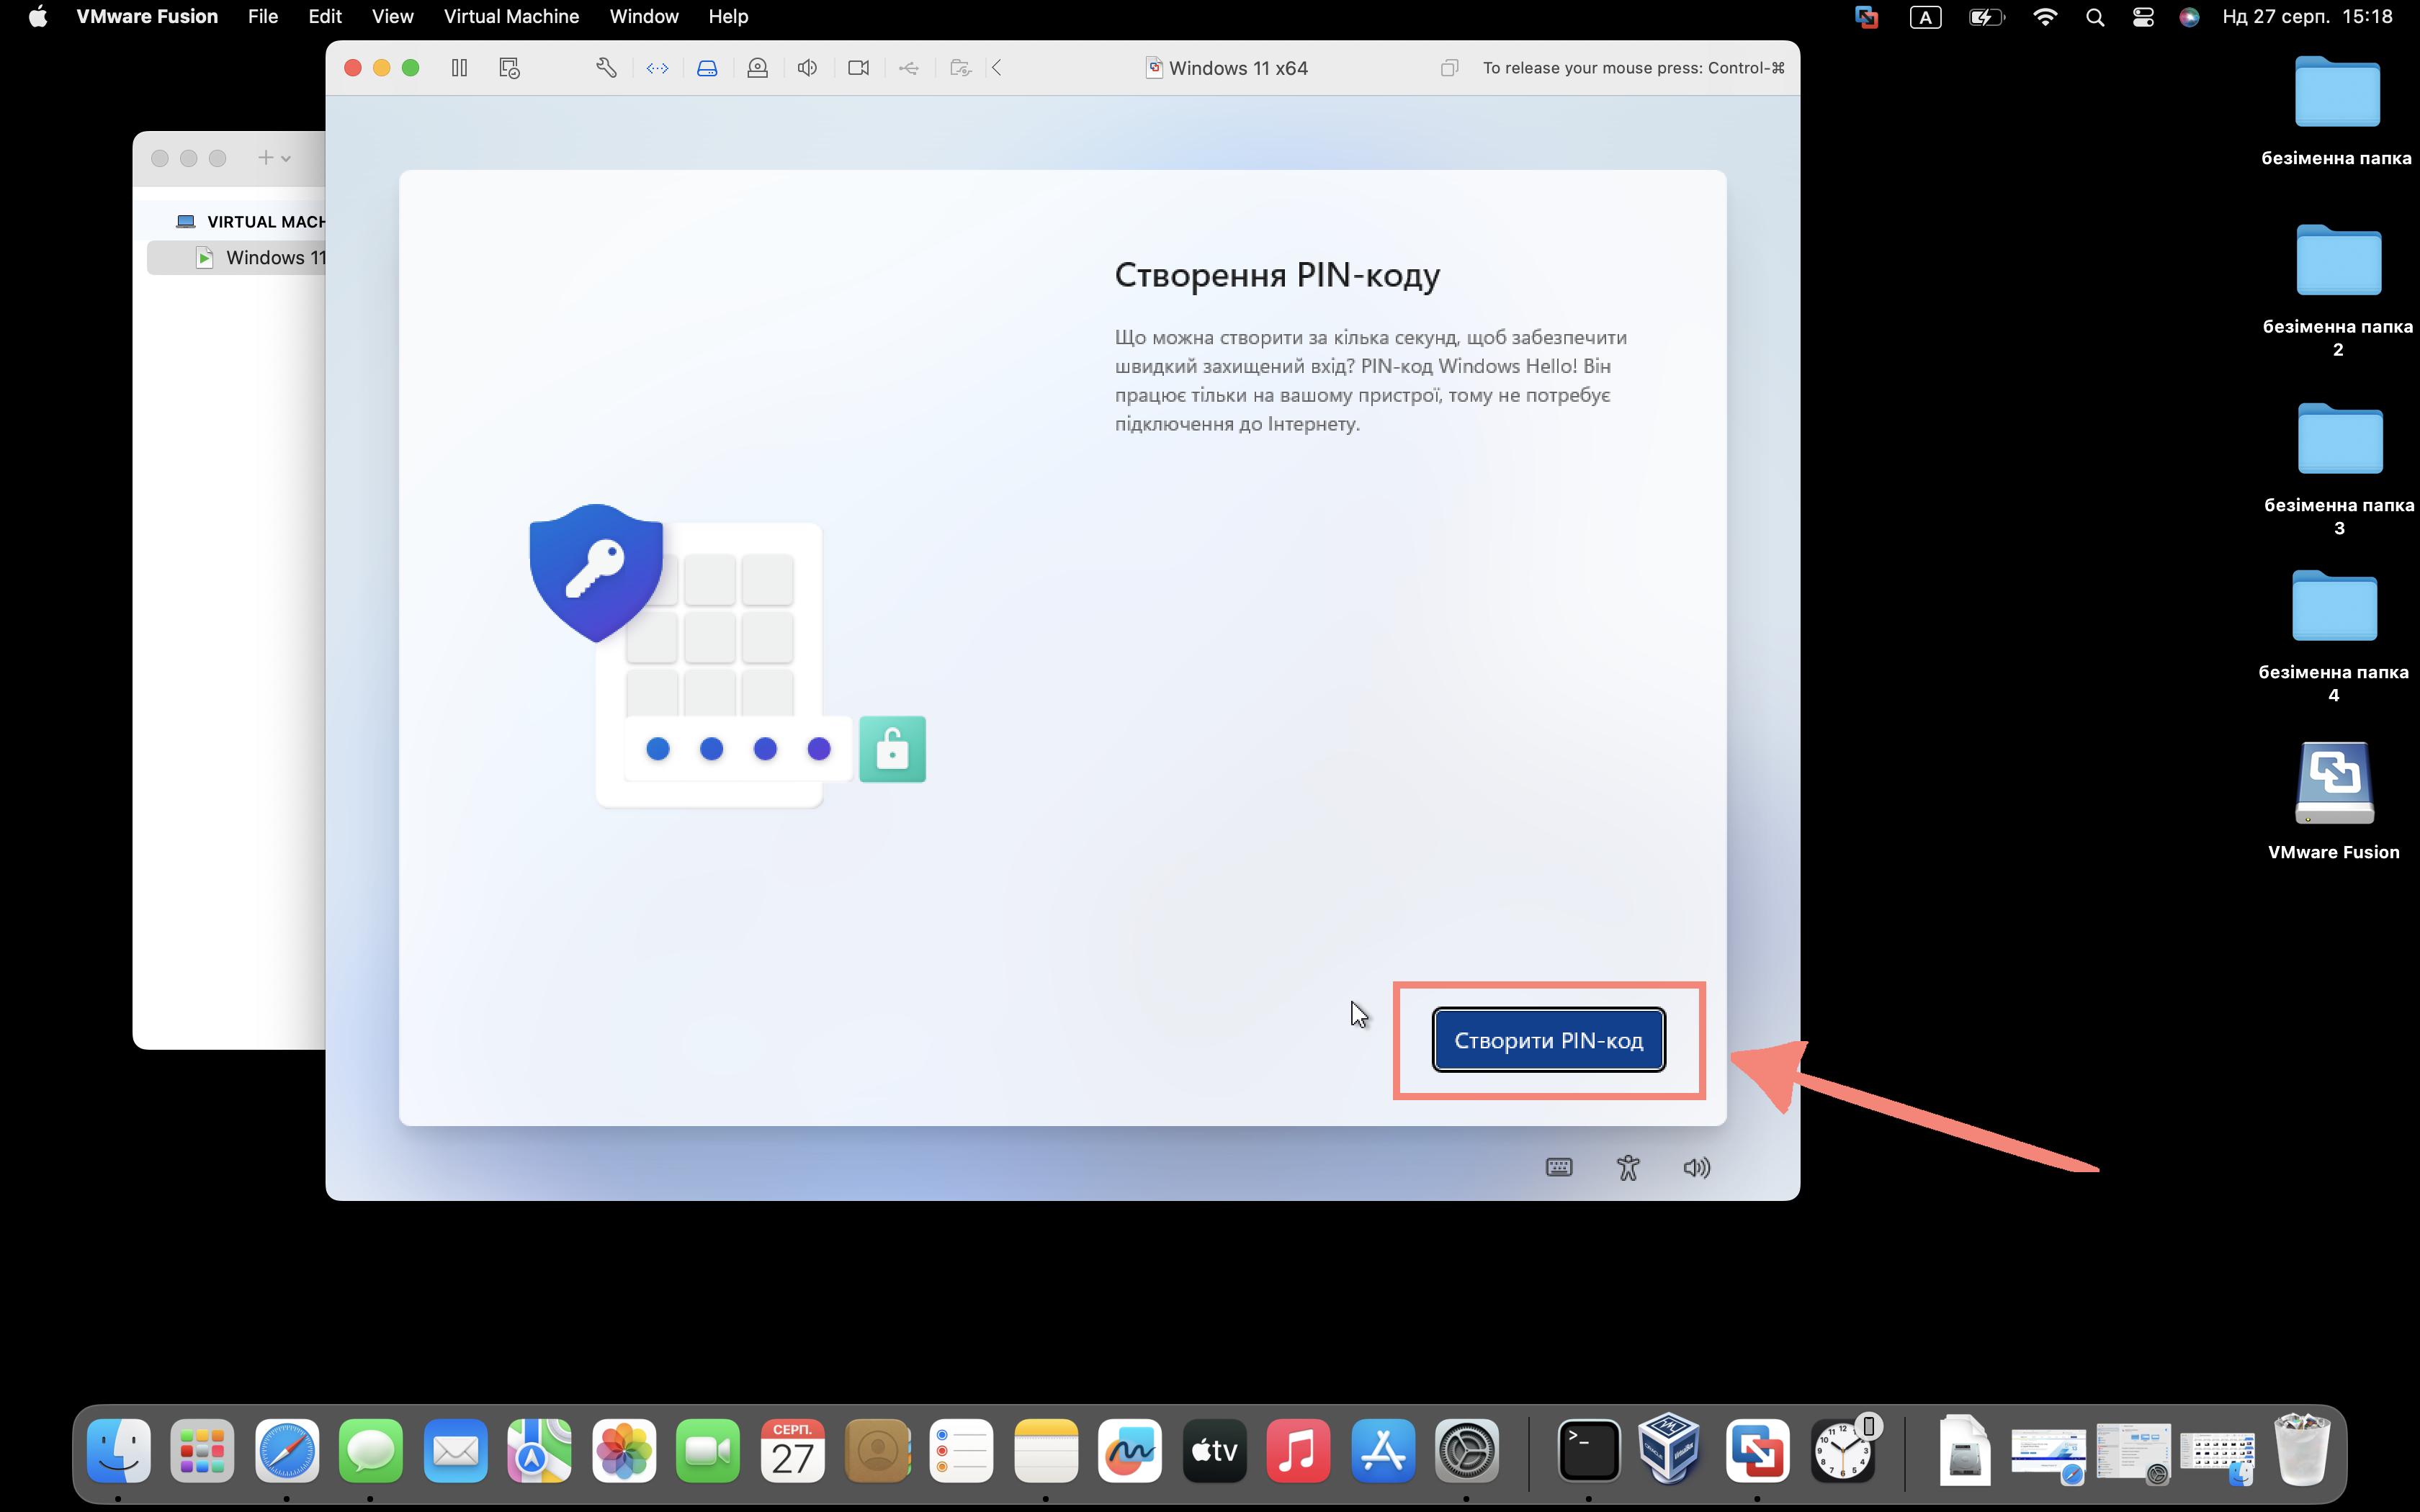
Click “Create PIN code”
Step 47

Set your pin code and click “OK”
Step 48

Drag the slider to “Yes”. After that, click “Next”
Step 49

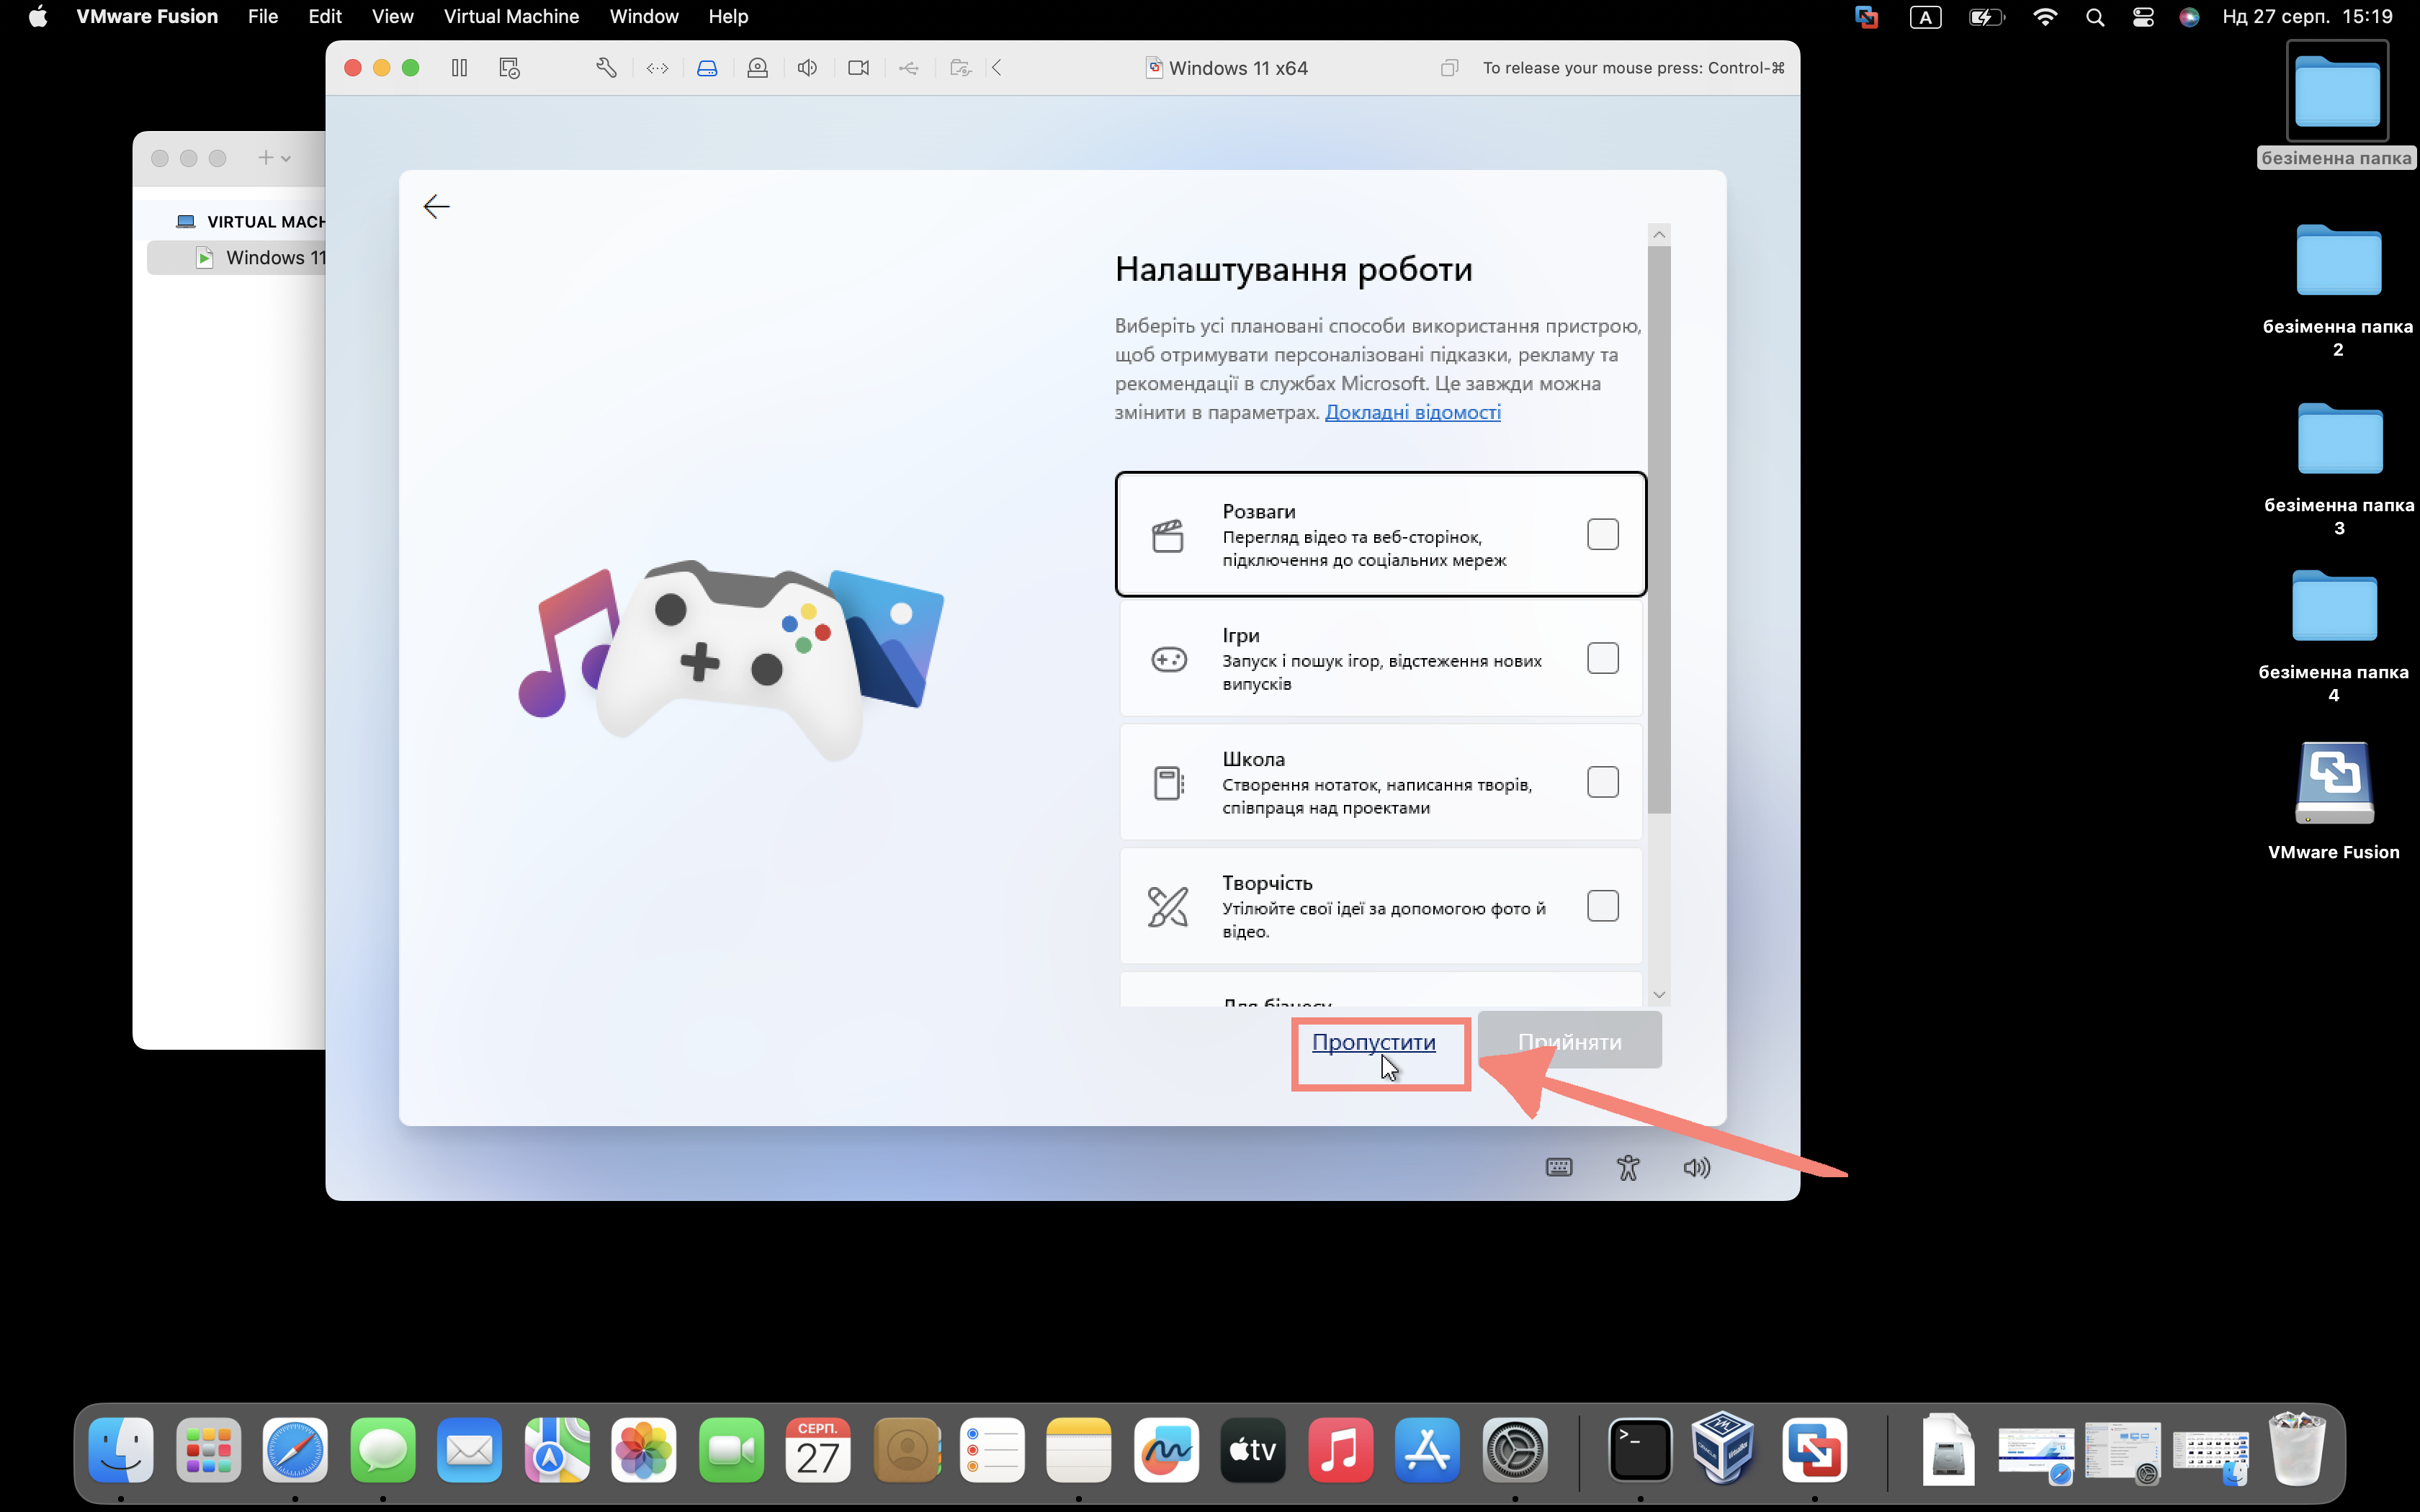
We skip this action
Step 50

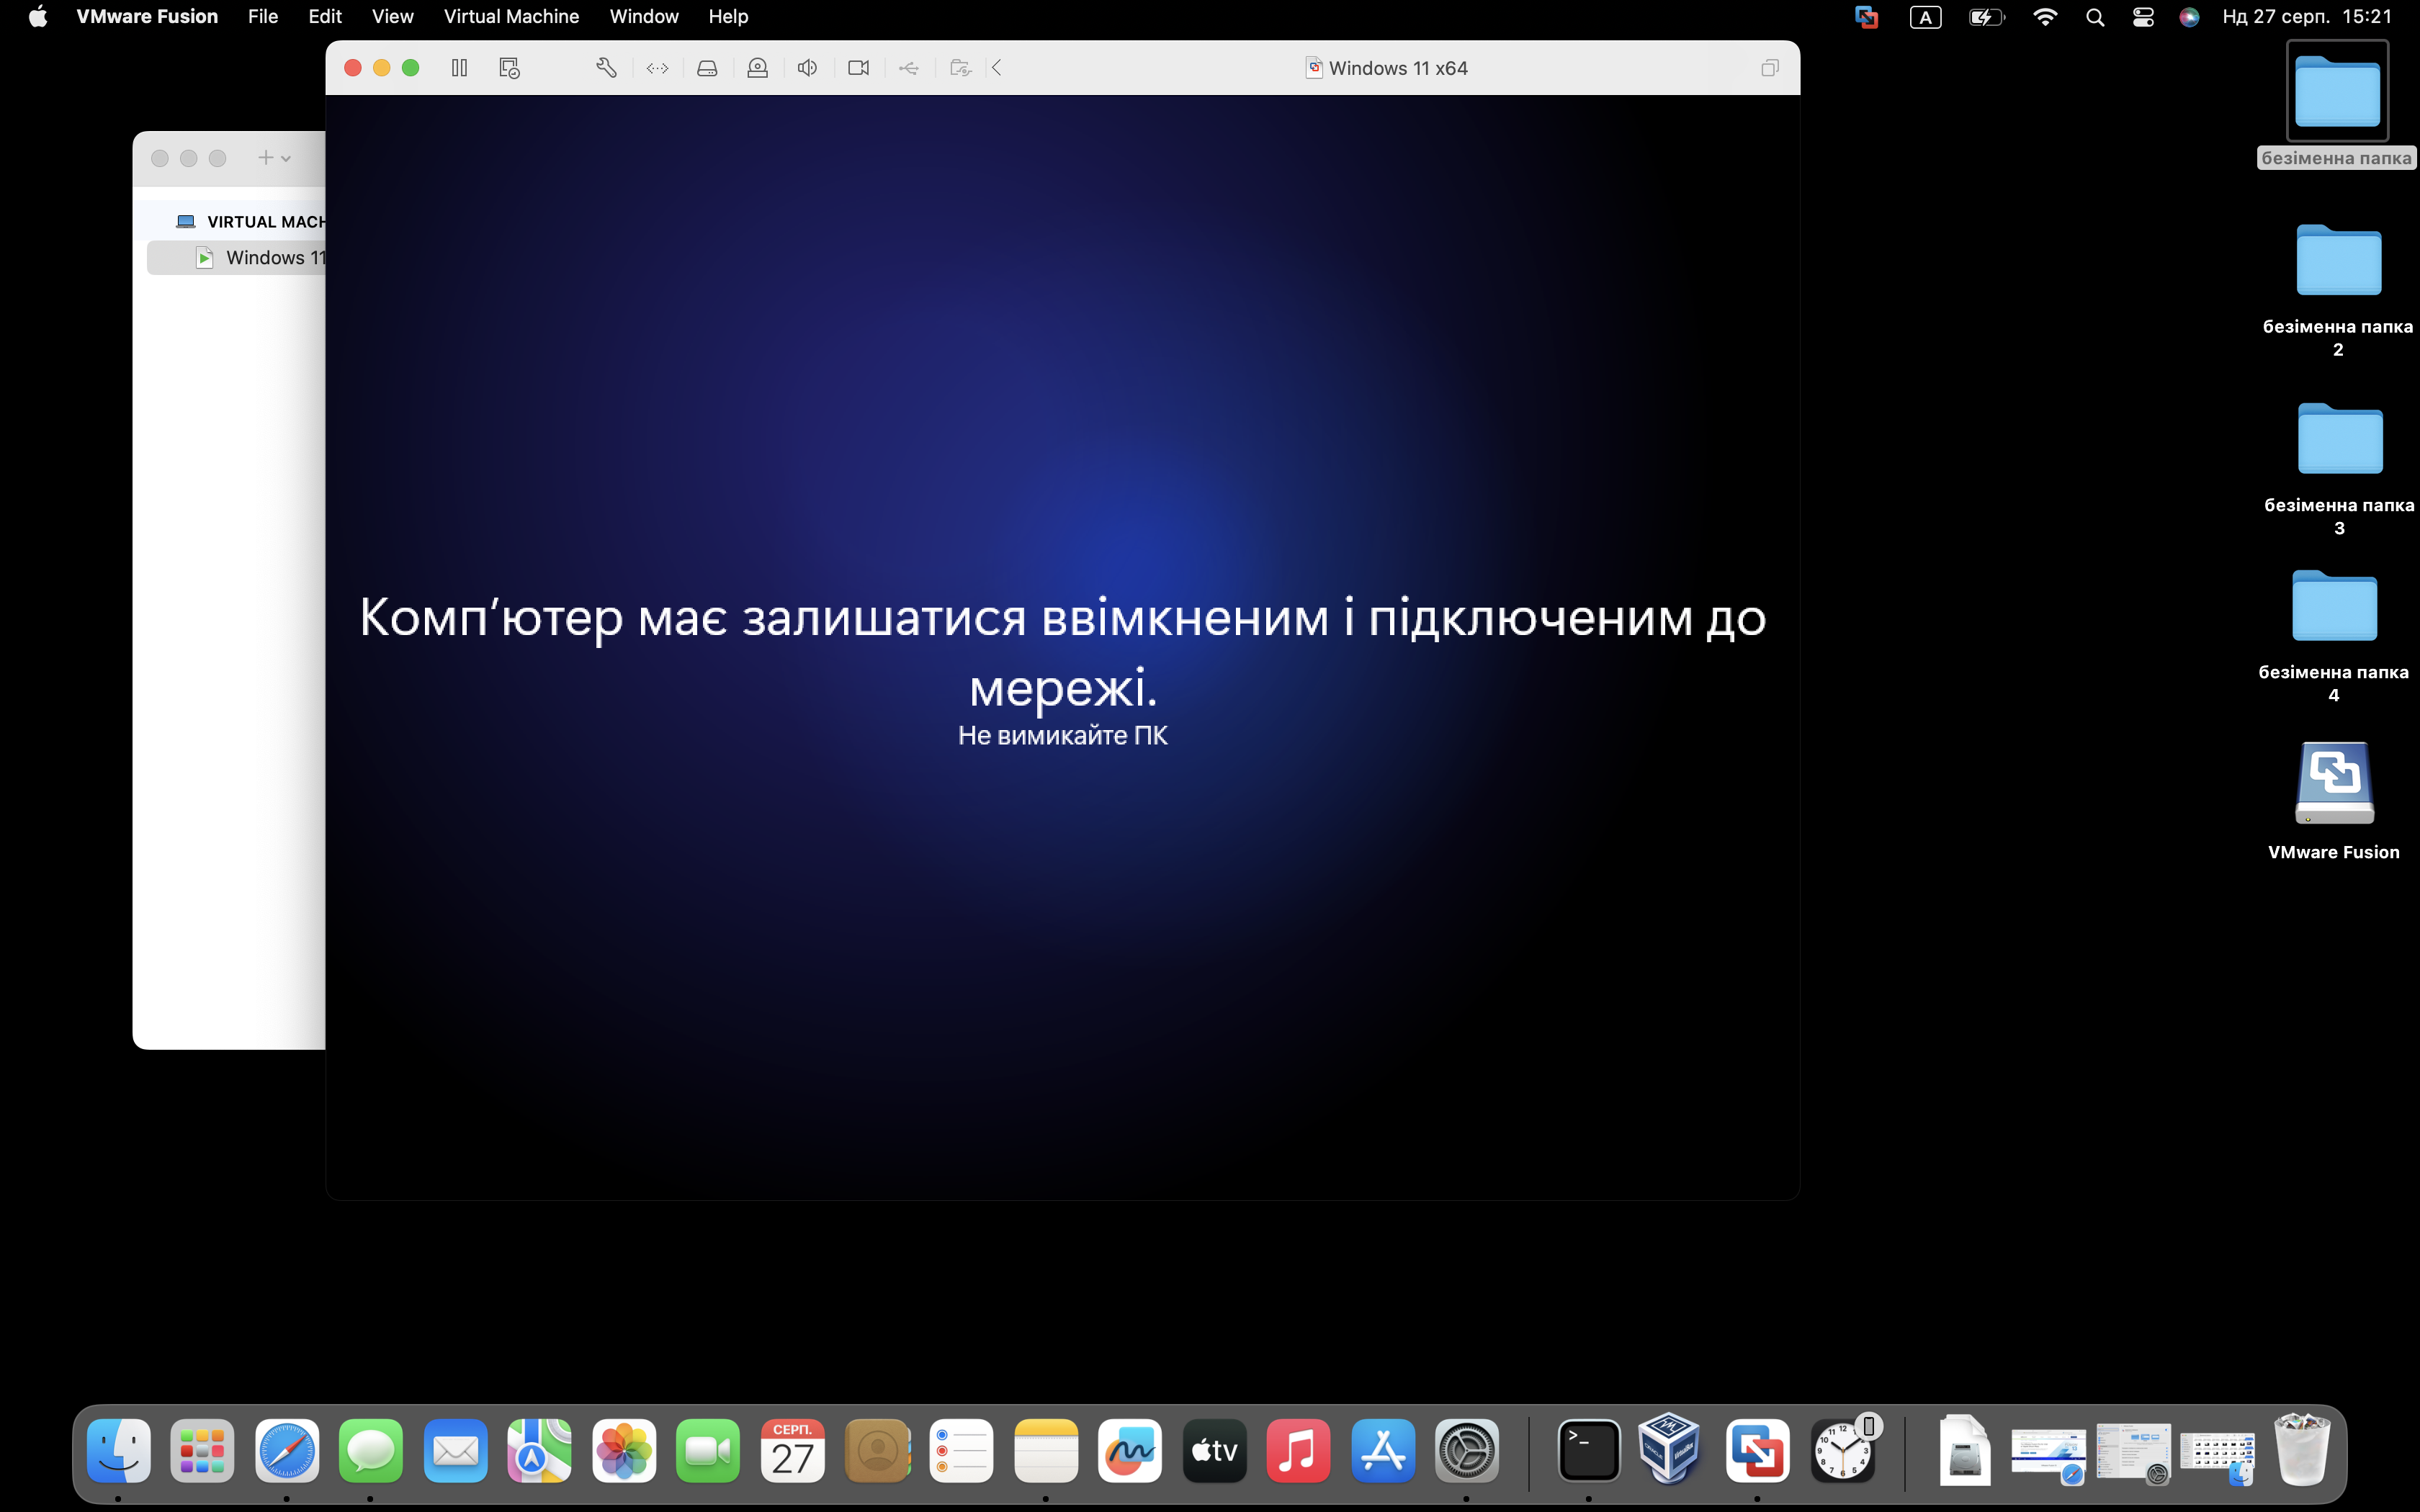
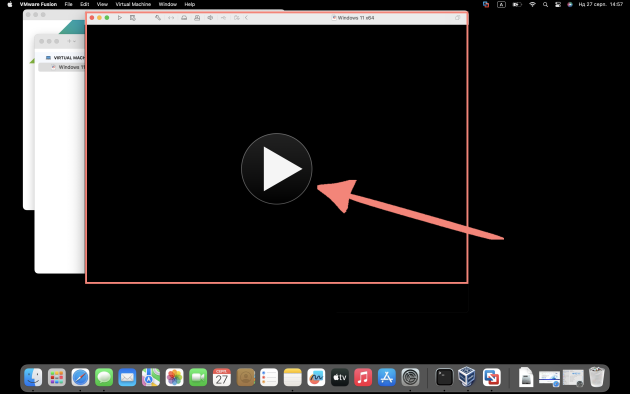
Do not turn off the computer, wait for the download to finish
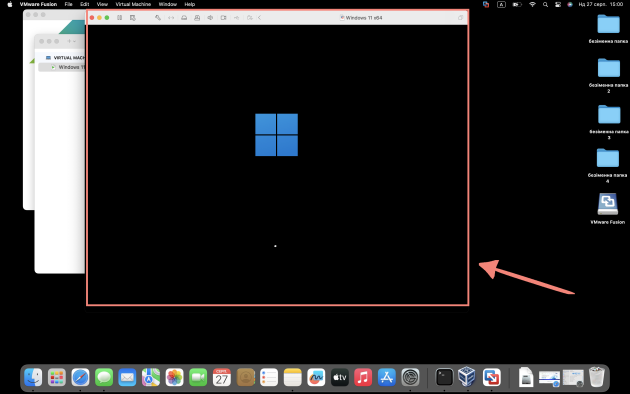
Step 51
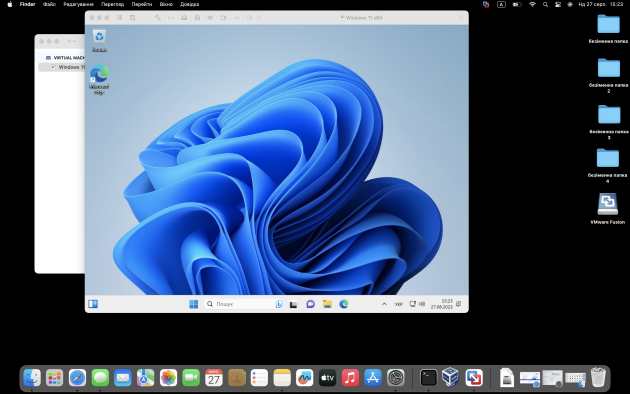
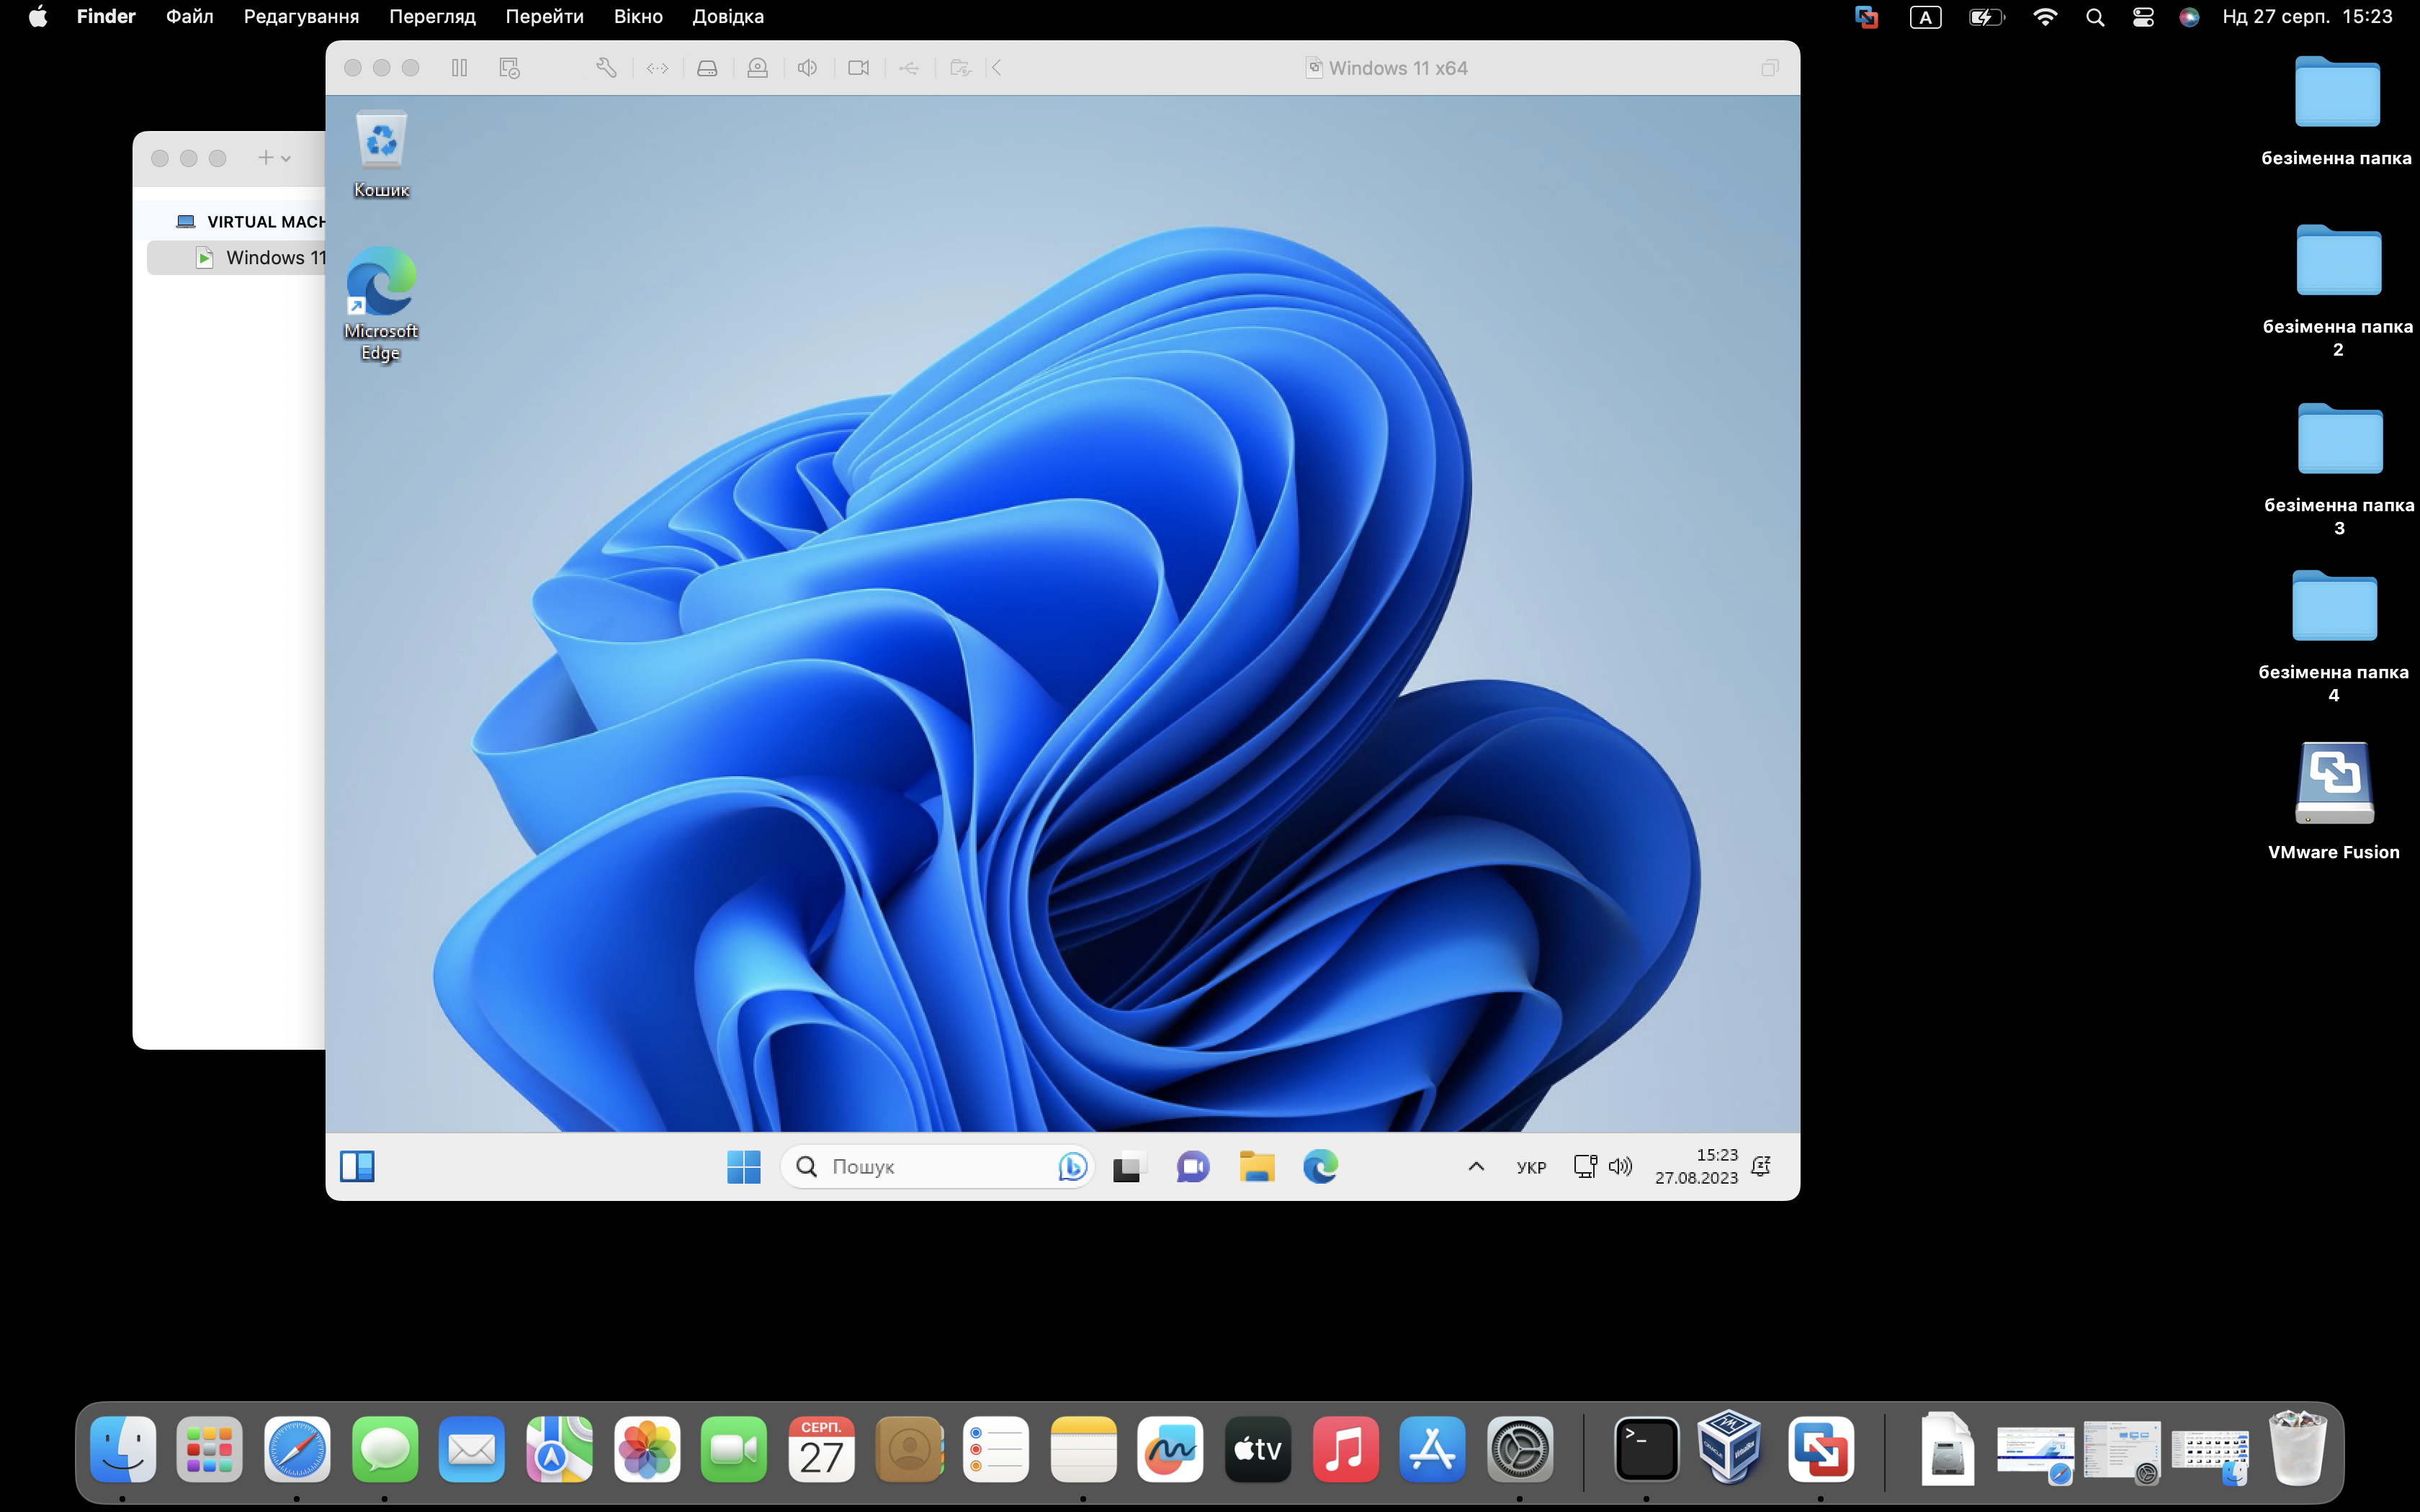
Congratulations, you have configured and installed a Windows 11 virtual machine, enjoy