19.04.2025
19 min
1342

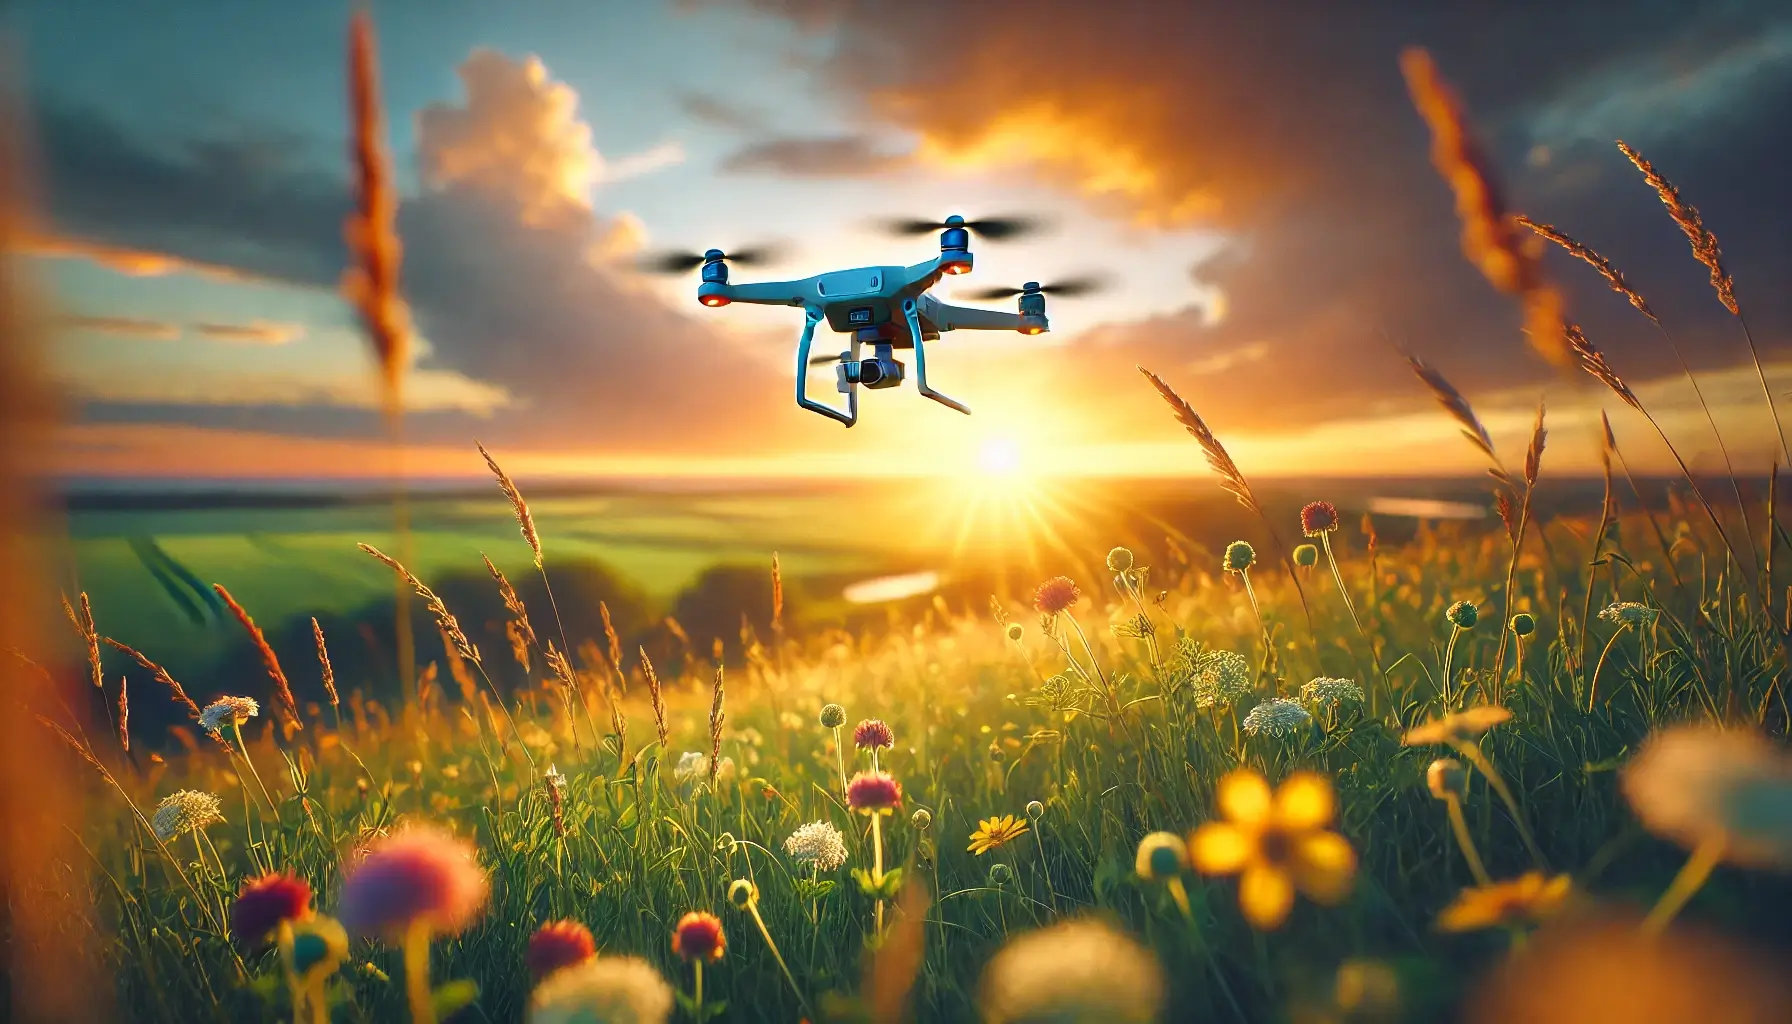
It’s time to get down to business! In the practical part of the course, you will assemble your own FPV drone, configure the electronics, learn to fly in a simulator and in real conditions. Skills include basic and advanced maneuvers (freestyle, racing), as well as working with video and photography on an FPV drone. You will learn how to get high-quality images from the air, shoot dynamic scenes, take aerial photos, and master FPV photography for creative and commercial projects.
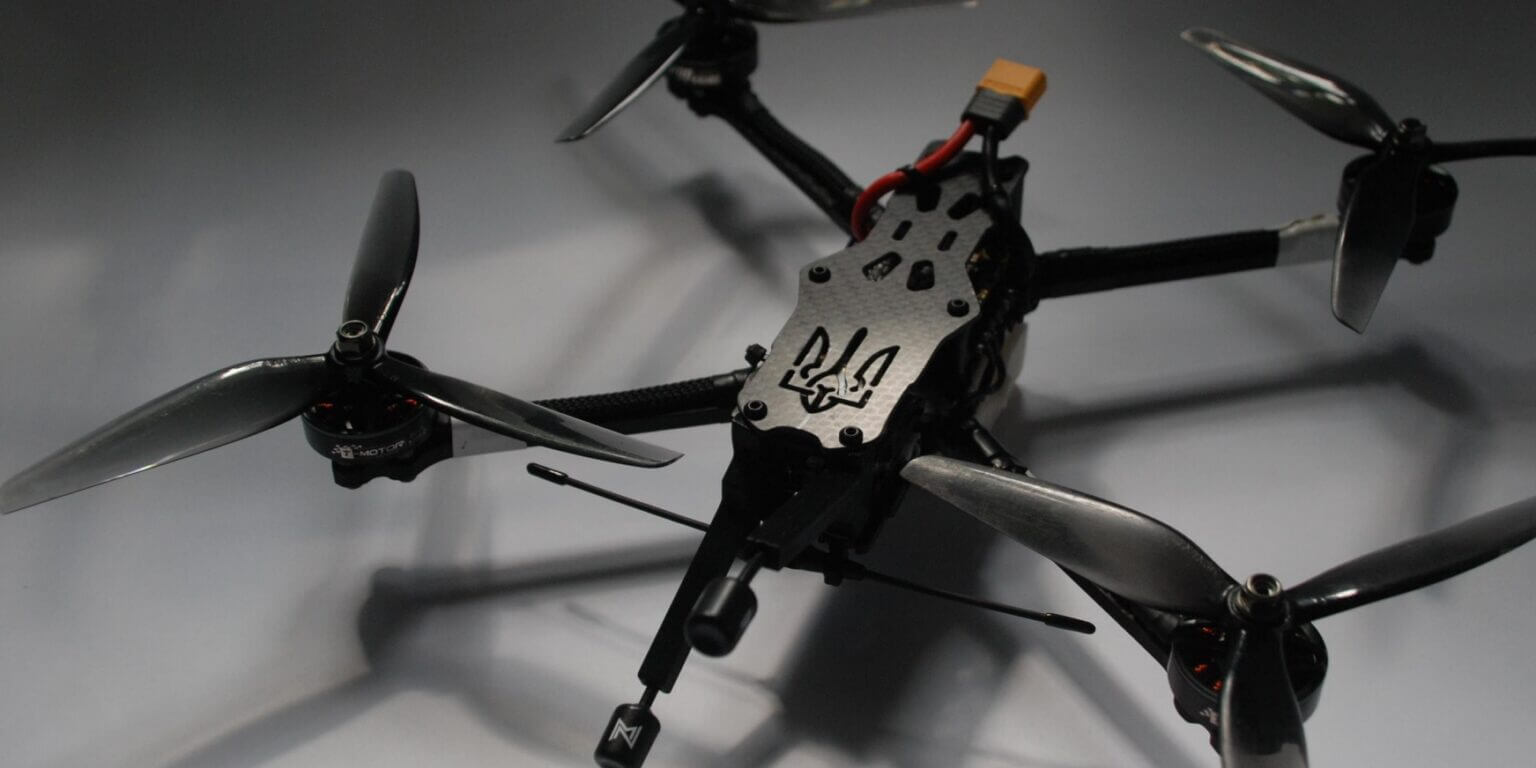
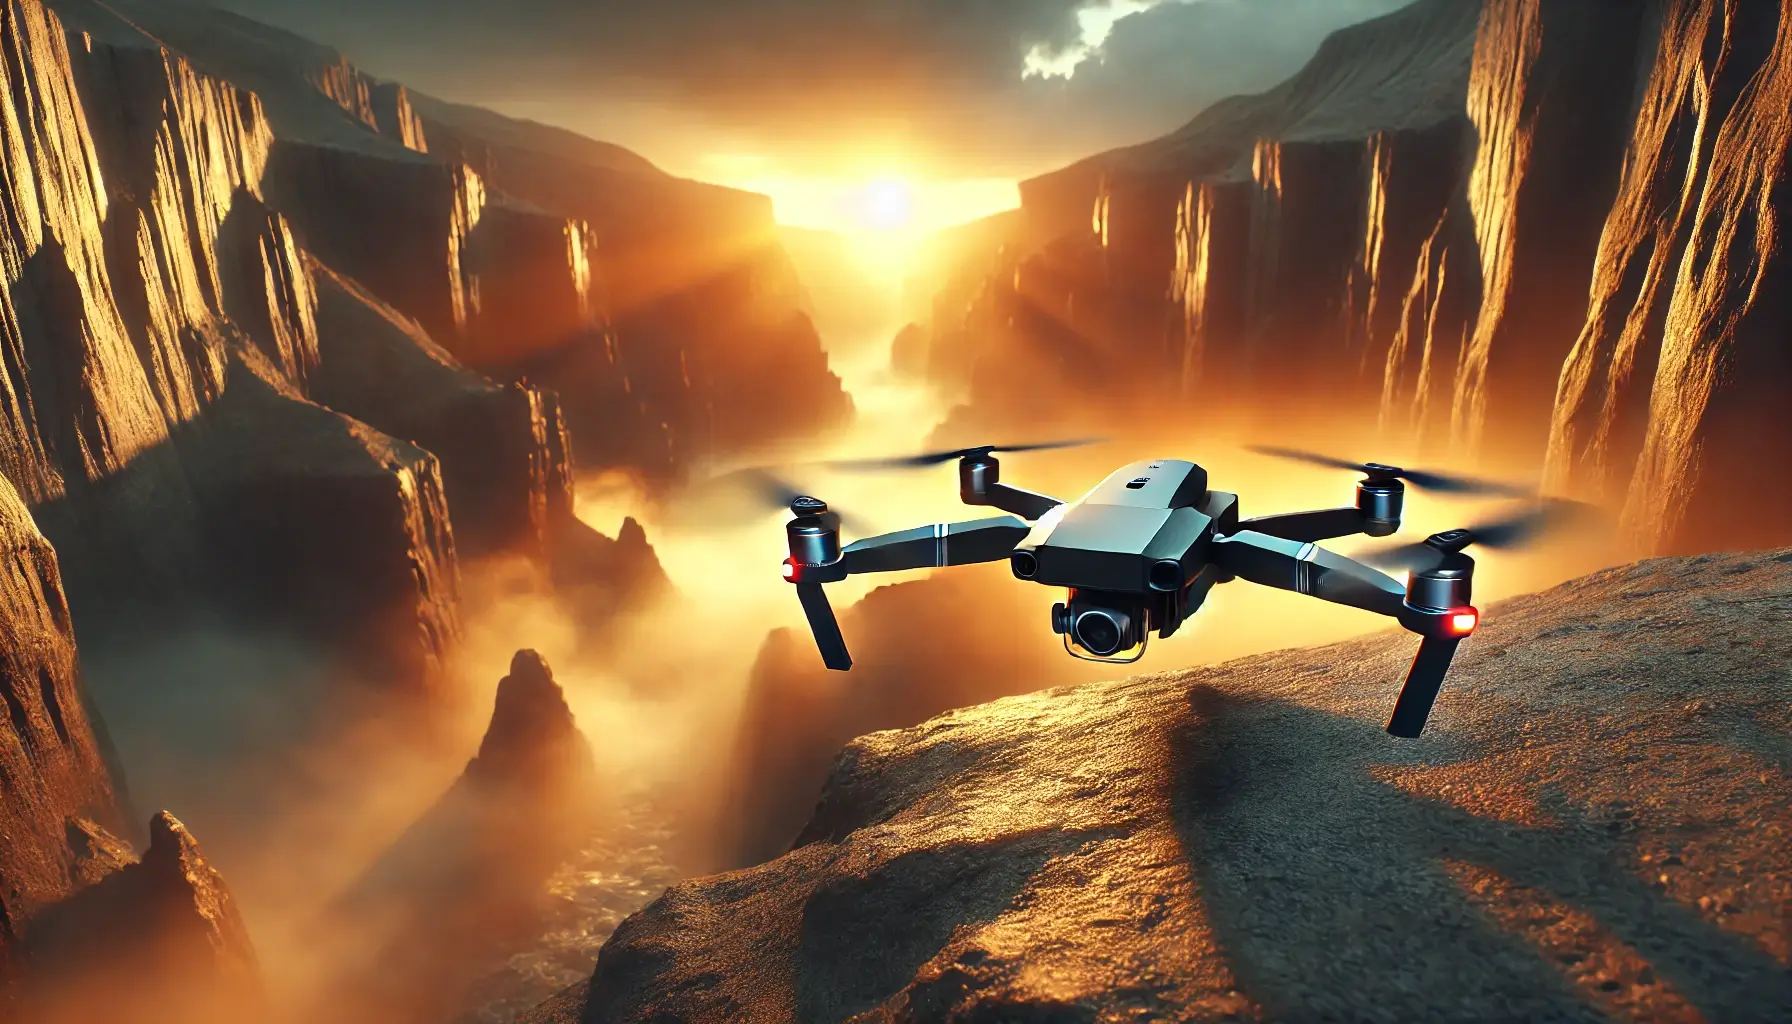
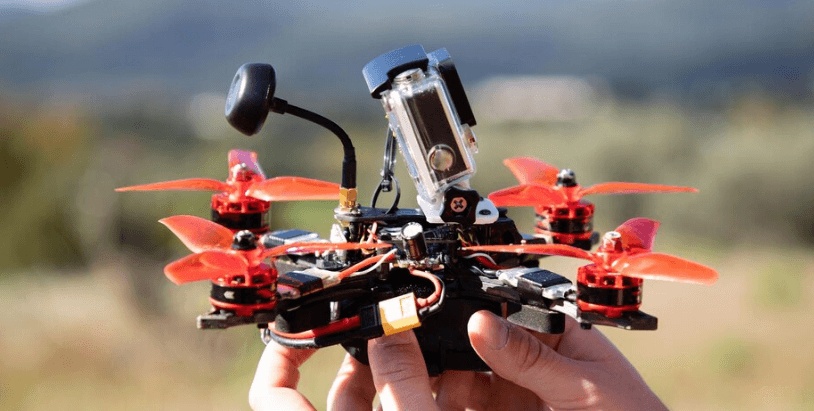
In this lesson, we will focus on the step-by-step process of assembling an FPV (First Person View) drone from individual components. Self-assembly allows you to not only adapt the drone to your own needs, but also to better understand its internal structure and operating principles.
Steps to assemble an FPV drone
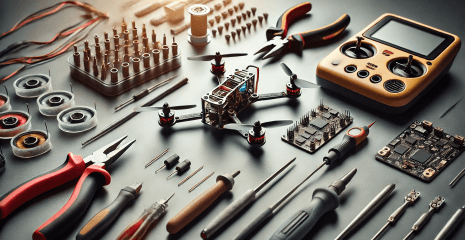
Component selection. Select all the necessary elements: frame, electric motors, flight controller (Flight Controller), FPV camera, video transmitter (VTX), antennas, speed controllers (ESC), signal receiver, battery and other auxiliary parts.
Preparation for assembly. Before starting, make sure that all components are in good condition, have no mechanical damage, and have the appropriate connectors. Prepare tools: screwdrivers, soldering iron, heat shrink tube, multimeter, ties.
Frame assembly. Assemble the main structure according to the instructions. Install the motors on it, securing them with bolts. Pay attention to the correct location according to the flight diagram.
Connecting electronic modules. Install the flight controller in the center of the frame. Connect the ESC to the motors, connect them to the controller. Connect the camera, video transmitter, GPS (if available), receiver and power supply.
Software setup. Using a computer and appropriate software (e.g. Betaflight Configurator), perform basic configuration: flight mode settings, PID control, radio control channels.
Initial testing and verification. Perform ground testing: check motor operation, direction of rotation, video signal quality. Adjust settings if necessary and repeat verification.
Assembling an FPV drone is a creative and technical process that allows you to better understand the operation of the system as a whole. Follow the sequence of actions, manufacturer recommendations, and use quality tools for a safe and reliable assembly.
This lesson is dedicated to connecting and initial configuring the key electronic components of an FPV drone. These actions ensure that all of the drone’s systems operate synchronously during flight.
Step-by-step actions
Connection: Securely attach the controller to the frame. Connect the motors to it via ESC, as well as the radio receiver.
Setup: Install the necessary software (for example, INAV or Betaflight), perform the initial configuration: select the model type, configure channels, PID controllers, flight modes.
Connection: Connect the FPV camera to the VTX. Provide power via FC or separate BEC. Check polarity and contact density.
Settings: Select the channel and video signal transmission power according to the standards of your region. Check the signal through video glasses or a monitor.
Connection: Connect the video receiver (VRX) to the FPV goggles or screen.
Settings: Set the receiving channel to match the transmitter channel. Make sure the image is clear.
Connection: Connect GPS via UART port to FC.
Settings: Activate GPS in the configurator. Set Return to Home function, calibrate the home point position.
Properly connecting and configuring your FPV drone’s electronics ensures stable and predictable flight. Always check the parameters, connection status, and follow the manufacturer’s recommendations when configuring.
The flight controller is the main computing center of the drone, and flight stability depends on its correct operation. This lesson is dedicated to checking and calibrating the main sensors of the controller.
Check before calibration
Check connections. Make sure that all cables, motors, ESC, GPS and other components are connected correctly and have no physical damage.
Firmware update. Before setting up, it is recommended to install the latest version of the controller firmware using a special configurator.
Sensor status. In the software, check the values from the accelerometer, gyroscope and compass. They should respond to the movements of the drone without delays and jumps.
Calibrating controller sensors
Place the drone on a horizontal surface.
Start the calibration via the program (for example, the Setup tab in Betaflight).
Wait for the process to complete.
Move the drone around all axes (X, Y, Z) to check the response.
Normally the gyroscope calibrates automatically after powering on, but it can be manually initiated in the app.
Fly the drone in a circle in both horizontal and vertical planes.
Start the calibration procedure in the FC settings. Follow the instructions to complete successfully.
The default values are set to basic values.
During test flights, adjust the coefficients to achieve stable control.
Calibrating the flight controller is a critical step to ensure accurate response to pilot input. Regularly checking and adjusting the sensors improves drone control, increases safety, and reduces the likelihood of flight failures.
Before you take your FPV drone into the real sky, it’s worth getting some quality training in virtual space. FPV simulators are a safe, effective, and accessible environment for practicing basic and advanced piloting skills.
Advantages of using FPV simulators
Safe learning environment. Training in a simulator eliminates the risk of falling, damaging the drone or injuring people. Even the most difficult mistakes will not have any negative consequences.
Effectiveness of skill acquisition. FPV simulators allow you to practice maneuvers in different locations, weather conditions and on models with different settings, which significantly improves coordination and reflexes.
Saving resources. Instead of spending money on repairs, propellers or batteries, you train without financial losses.
Flexibility in settings. You can change the model settings, stick sensitivity, PID control and other parameters, and instantly see how this affects the control.
How to use an FPV simulator
Choosing a simulator. Popular simulators: Liftoff, VelociDrone, DRL Simulator, FPV Freerider. Each of them has its own features and settings – choose the one that best suits your style and technical capabilities.
Initial setup. Choose the type of drone, controller (real or virtual), location, weather conditions. Set the appropriate control sensitivity and check the model’s compliance with your real FPV drone.
Practice basic maneuvers. Learn basic movements – takeoff, hovering, rotation, turns, stabilization after a maneuver. Repeat them until automatic.
Testing settings. Change PID parameters, simulate different speeds, drone weight, camera types – this will allow you to prepare for real flight situations.
Simulators are an integral part of quality FPV training. They allow you to avoid mistakes in real flights, save resources, and develop a pilot’s reflexes before the first takeoff.
After training in the simulator, it’s time to take your first real flight. Flying in a real environment requires concentration, understanding the situation, and a responsible attitude towards safety.
Preparing for the first flight
Choosing a location. Choose an open, flat area without trees, buildings, or people. Preferably, special training grounds or deserted clearings.
Assessing the conditions. Check the weather: no strong winds, dry ground, sufficient lighting. Avoid flying in fog, rain, or dusk.
Checking the drone. Before flying, check: component fastening, propellers, battery charge level, camera mounting, antenna and video link condition.
First steps in the air
Takeoff and landing. Choose a horizontal, flat surface for takeoff. Take off slowly, observing stability. For landing, choose the same area, reducing power smoothly.
Smooth control. Work with the sticks gently, without sudden movements. Try to keep an average height (2–3 meters) and avoid fast turns or too sharp turns.
Orientation in space. Learn to recognize the drone’s position from the camera image: flight direction, height, inclinations. Pay attention to OSD data (e.g. RSSI, battery, altitude).
Skill development
Try other flight modes. In addition to stabilization mode, test Angle, Horizon, Acro – each opens up new levels of controllability.
Learn new maneuvers. Learn dives, spins, on-the-spot turns, and trajectory changes. Gradually complicate the route and add obstacles (for example, flying around a flagpole or passing between poles).
Your first flights will shape your style and discipline. Treat them with care, gradually increase the difficulty, and over time, you will feel like the drone is an extension of your own hands.
Mastering basic maneuvers is the foundation of confident flying. Learning to climb, descend, and turn allows you to gain control of the drone in the air, which is necessary for further complex flights.
Lift
Slowly press the throttle to raise the drone.
Monitor the altitude via the FPV image or the controller indicators.
Stop the climb at a comfortable height, stabilizing the position.
Descent
Reduce the throttle gradually, avoiding a sharp drop.
Control the descent using visual cues and telemetry.
If the descent is too rapid, increase the throttle or activate stabilization mode.
Left/right turns
Use the yaw stick to turn.
Watch the camera and horizon for heading changes.
Once the turn is complete, return to straight flight.
Tilt control
Use pitch (forward/backward tilt) and roll (left/right tilt) to change trajectory.
Learn to feel the balance: too much tilt – loss of height, too little – lack of speed.
Maneuvering practice
Regular practice. Practice each maneuver separately: a few minutes of just ups and downs, then turns. Over time, combine them into figures.
Different conditions. Practice in changing winds, different lighting, and new terrain to prepare you for real challenges.
By mastering basic maneuvers, you are laying the foundation for future confidence in the air. Repetition, gradual difficulty of conditions, and attention to detail are the keys to skillful piloting.
In this lecture, we will delve into the world of advanced FPV drone flying techniques, including freestyle and racing. These areas require maximum precision, reaction, and coordination from the pilot, but they are the ones that allow you to unleash the full potential of the drone and your own control skills.
Creative freedom. Freestyle is an artistic form of flying that allows you to demonstrate tricks, aesthetics and the individual style of the pilot. The most common elements are rolls, flips, split-s, low passes, scrolls near objects.
Technical precision. Each freestyle maneuver should be smooth and controlled to create the effect of lightness and naturalness. The pilot should follow safety precautions and avoid flying near people.
Location and training. It is ideal to train in open areas with obstacles: abandoned buildings, trees, pipes, arches. Movements should be practiced gradually, complicating the route.
Maximum speed and minimum mistakes. Racing FPV drones require precision at high speeds, lightning-fast decisions and concentration. Every second and even a millimeter on the track matters.
Control technique. The ability to make quick turns, slides, pass through gates and narrow passages is the basis for winning competitions.
Racing strategy. Successful pilots choose optimal trajectories, save battery power, distribute speed and load during maneuvers.
Specialized tracks. Train on official or amateur tracks with flags, gates, tunnels. This allows you to simulate real racing conditions.
Participation in competitions. Local and international competitions are not only a challenge, but also the best school of aerobatics. They form endurance, strategic thinking and resistance to stress.
Freestyle and racing are the pinnacles of FPV mastery. By developing these areas, you will not only be able to improve your technical level, but also enjoy the dynamics and beauty of flight.
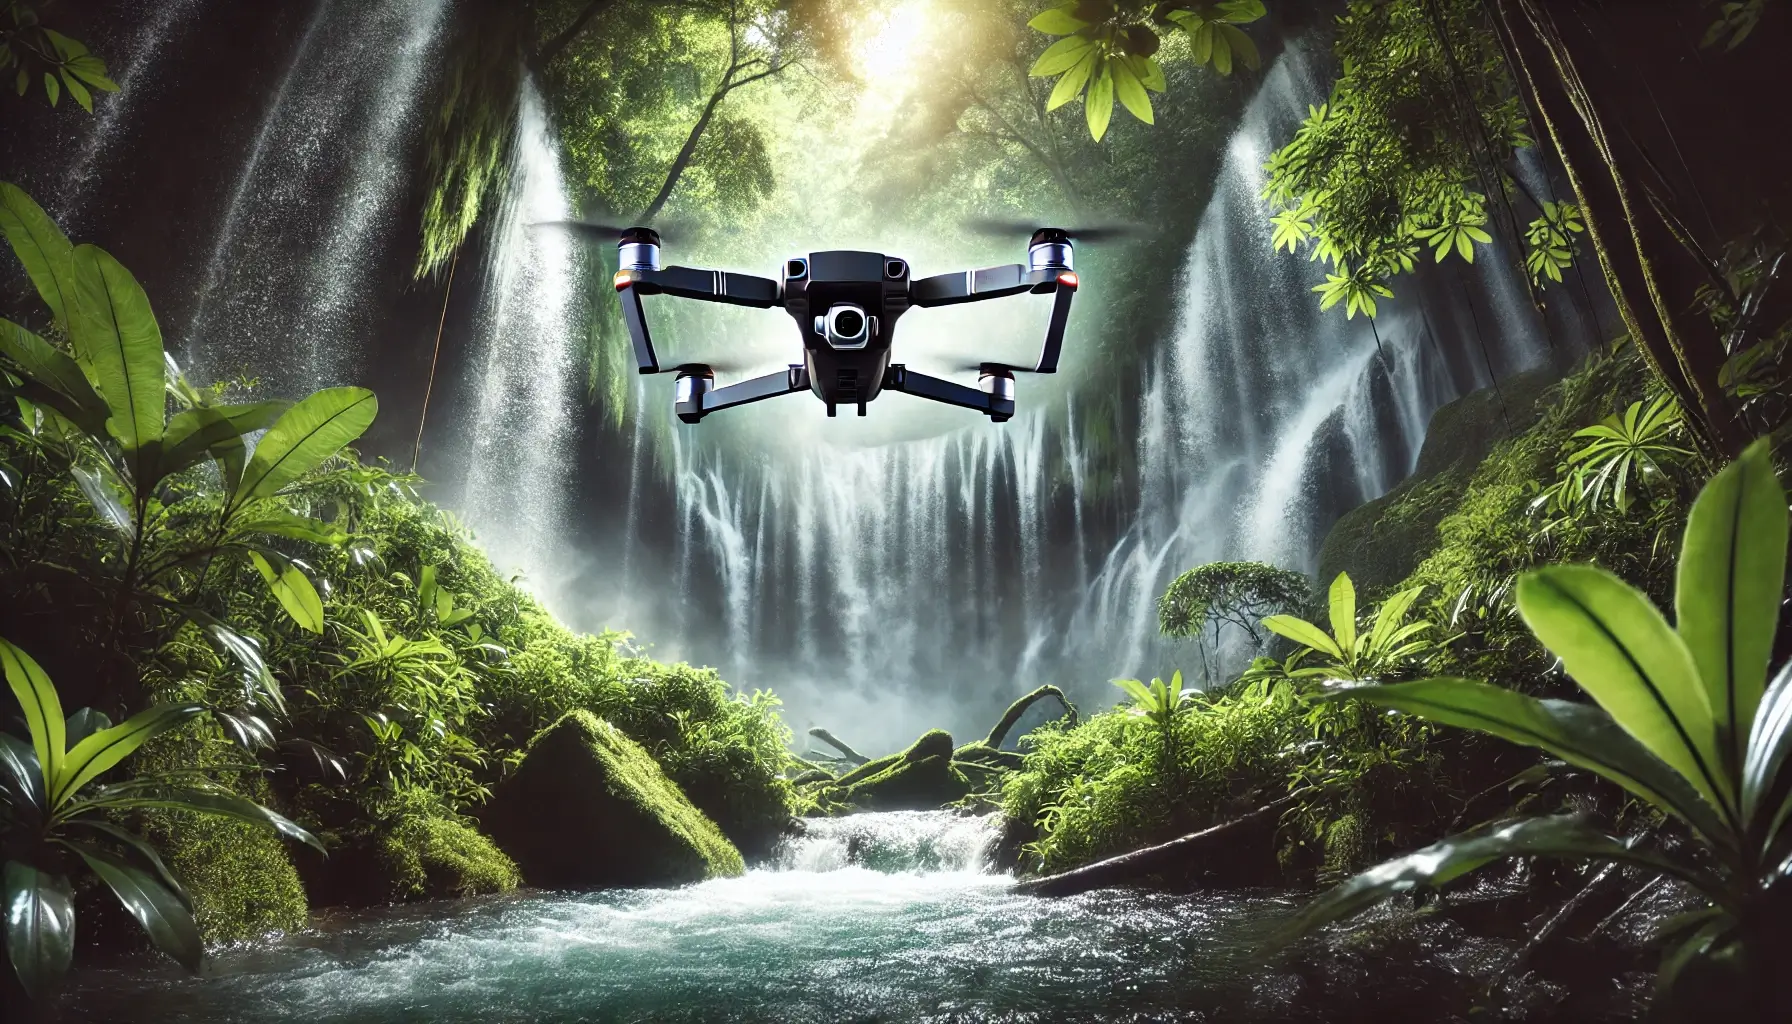
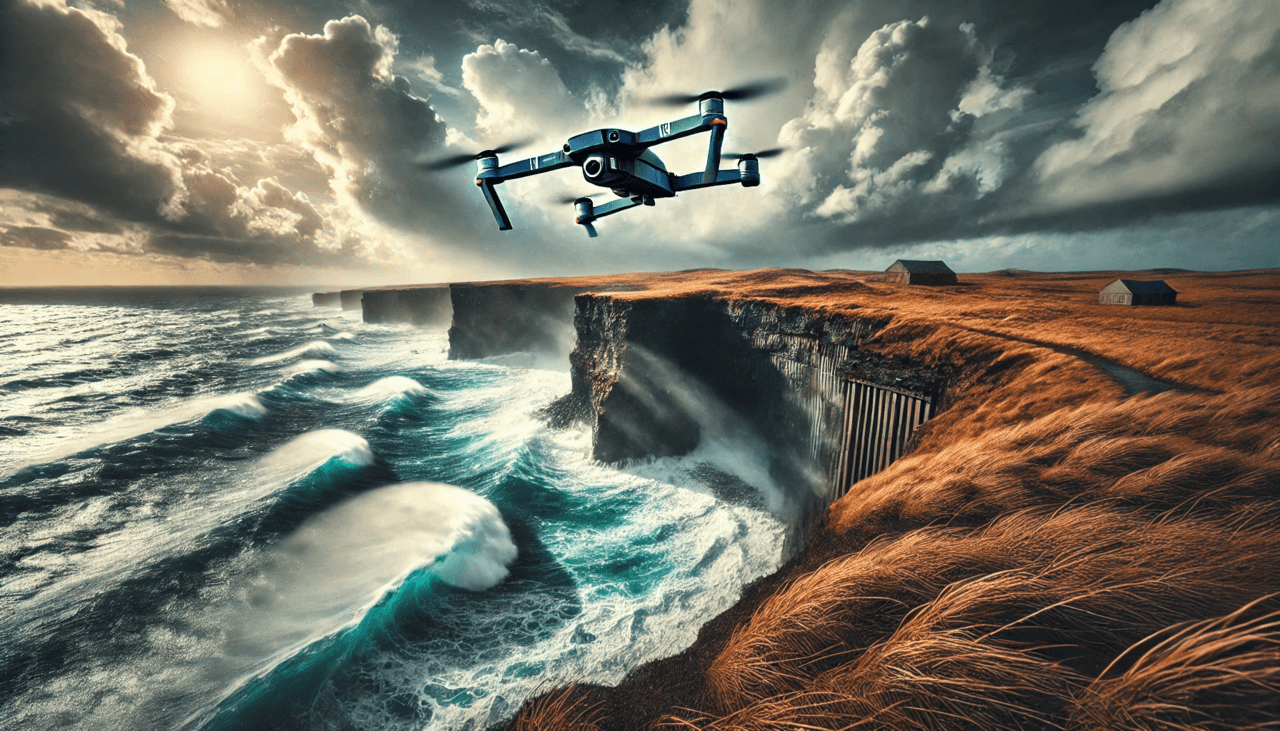
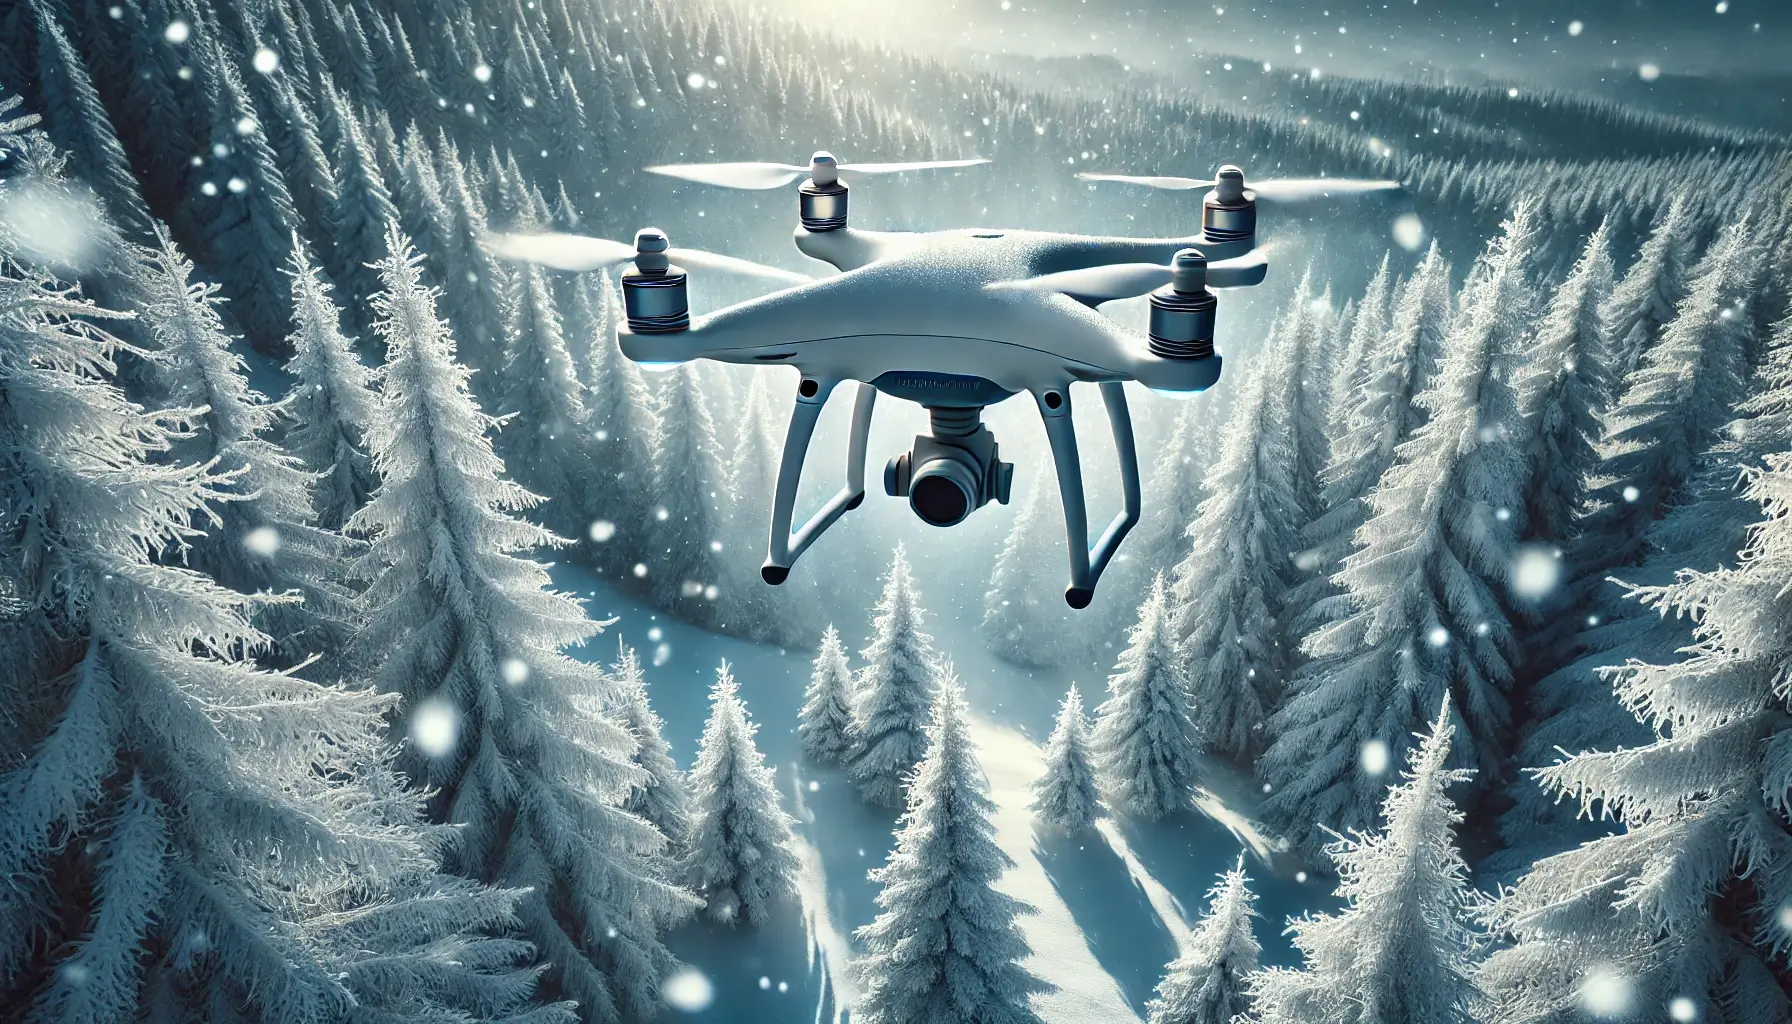
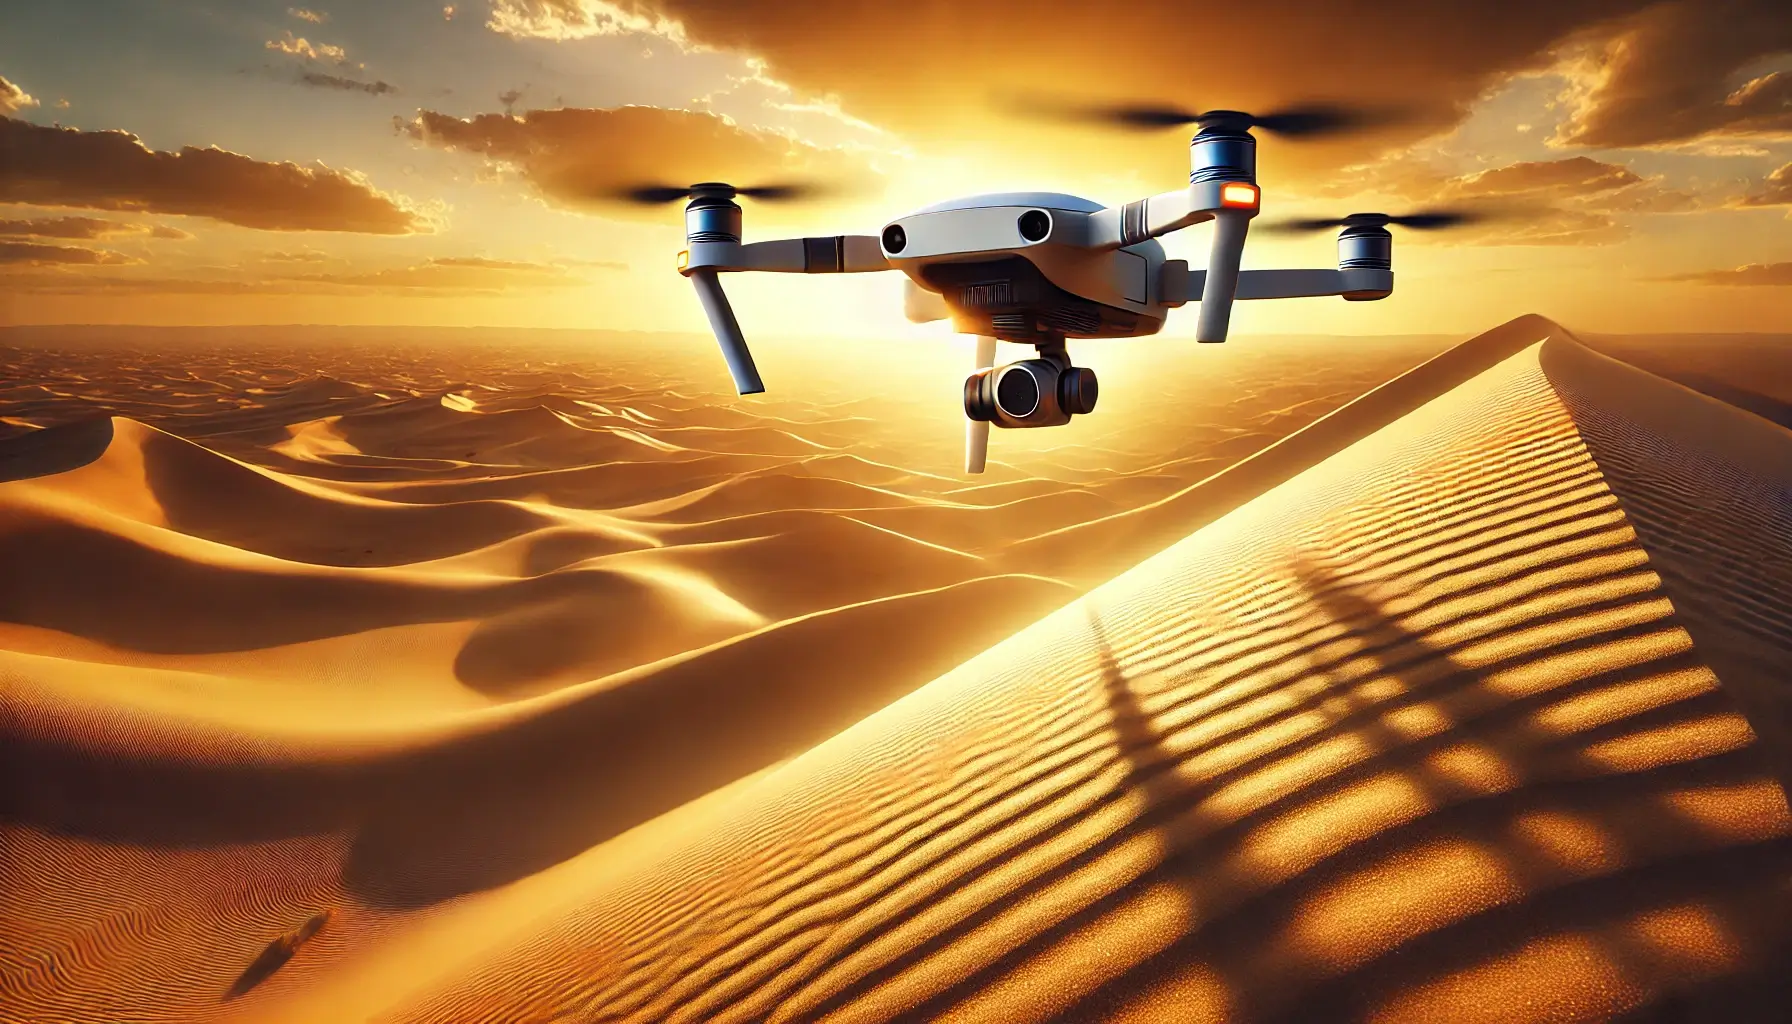
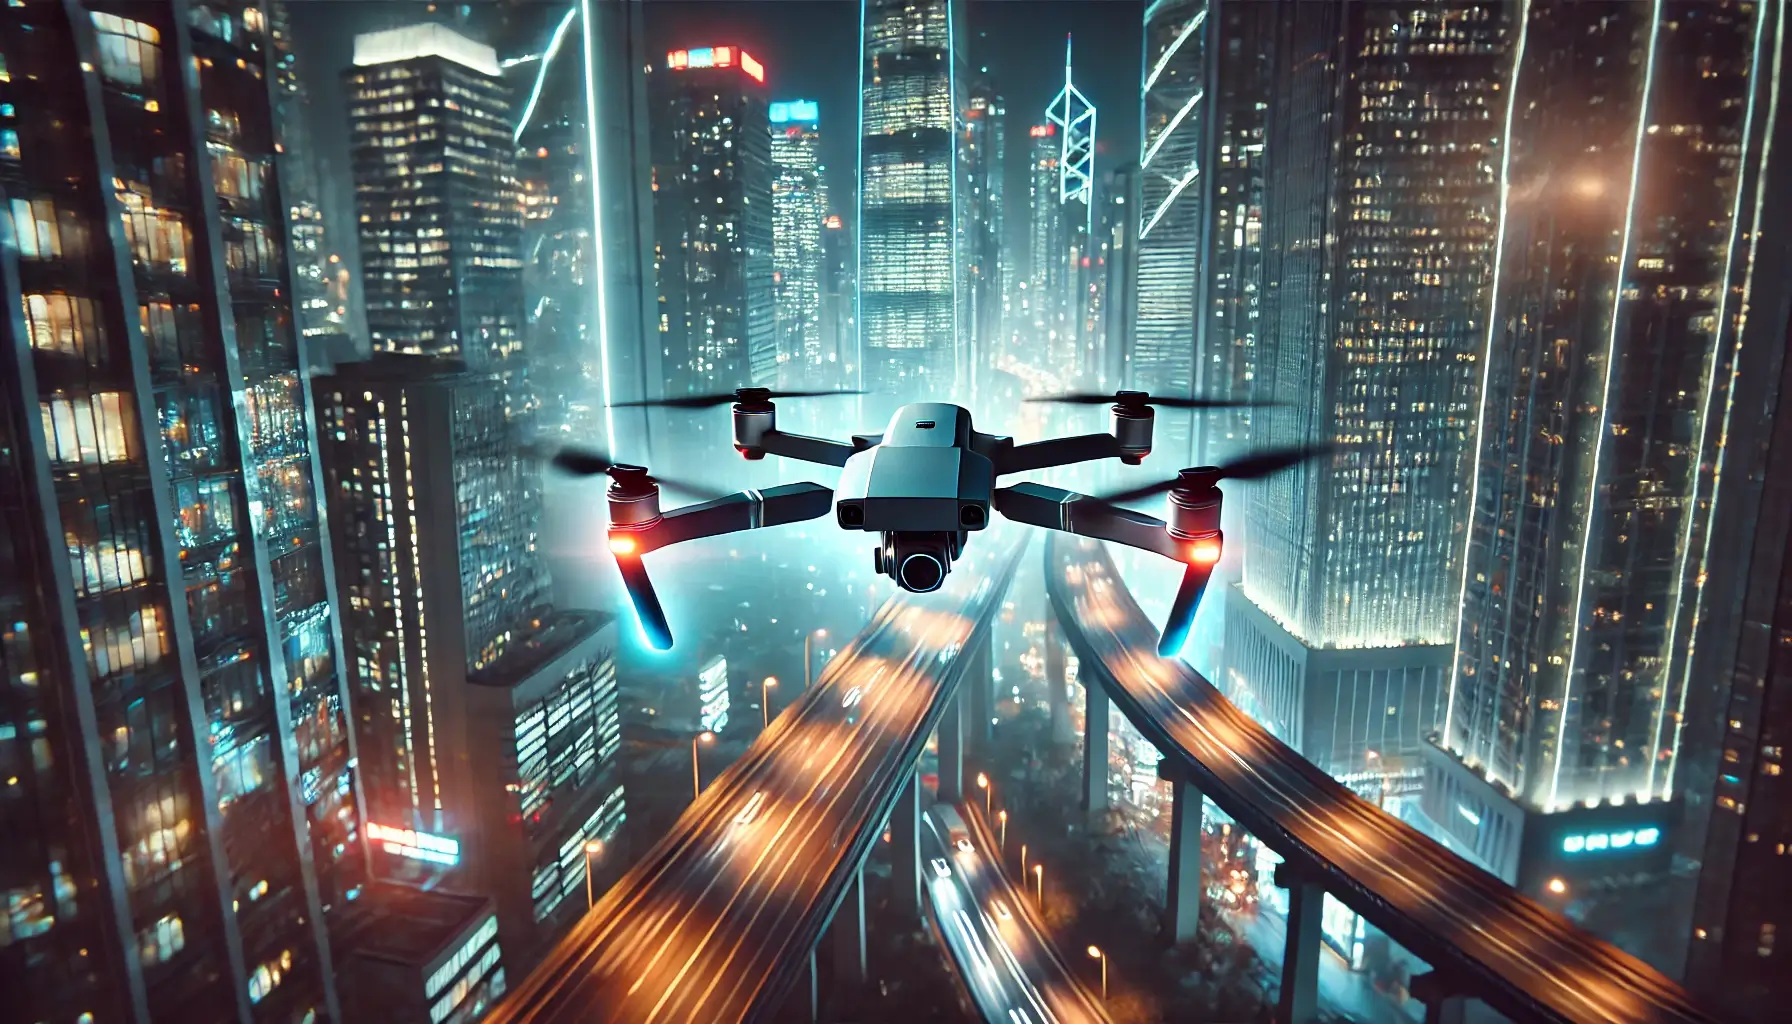
Mastering an FPV drone in a lab is just the beginning. Real-world flying requires the ability to adapt to changing weather, terrain, and time of day. The more experience you have in challenging environments, the more confident you become as a pilot.
Sunny days are ideal for practicing new maneuvers and testing changes in settings. But wind is a challenge. In windy conditions, you have to compensate for displacement, learn to keep the drone on a stable trajectory. This is very useful for developing control sensitivity.
Fog or rain require something different – orientation exclusively by the image from the camera and indicators on the screen. This is a good opportunity to practice in “blind” situations and test your attentiveness.
As for locations, it is worth alternating open areas, parks, urban areas with narrow passages and complex architecture, as well as natural landscapes with hills, trees, changes in altitude. Each of these conditions teaches something new: accuracy, orientation, stability or adaptation.
You should train separately at different times of the day. Daylight provides better visibility and allows you to focus on trajectories. Night flying is already a job with external drone lighting, a camera with high sensitivity and attention to detail.
The more variable the conditions, the more flexible your skills become. A successful FPV pilot is not someone who flies only in ideal conditions, but someone who remains stable in any situation.
This topic is aimed at honing the most important technical characteristics of flight – speed and accuracy. They are especially important both for racing and for the clear execution of complex freestyle elements.
To increase speed, you should learn to effectively use the throttle and the angle of inclination of the drone. Power control should be smooth, but at the same time decisive. Excessive aggression – the risk of losing control, excessive caution – loss of dynamics. The optimal angle of inclination of the drone body allows you to achieve high speeds without excessive air resistance.
Accuracy requires a different approach – attention to detail. The ability to “enter a turn” in advance, adjust the course in real time, maintain a stable altitude level is the result of regular practice and the habit of forecasting.
Settings also play a role. The flight controller should match your style: aggressive or smooth. Therefore, experimenting with PIDs, rates, exponents, deadband settings – all this helps to find a balance between responsiveness and predictability of control.
It is also recommended to analyze flight videos – this allows you to see where you brake too sharply, where you lose your trajectory, and where everything is perfect.
Speed and accuracy are not mutually exclusive concepts, but two sides of skill. Combining both aspects, you become a versatile pilot, ready for any challenge.
An FPV drone is a unique tool that allows you to realize creative ideas from angles that were previously inaccessible. But to achieve a professional result, you should know not only how to control the drone, but also how to properly organize the shooting itself.
You should start with the choice of equipment. Here it is important to consider not only the quality of the picture, but also stability in operation, weight and compatibility between elements. The following components have the greatest influence on the result:
Low-latency FPV camera;
High-resolution main camera;
Gimbal for stabilization (optional, depending on shooting goals).
After selecting the equipment, we move on to framing. To avoid chaotic shots and battery drain, each flight must have a clear goal. It is important to determine the flight points, angles, and orientation of the object. This will allow the pilot to see the finished frame in his head even before the start.
The foundation of high-quality FPV shooting is in preparation and understanding the equipment. And then it is a matter of visual taste and practice.
Even the most expensive camera won’t save a shot if the shooting parameters are set incorrectly. Knowing how to set up your camera is half the battle to get good footage, especially if you’re shooting in motion or with difficult lighting.
To get the best results, approach the settings consciously. Each parameter affects the final quality. Pay particular attention to:
resolution (1080p, 2.7K, 4K — depending on the goals);
frame rate (24, 30 or 60 FPS — for different styles);
exposure, ISO and shutter speed, which should match the lighting conditions.
If you’re shooting stills, it’s also a good idea to work with manual white balance rather than leaving it on auto. Also, don’t ignore the shooting format: RAW offers much more editing options than JPEG.
Having control over settings is like manual focus in a movie: it can be tricky at first, but it gives you real creative control.
No theory can replace flight practice. To make shooting skills automatic, you need regular exercises that don’t just repeat the technique, but teach you to think like a cameraman in the air.
Here are some typical exercises to include in your workout schedule:
route planning on a map or on the ground before the flight;
choosing a composition from different angles: from above, around, with an approach;
smooth flights at low altitude with turns and deceleration.
Such exercises develop control over the drone, help you feel the moment and learn to see the frame before it appears on the screen.
To enhance the effect, after each flight you should watch the video and look for points that could be done better: stability, angle, transition between movements. This is the path to improvement. Each flight is not just a movement in the air, it is a training of the eye, motor skills and imagination. By repeating and analyzing, you automate quality.
The theoretical part we completed gave a comprehensive idea of the world of FPV drones — from basic concepts to the intricacies of choosing components and understanding the logic of flight. We not only got acquainted with the terminology, but also immersed ourselves in the history of the development of this technology, understood the main components of the drone, and most importantly — understood how each detail affects the behavior of the device in the air.
It is worth noting separately that studying the theory is not a separate part of the training, but the foundation on which all further practice is built. When the pilot realizes how the controller works, why the quality of the video signal is important, or how PID settings correlate with the movement of the drone — this allows not just to “fly”, but to control the situation completely, consciously, confidently, safely.
This part of the course creates a solid base for further practical classes — from assembling the drone to filming, training in simulators and real conditions. Everything we learned is a theoretical toolkit that will turn into a living experience already in flights. It is from this moment that the true formation of an FPV pilot begins.