
Do you have an old phone you don’t need? Don’t throw it away – you can turn it into a full-fledged pocket cyberdeck for pentesting, Wi-Fi auditing, and hacking experiments. In this article, you’ll learn how to turn your Pixel 3 XL into a portable device with Kali NetHunter, at no extra cost.
The author of the project created a compact clamshell-style design that includes a 3D-printed case, a Bluetooth keyboard, USB-C OTG adapters, and support for external Wi-Fi modules. Thanks to the easy-to-follow instructions, you can create a budget alternative to a hacker’s laptop in just a few evenings.
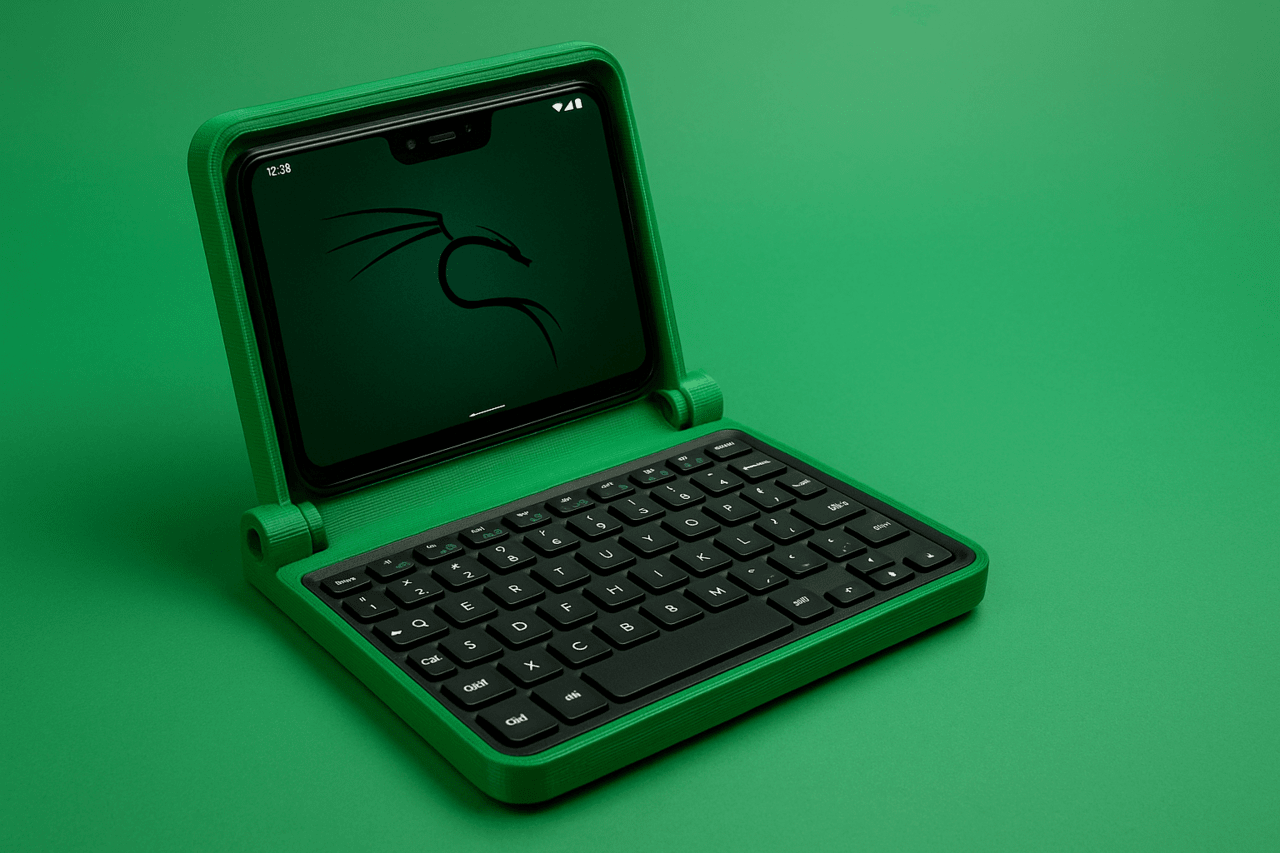
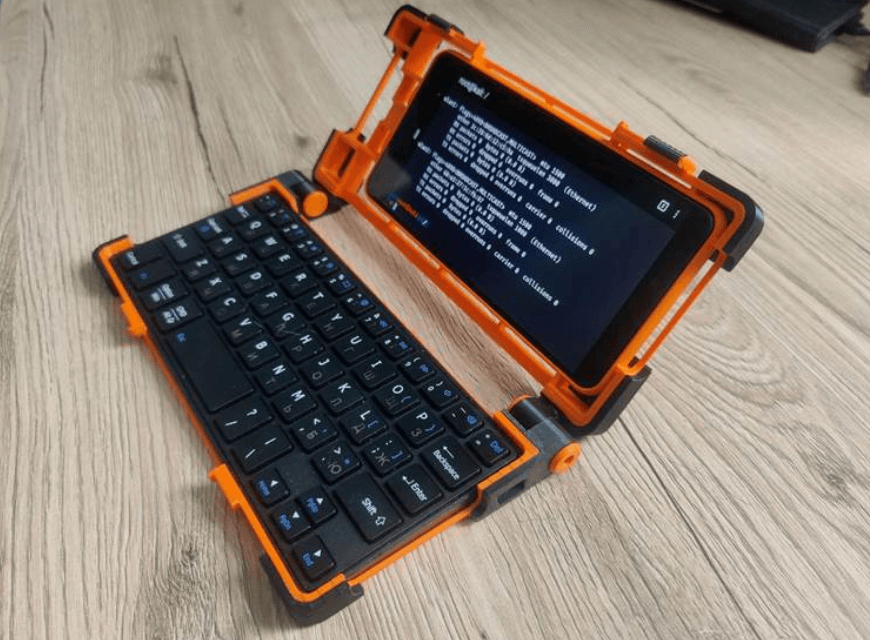
In an era where laptops are getting thinner and smartphones are getting more powerful, there’s still a niche for compact, dedicated computing devices that offer the best of both worlds. Today, we’re taking a look at a project that turns an old Google Pixel 3 XL into a clamshell-style portable handheld. In short, it’s a minimalist, 3D-printed, handheld-style case designed to house the Google Pixel 3 XL smartphone.
This system serves as a convenient alternative to carrying a full-sized laptop or using a smartphone’s virtual keyboard to perform complex technical tasks. It offers comfortable typing and efficient portability. For those who need a specialized terminal for on-the-go work, diagnostics, or field work, this project gives a powerful, old smartphone a valuable second life as a functional and easily deployable handheld computer.
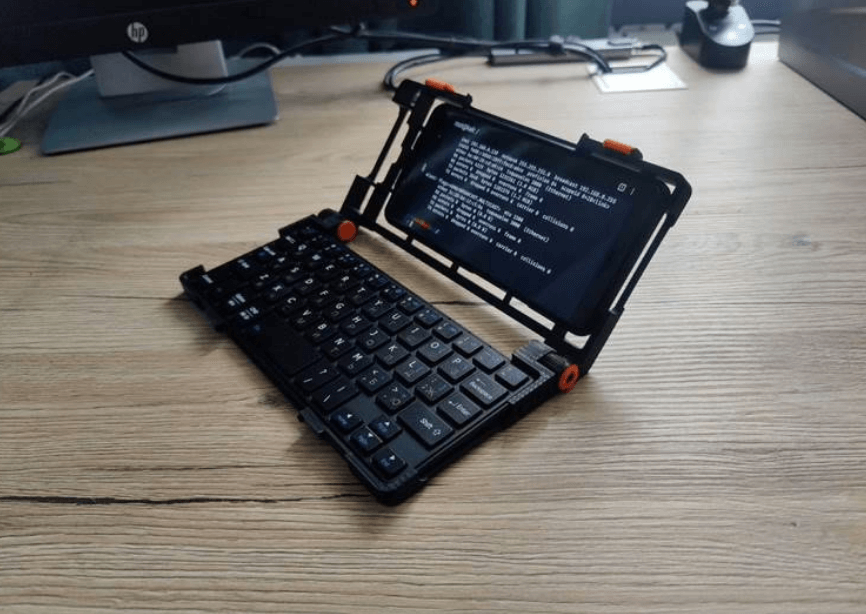
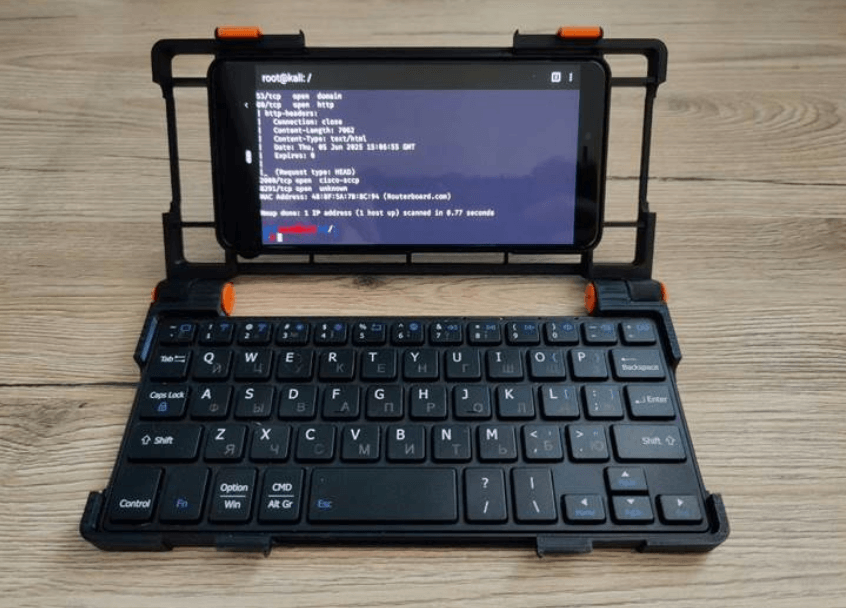
The NetHunter C-deck is essentially a home-made portable cyber device built around a Google Pixel 3 XL smartphone running the Kali NetHunter OS. The core of the project is a special 3D-printed clamshell case that securely holds both the smartphone and a Bluetooth keyboard.
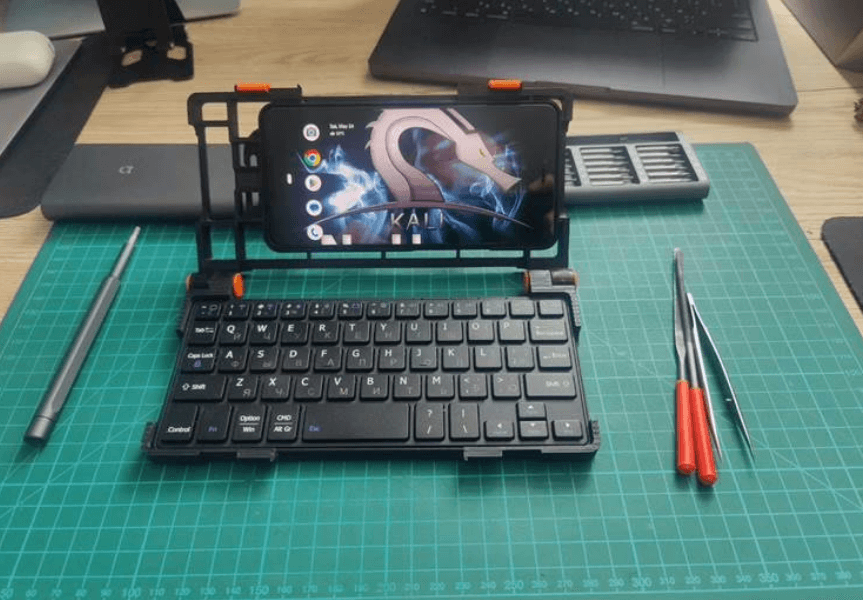
Essentially, this device leverages the power of Kali NetHunter, a mobile penetration testing platform built on Kali Linux. This makes it an ideal and affordable platform for penetration testing, network analysis, or really any work that Linux can do on the go. Whether you’re configuring network equipment on-site, troubleshooting, or conducting security audits, having a full Linux environment in your pocket offers flexibility.
The advantage of the NetHunter C-deck is that it is self-assembly, making it accessible to anyone with a 3D printer and a few readily available components. To assemble it yourself, you will need the following key components:
Google Pixel 3 XL: A smartphone that serves as a computing core.
Universal Bluetooth Keyboard: For comfortable typing and interaction.
USB-C OTG with charging: For connecting peripherals while charging.
Velcro cable ties (3 pcs.): For cable management (although the latest design has simplified this).
M3x12 screws (2x): For assembly.
While the project specifically provides 3D model files for the Google Pixel 3 XL, the concept of turning a smartphone into a cyberdeck is adaptable. It is potentially possible to use other smartphones capable of running Kali NetHunter, such as the OnePlus 7 Pro or 7T. However, if you choose a different smartphone, you will need to customize or rework the 3D printing files to suit your specific device.
The NetHunter C-deck chassis has gone through several iterations, each aimed at improving printing and assembly ease while maintaining an attractive appearance.
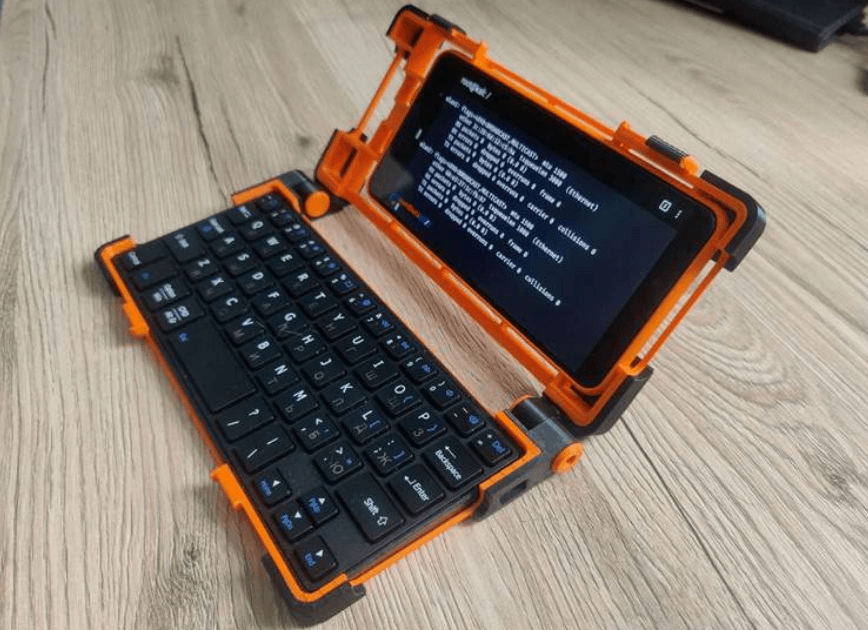
Version 1.0.0 was designed with durability in mind and offered attractive multi-color printing options. You can download 3D models here Pixel 3 XL NetHunter Clamshell Palmtop v1.0.zip
Version 2.0.0 prioritized a less complex build with fewer 3D printed parts, making assembly much easier. You can download the 3D models here Pixel 3 XL NetHunter Clamshell Palmtop v2.0.1.zip
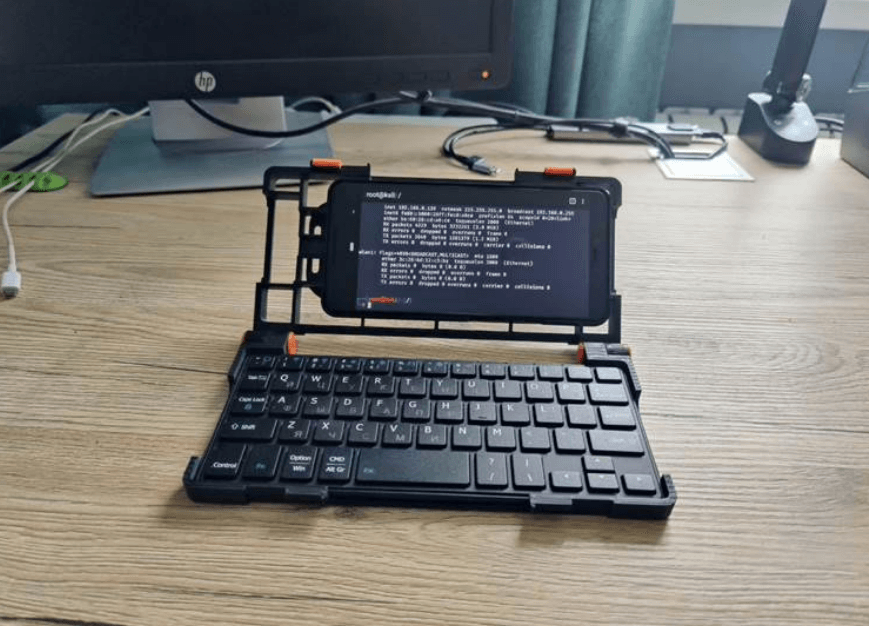
In the latest and likely final version, 2.1.0, the design has been further refined by moving the phone to the center of the lid and removing unnecessary parts for attaching cables or external cards with plastic ties, making the overall design cleaner and more efficient. You can download the 3D models here Pixel 3 XL NetHunter Clamshell Palmtop v2.1.0.zip
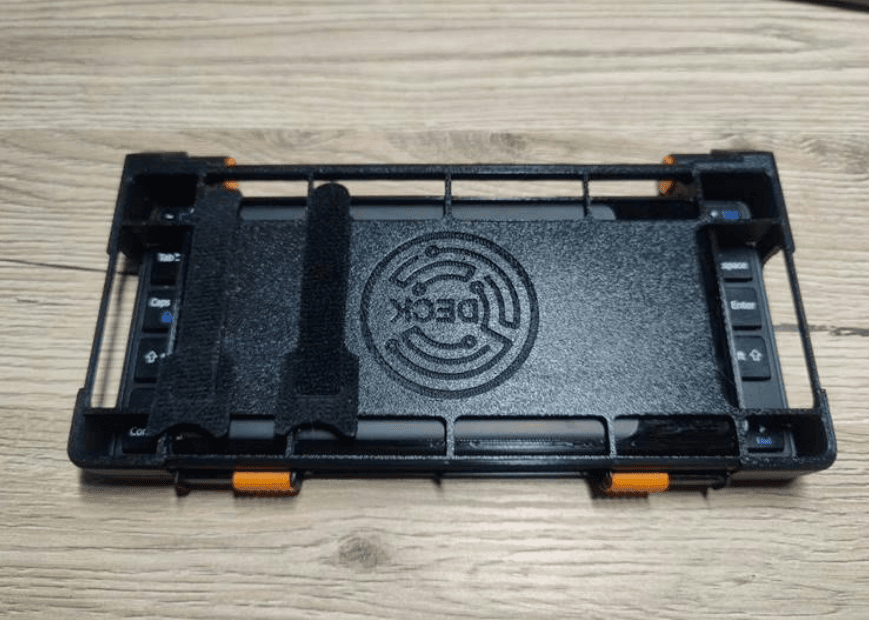
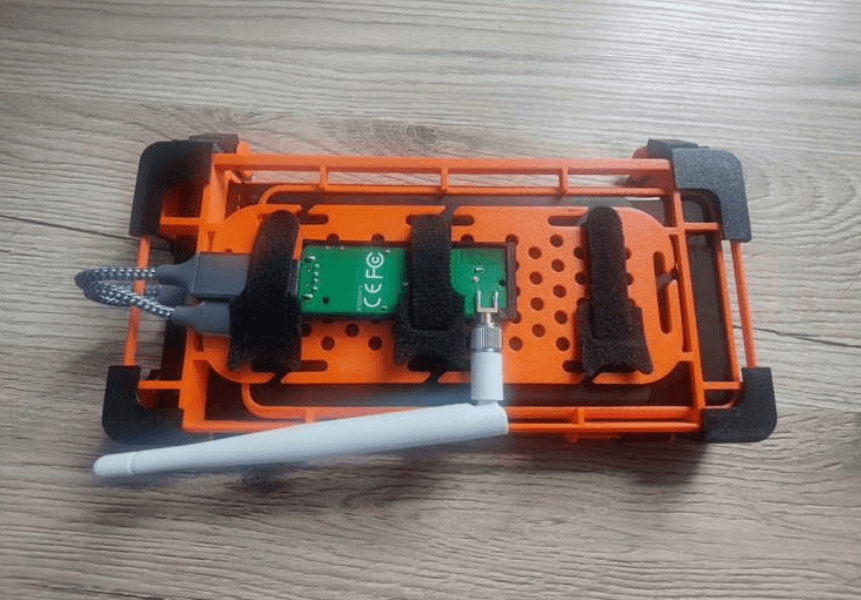
An important feature of these designs is a panel on the back of the cover, specially designed for installing external Wi-Fi, Bluetooth, SDR (software-defined radio) adapters connected via an OTG cable.
For those who want to delve into the software side, s.gordienko provided detailed instructions on how to install Kali NetHunter on a Google Pixel 3 XL. The original installation steps can be found on XDA Developer. The installation included flashing a custom kernel with support for internal Wi-Fi monitoring mode (package injection is not supported), BadUSB, popular external Wi-Fi adapters, etc. Here’s a quick rundown of the steps.
Android 12 Custom Flash: Install the latest Android 12 image for Pixel 3 XL (specifically, the “crosshatch” variant) from Google’s official developer site.
Enable developer mode and USB debugging: Go to Settings > About phone, tap Build number 7 times. Then go to Settings > System > Developer options and enable OEM unlocking and USB debugging.
Unlock bootloader: In Settings > System > Developer options, enable OEM unlocking and confirm the prompt.
You will need to download a few files to your PC:
TWRP boot image and installer: From twrp.me/google/googlepixel3xl.html.
Magisk: For root access, head over to the Magisk GitHub page (don’t forget to change the file extension from .apk to .zip).
Alynx NetHunter kernel and wireless firmware: Usually found in XDA threads.
Kali NetHunter full archive: Download the full NetHunter zip archive for Pixel 3 XL (crosshatch) from kali.download (e.g. kali-nethunter-2025.1c-crosshatch-thirteen-full.zip).
Reboot to bootloader: Use the ADB command adb reboot bootloader:.
Boot TWRP Recovery: Use Fastboot fastboot boot twrp-3.7.0_12-0-crosshatch.img:.
Download installation files to device/sdcard: Use ADB to transfer all downloaded zip files to your device directory.
Install files via TWRP: In TWRP recovery mode, go to the “Install” section and archive the following zip files in this order: 1. twrp-installer-3.7.0_12-0-crosshatch.zip 2. magisk28.1.zip 3. Alynx-12-nethunter-bluecross.zip 4. Wireless_firmware.zip.
Reboot to system: After the installation is complete, return to TWRP > Reboot > System.
Magisk Setup: Open the Magisk app, follow the on-screen instructions, and reboot your computer if prompted.
Installing the Kali NetHunter module: Copy the full NetHunter zip to your device. Open Magisk > Modules, tap “Install from storage,” select the NetHunter zip, and reboot your device after installation.
While the NetHunter C-deck is an obvious asset for hackers and penetration testers rather than developers, its usefulness extends far beyond that. This compact, low-cost handheld is ideal for field work, diagnostics, and general-purpose computing. Its ease of portability and quick deployment make it a valuable tool for system administrators, IT professionals, or anyone who needs a portable Linux terminal with a physical keyboard on the go. The ability to comfortably type on a physical keyboard and connect external modules turns a simple smartphone into a powerful pocket-sized cyberterminal.