
24.08.2023
4 min
2040

Створення віртуальної машини за допомогою VMware на Mac OS, основаної на ISO-образі Kali Linux – це крок до отримання потужного та гнучкого інструменту для спеціалістів у галузі кібербезпеки. Наша інструкція надасть вам конкретні кроки для настройки та оптимізації вашої ОС, щоб ви могли отримати максимальну продуктивність від вашого віртуального середовища. Kali Linux – це одна з найбільш популярних операційних систем для тестування проникненням та аналізу безпеки. Використовуючи VMware на вашому Mac OS, ви можете легко ізолювати цю потужну ОС та запускати її паралельно з вашою основною системою. Це надає вам безліч можливостей для тестування, аналізу та навчання, не впливаючи на ваше первинне середовище. Основний акцент у нашій інструкції зосереджено на детальному процесі створення, від вибору правильного ISO-образу до оптимальних налаштувань системи.

Virtual machines are becoming a key tool for those seeking maximum security in the online space. They create an isolated environment that effectively blocks out potential threats and malware. Using a virtual machine reduces the risk of compromising the underlying system and provides an additional layer of protection against intrusions. Thus, for those who want to keep their data safe, virtual machines are becoming an indispensable tool in today’s digital world. VMware Player and VirtualBox are two well-known virtualization platforms for creating a virtual machine. Their key difference is that VMware Player is free for personal use only, while VirtualBox is completely free and open source software available for personal and commercial use. VMware Player is developed by VMware, a leader in virtualization, while VirtualBox is owned by Oracle. “Oracle” is an American corporation that specializes in the production of software, hardware for computing and other products and services in the field of information technology. VirtualBox, thanks to its transparent operation, has a larger set of features and settings, so we consider this virtual machine to be the best. Also, VirtualBox provides more flexible options and this is all thanks to its open source. On top of that, compatibility in VirtualBox, thanks to its open nature, supports a wider range of operating systems compared to VMware Player. Both tools, VMWare Player and VirtualBox, have their merits and each of them may be better depending on the specific use case scenario. The best way to determine which app best suits your needs is to install both and experiment with them. Only practice will help you figure out which virtual machine best meets your requirements.
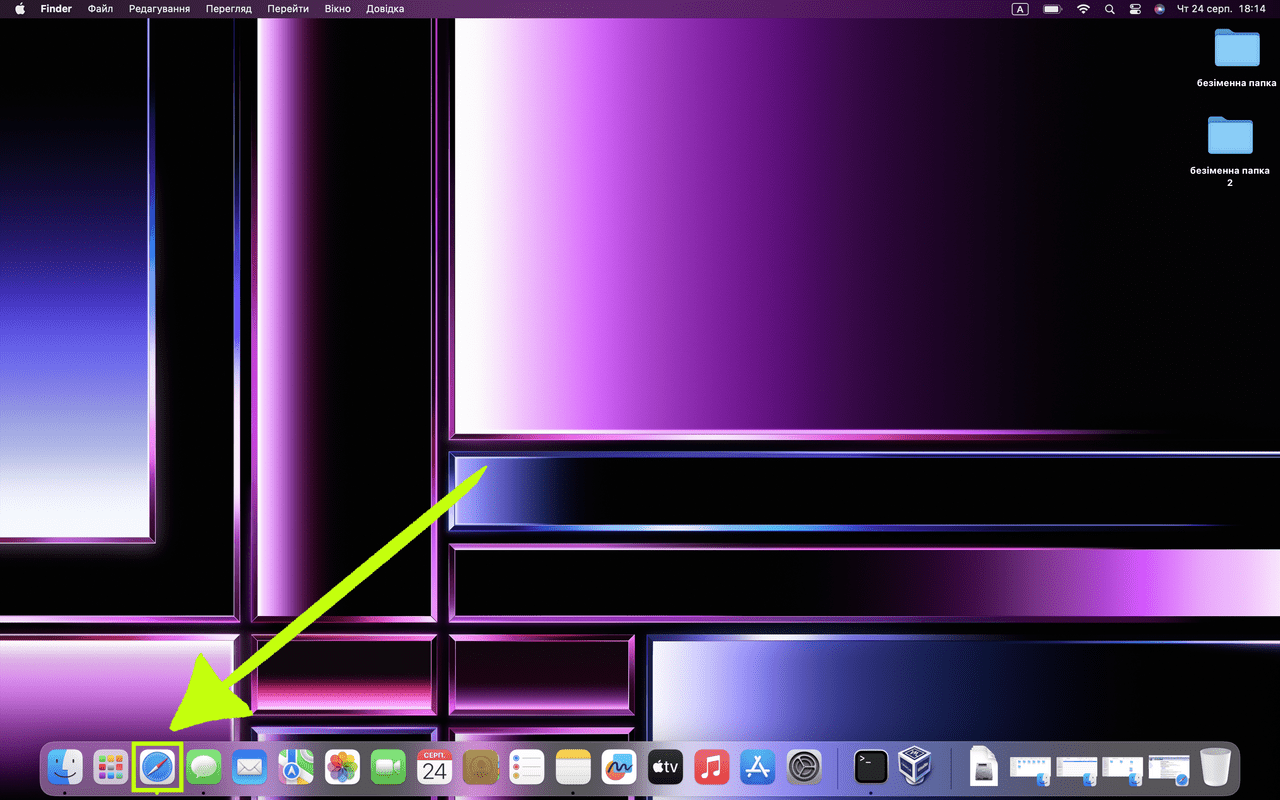
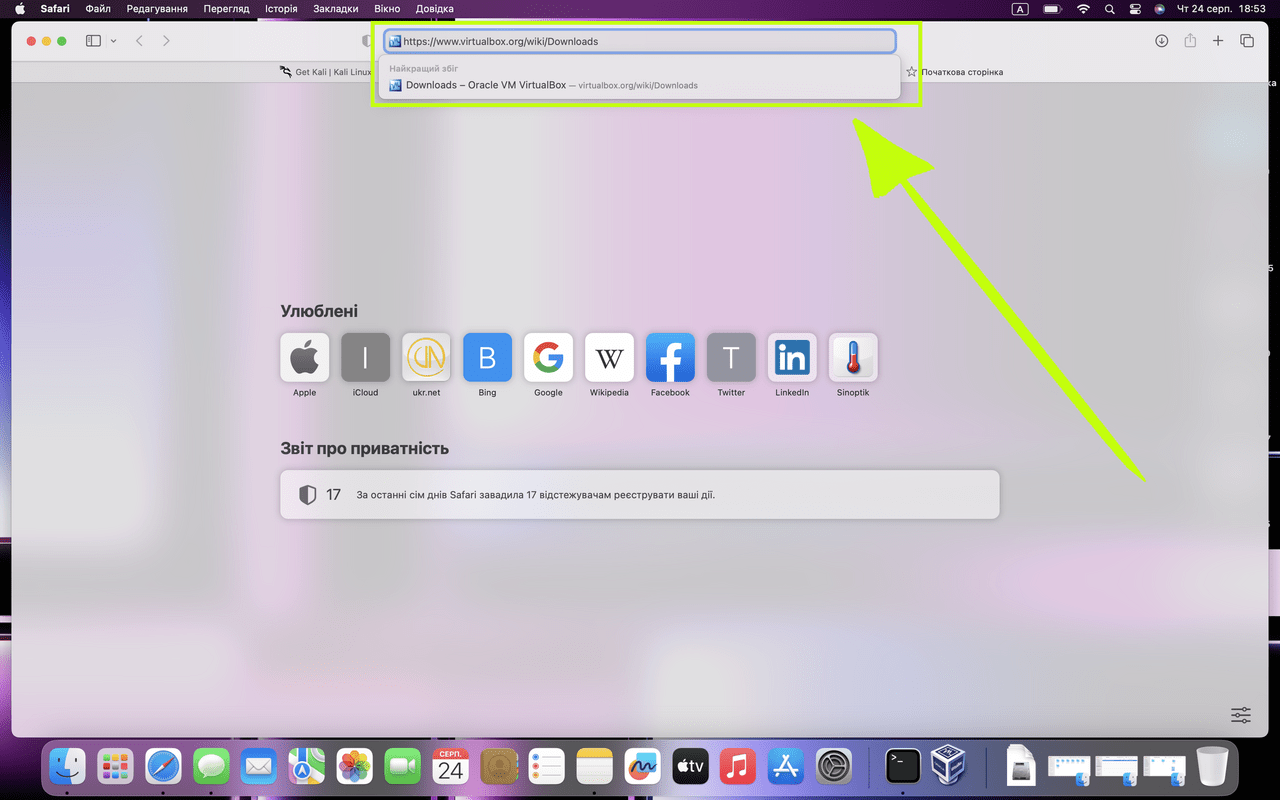
Open the Safari browser

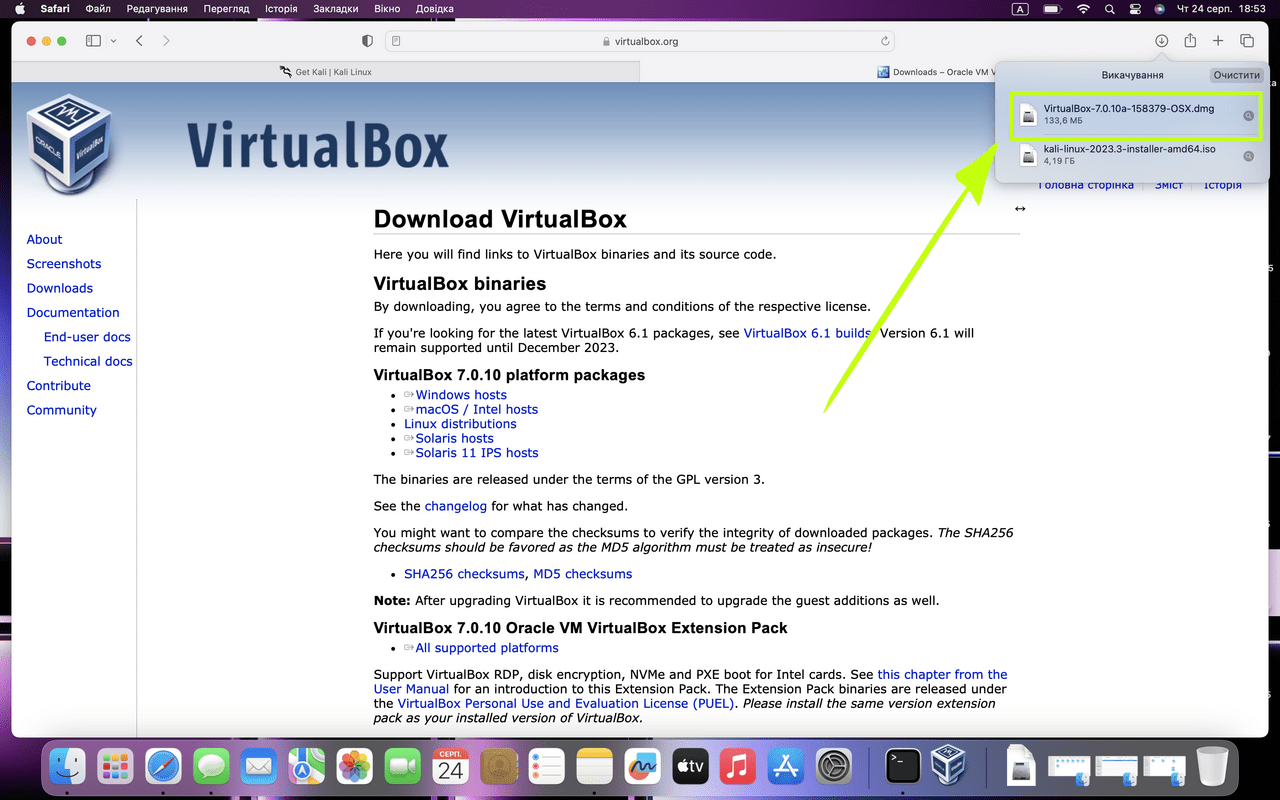
Click on the download icon as shown in the screenshot
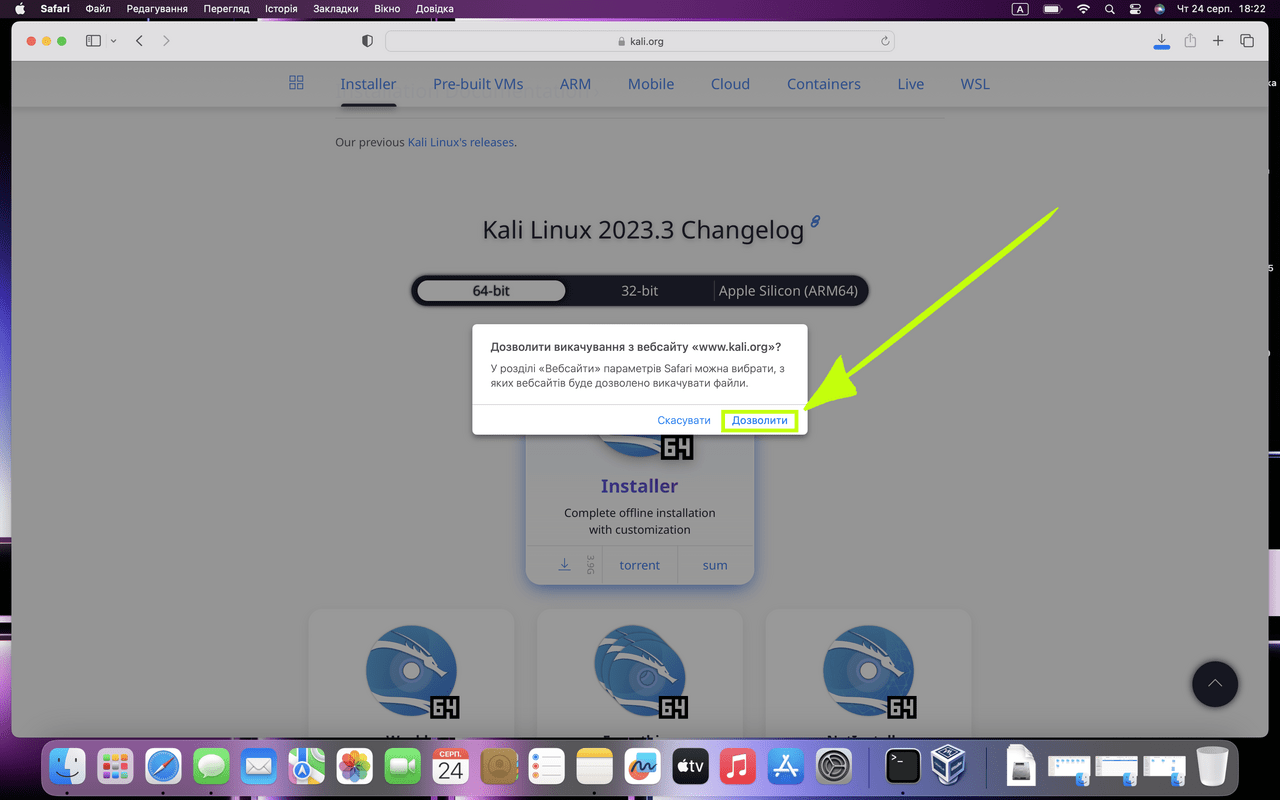
Click “Allow”
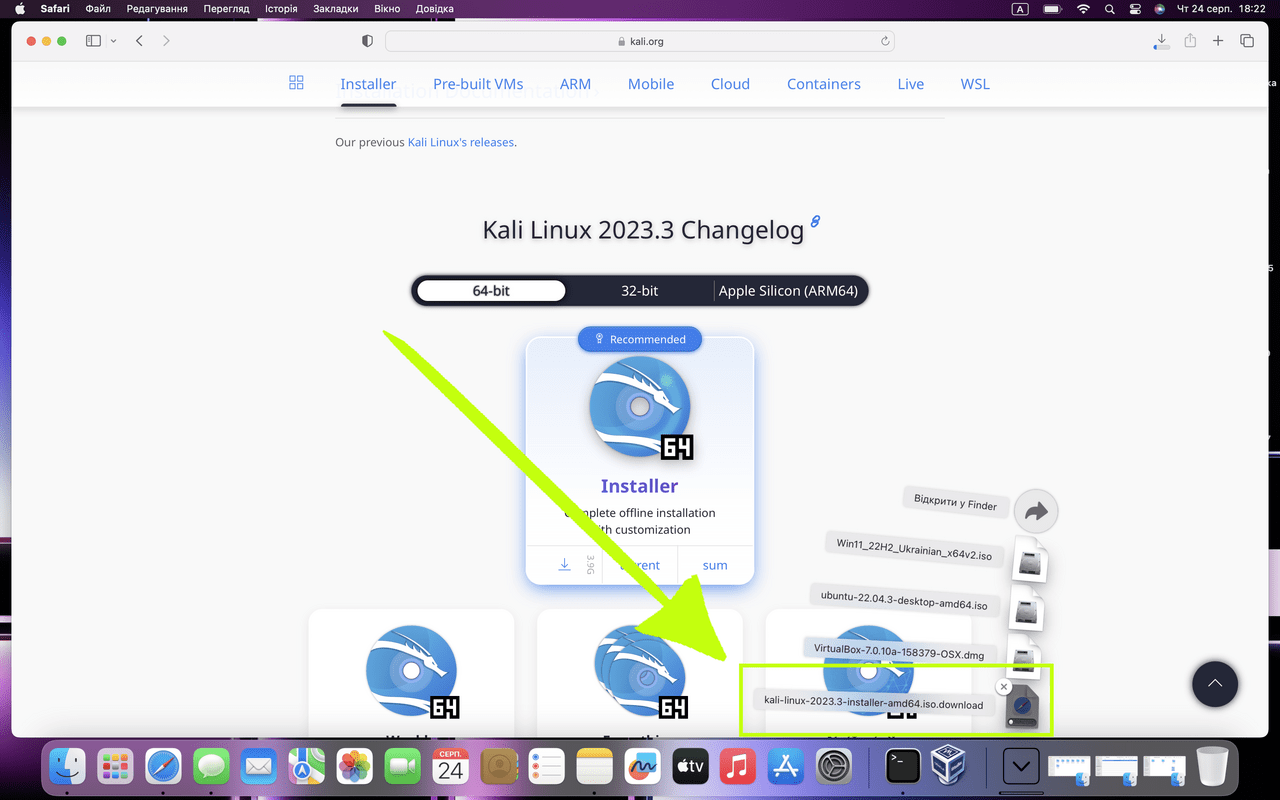
Here we can see that our file has been uploaded
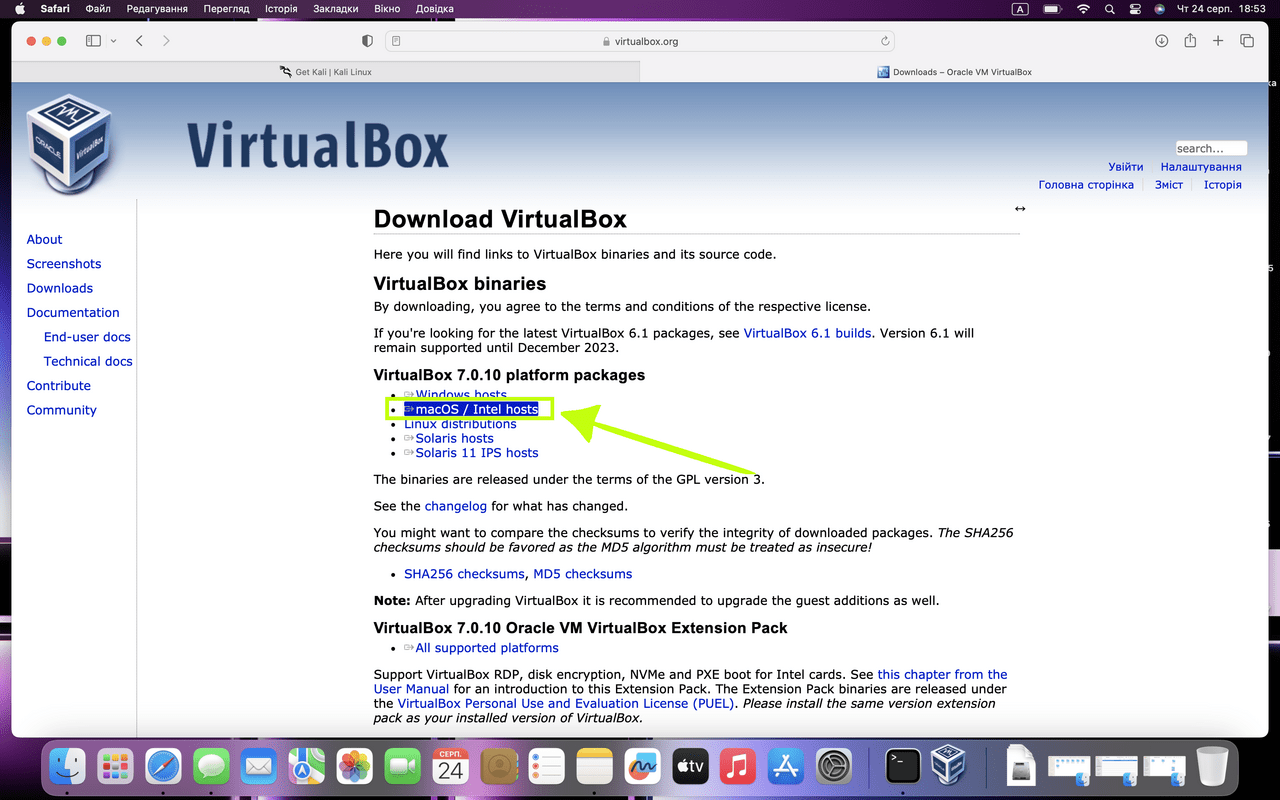
Click on the highlighted fragment “macOS/Intel hosts”
We click twice on the specified file and start downloading it
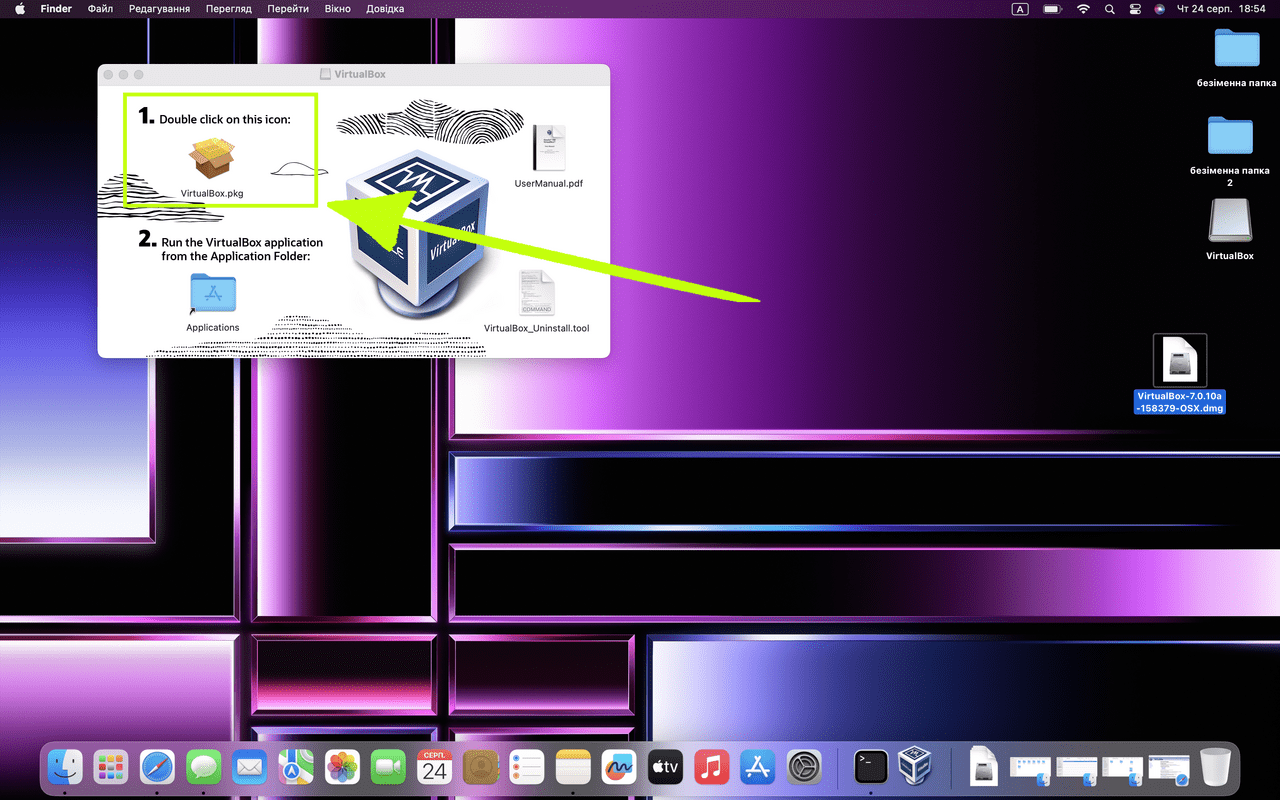
Double-click the “VirtualBox” icon on the desktop. After that, the VirtualBox window opens with you, on which we also double-click on the selected fragment, as shown in the screenshot
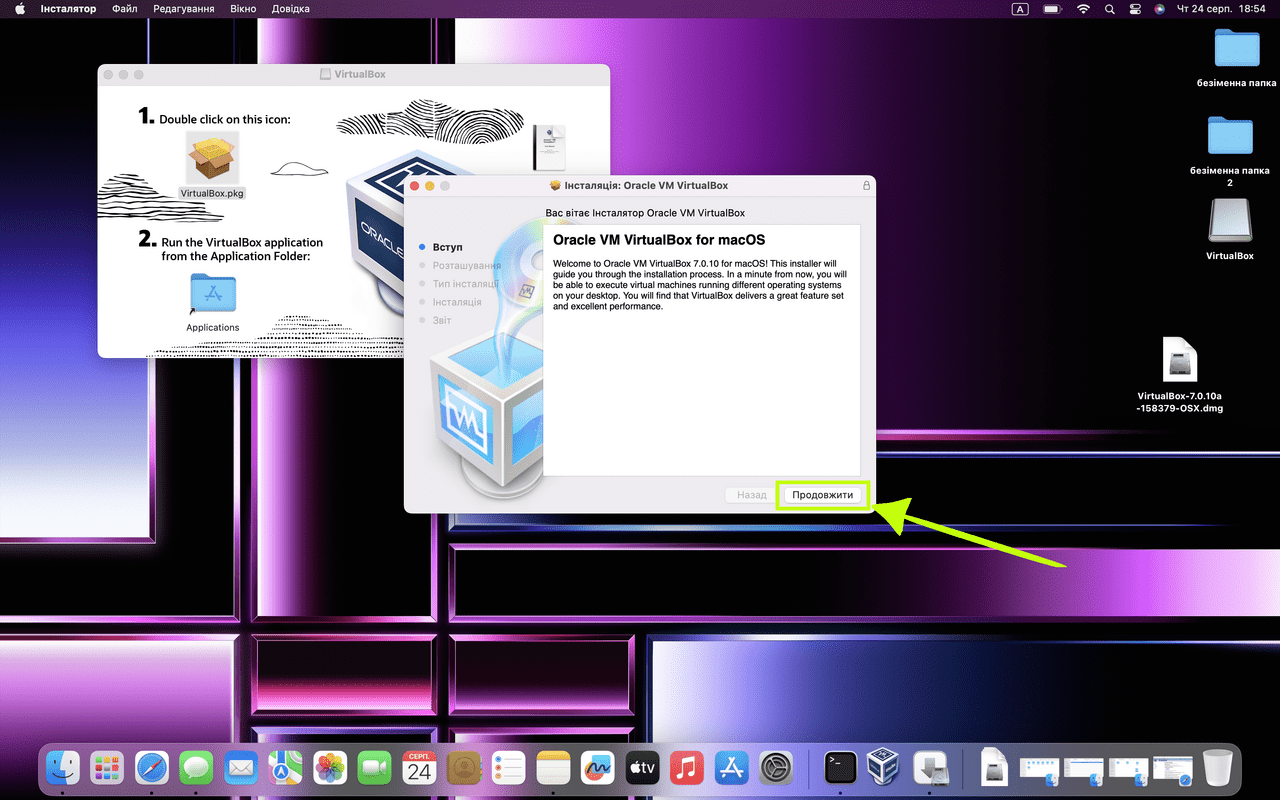
Click “Continue”
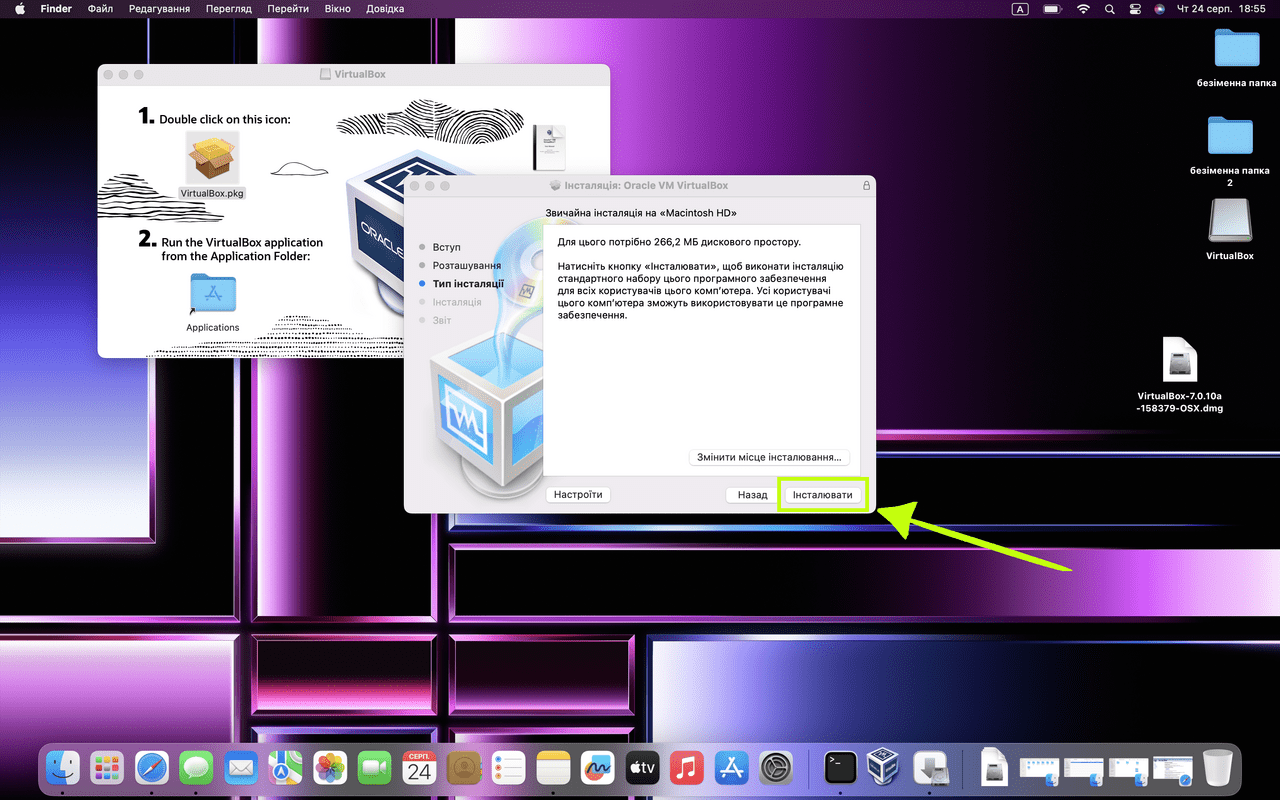
Click “Install”
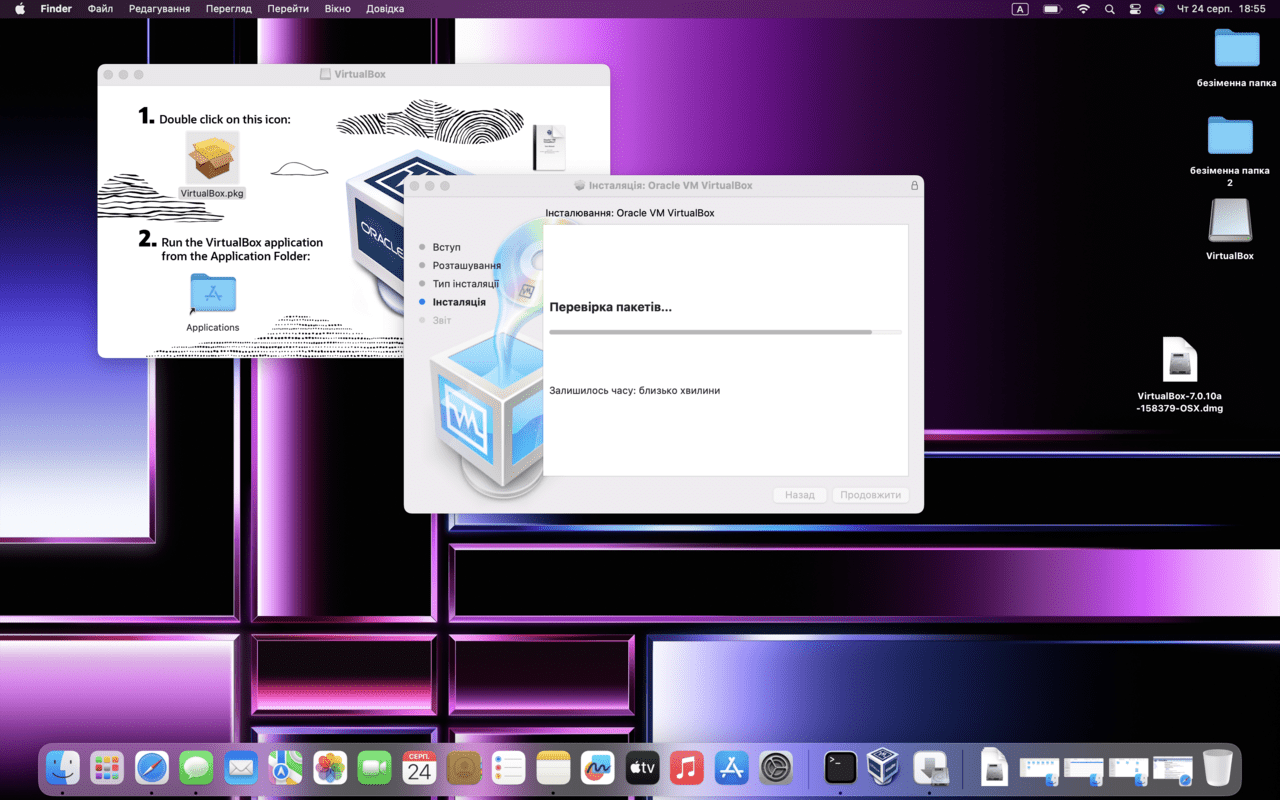
Here we just need to wait for the files to download
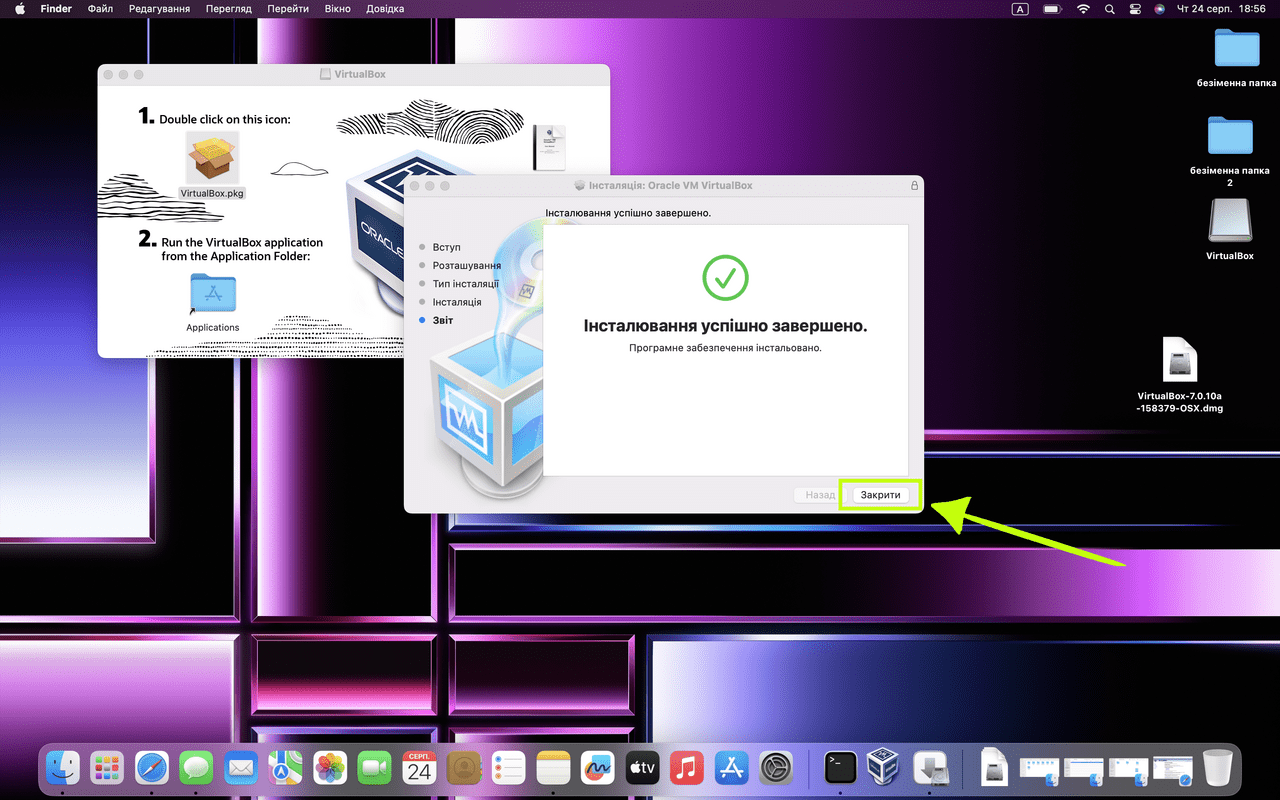
Click “Close”
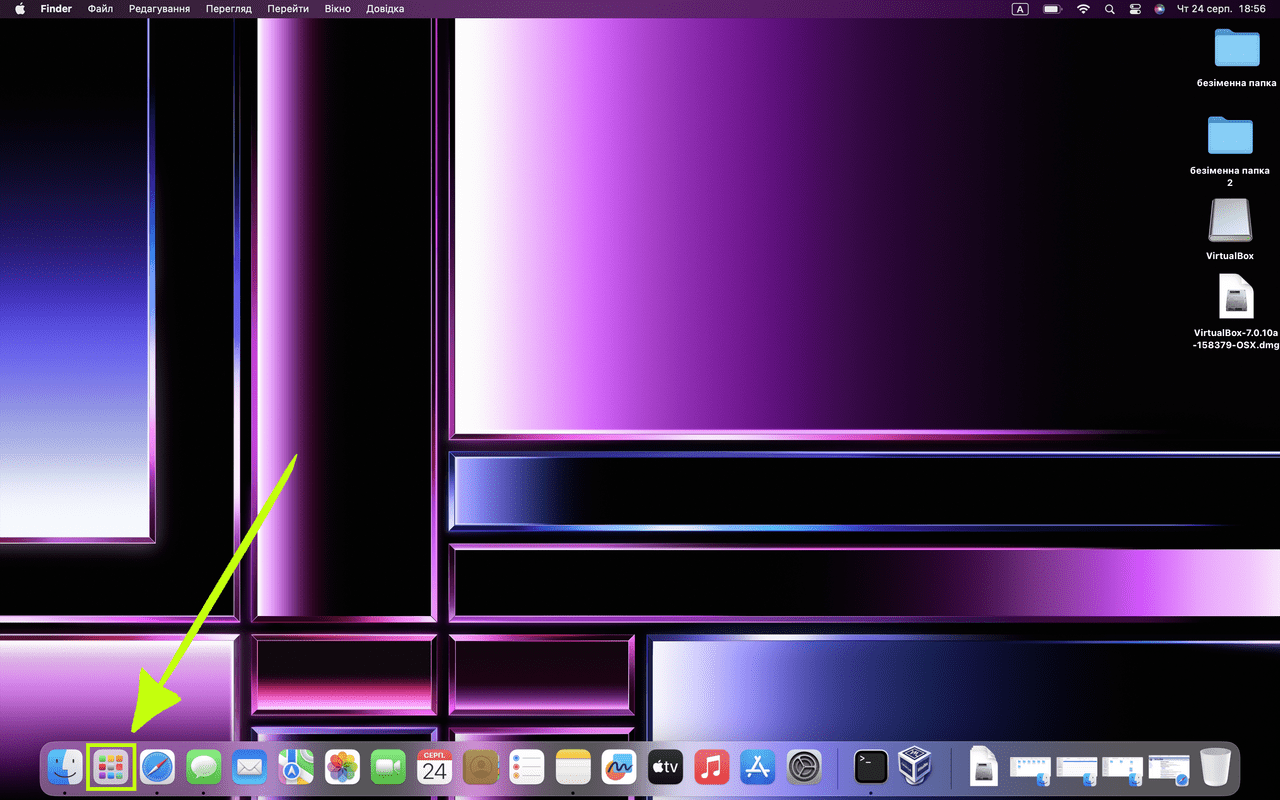
Click on the icon as shown in the screenshot
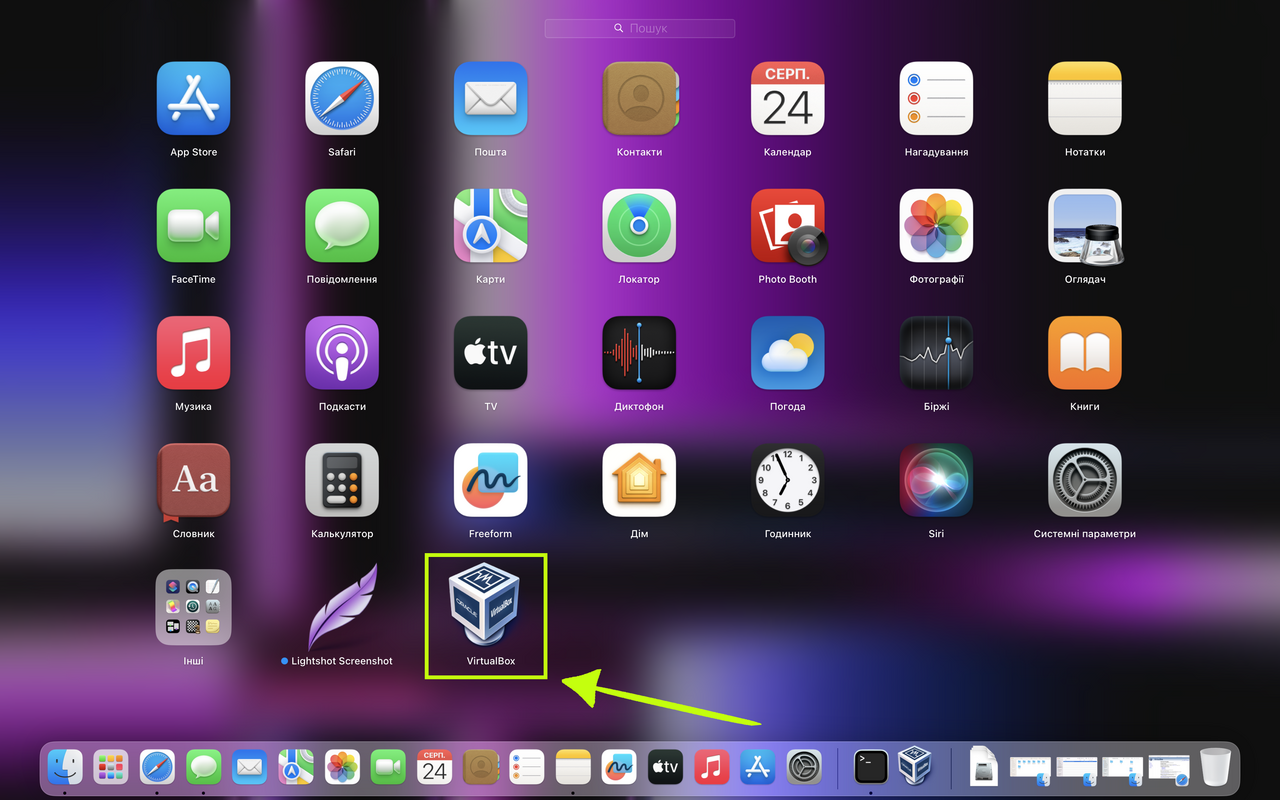
Double-click the VirtualBox icon
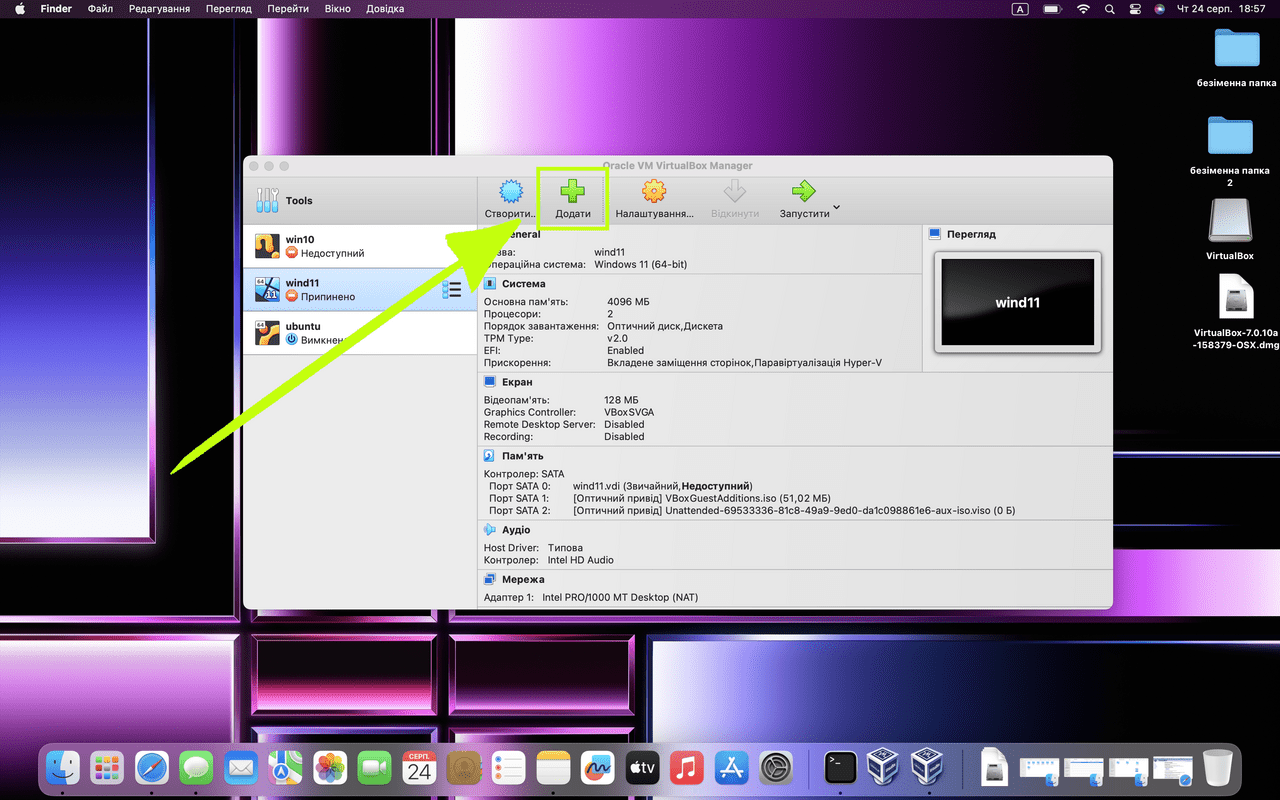
Click “Add”
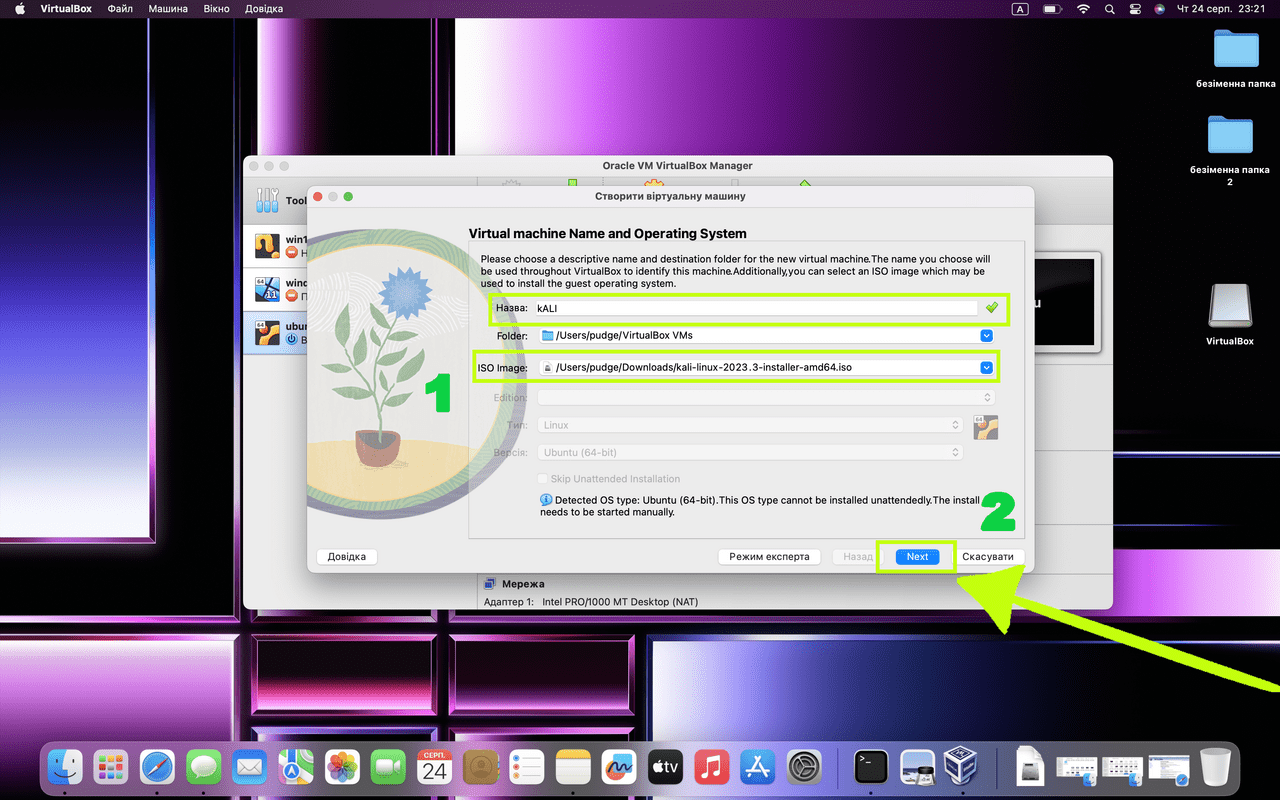
We name our virtual machine, specify the path of our ISO image and move on
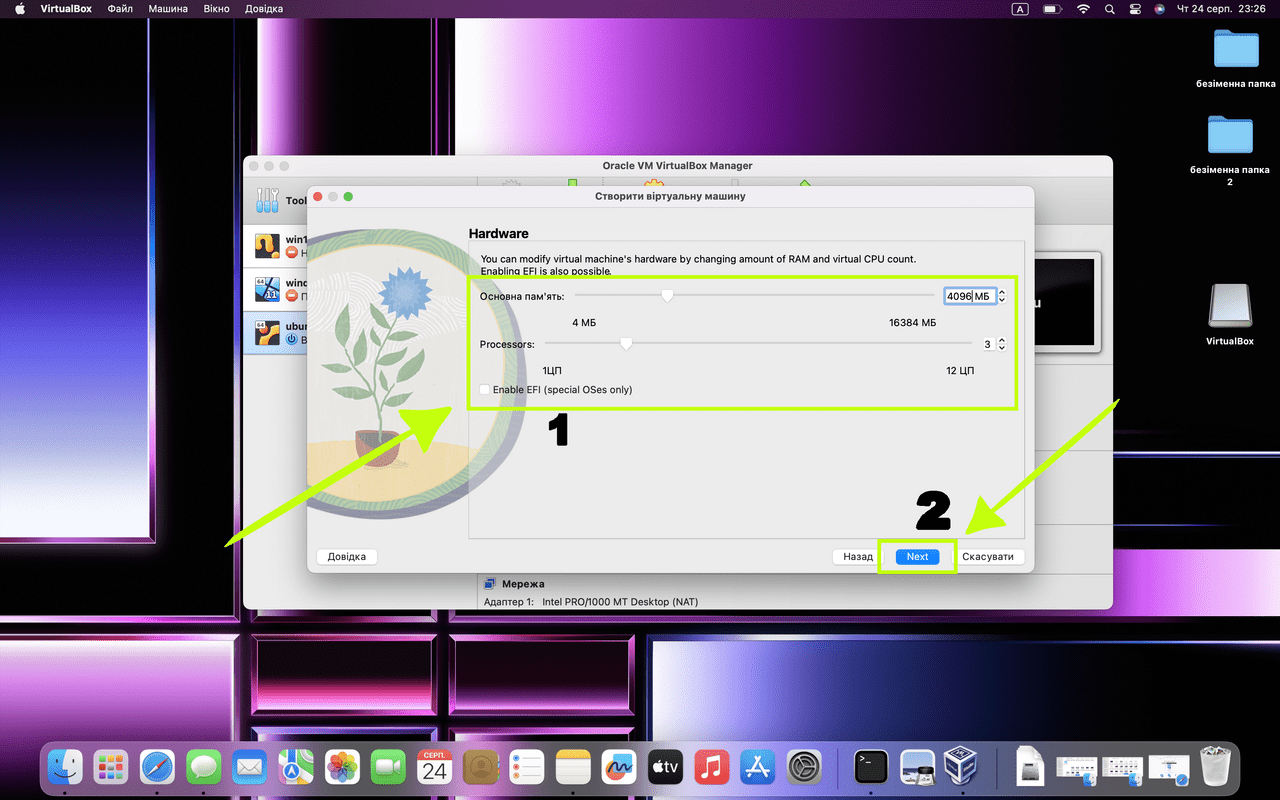
You can modify the hardware by changing the amount of RAM and the virtual number of CPUs, then click “Next”
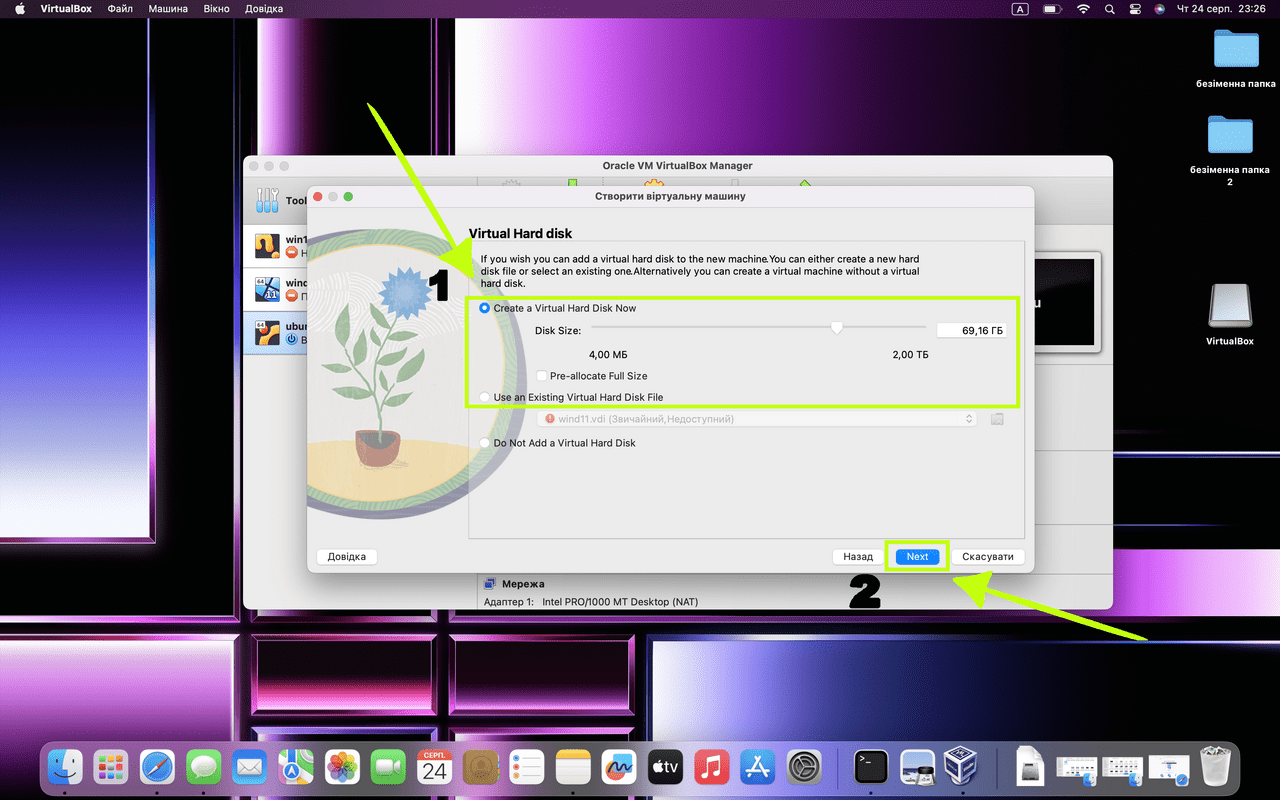
Choose the size of the Virtual Hard disk (at least 45 GB), and click “Next”
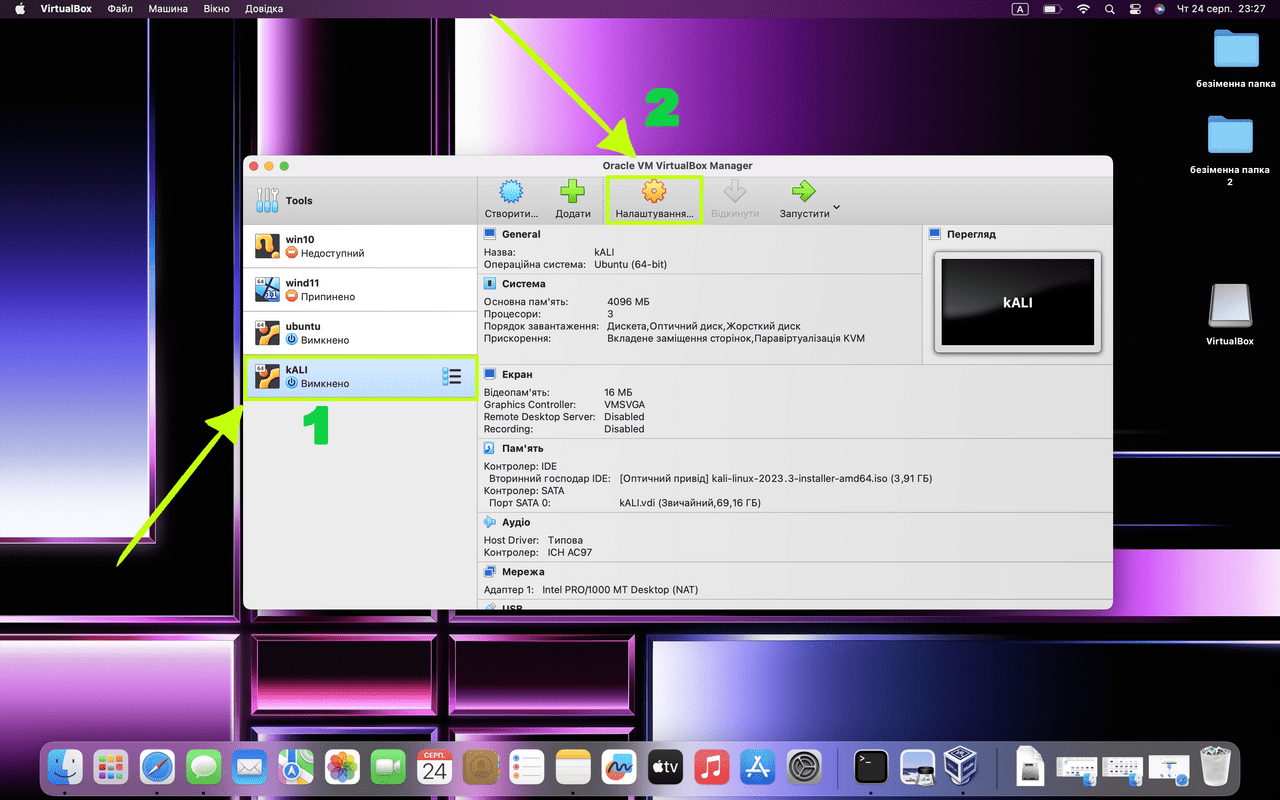
Click “Settings”
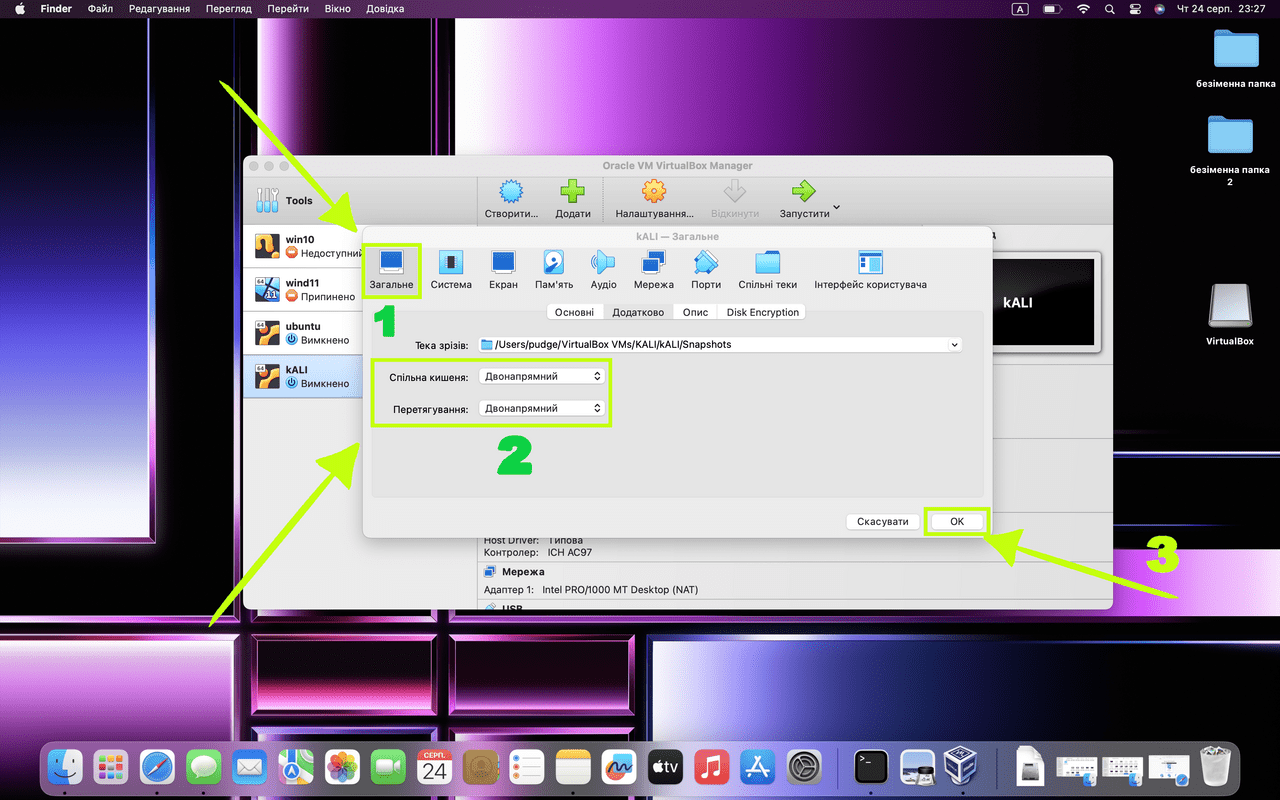
Click “General”. In both cases, select “Bidirectional” and click “OK”
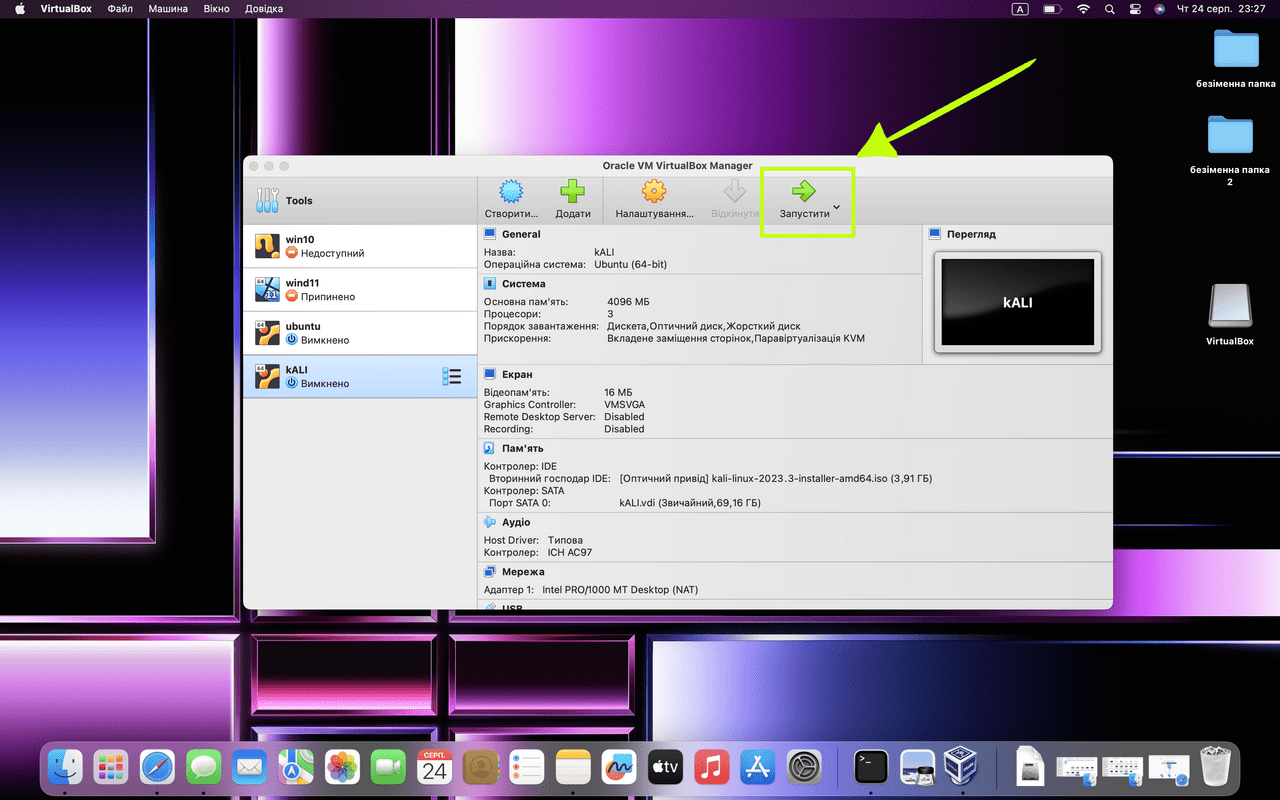
Click on the arrow as shown in the screenshot
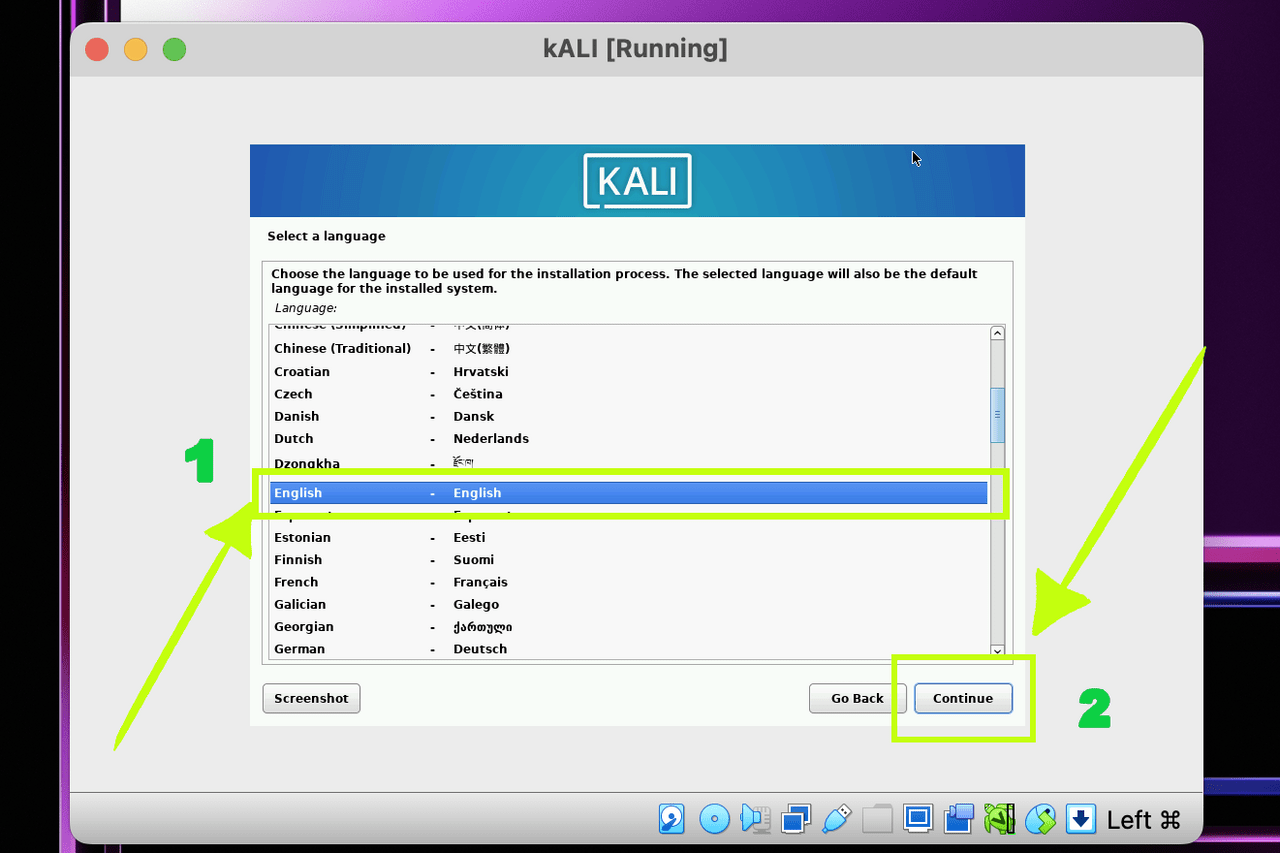
Select the language and click “Continue”
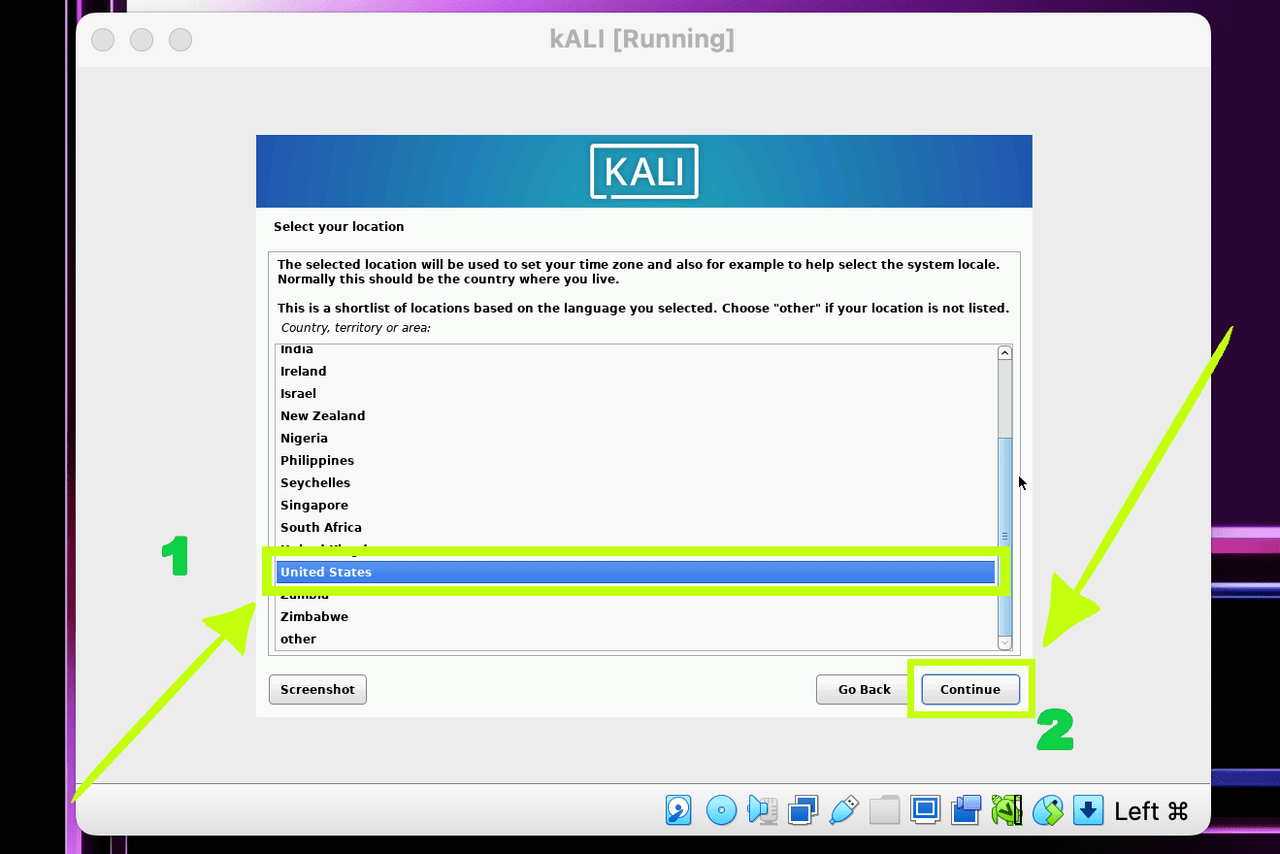
Select the country and click “Continue”
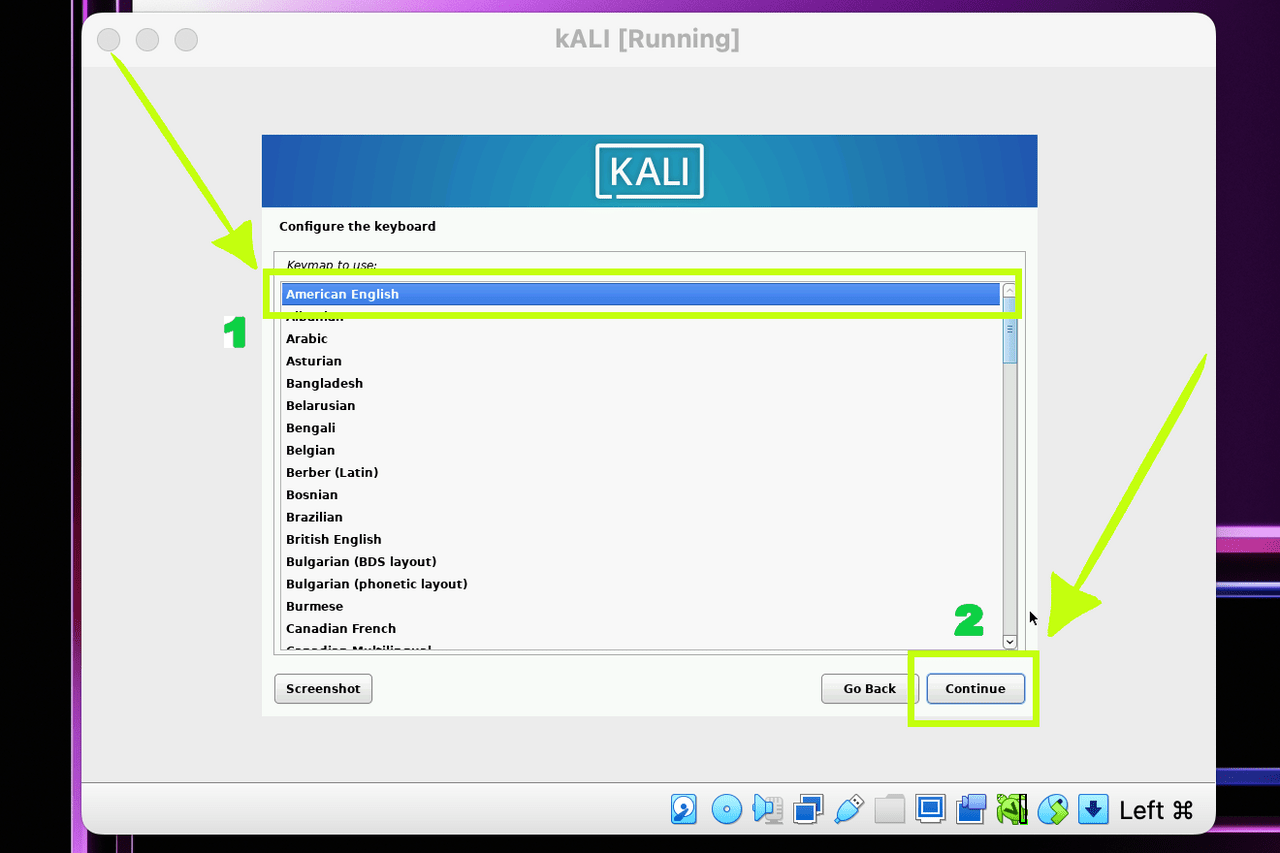
Choose the language for the keyboard and press as in the screenshot
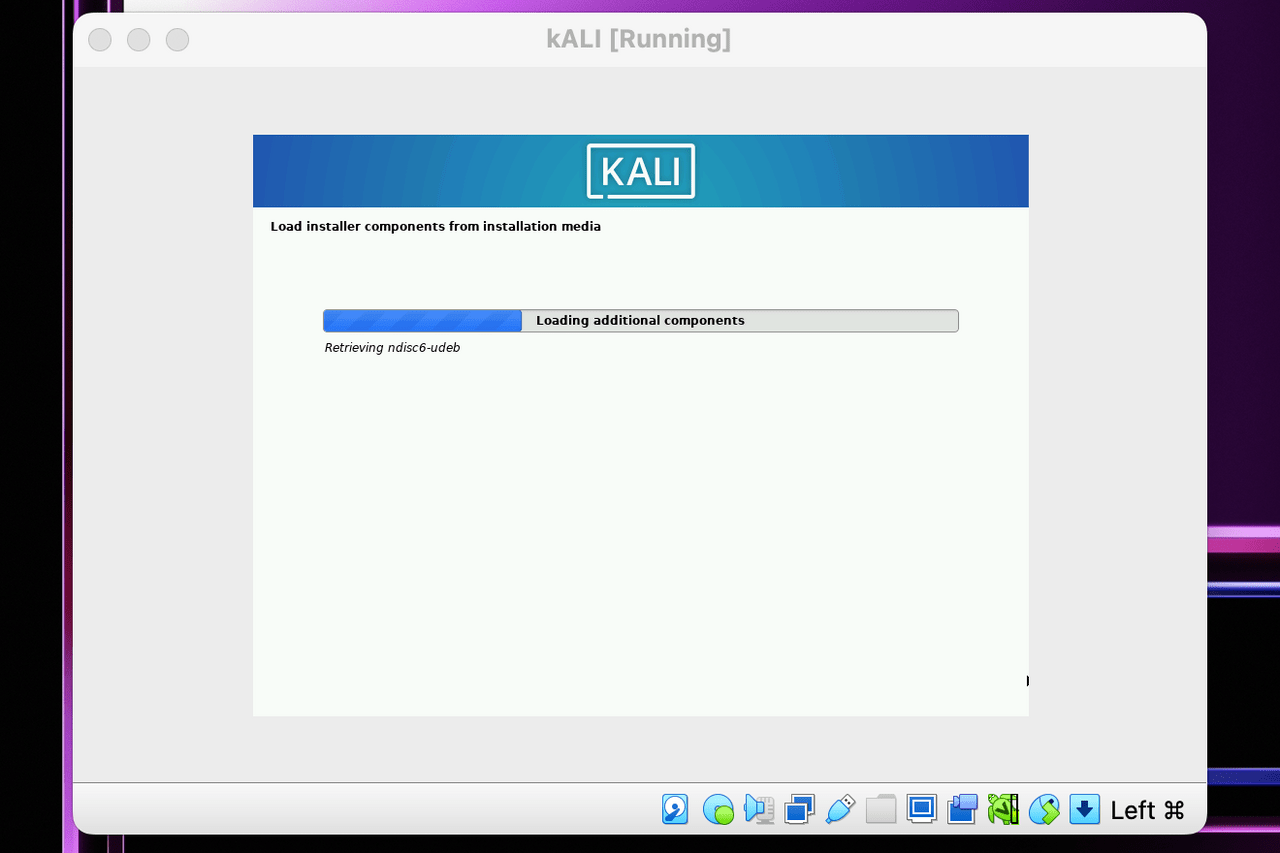
Waiting for download
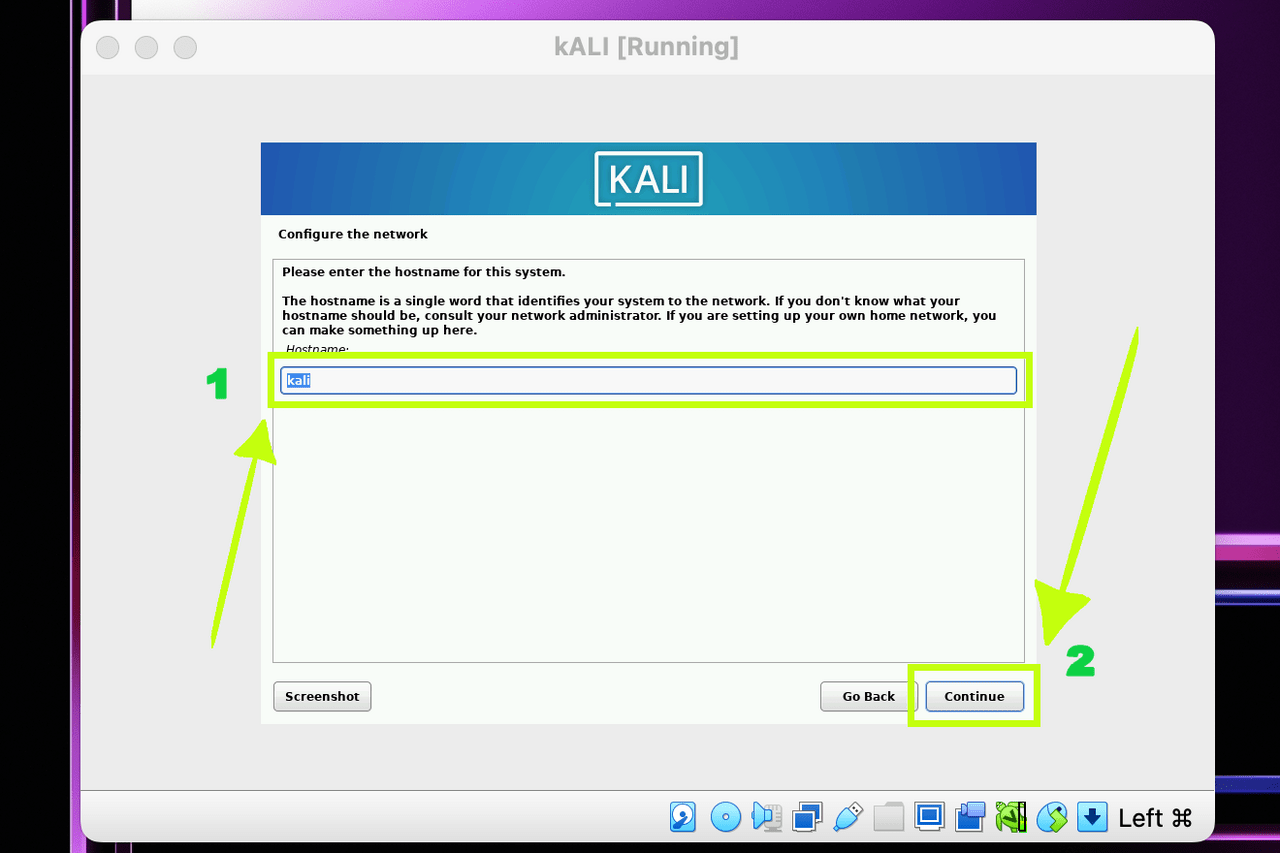
We give a name and move on

Just click “continue” and skip this step
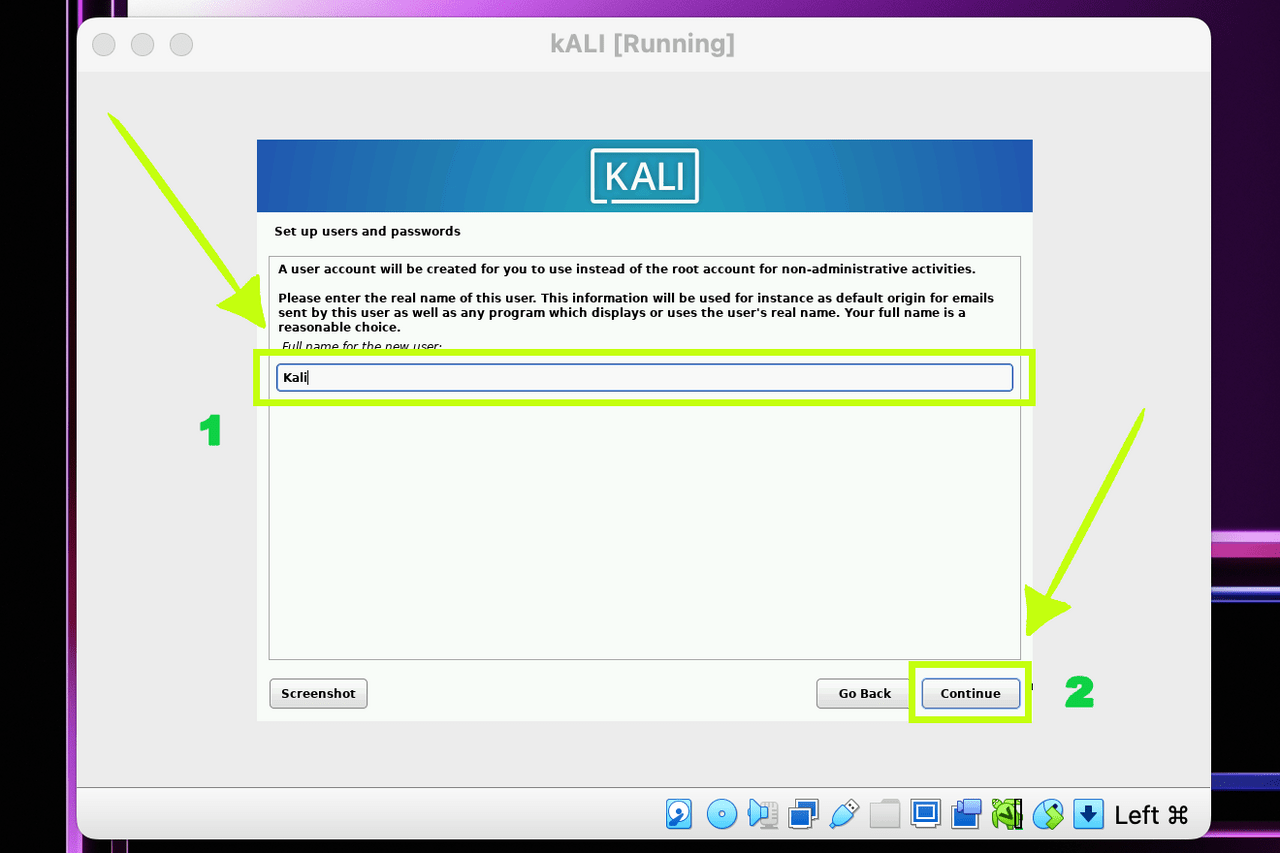
Give a name and click “continue”
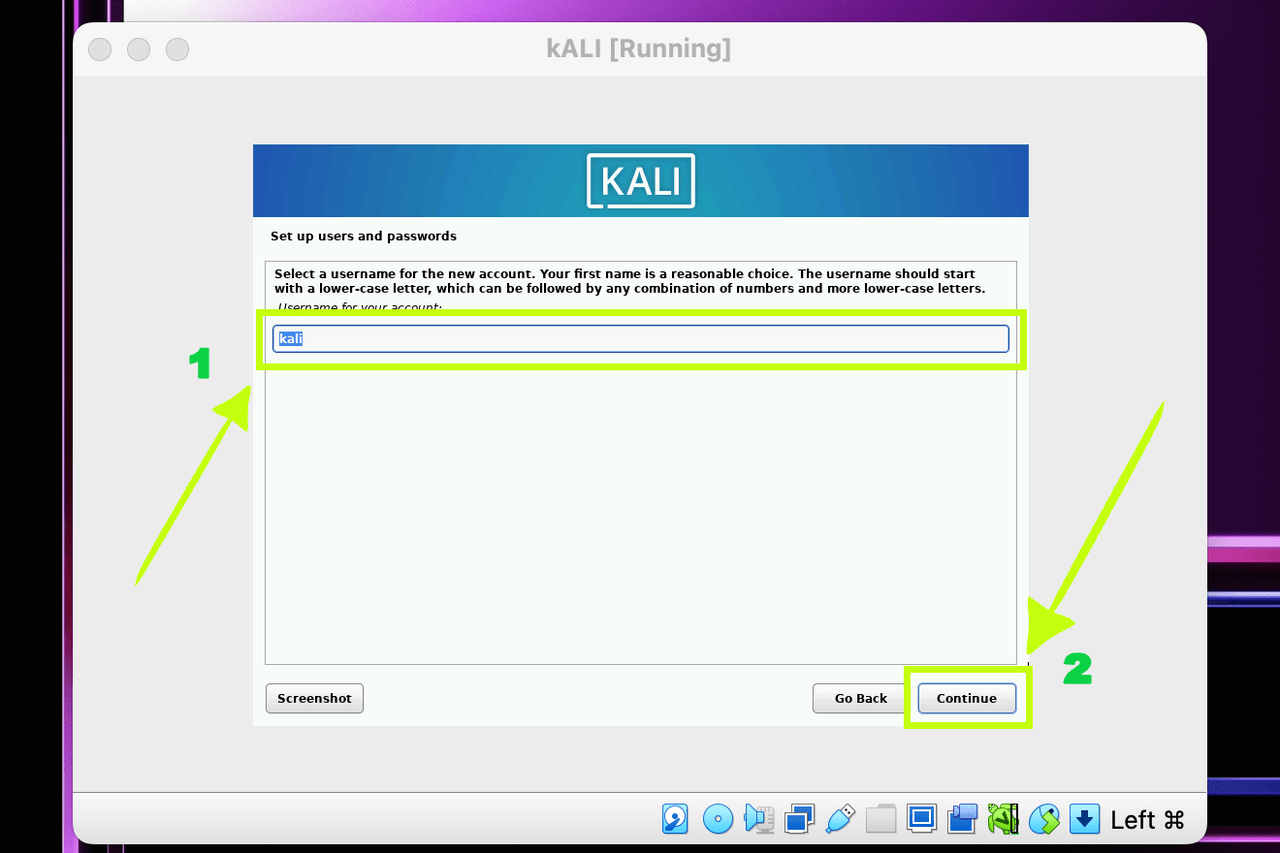
Click “Continue”
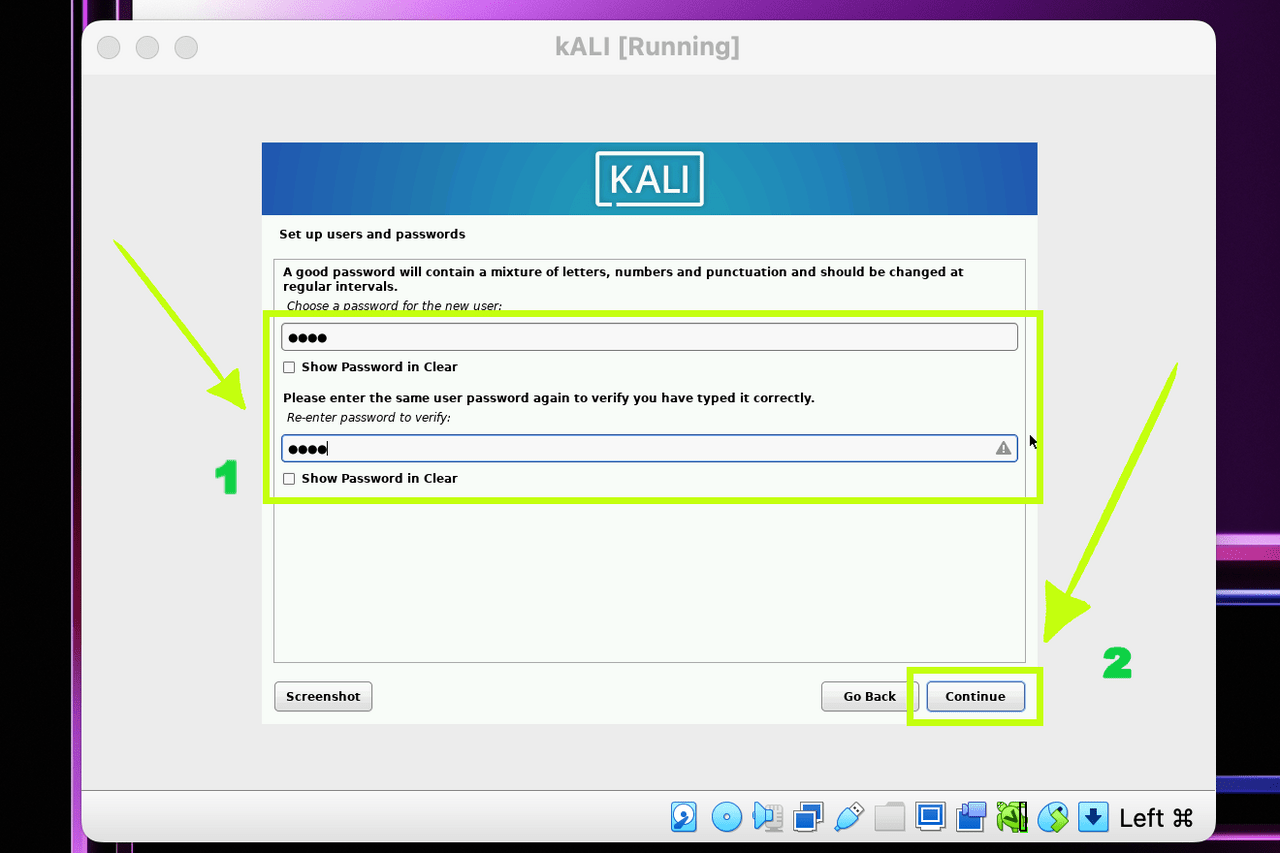
Here we need to come up with a password and enter it twice, after that click next
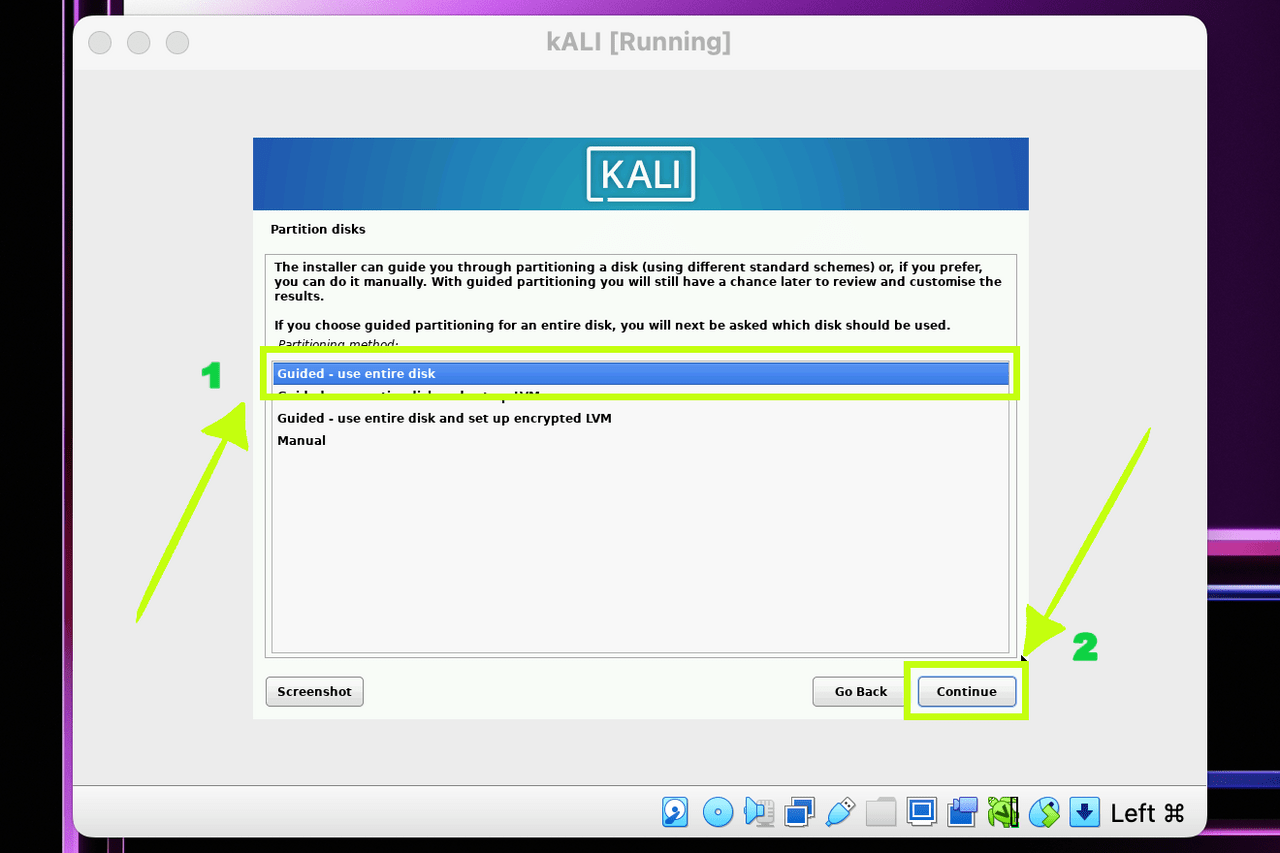
We choose managed use of the entire disk, and move on
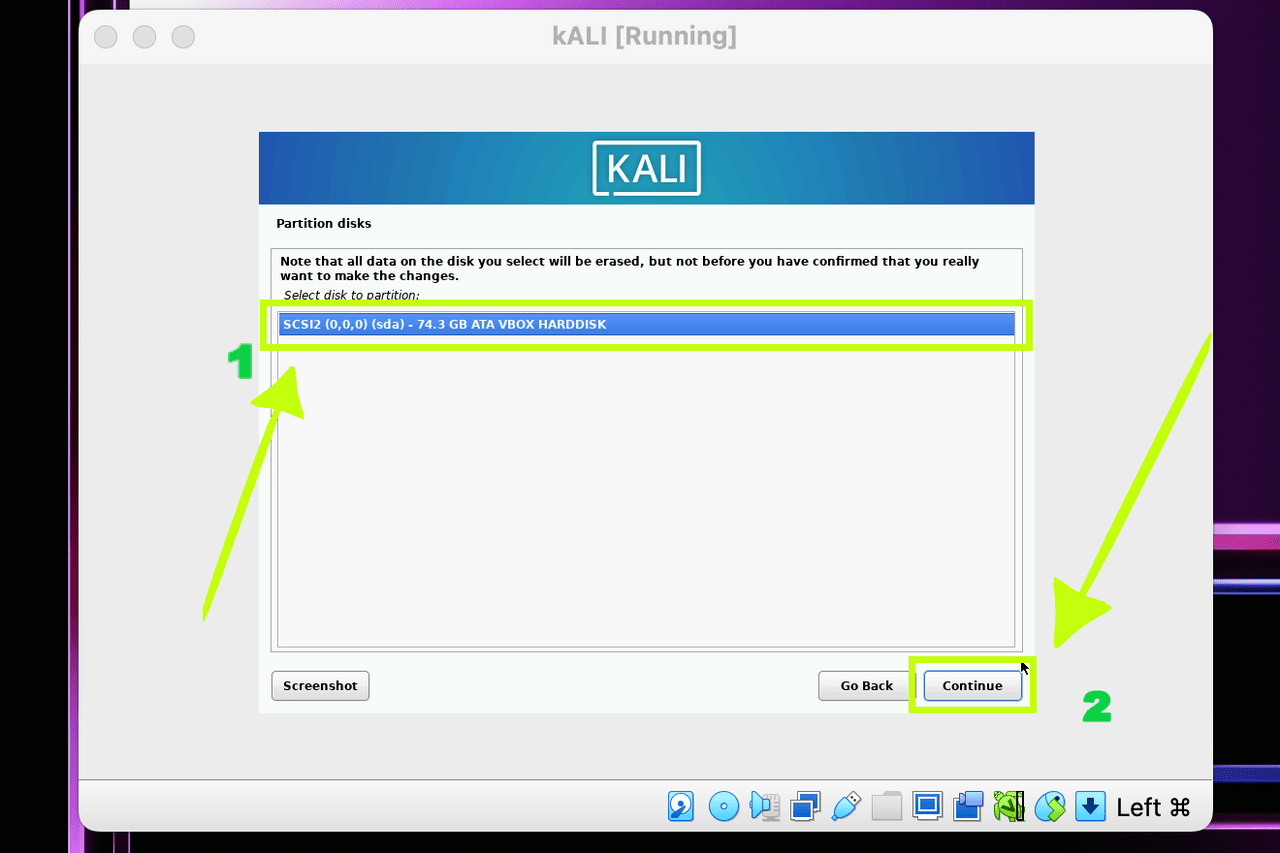
We select our disk
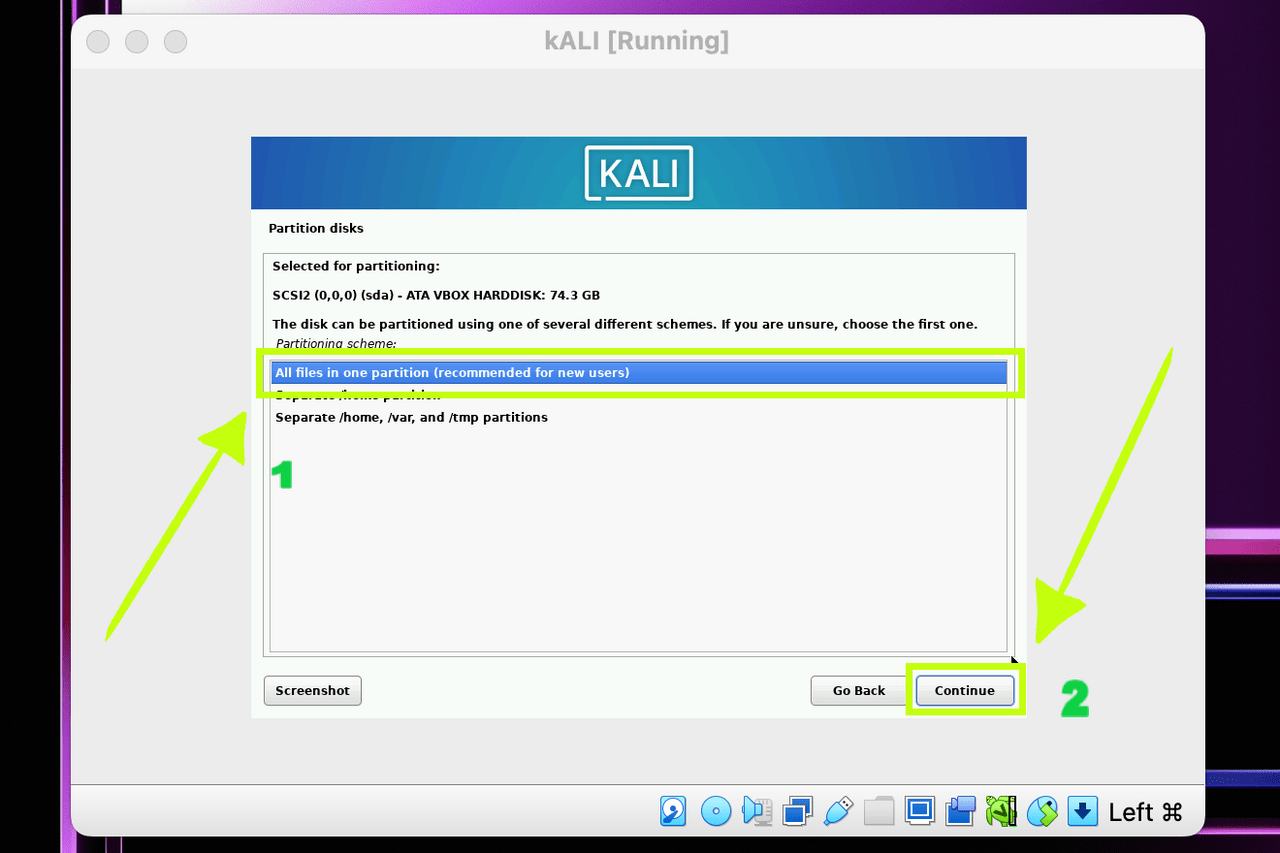
We choose their storage location
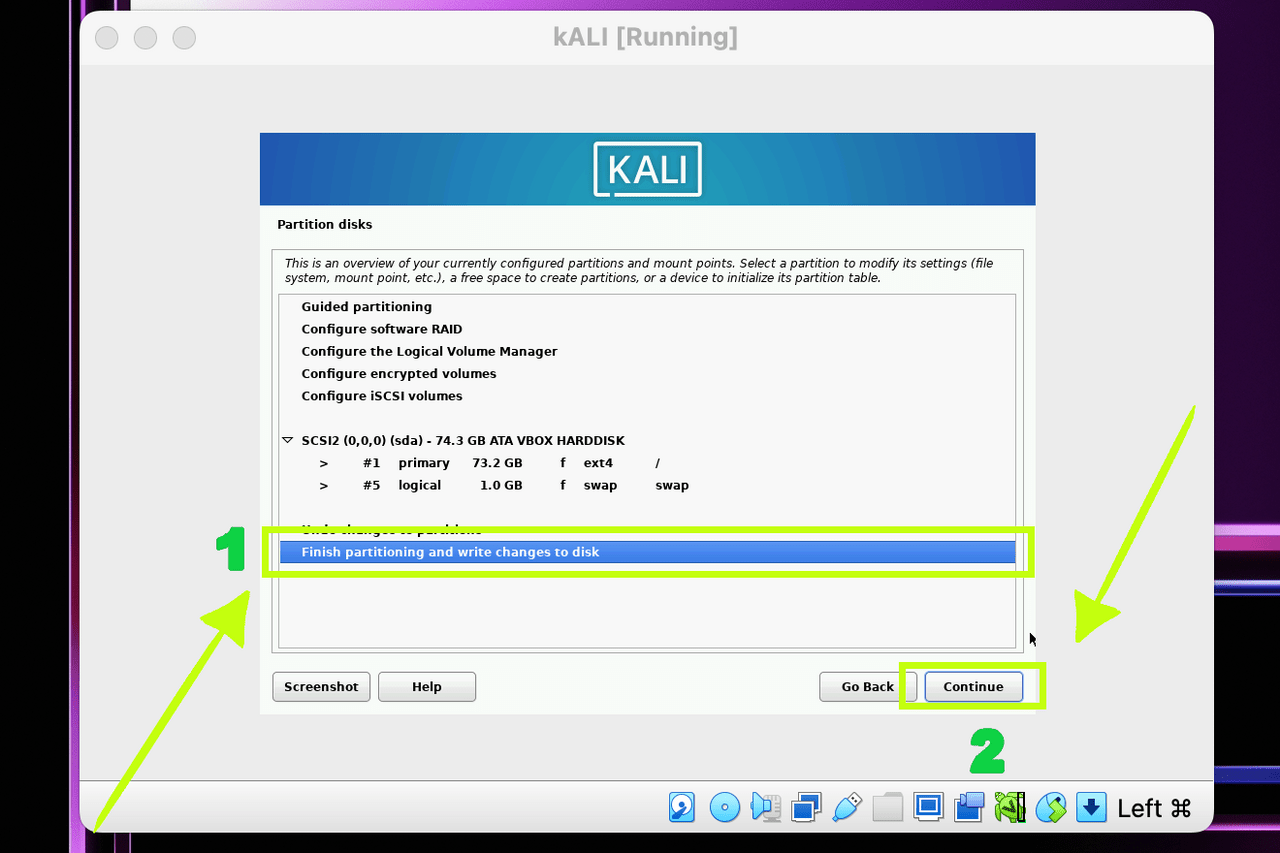
Finishing our installation
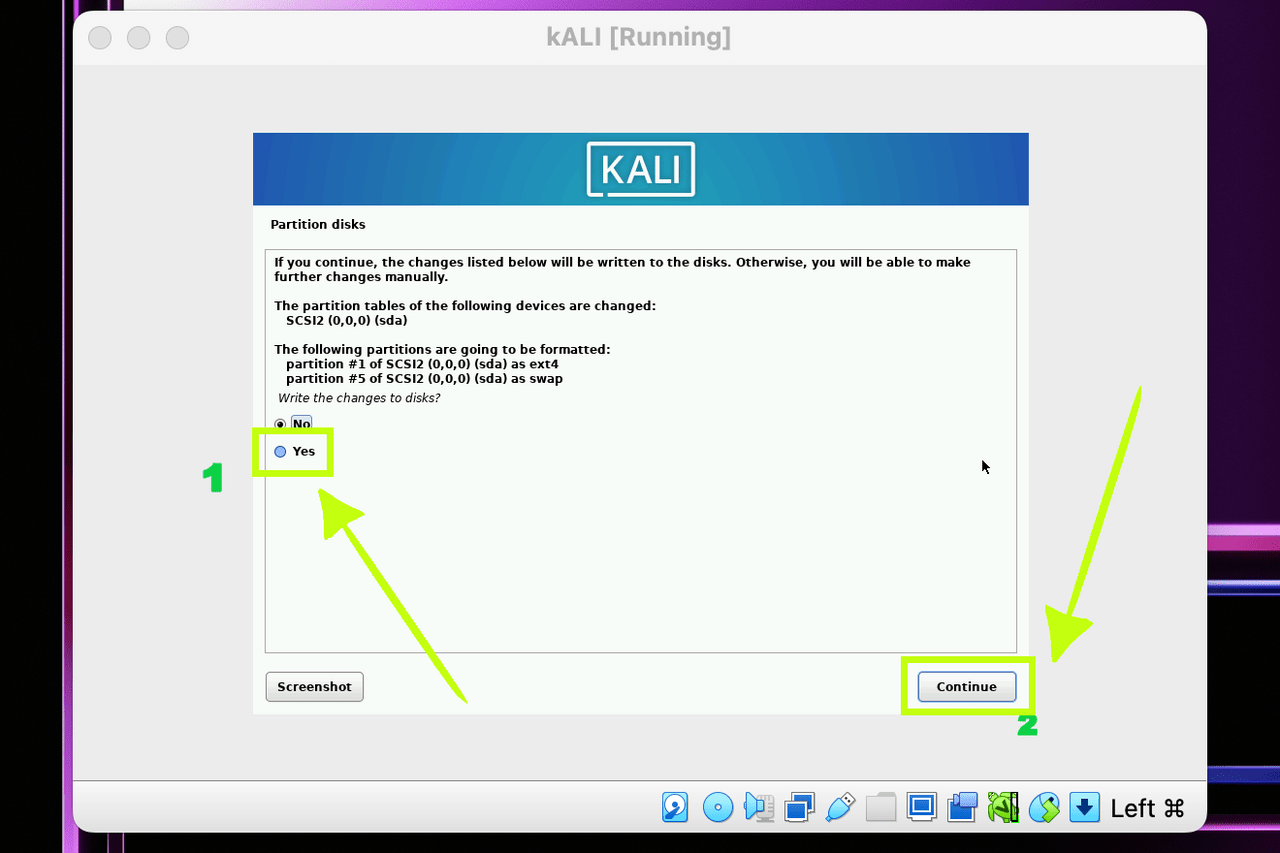
First click “Yes”, after that we can click “Continue”
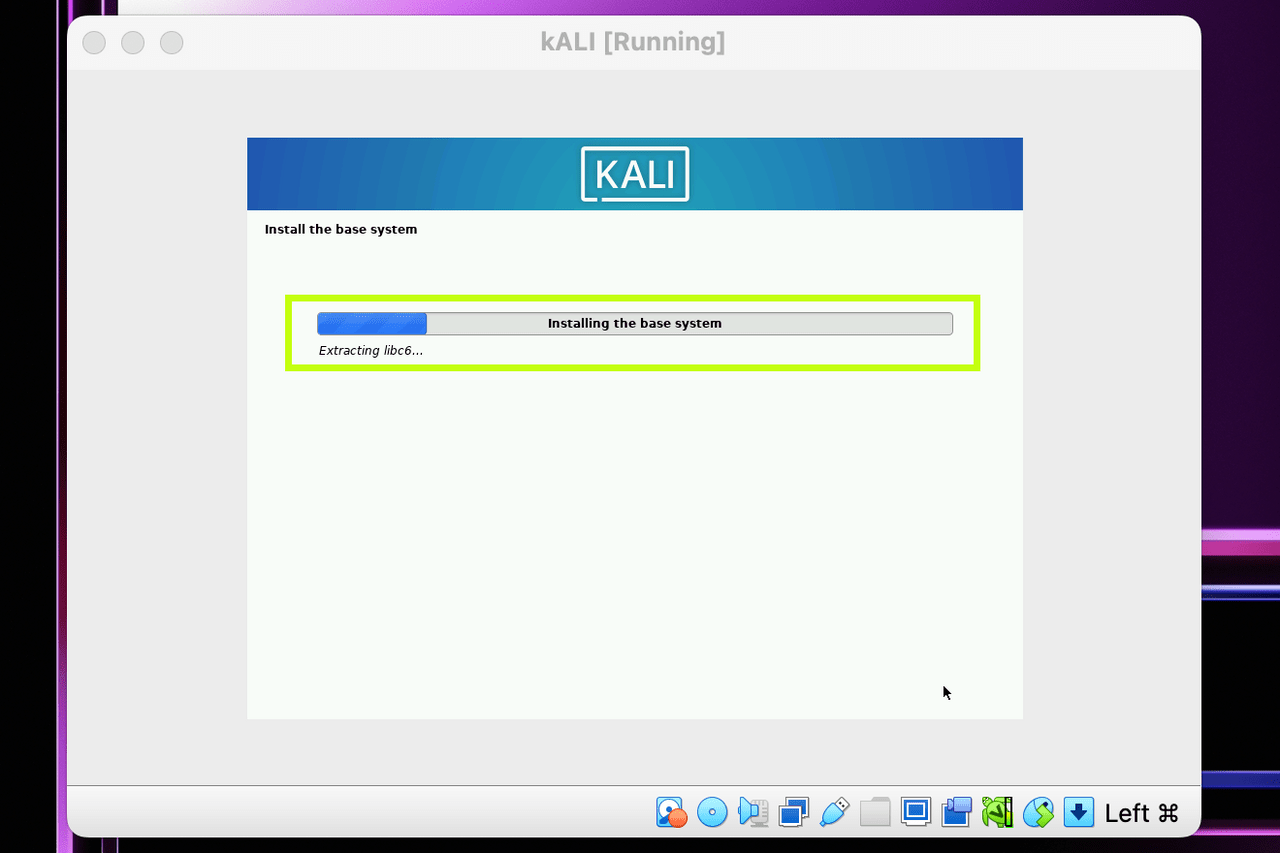
Here and there you also need to wait a little while the file is loaded
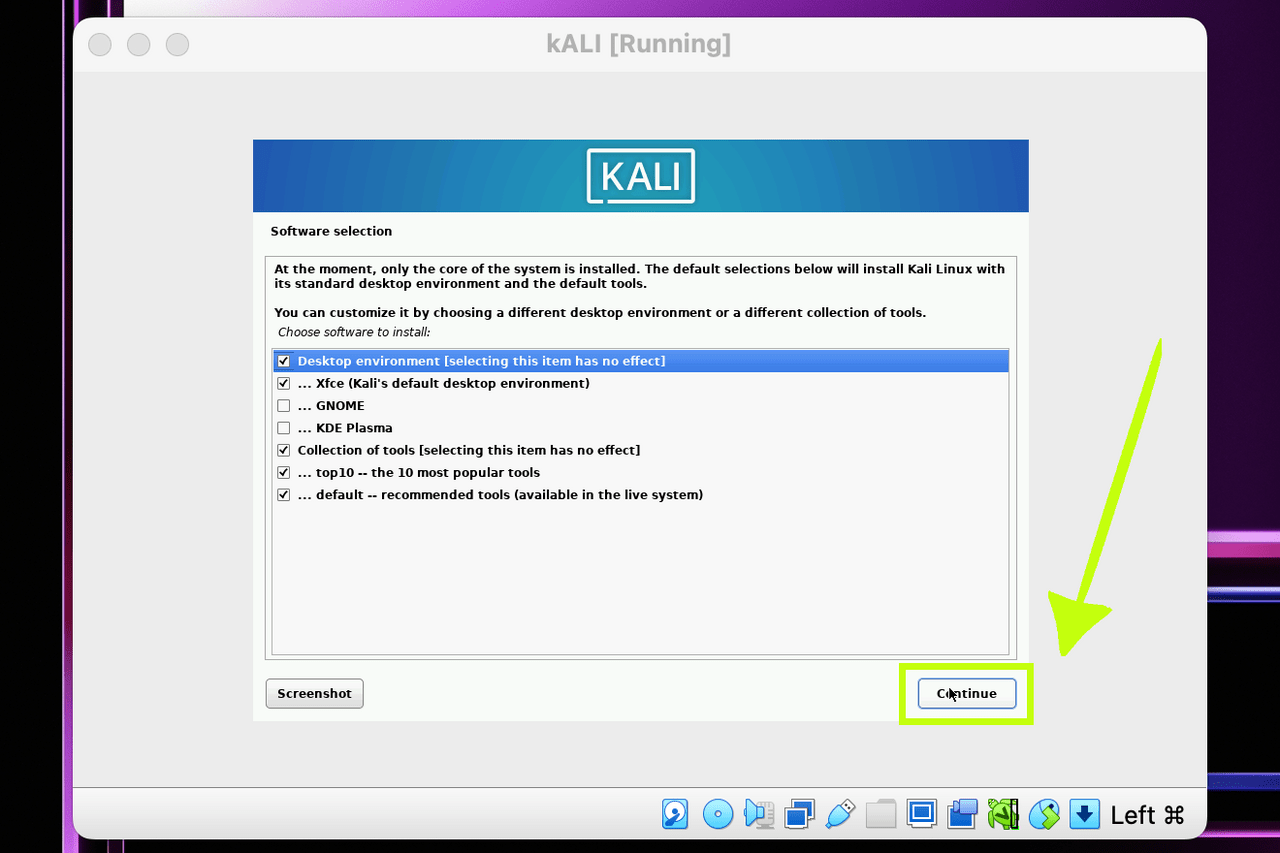
We select all the ticks that are shown in the screenshot. This is the most optimal option for choosing all tools and optimal operation of the OS
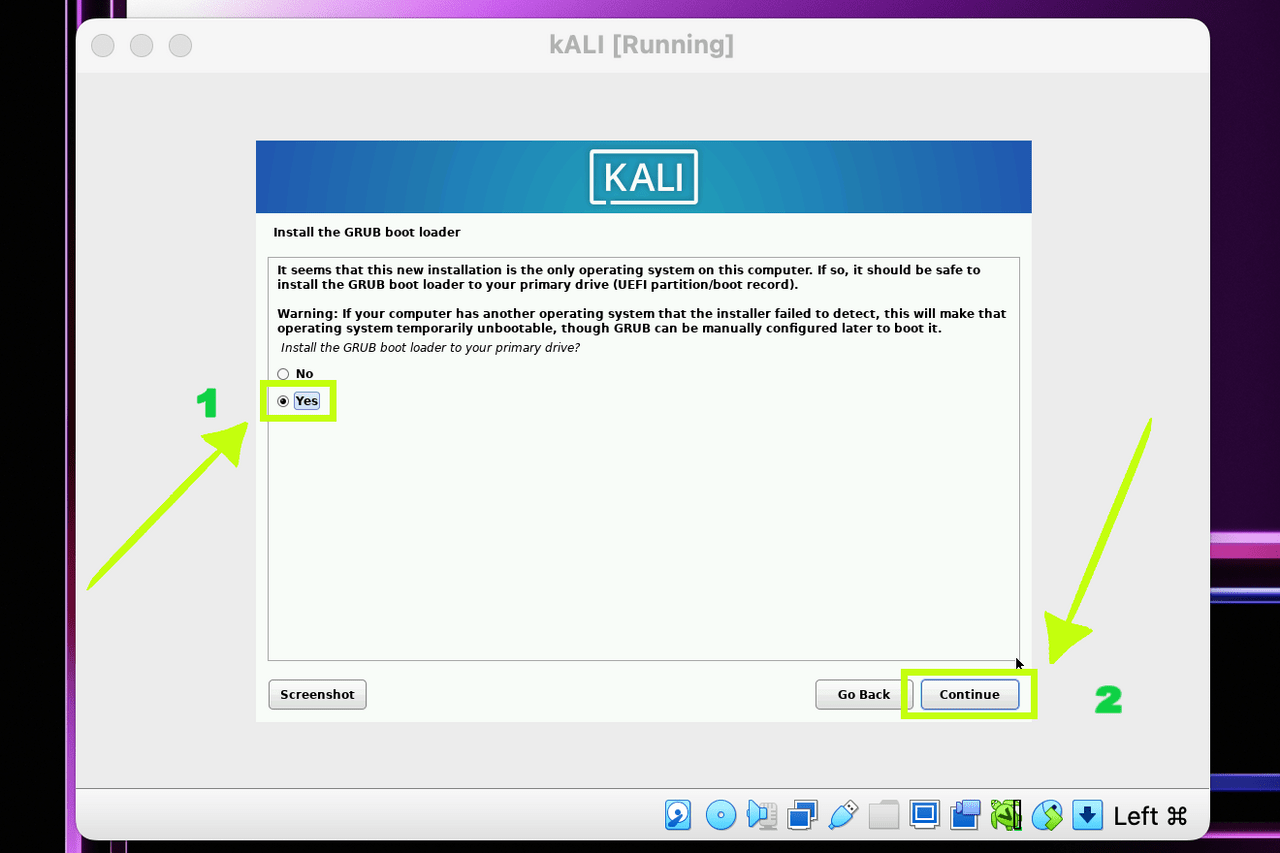
First click “Yes”, after that we can click “Continue”
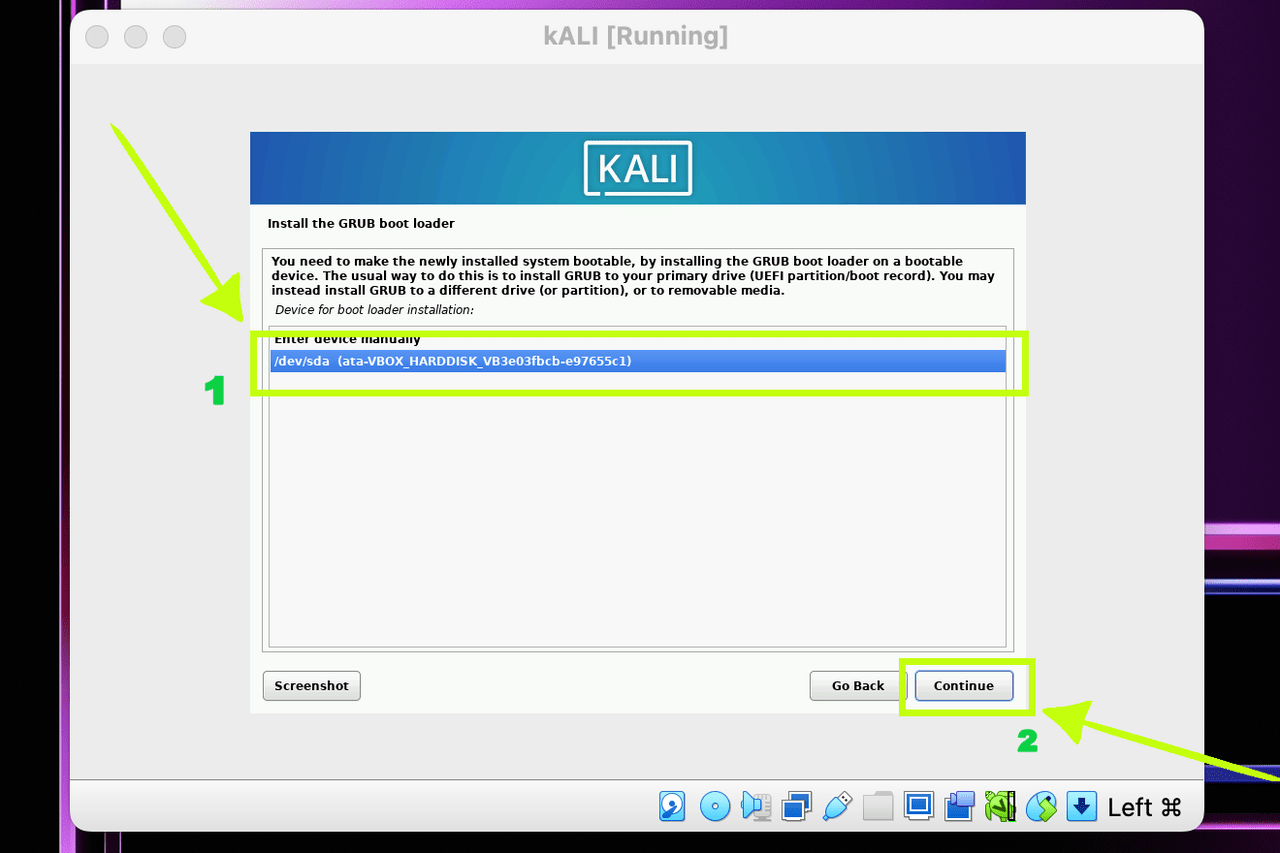
We install the GRUB bootloader
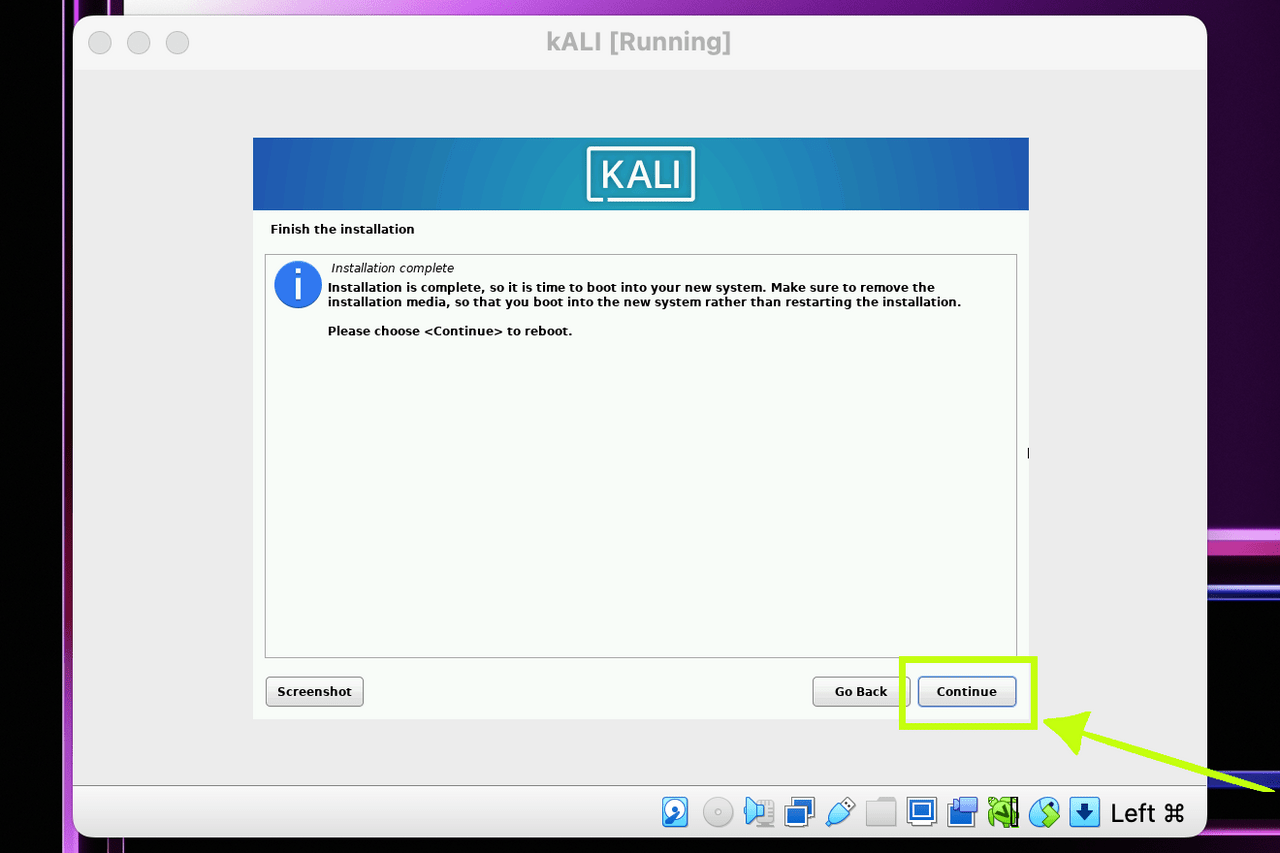
The installation is finished, click next
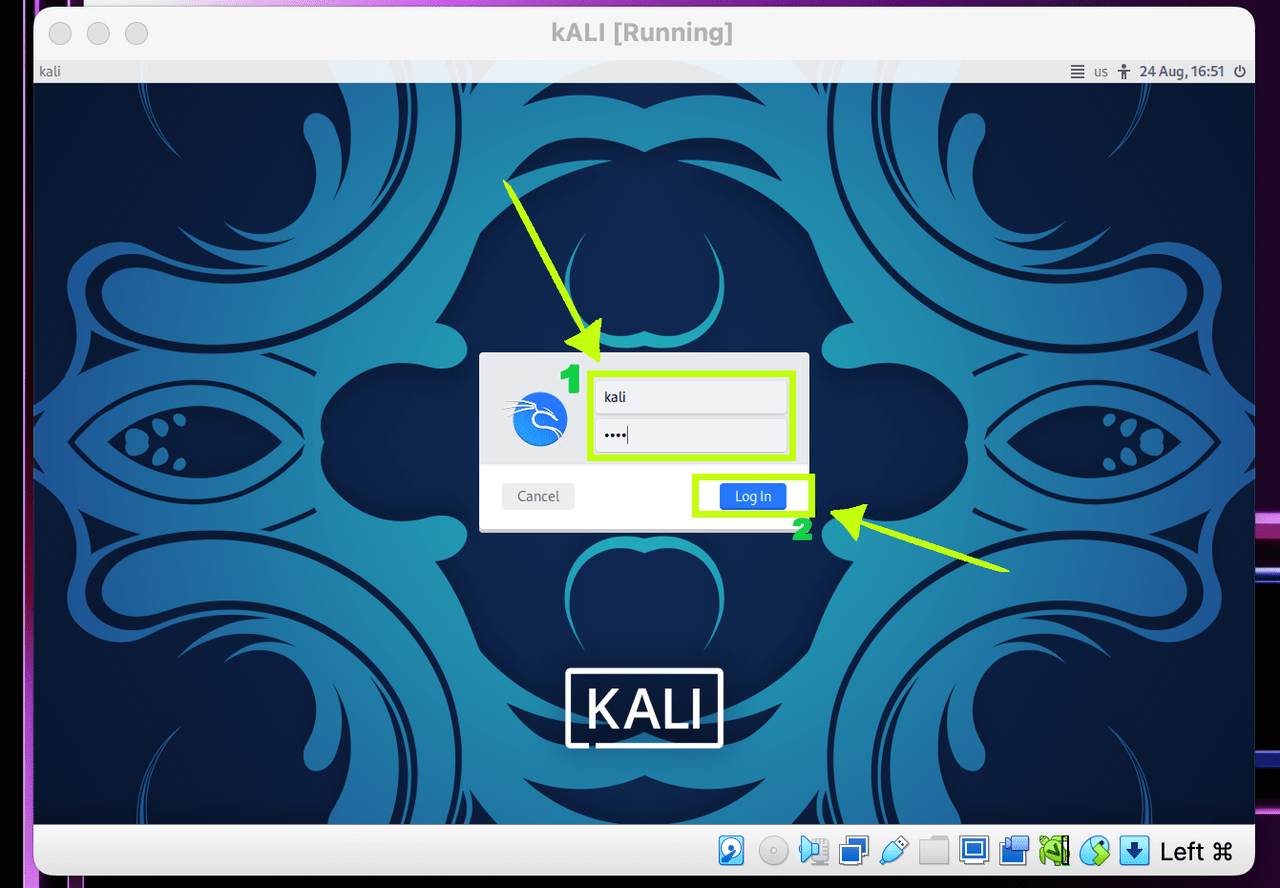
Enter your login and password and click “Log In”
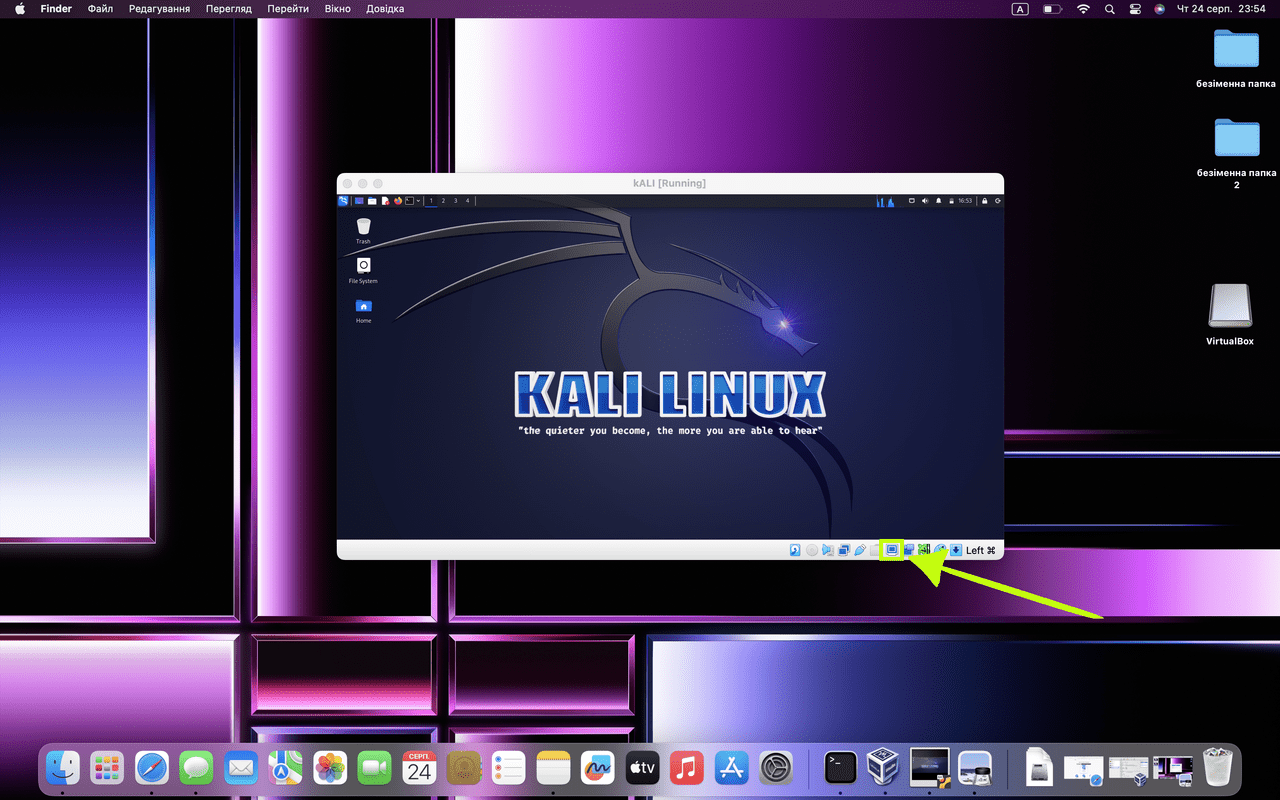
Click on the icon where the arrow points, as shown in the screenshot
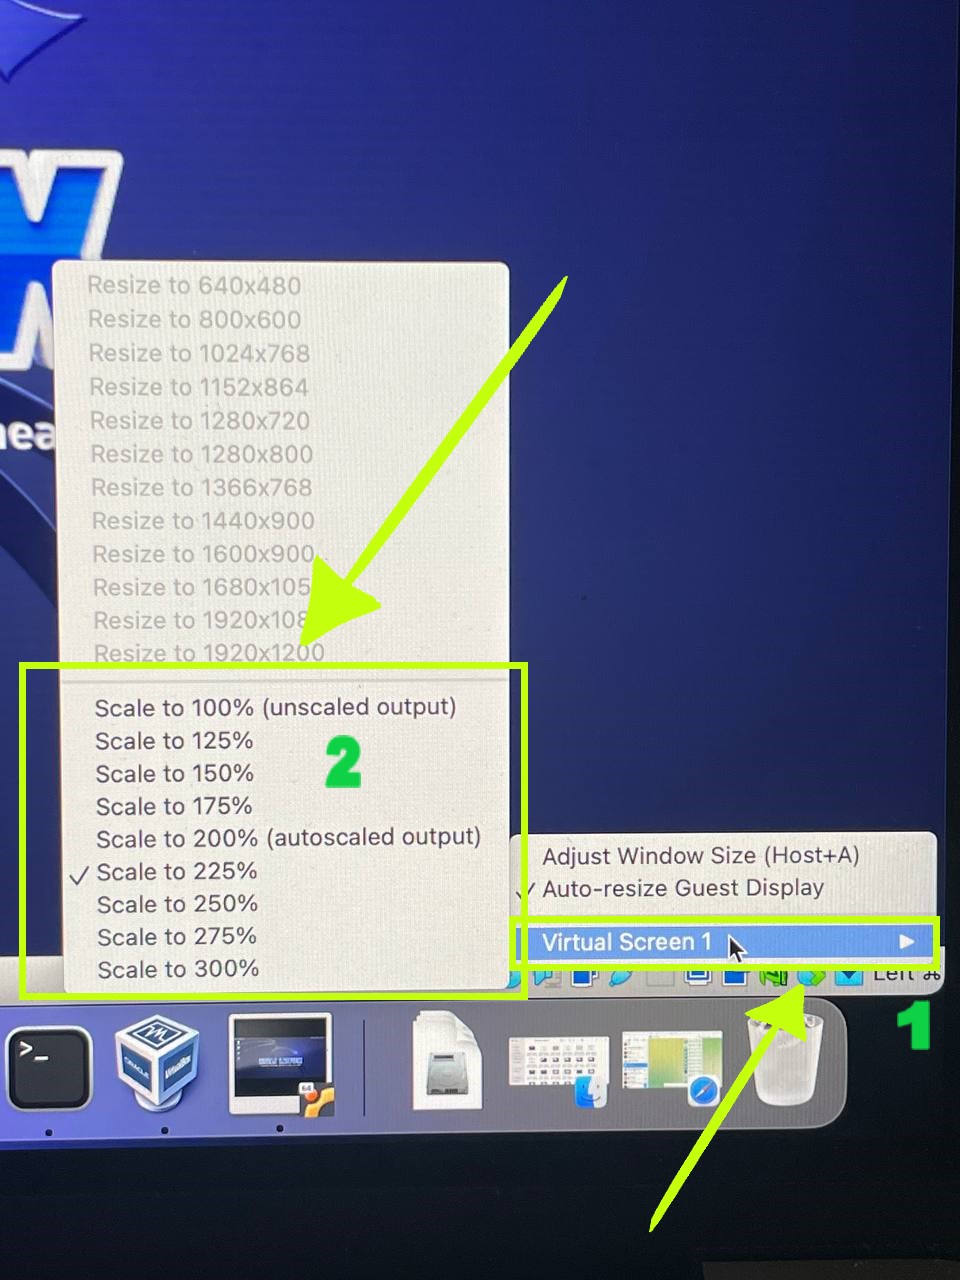
Click on “Virtual Screen 1” and select the scale. Congratulations. Everything worked out for you. now we can use VirtualBox on Kali Linux