In this article, you will learn how to create and configure a VirtualBox virtual machine on Kali Linux using an ISO image of the same operating system. We will provide a step-by-step guide to installing and configuring a virtual machine, starting with selecting settings and ending with system startup. You’ll learn how to create your own testing and cybersecurity environment using the popular VirtualBox tool.


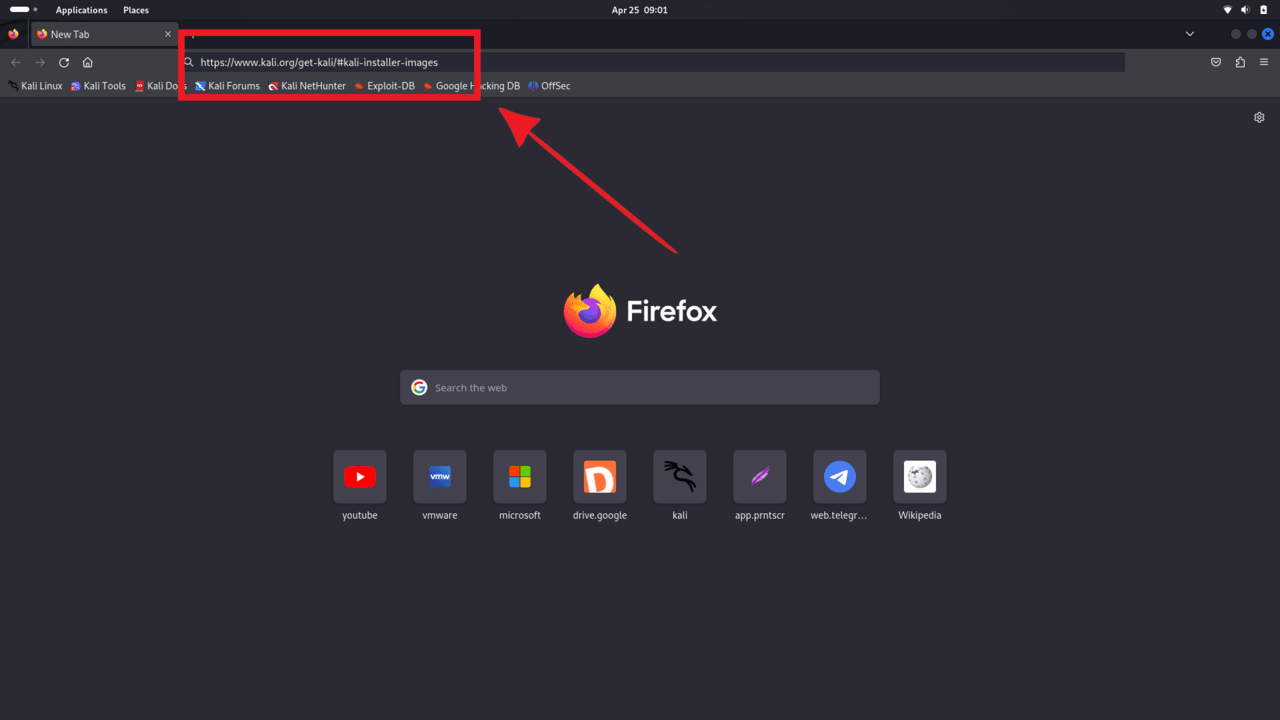
Open the browser
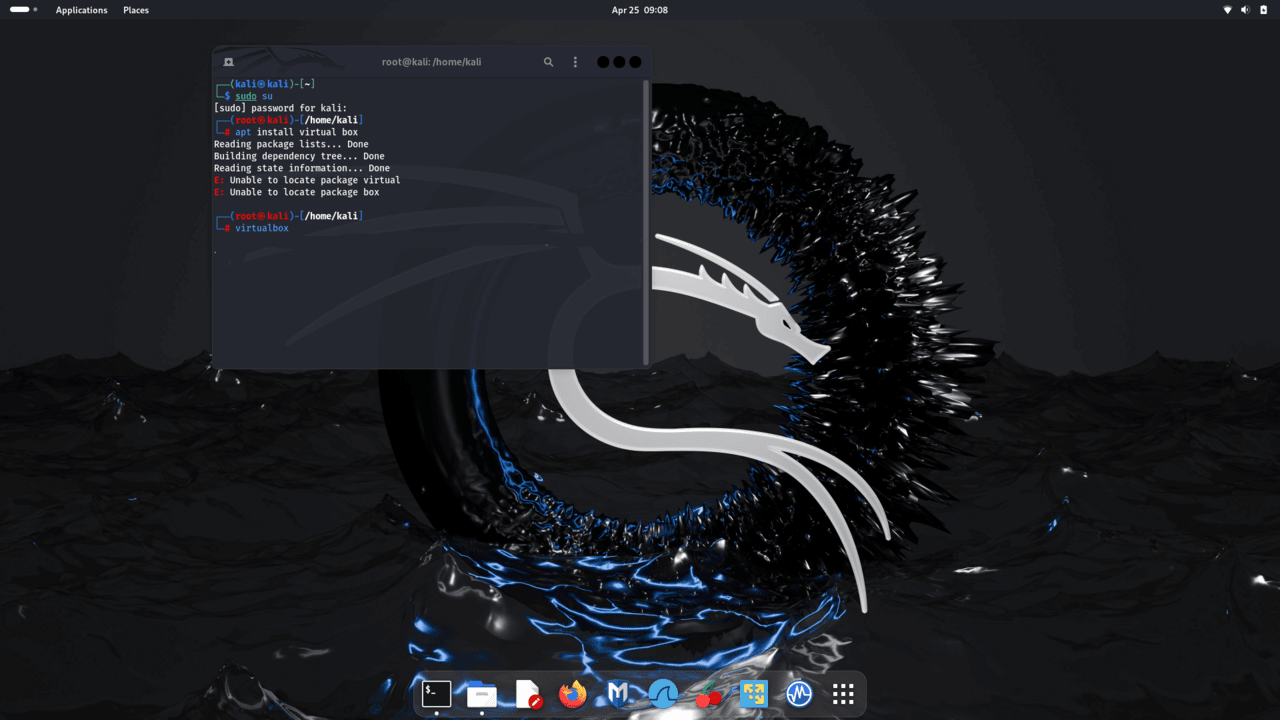
Enter the code:
$ sudo su
# apt install virtual box
# virtual box
Open the browser
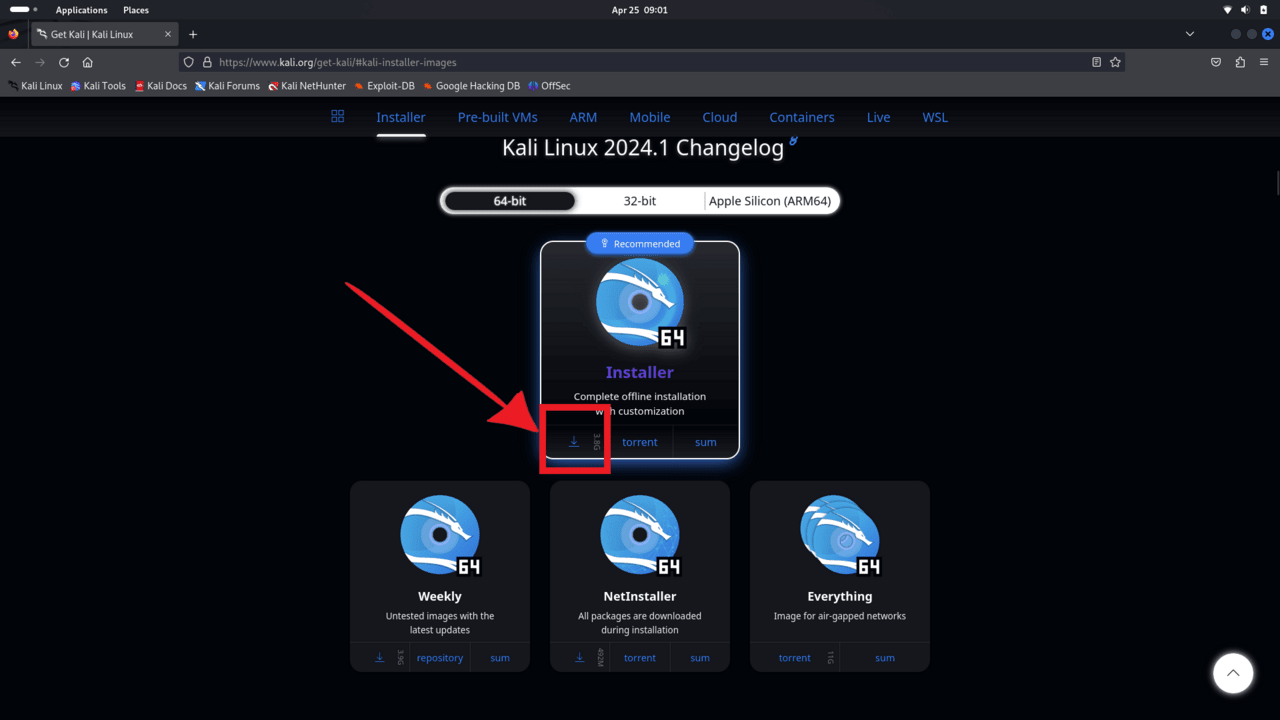
Click “Download”

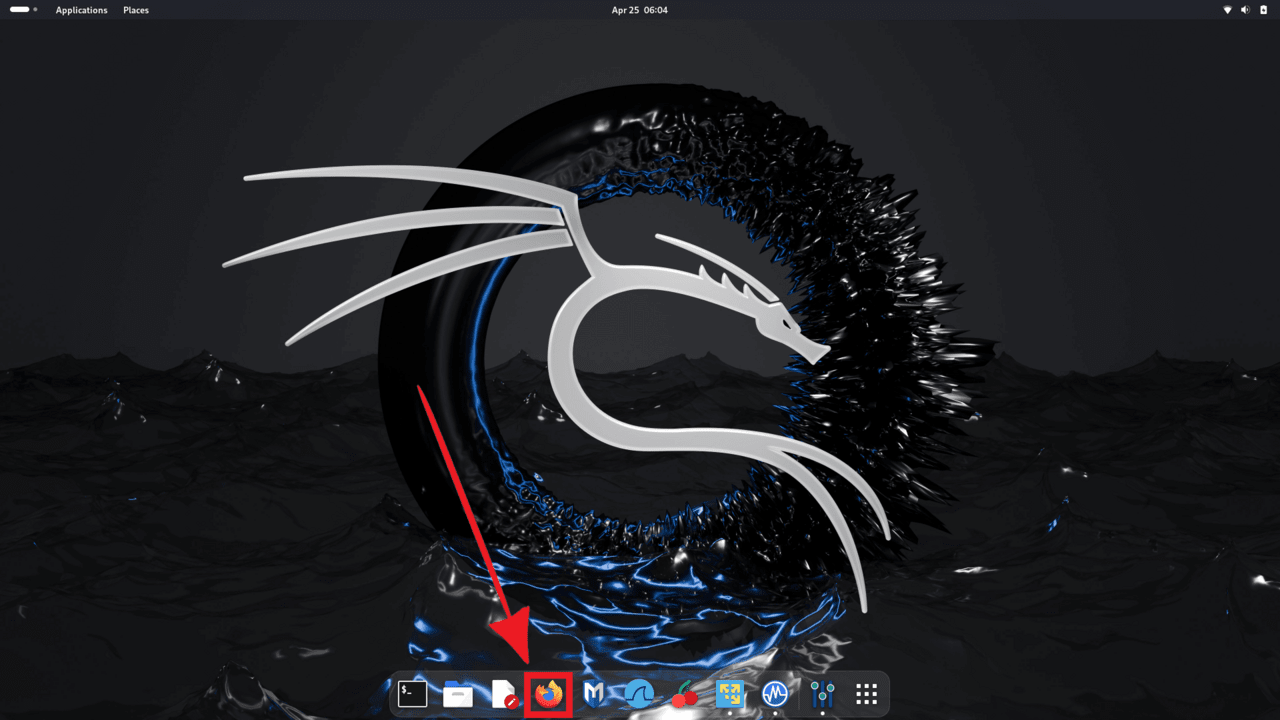
Go to the “Start menu” and find Virtualbox
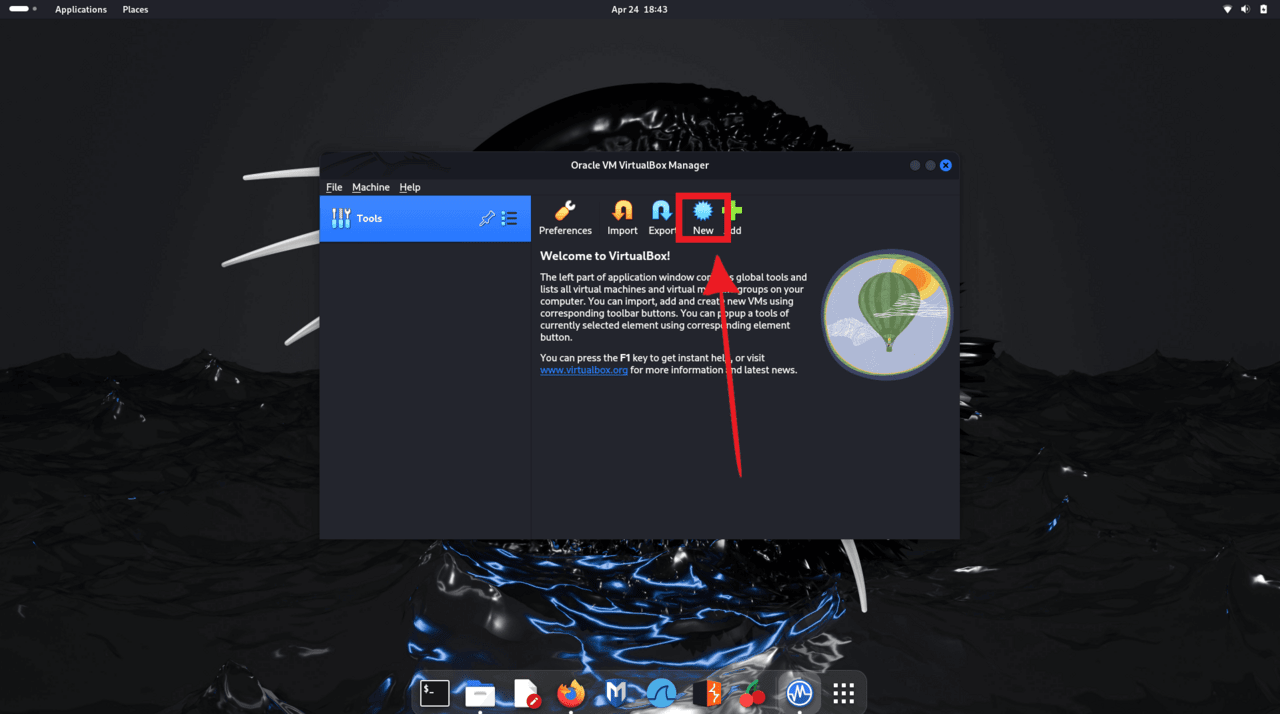
Click on “New”
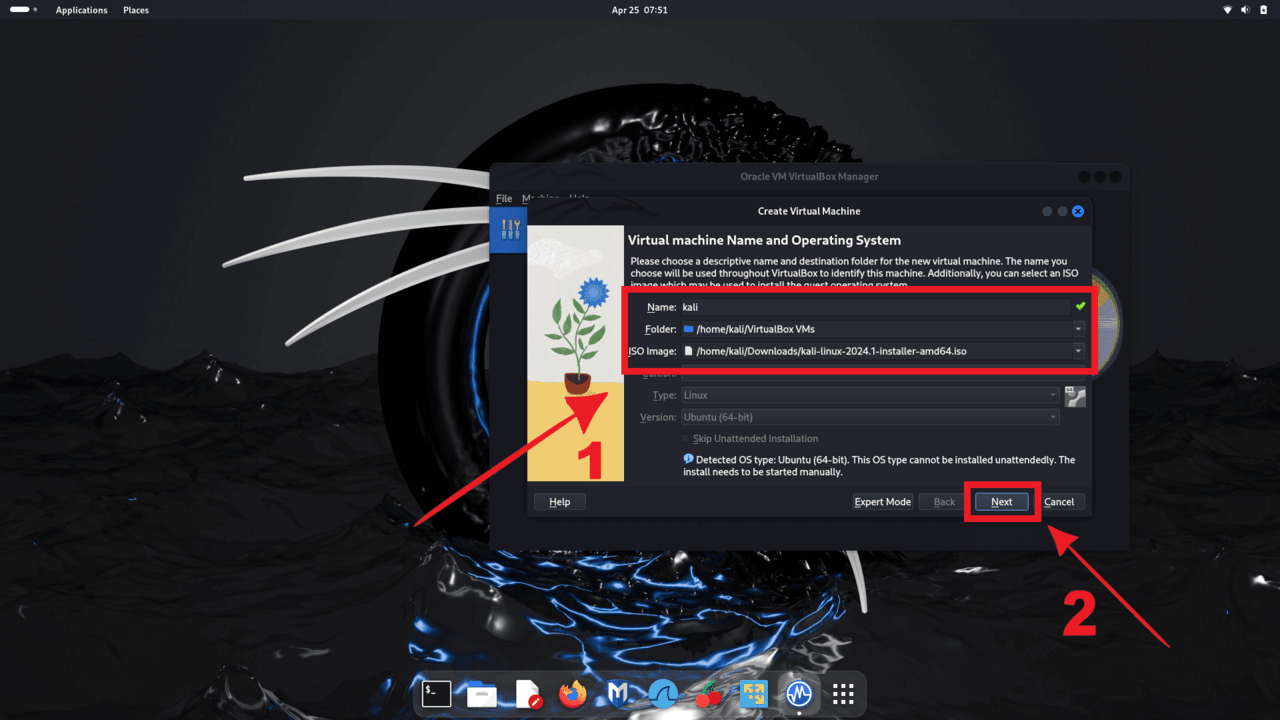
We name our virtual machine, specify the path of our ISO image and move on
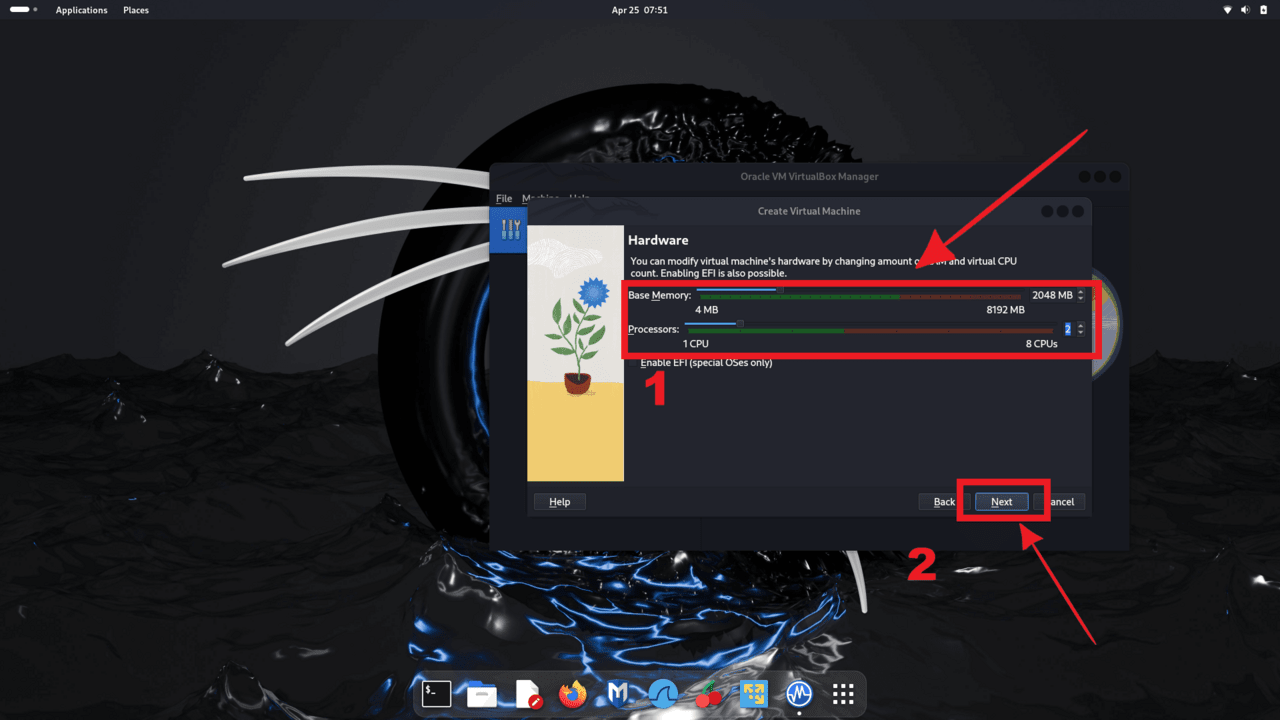
You can modify the hardware by changing the amount of RAM and the virtual number of CPUs, then click “Next”
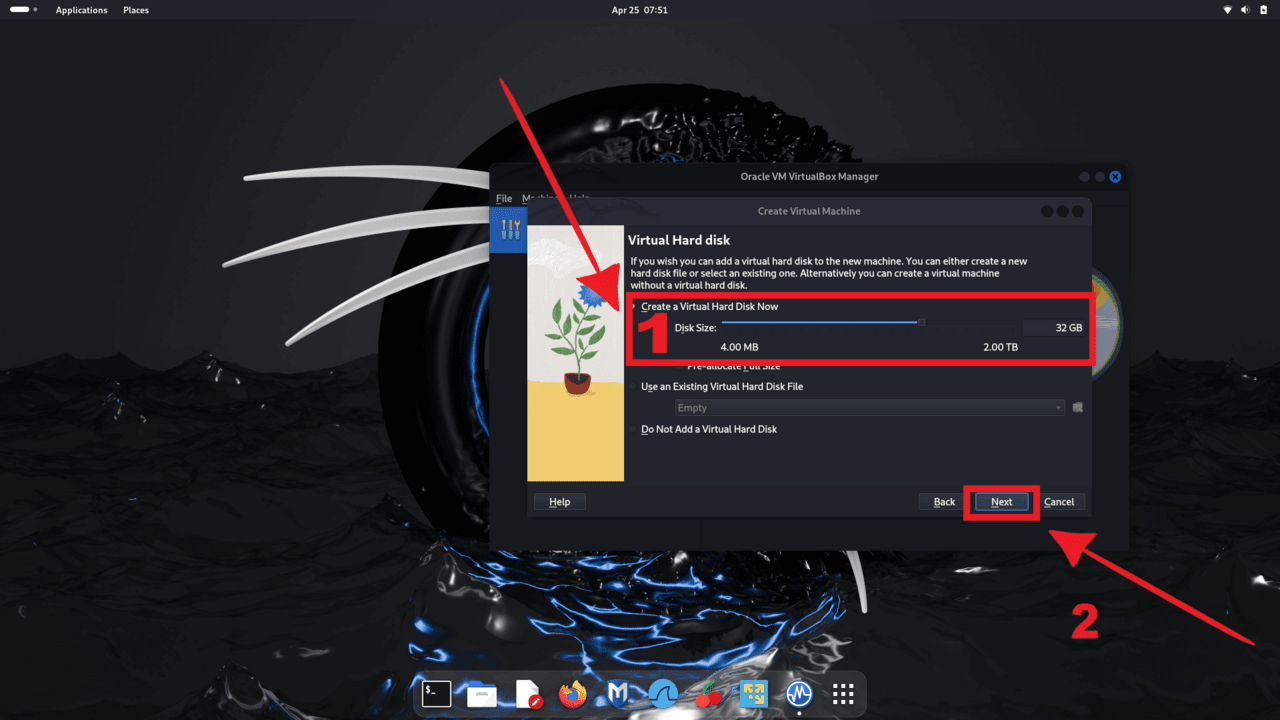
Select the “Virtual Hard disk” size and click “Next”
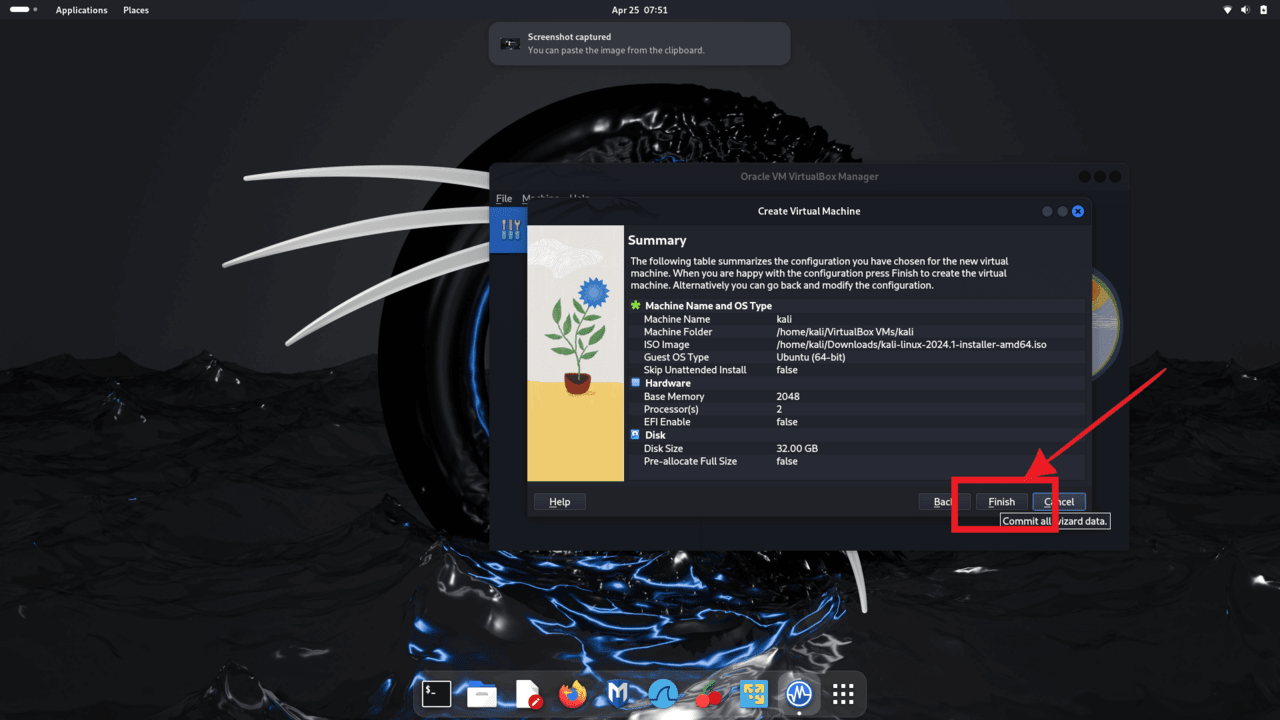
Click “Finish”

Open the browser
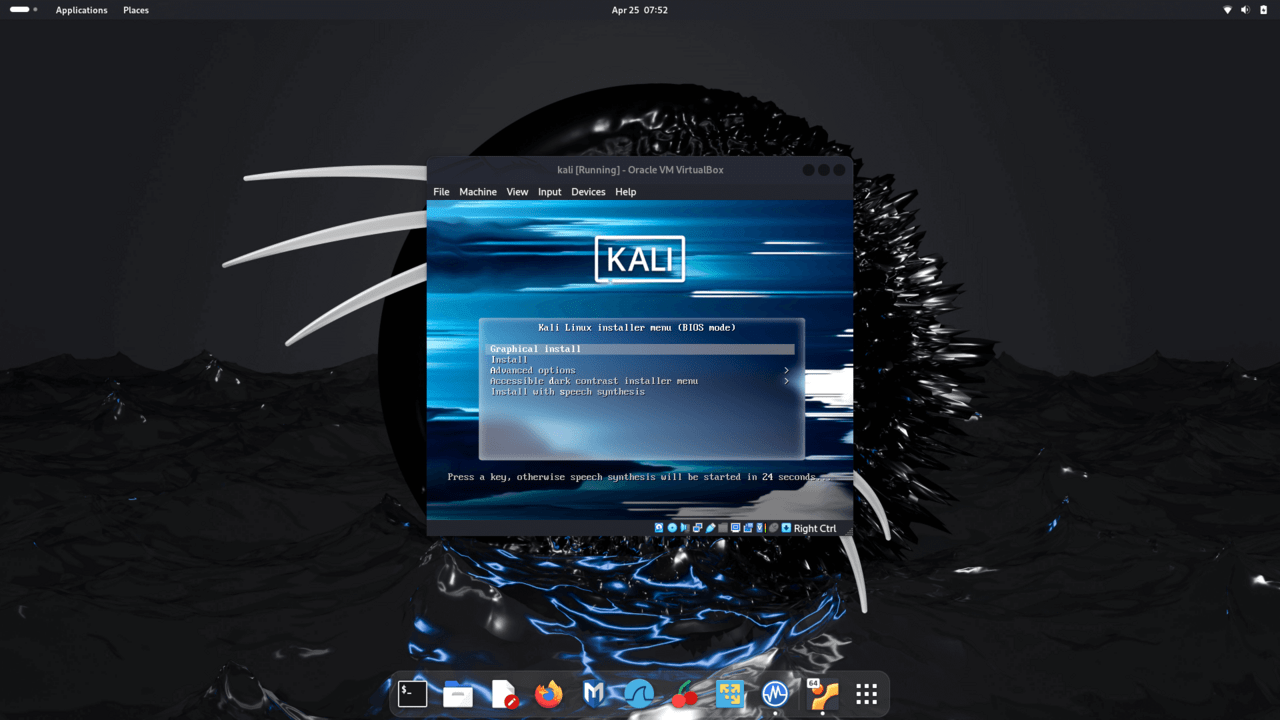
Click “Graphical Install”
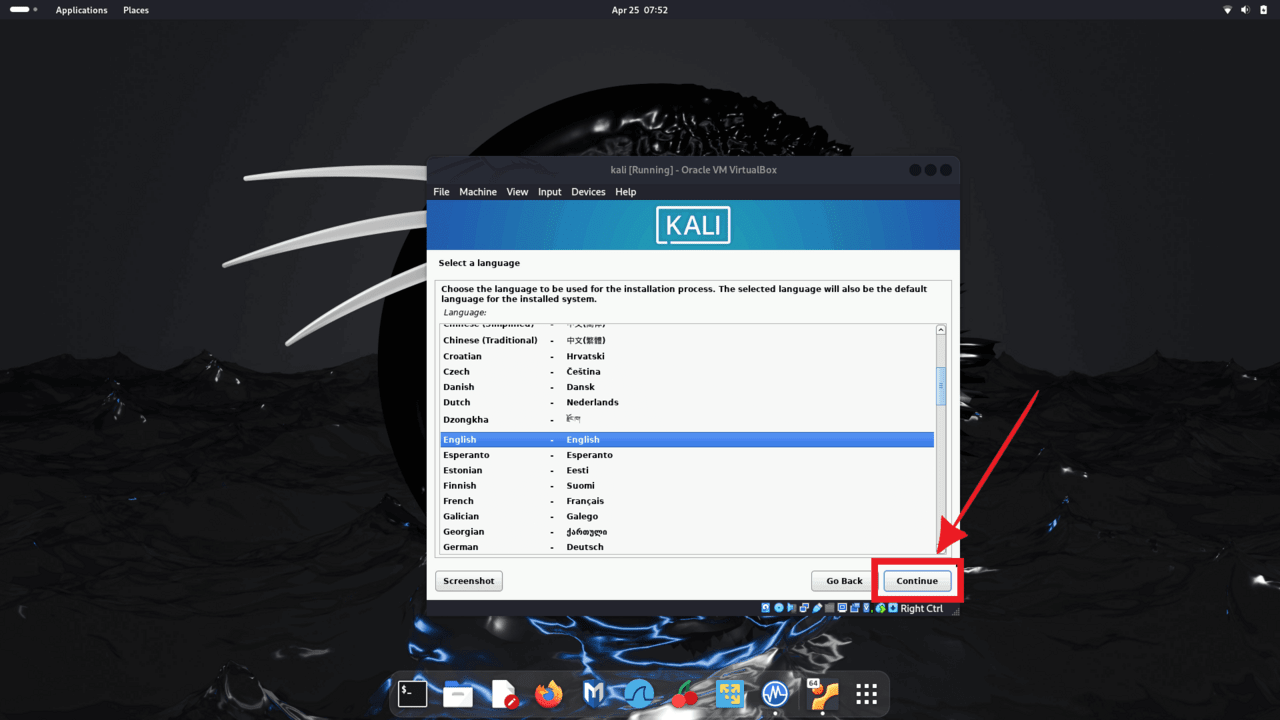
Select the language and click “Continue”
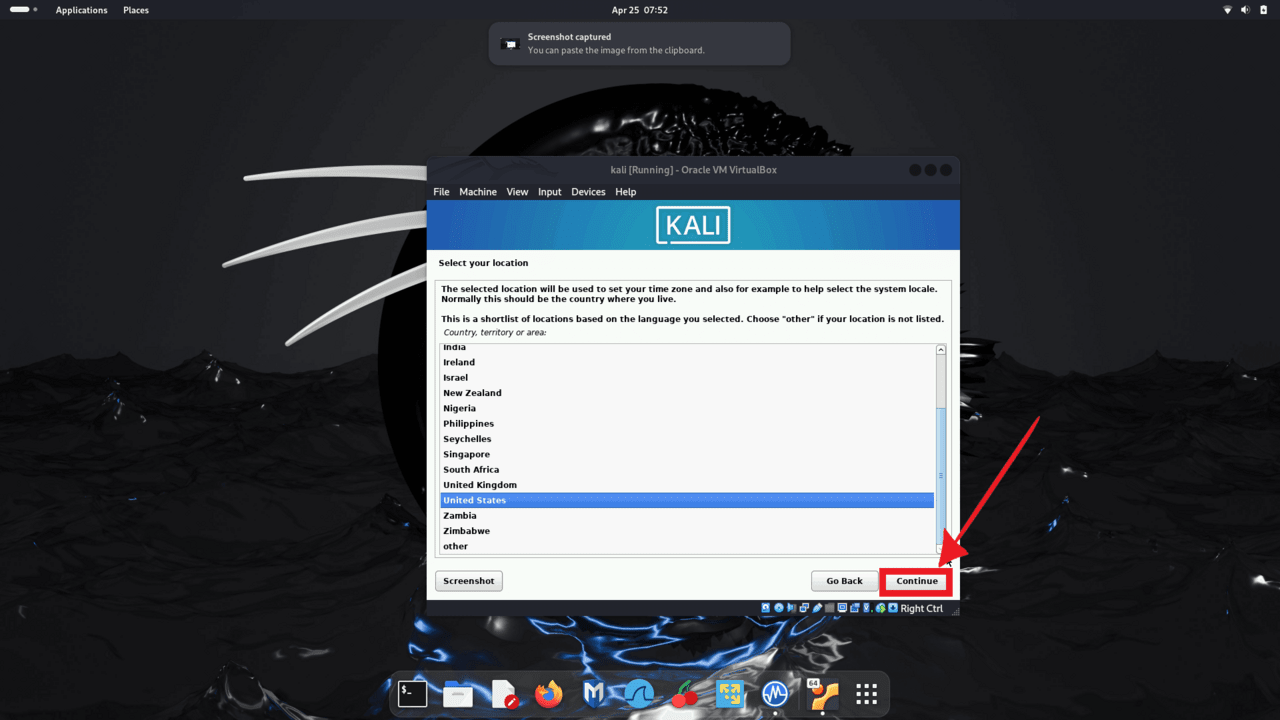
Select the country and click “Continue”
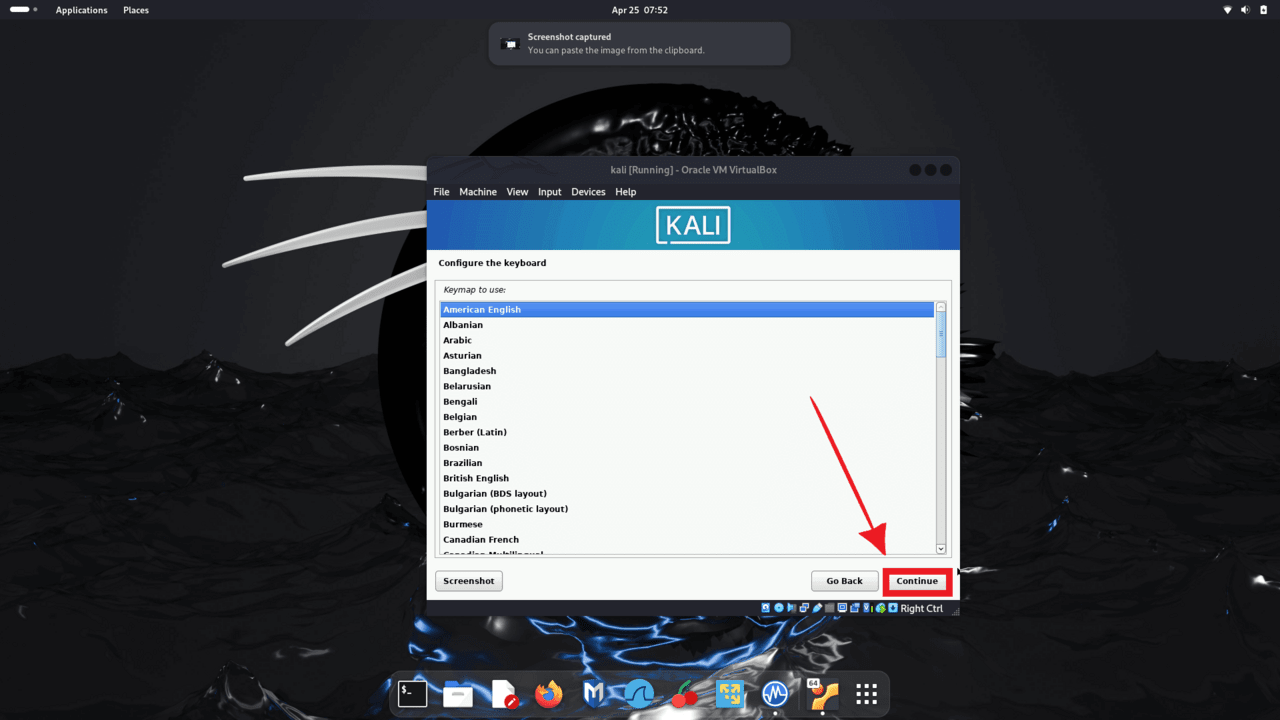
Choose the language for the keyboard and press as in the screenshot
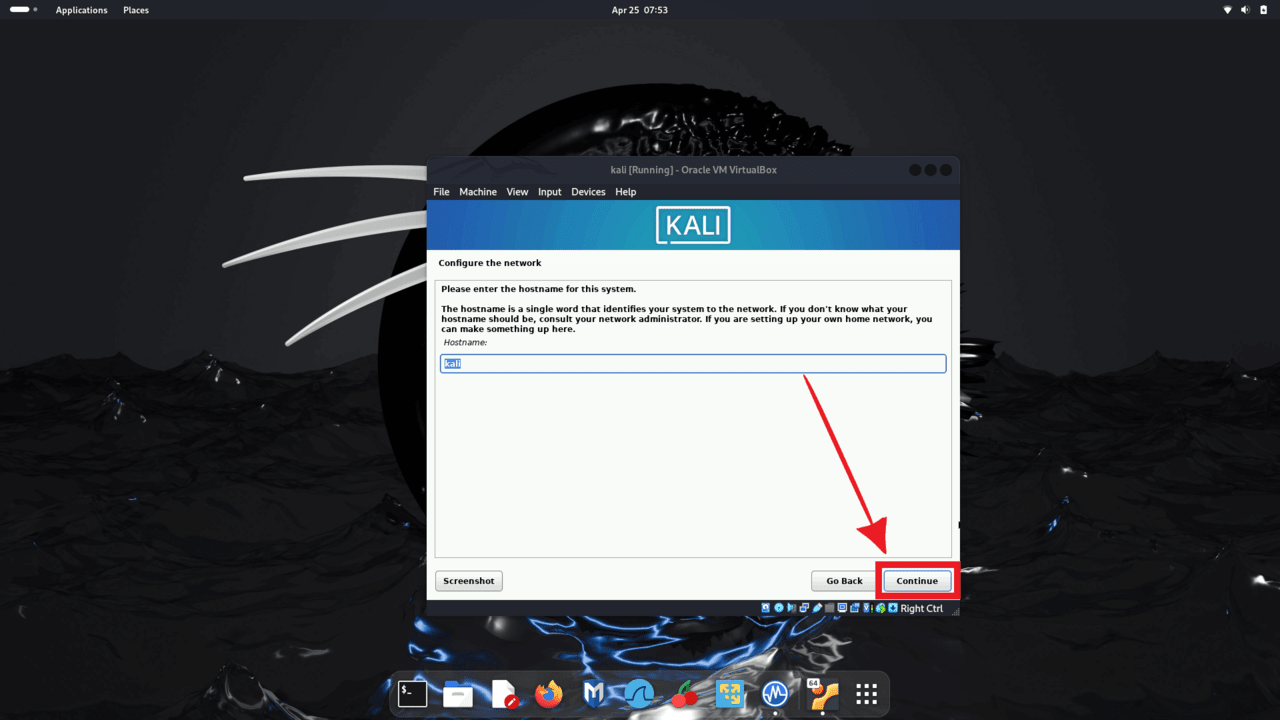
Enter any name for your operating system and click “Continue”
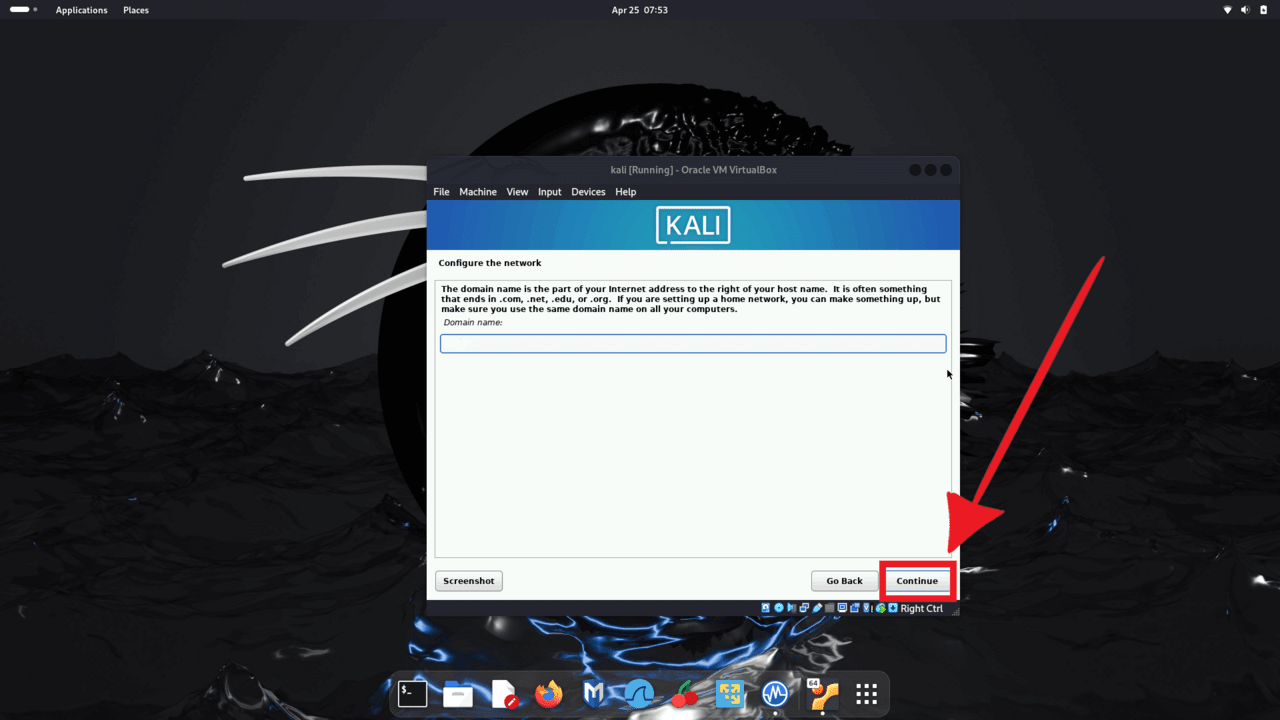
Just click “Continue” and skip this step
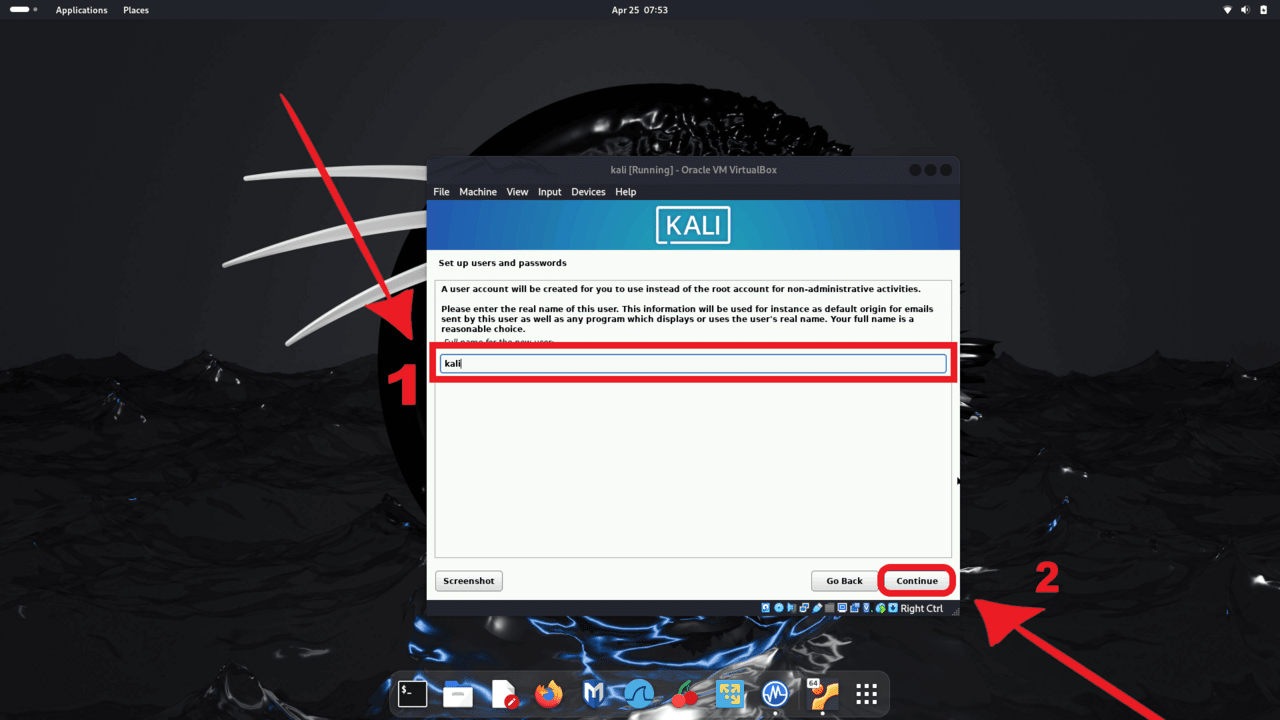
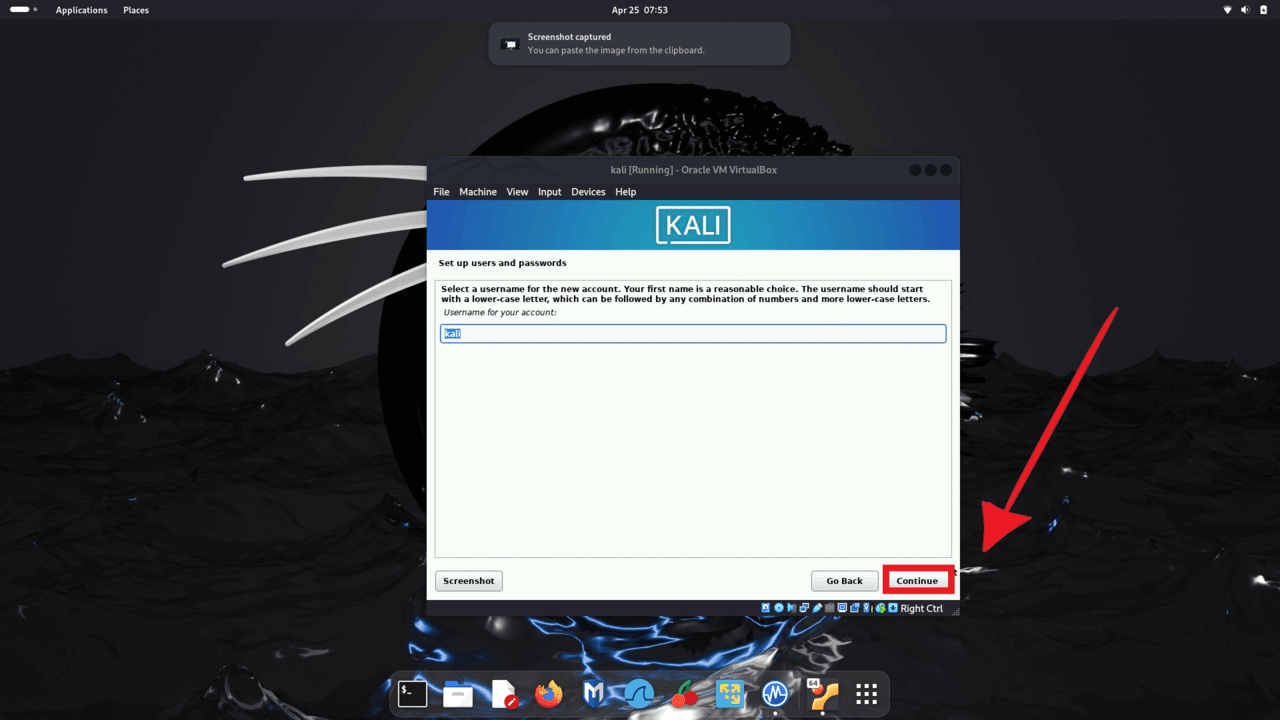
Give a name and click “Continue”
Click “Continue”
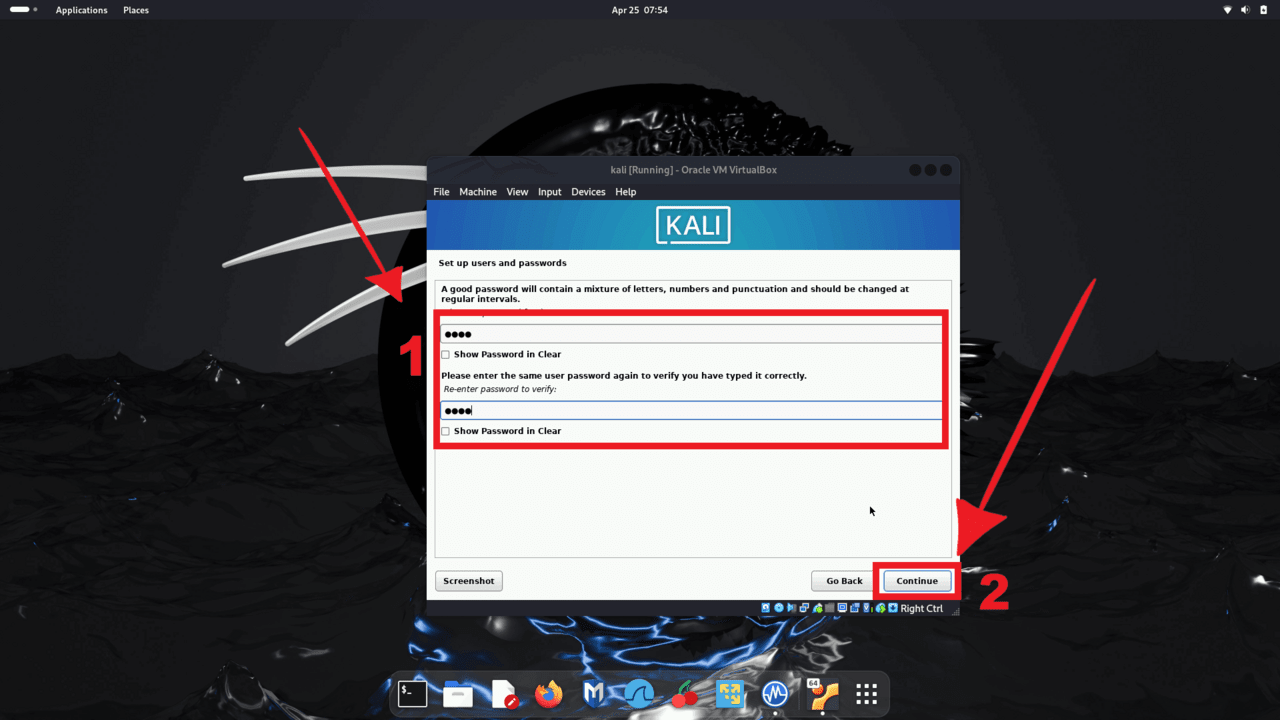
Here we need to come up with a password and enter it twice, after that click next
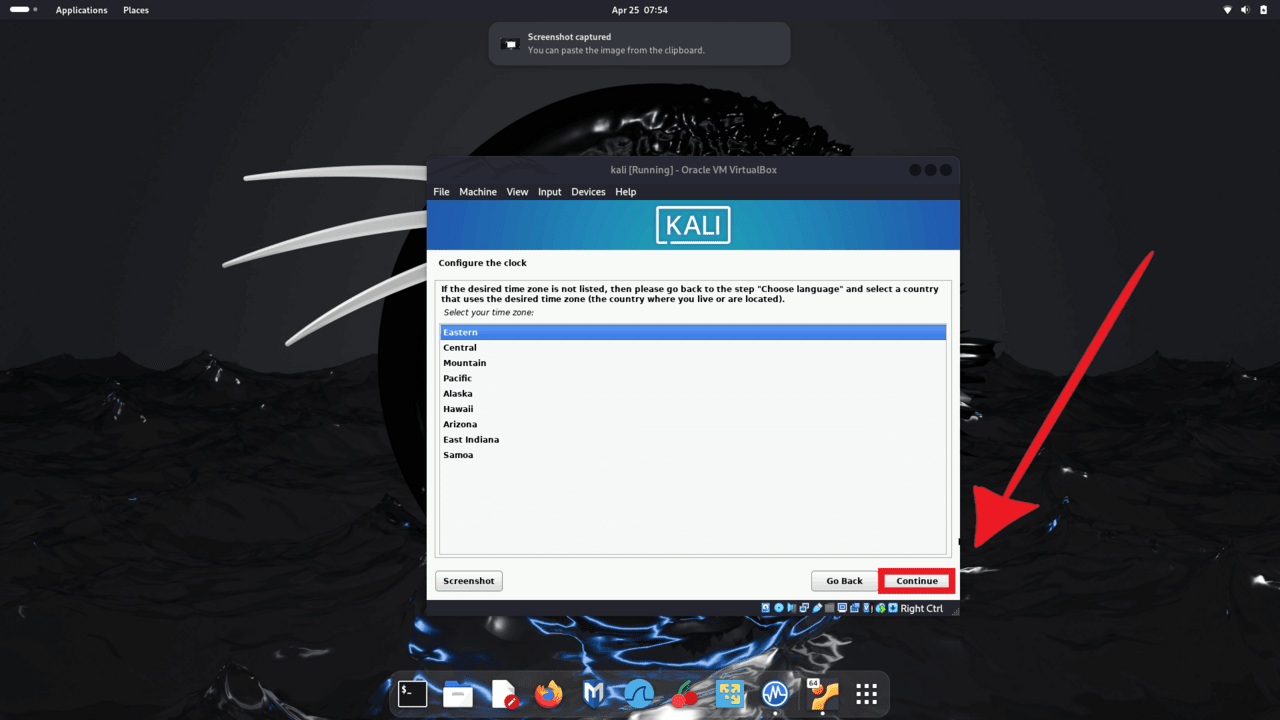
We choose the time zone for our operating system and move on
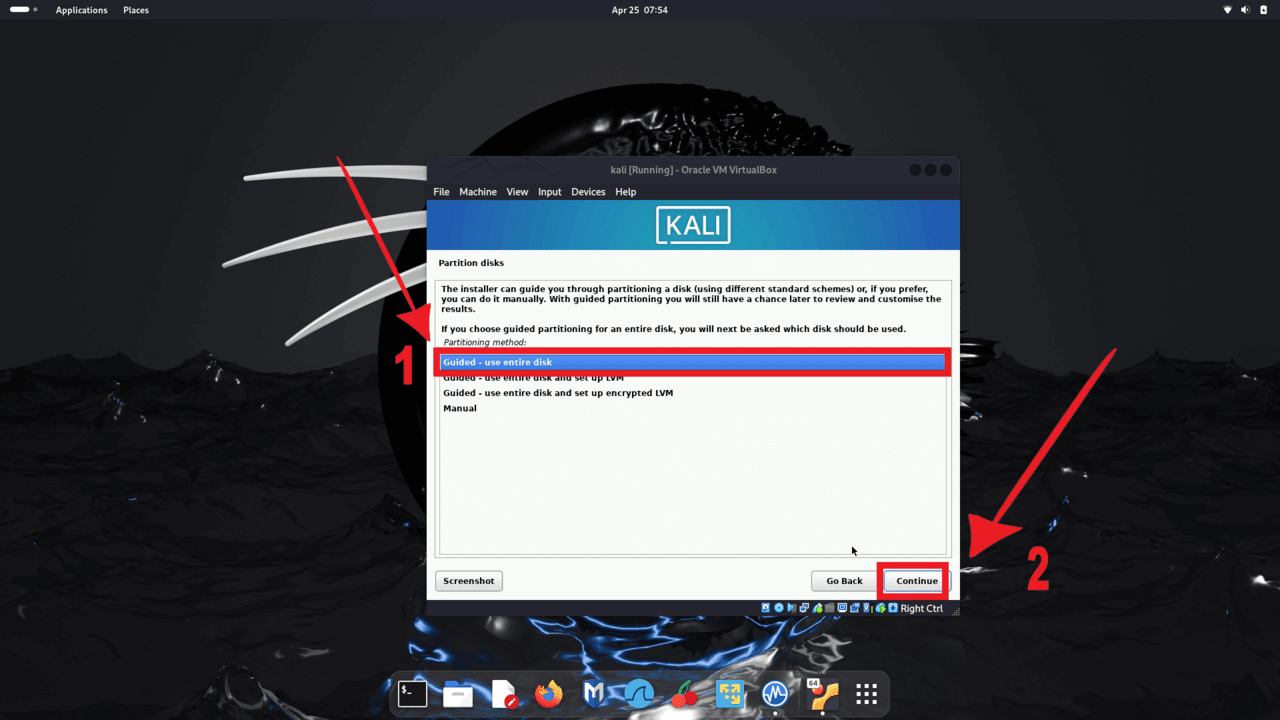
We choose managed use of the entire disk, and move on
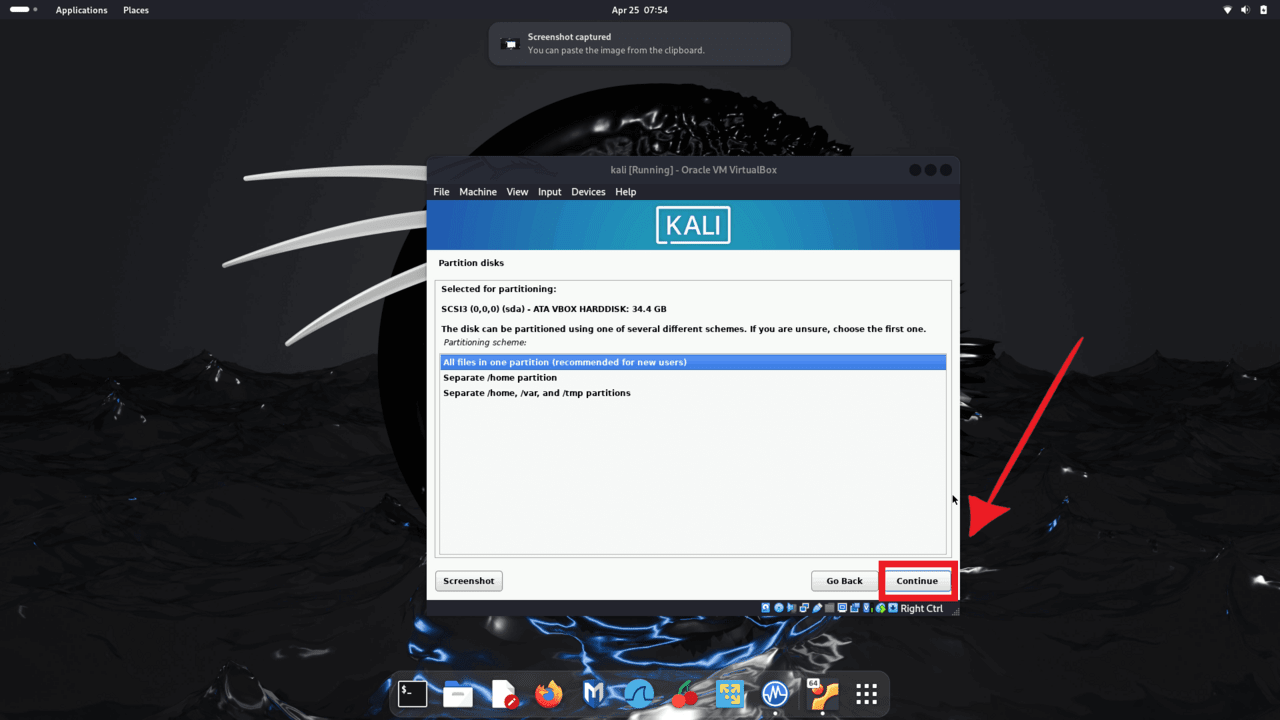
Select “All files in one partition” and move on
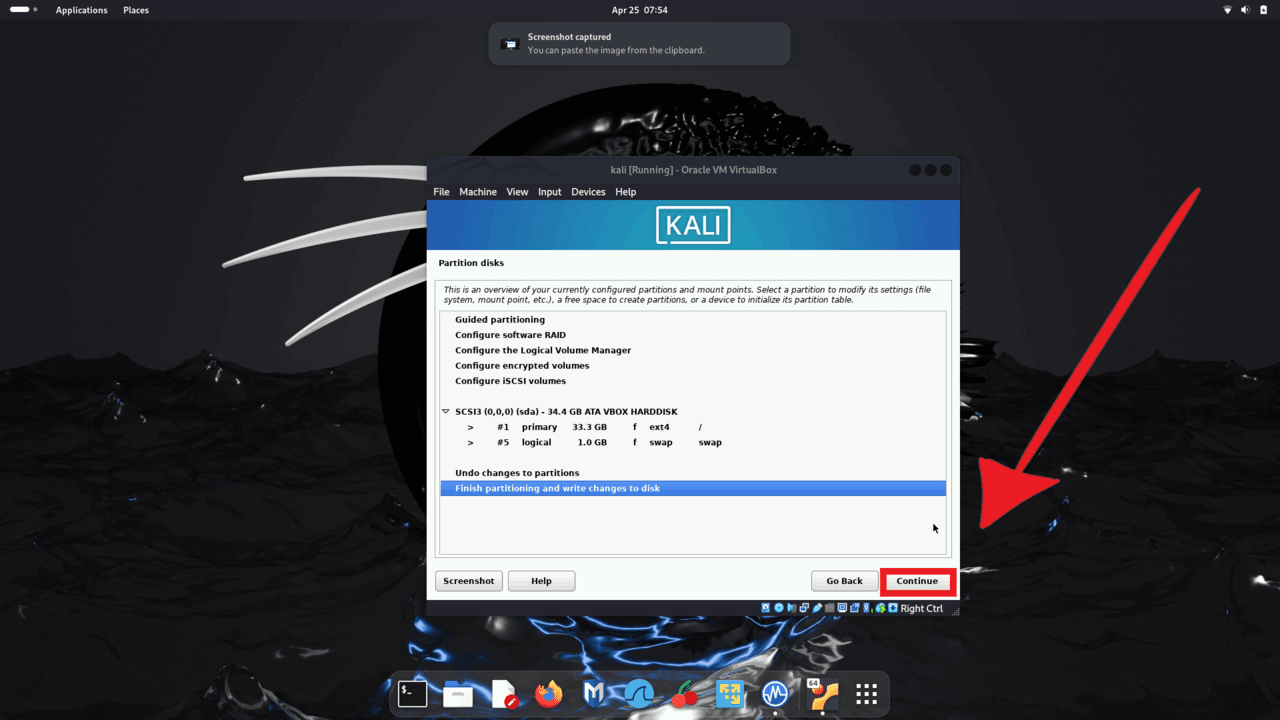
Finishing our installation
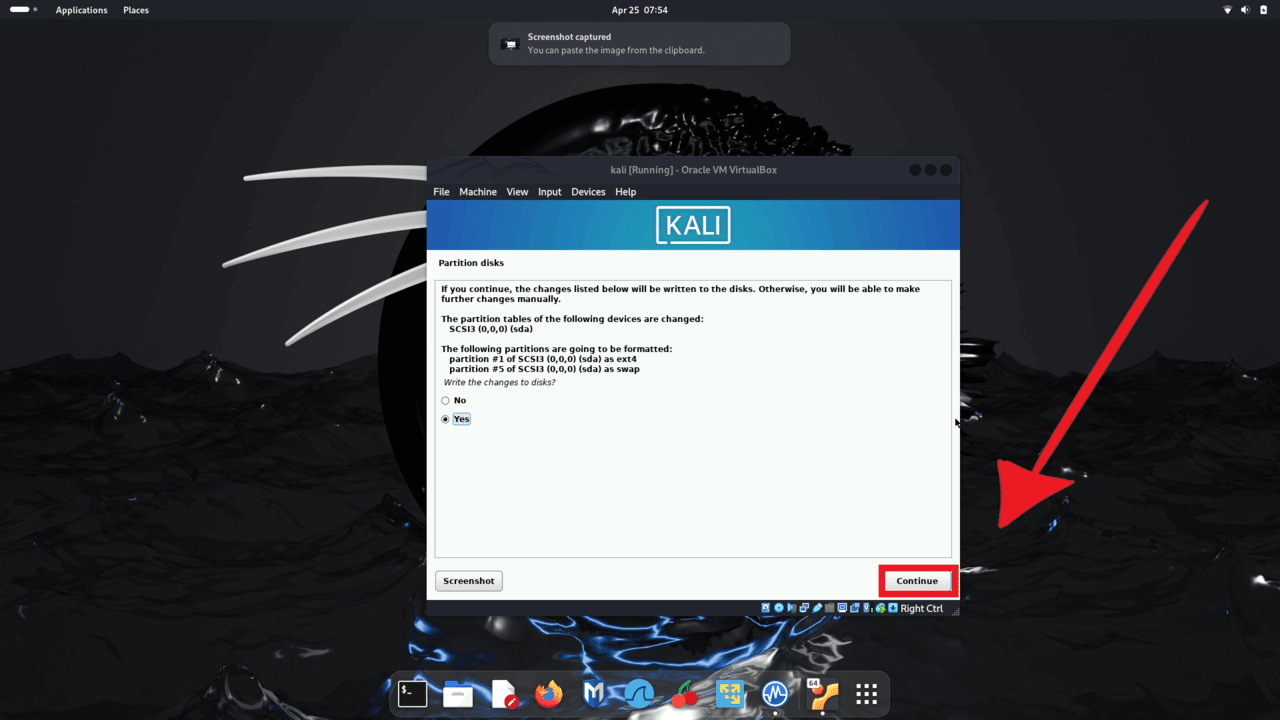
First click “Yes”, after that we can click “Continue”
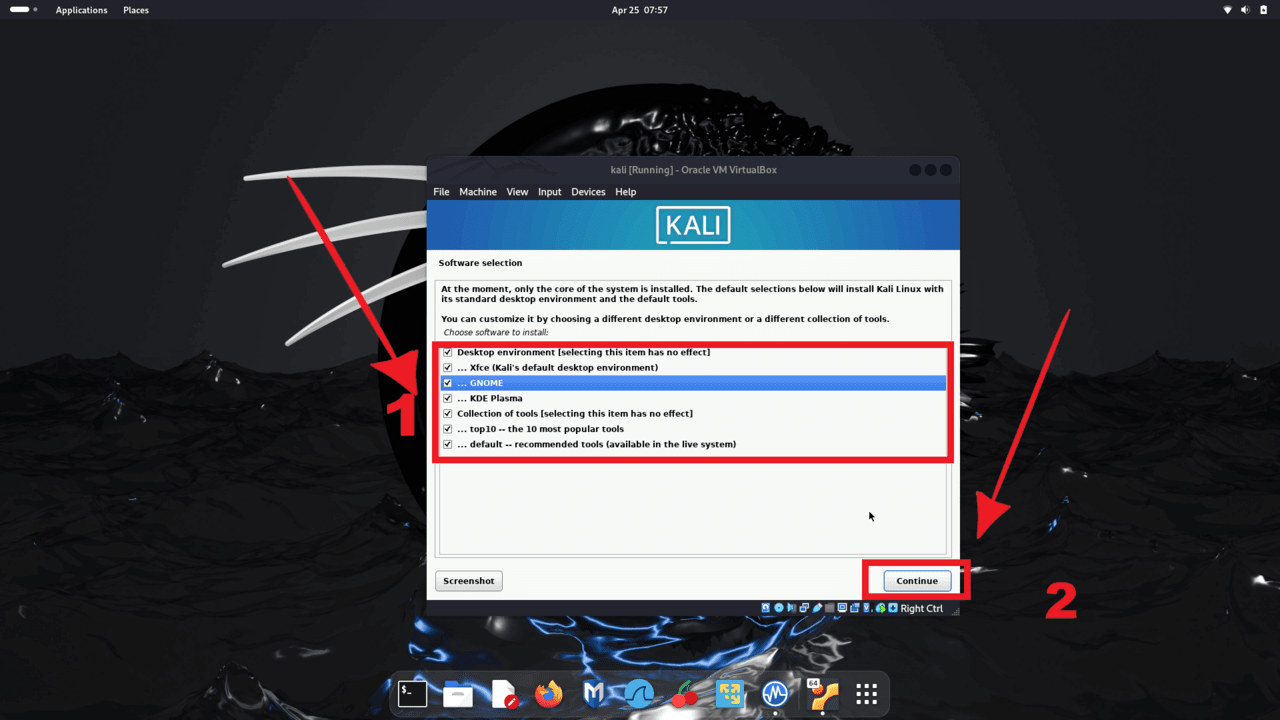
We select all the ticks that are shown in the screenshot. This is the most optimal option for choosing all tools and optimal operation of the OS
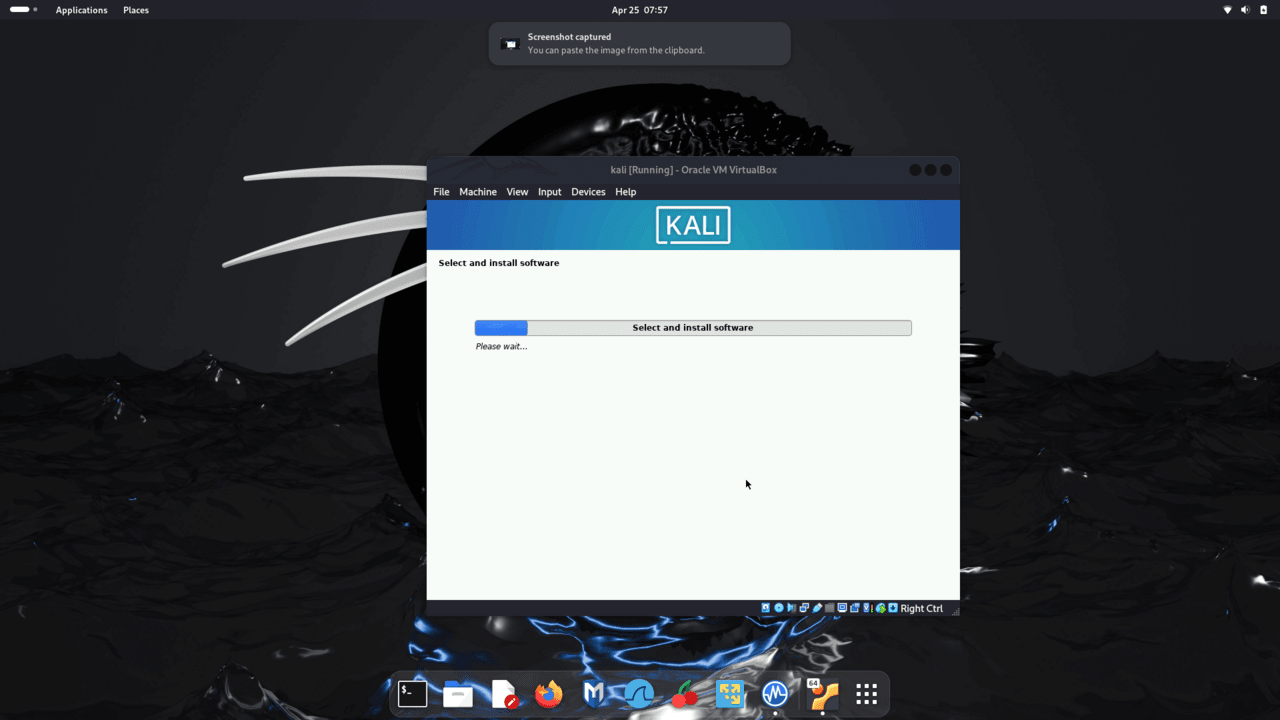
Here and there you also need to wait a little while the file is loaded
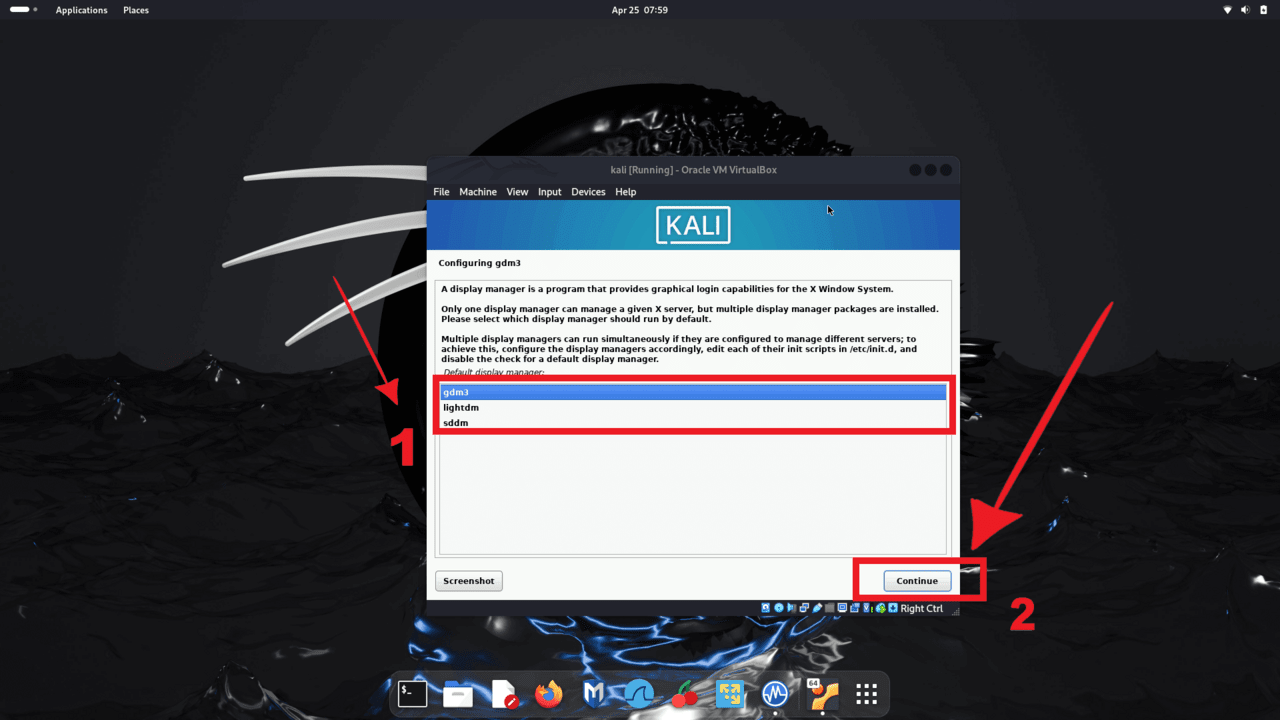
We choose “gdm3” and move on
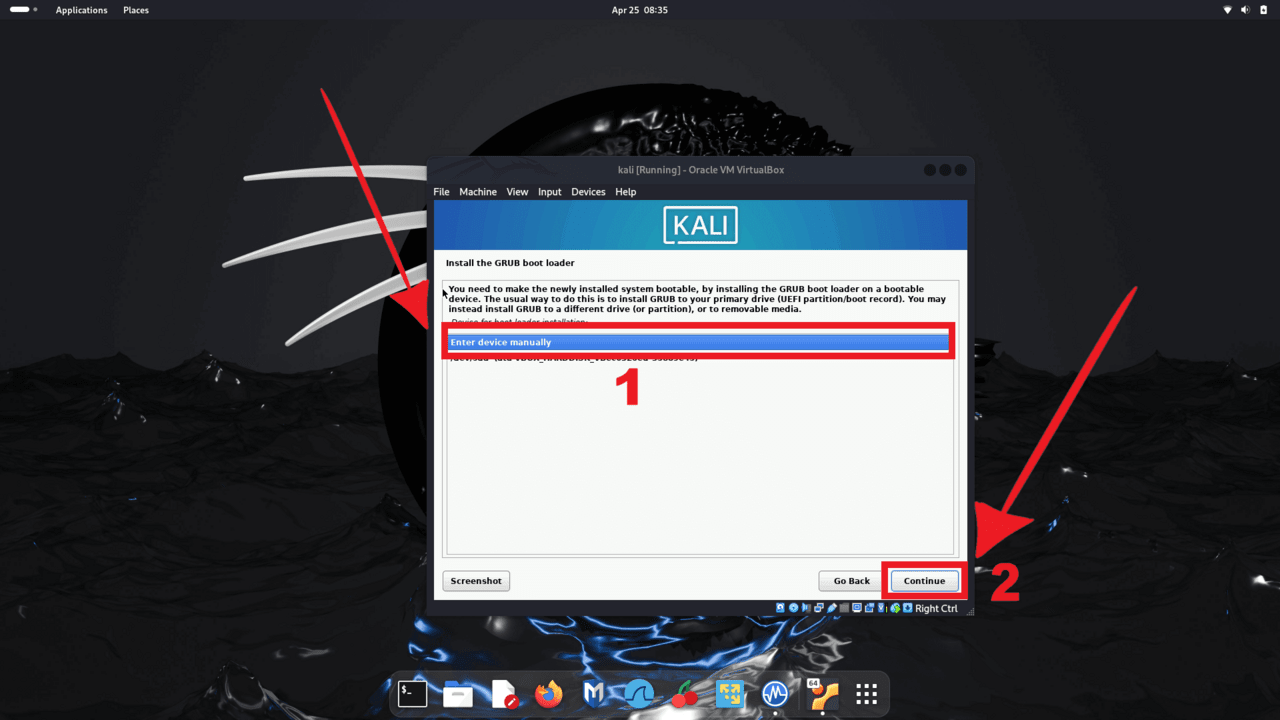
We install the GRUB loader and move on
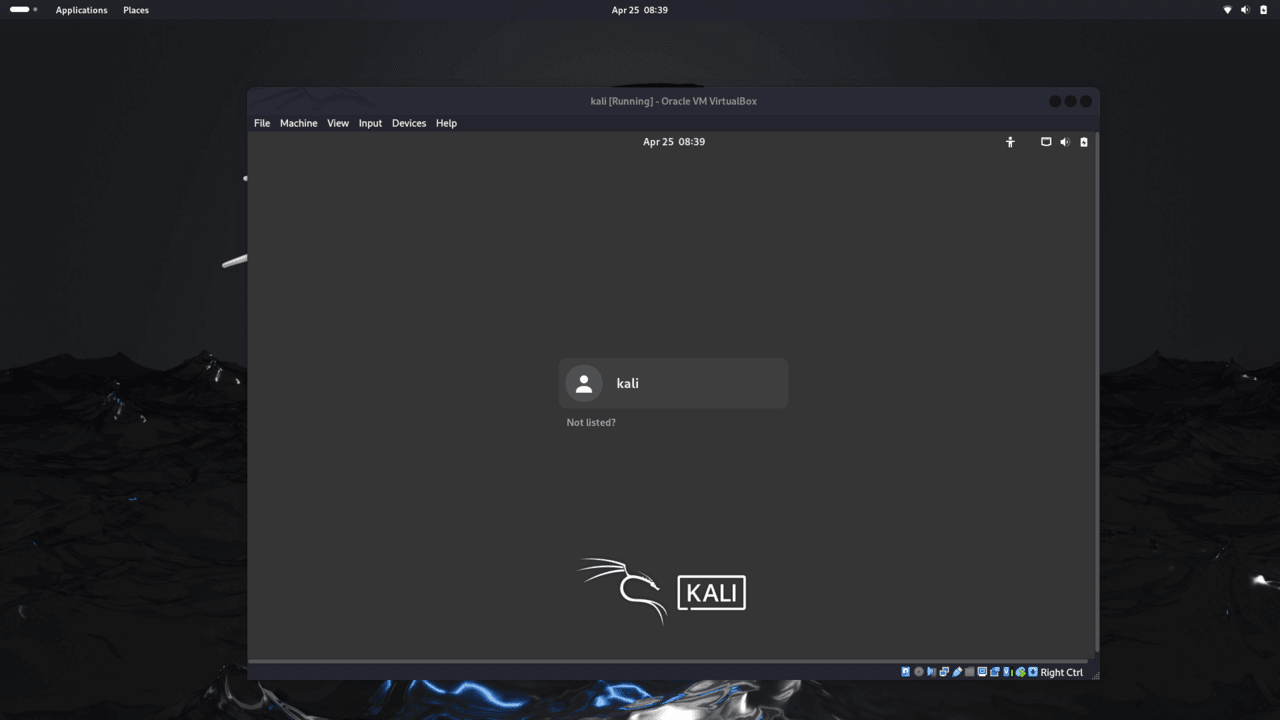
Congratulations, everything worked out for you.