Learn how to create and configure a VirtualBox virtual machine on Kali Linux step-by-step using a Windows 11 ISO image. This guide will help you easily install Windows 11 in a virtual environment, optimize system parameters for stability and high performance, and solve common problems that may occur during installation.
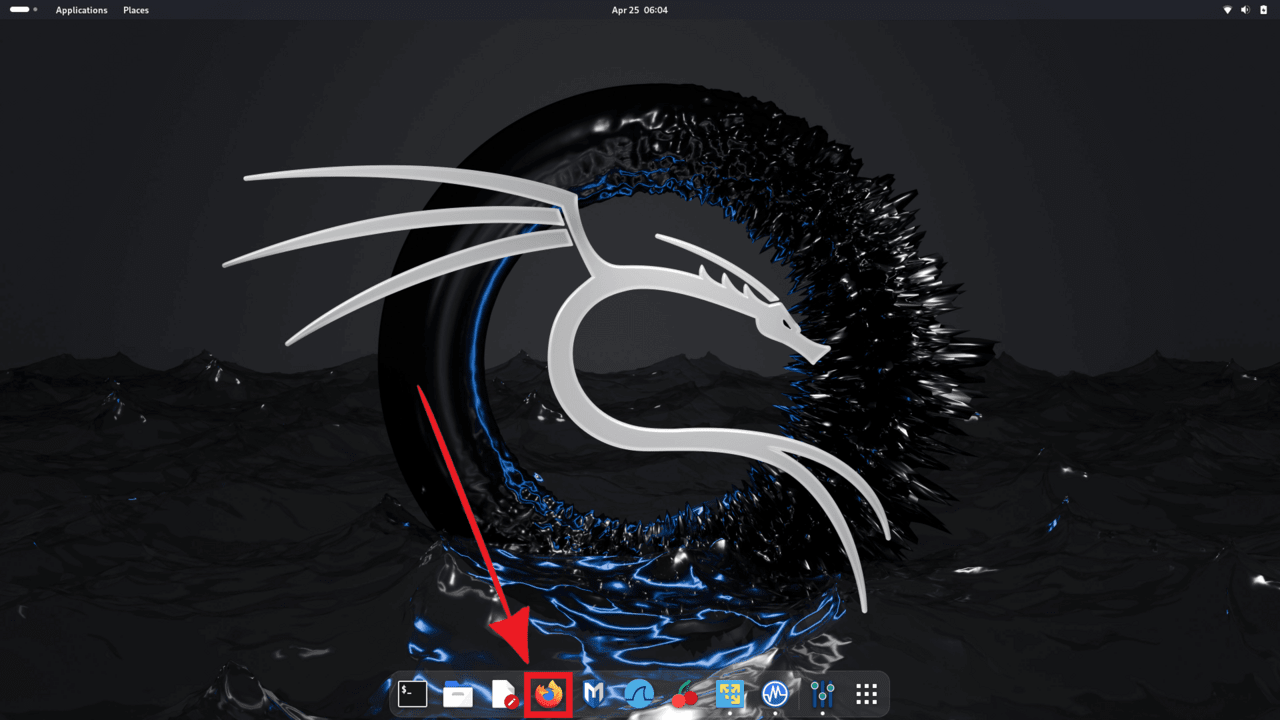
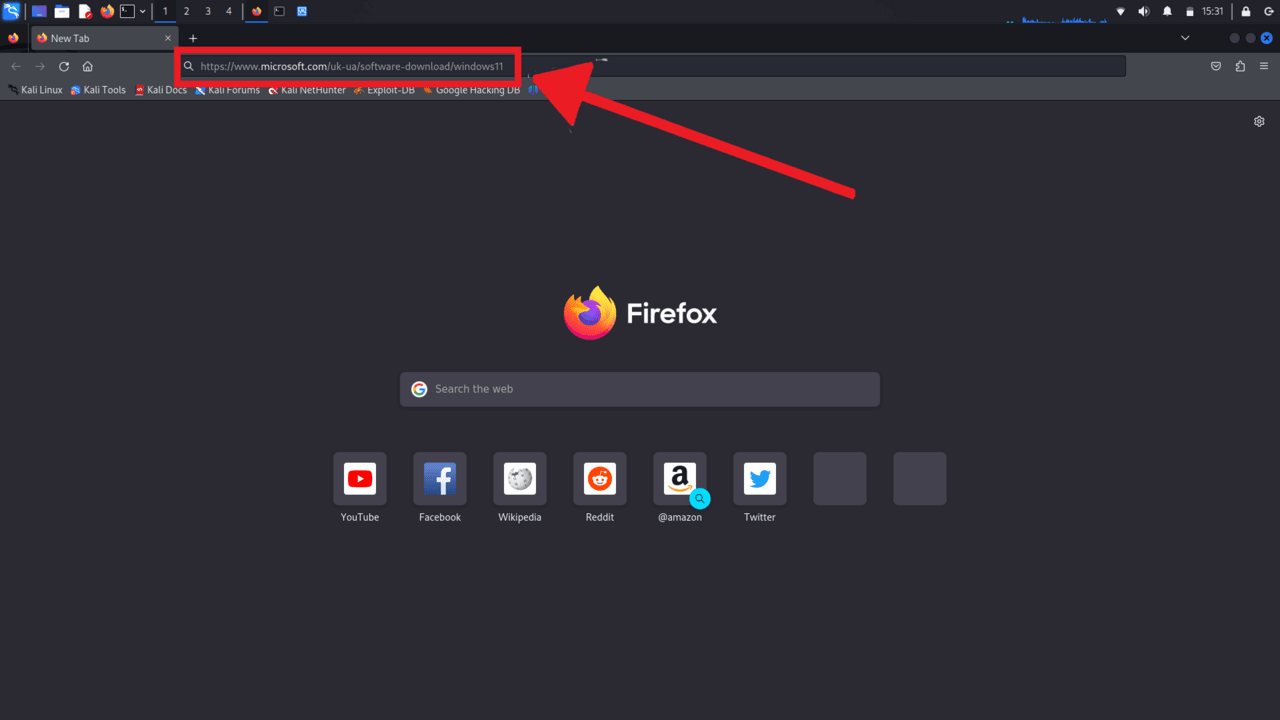
Open the browser
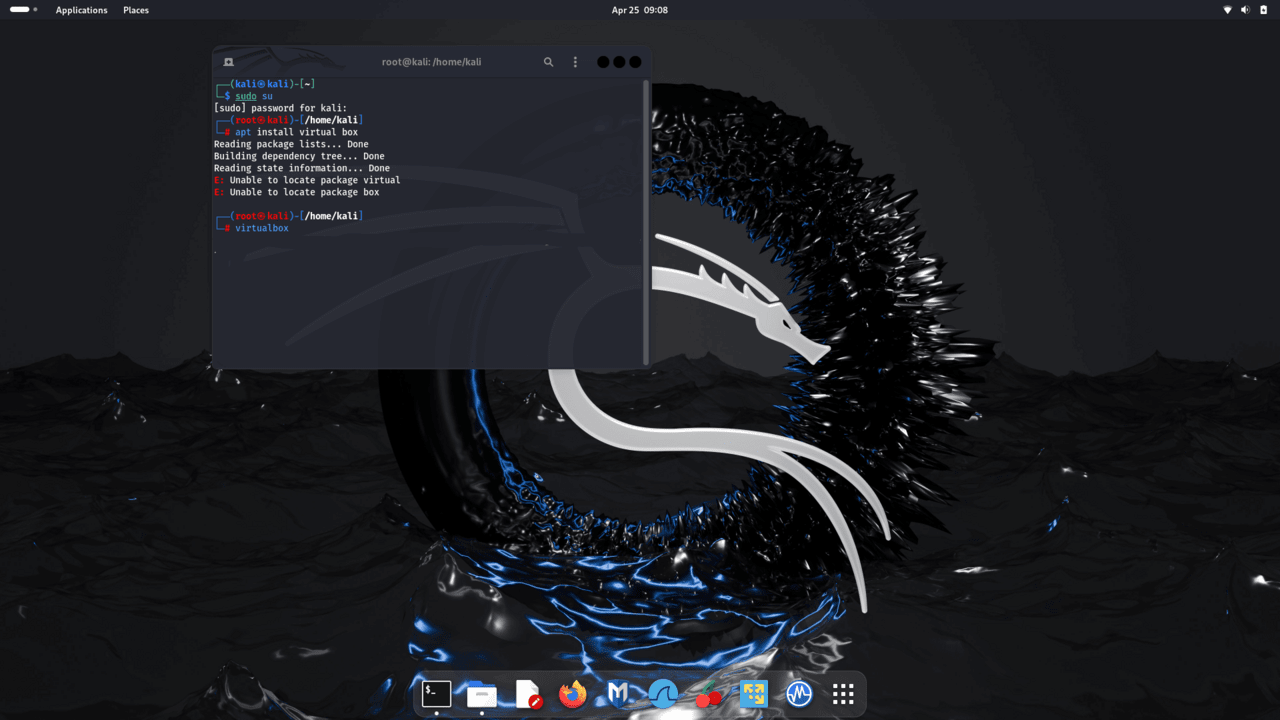
enter the code:
$ sudo su
# apt install virtual box
# virtual box

Open the browser
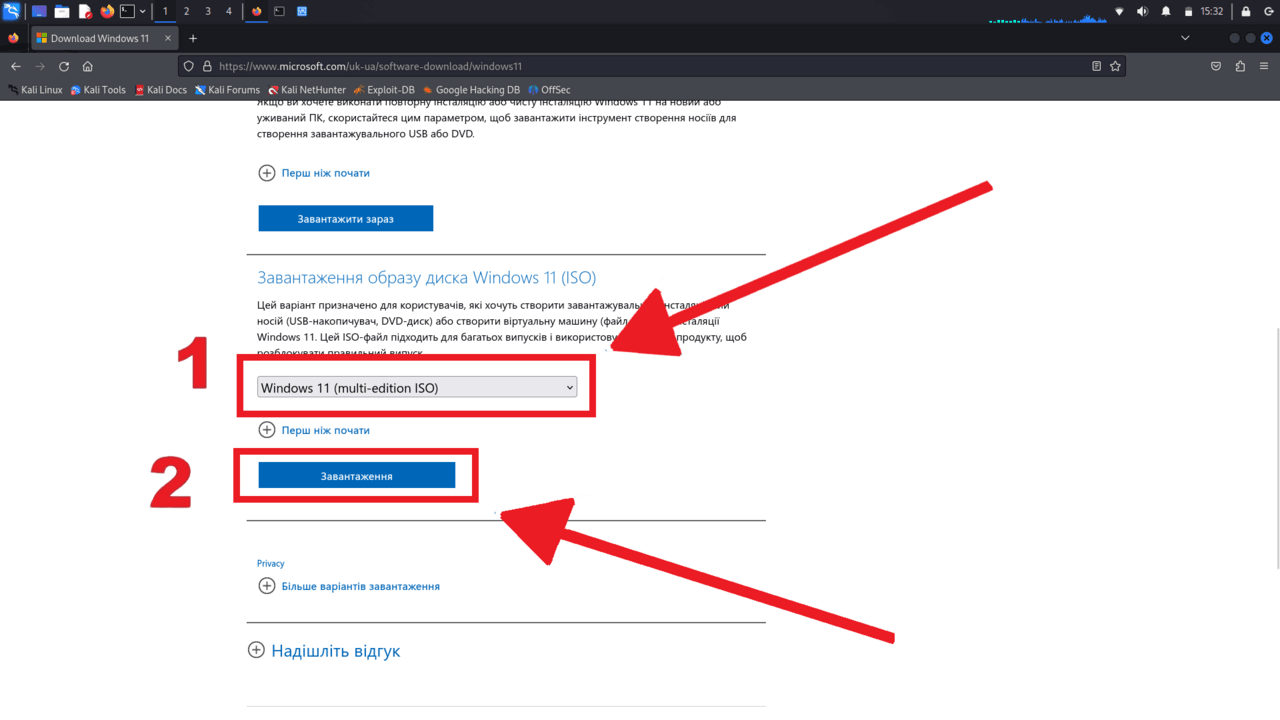
Select the iso image and click “Download”
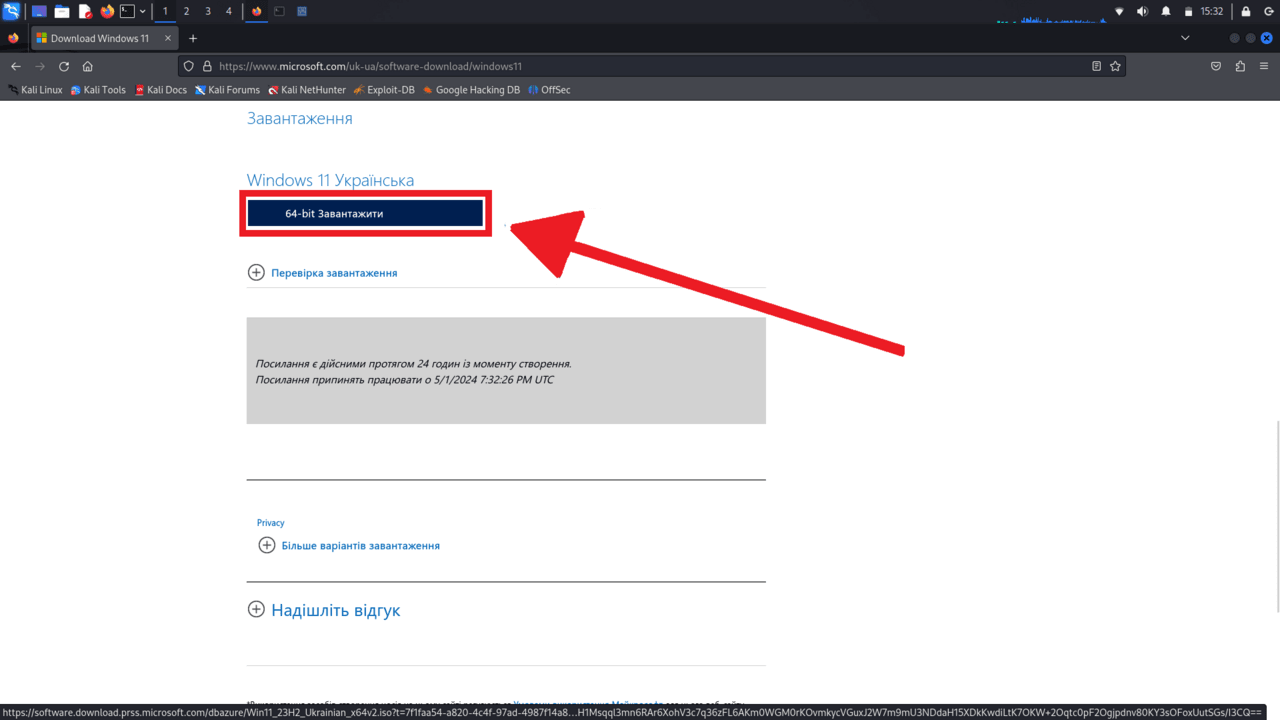
Download the 64-bit version
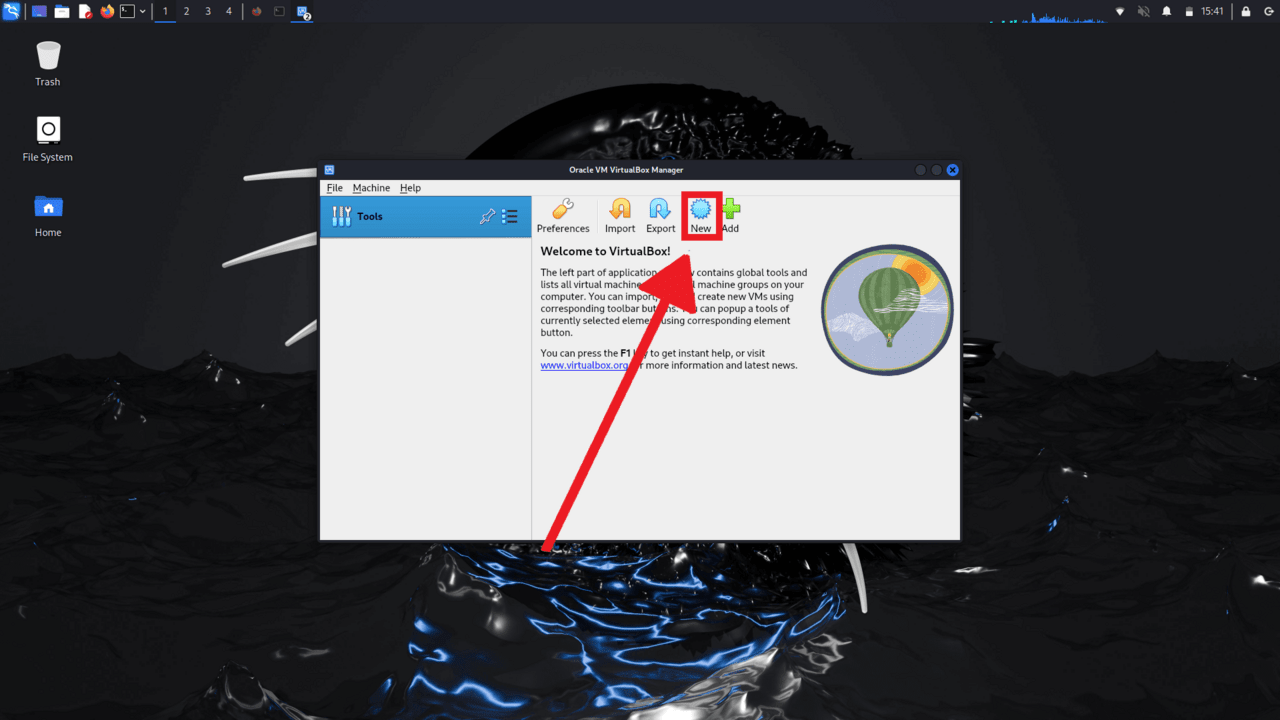
Click on “New”
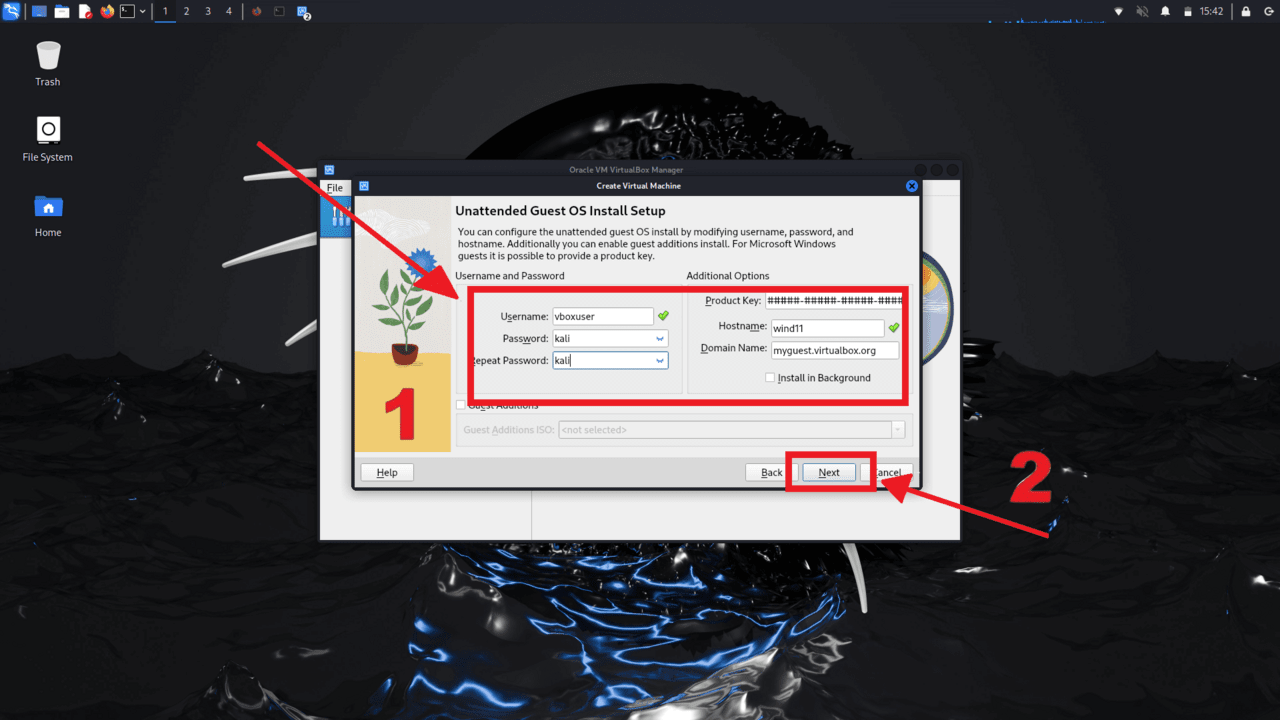
We enter data for the account and move on
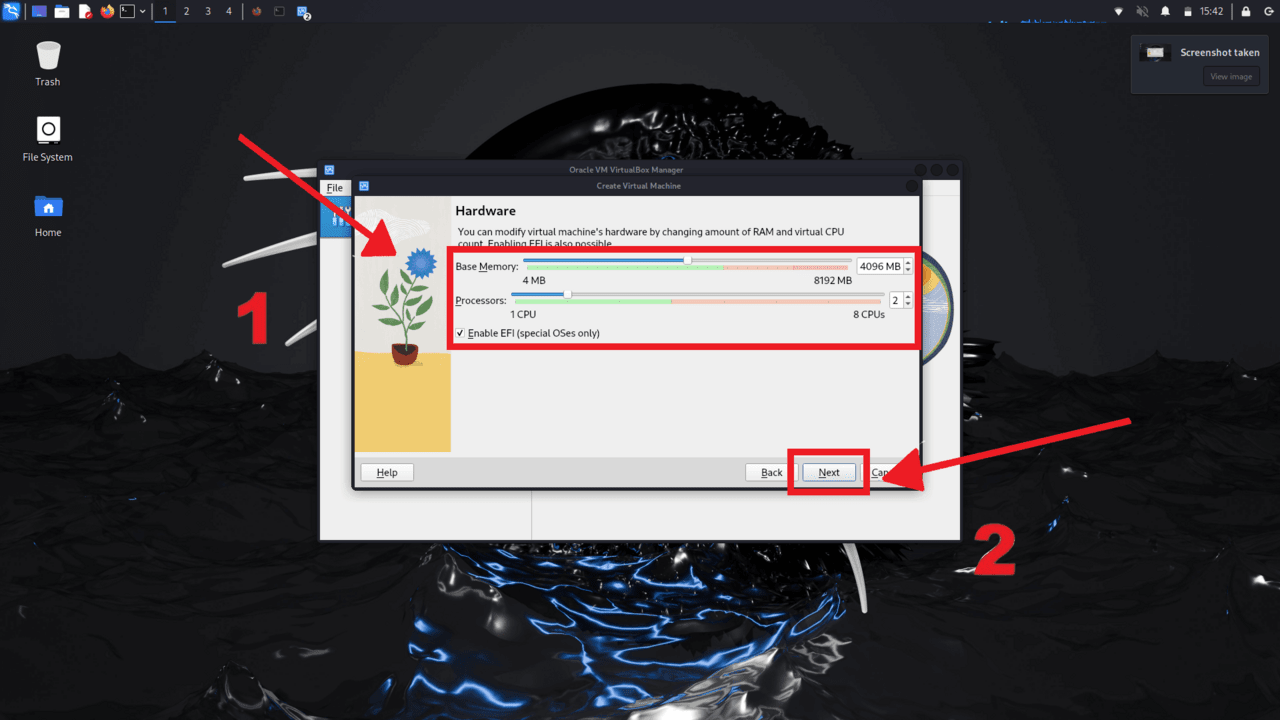
You can modify the hardware by changing the amount of RAM and the virtual number of CPUs, then click “Next”

We name our virtual machine, specify the path of our ISO image and move on
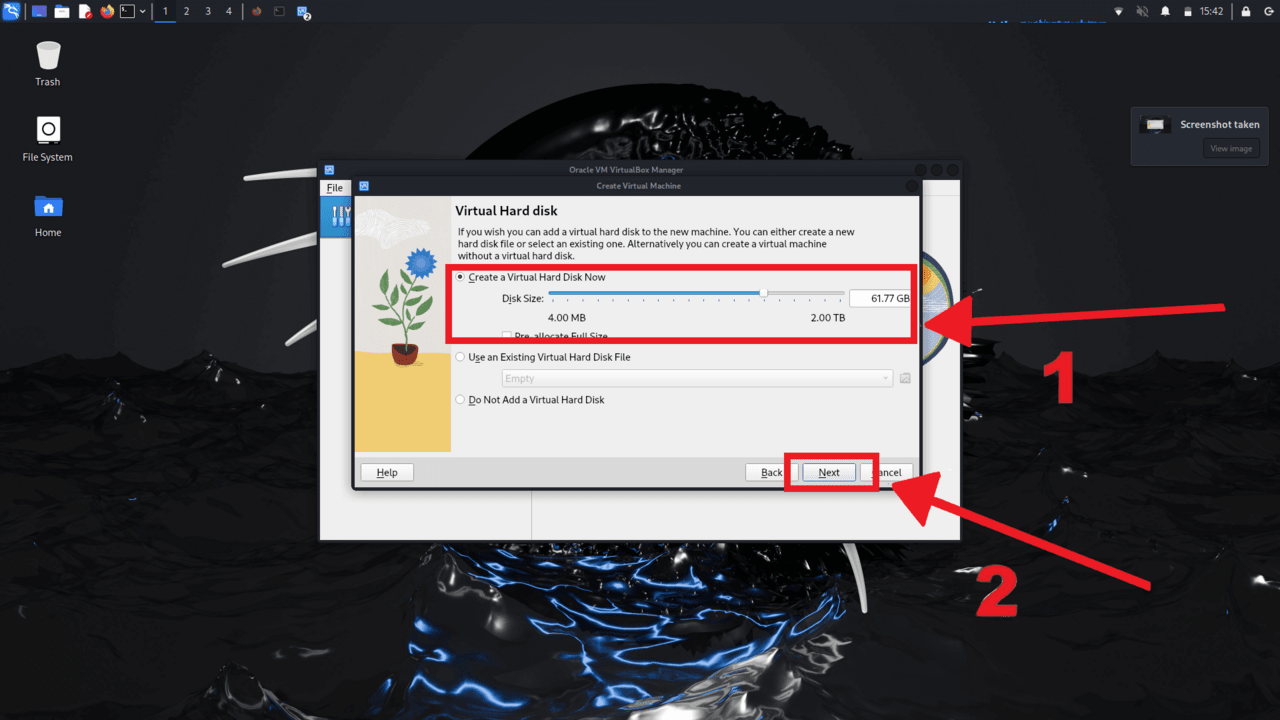
Choose the size of the Virtual Hard disk and click “Next”

Click “Finish”
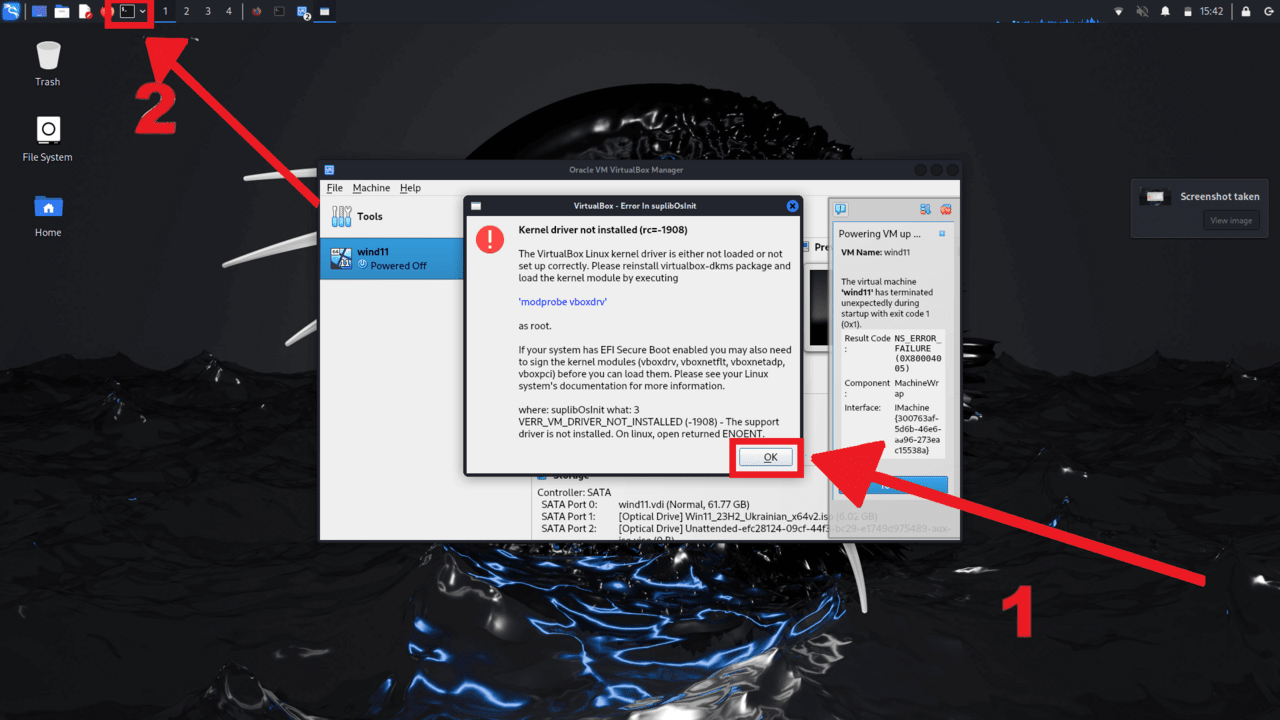
Click “OK” and open the Windows registry, as shown in the screenshot.
This code removes this error that is in the screenshot
Sudo apt install —reinstall Linux-headers-$(uname -r) virtualbox-dkms dkms
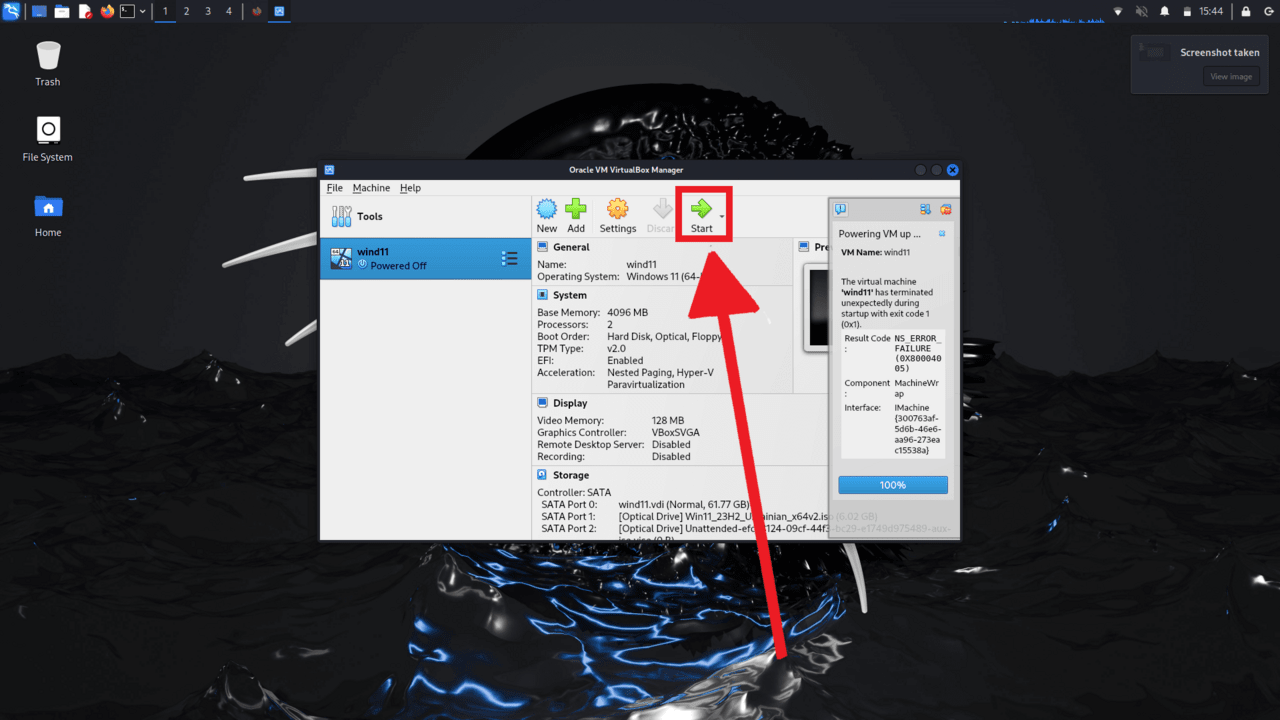
Press “Start”
Waiting for download
We are waiting for “Starting the installation program”
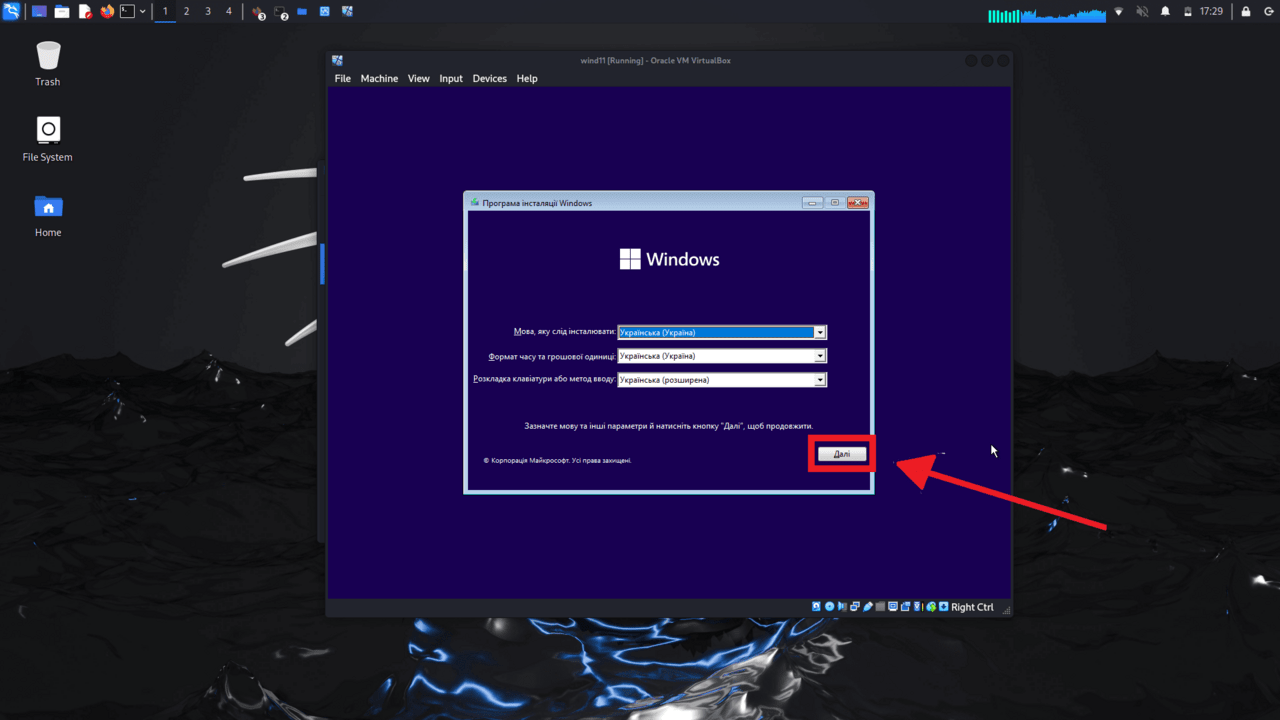
Choose the language, keyboard and time zone and move on
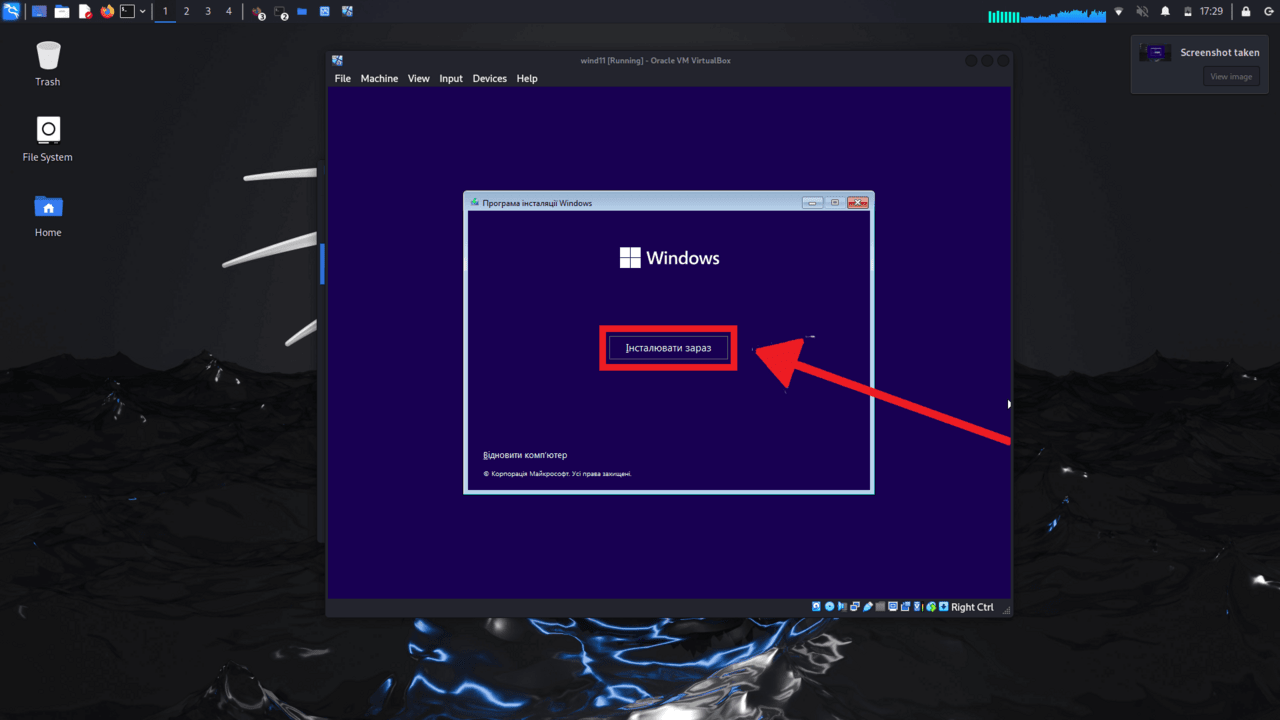
Click on “Install now”
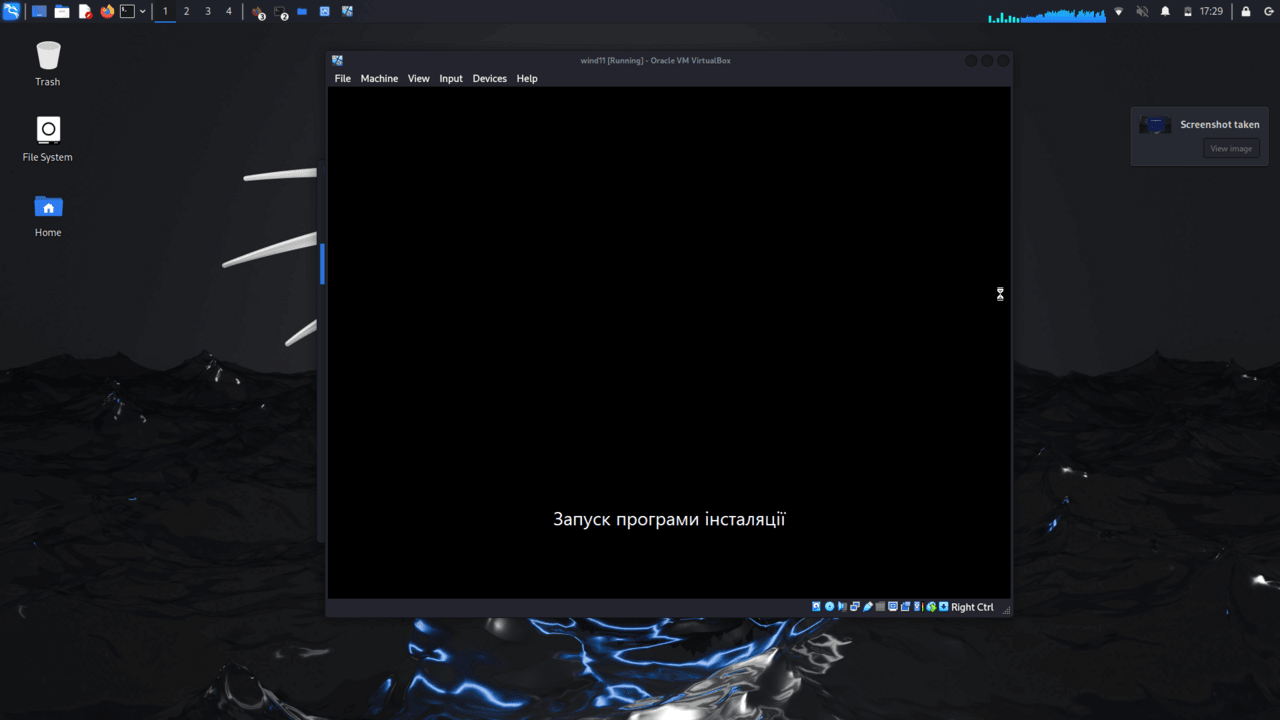
Launch the installer
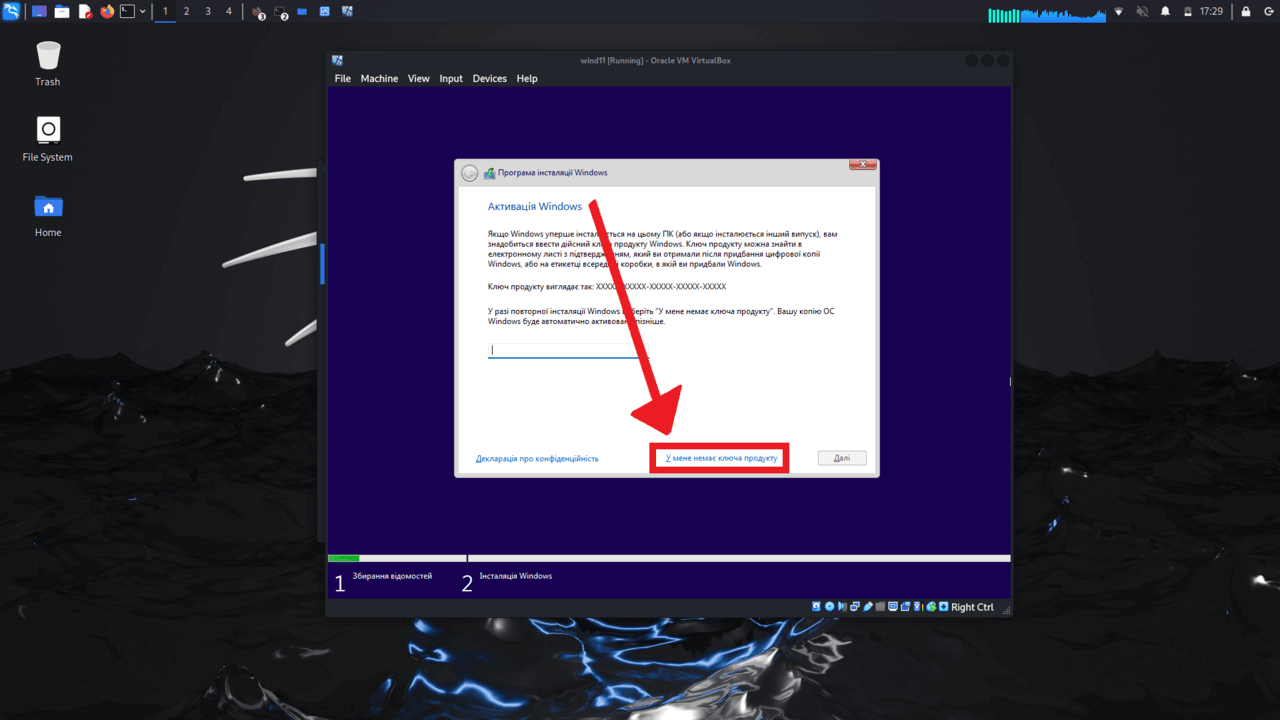
Click “I don’t have a product key”
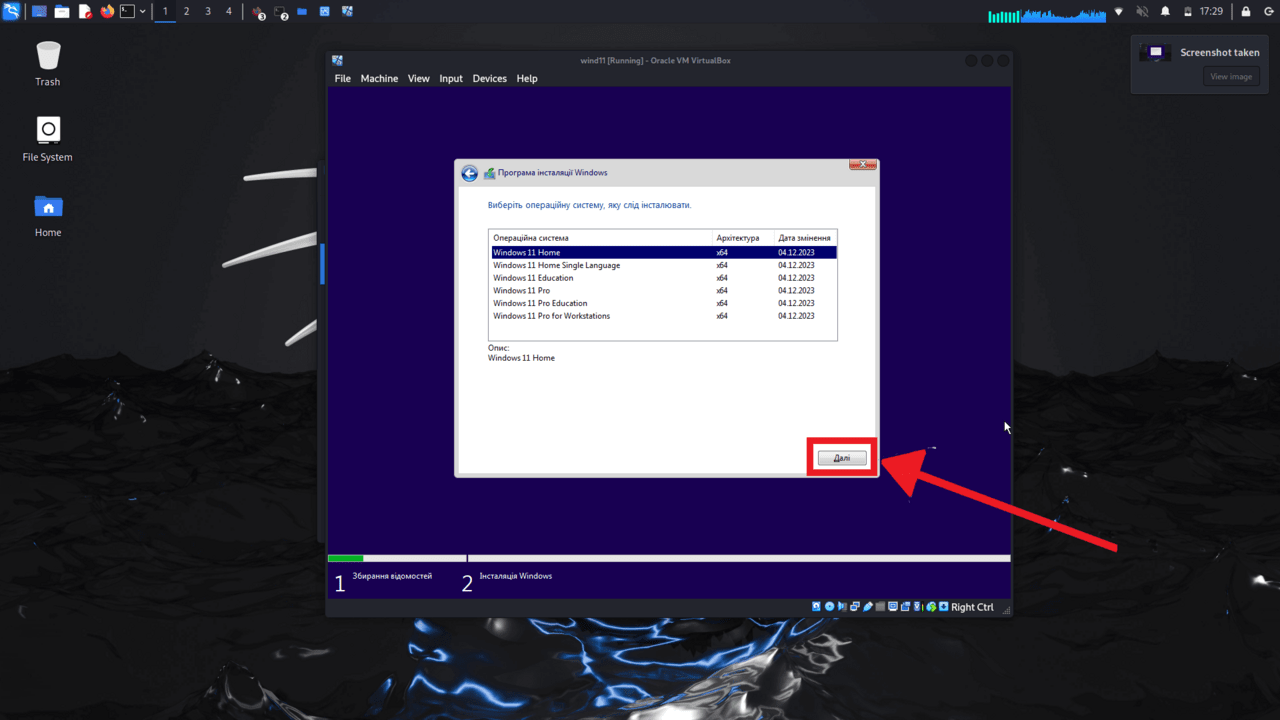
Select the operating system and click next
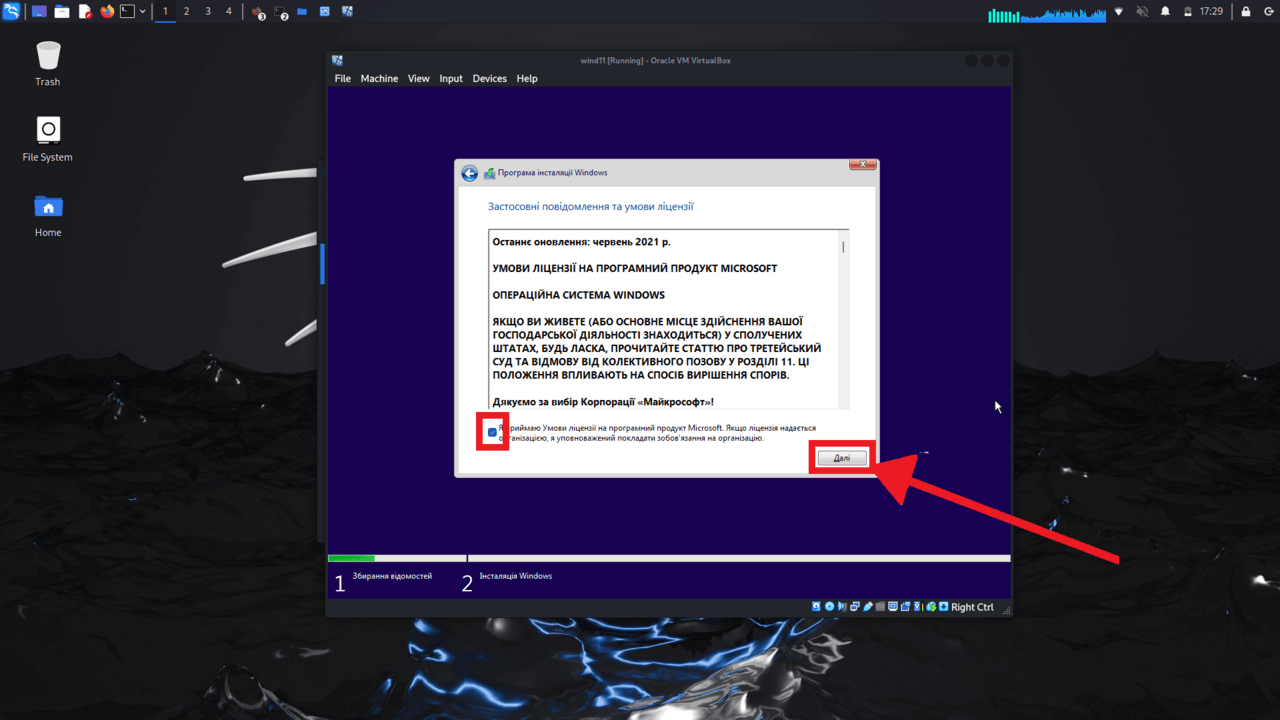
We agree and move on
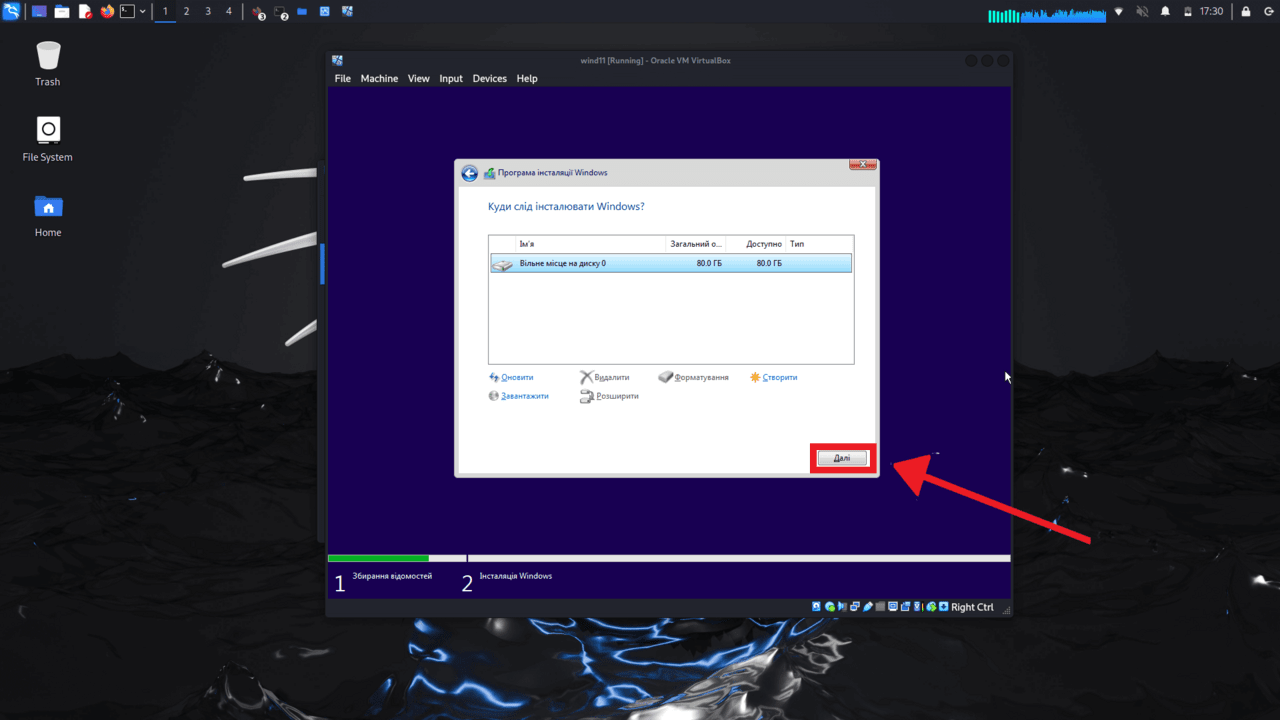
We press further
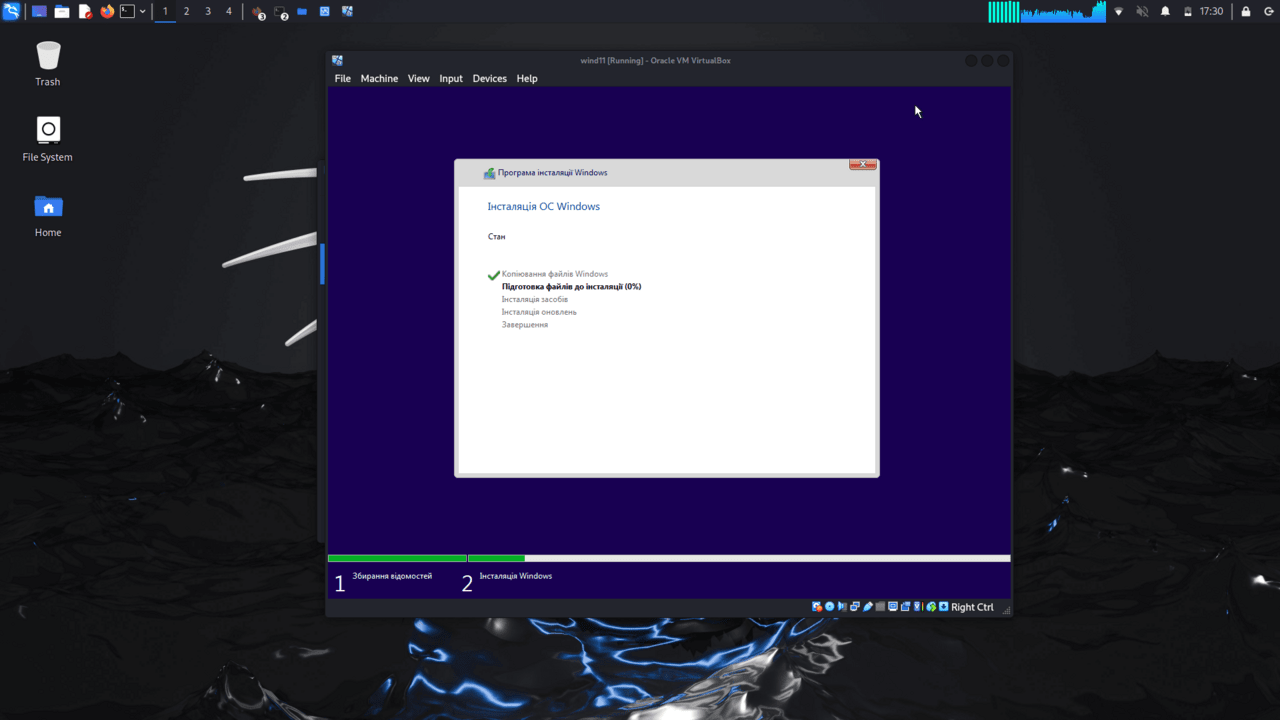
We are waiting for the installation to complete
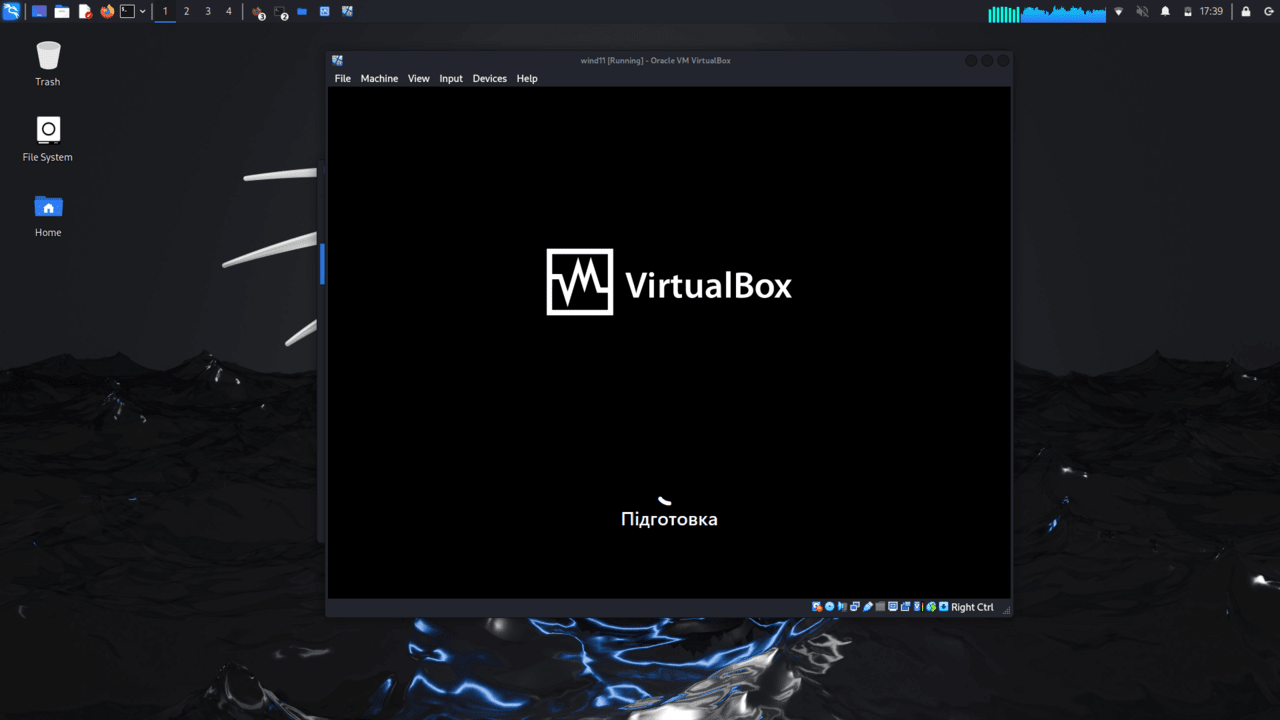
We are waiting for the preparation
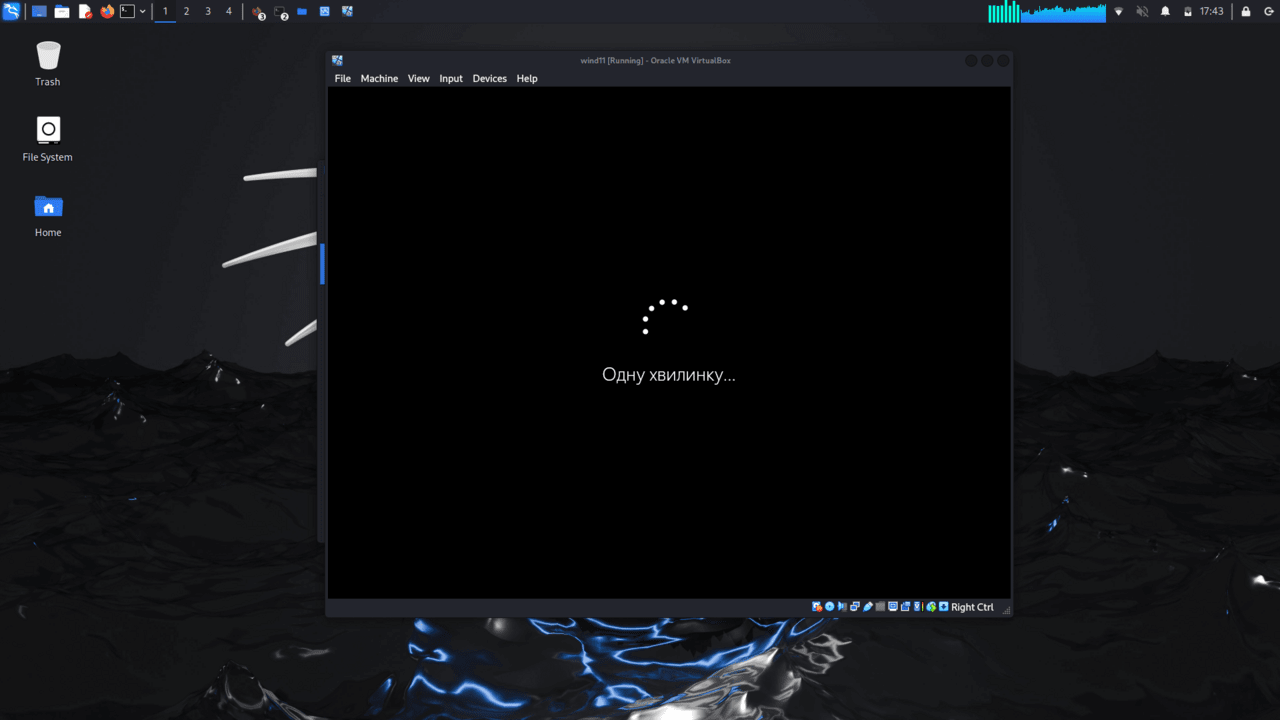
One minute..)
Windows is almost loaded
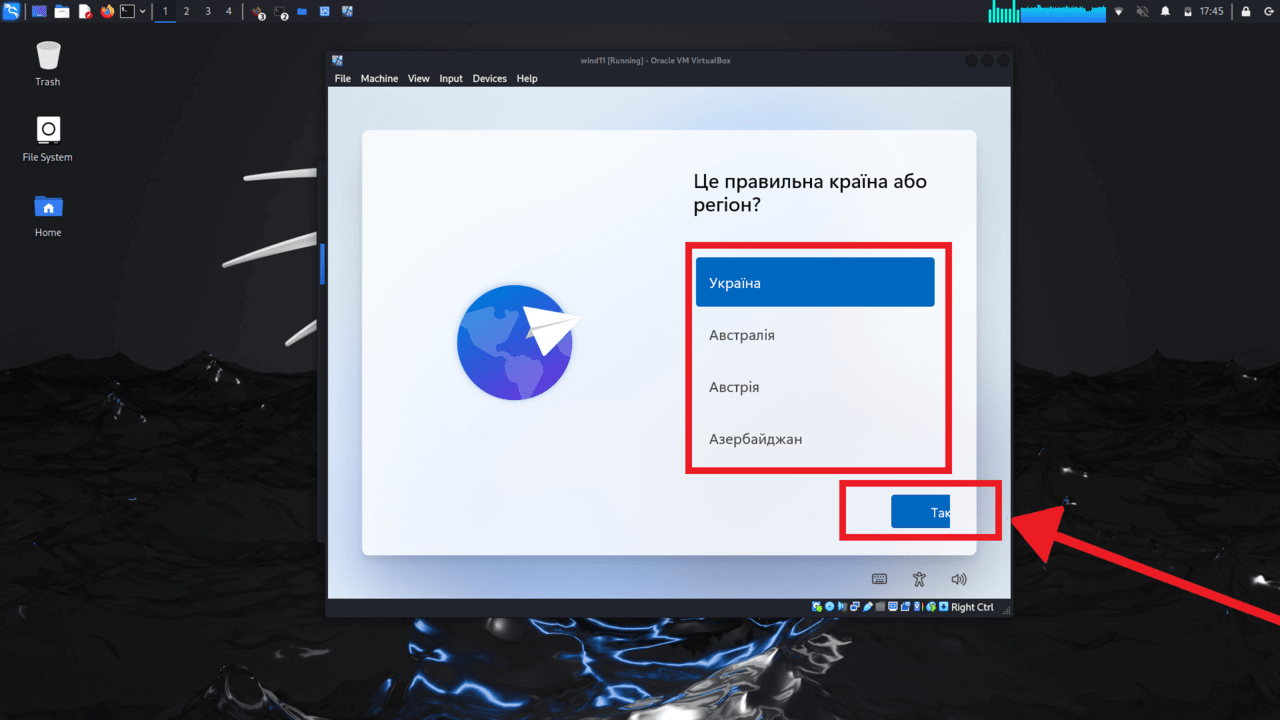
We choose a country
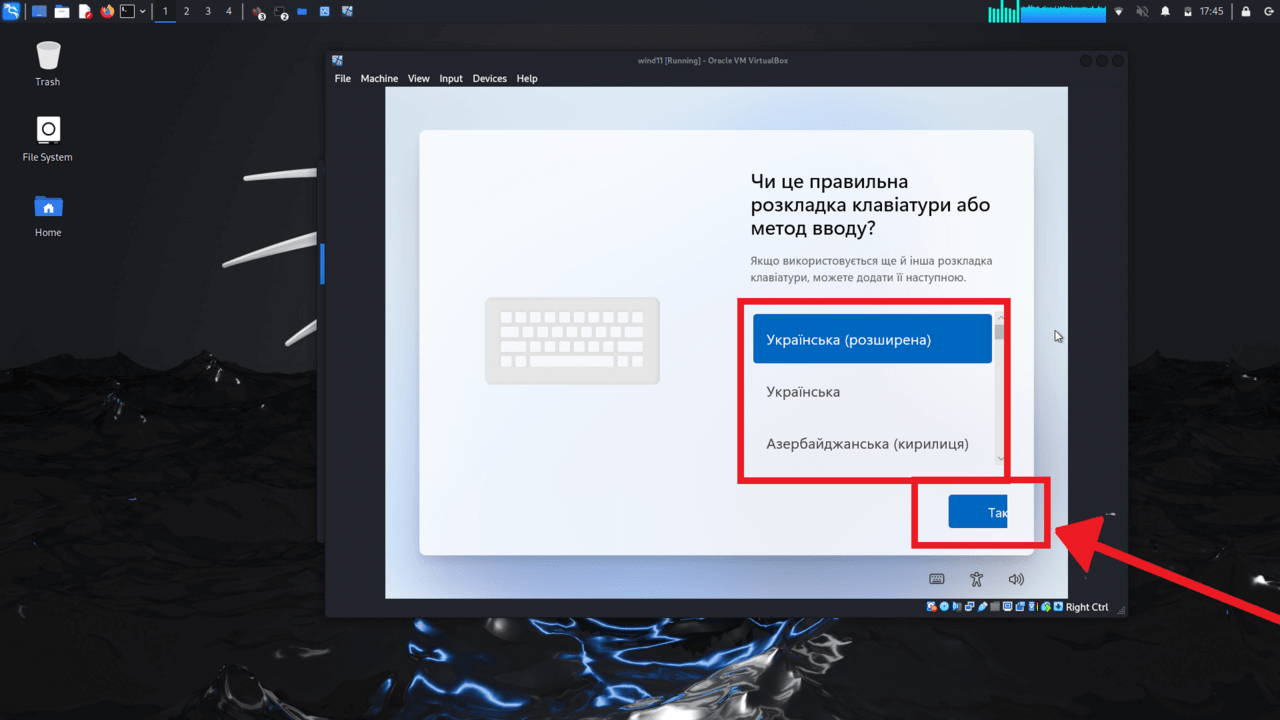
Select the keyboard
We are waiting
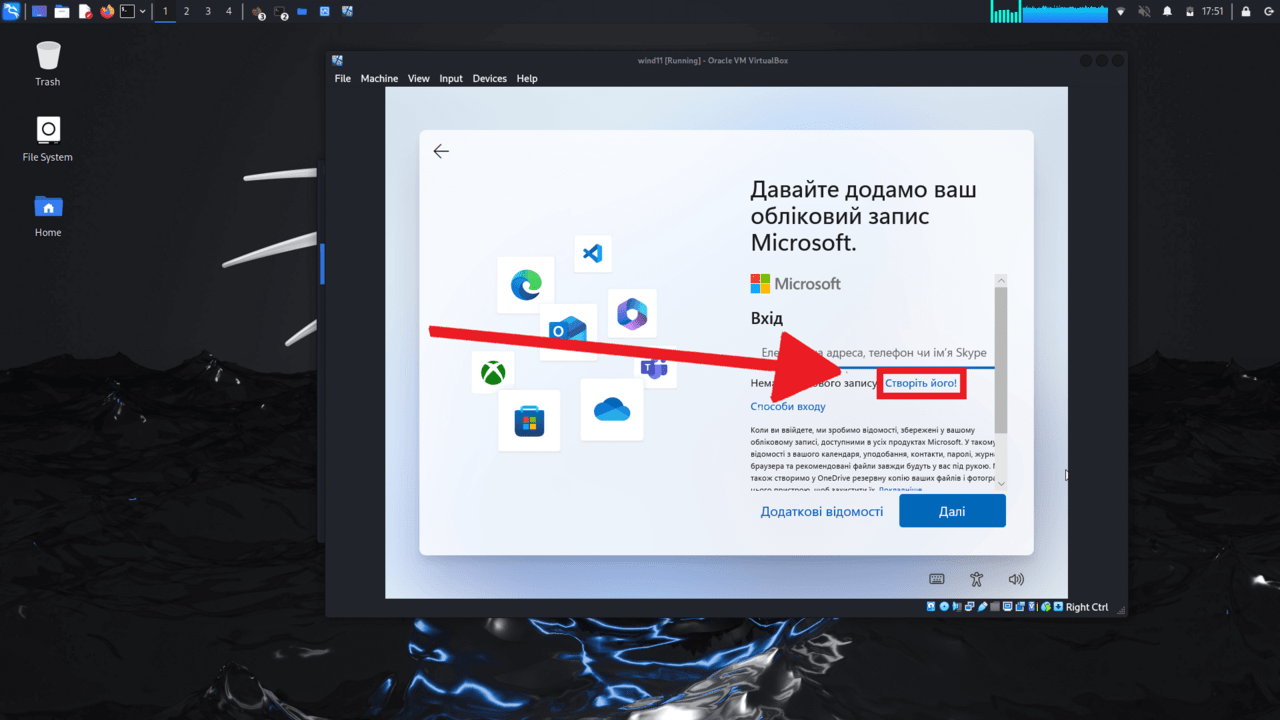
We create an account

This is our temporary e-mail, which we will enter. You can enter your own
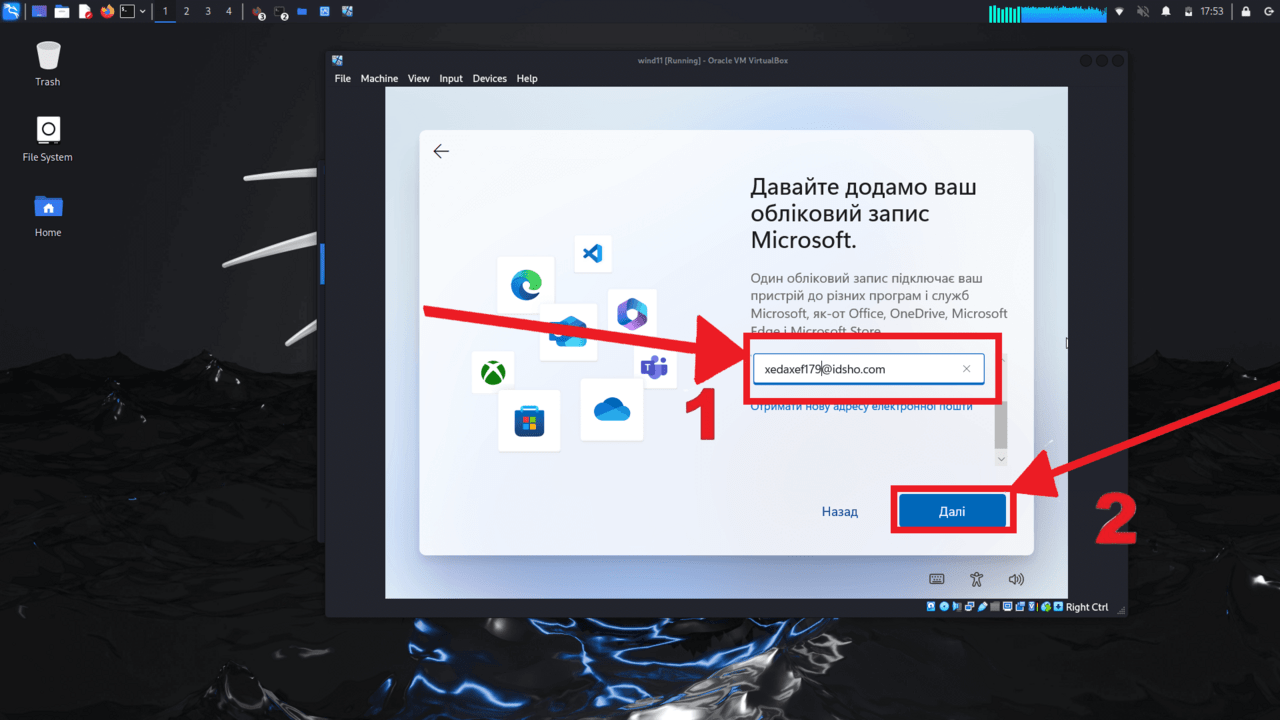
Enter email
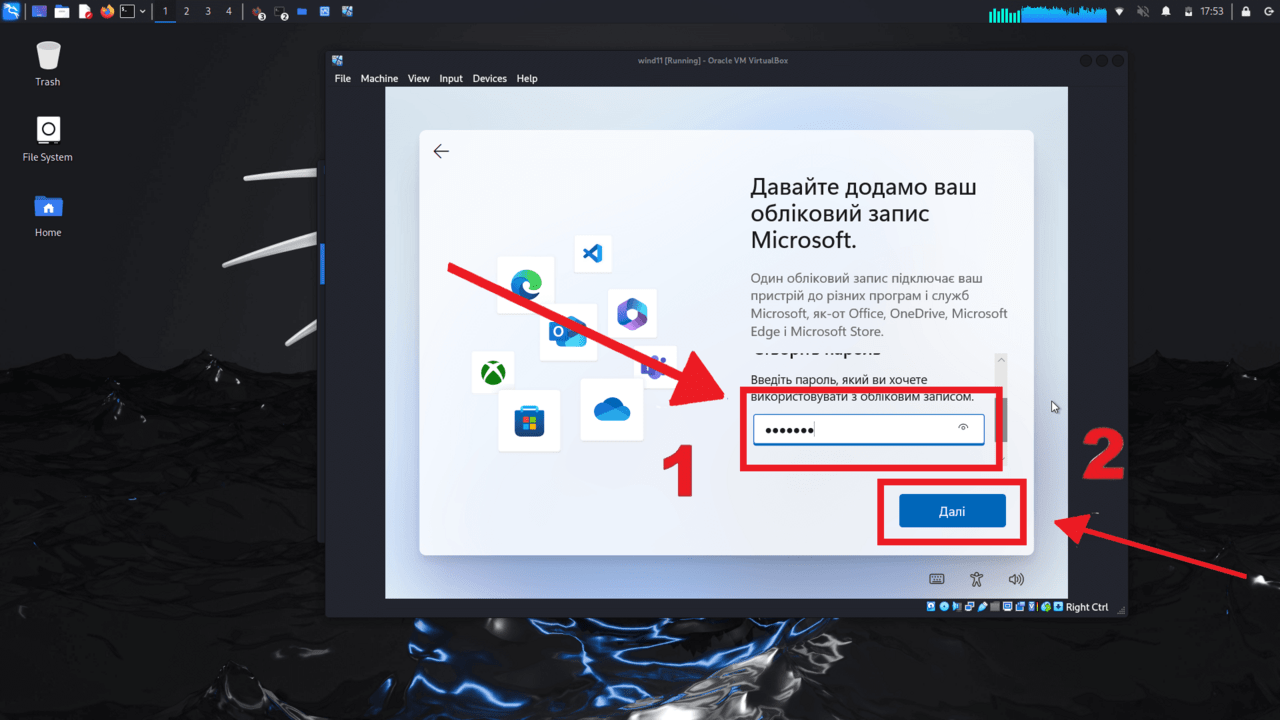
We invent a password

We put the country “Ukraine”

We copy the code that came to us in the mail
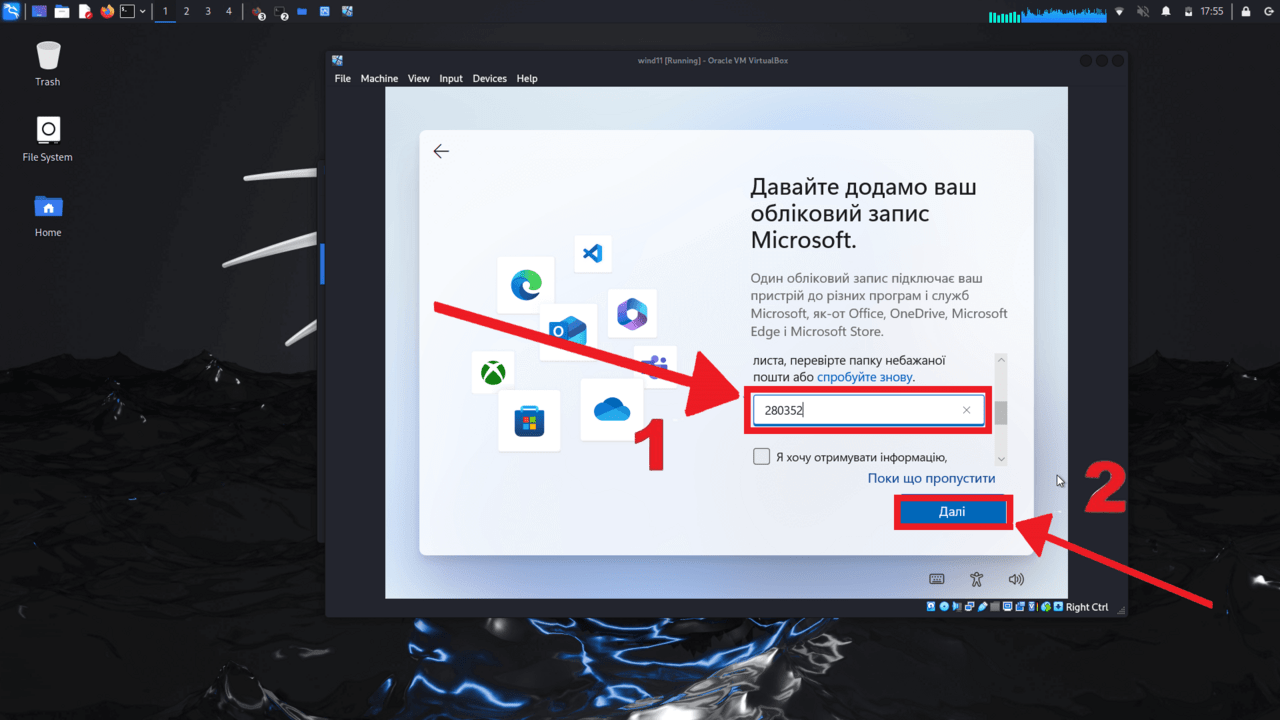
A confirmation code will be sent to the mail, enter it

Again, we are waiting
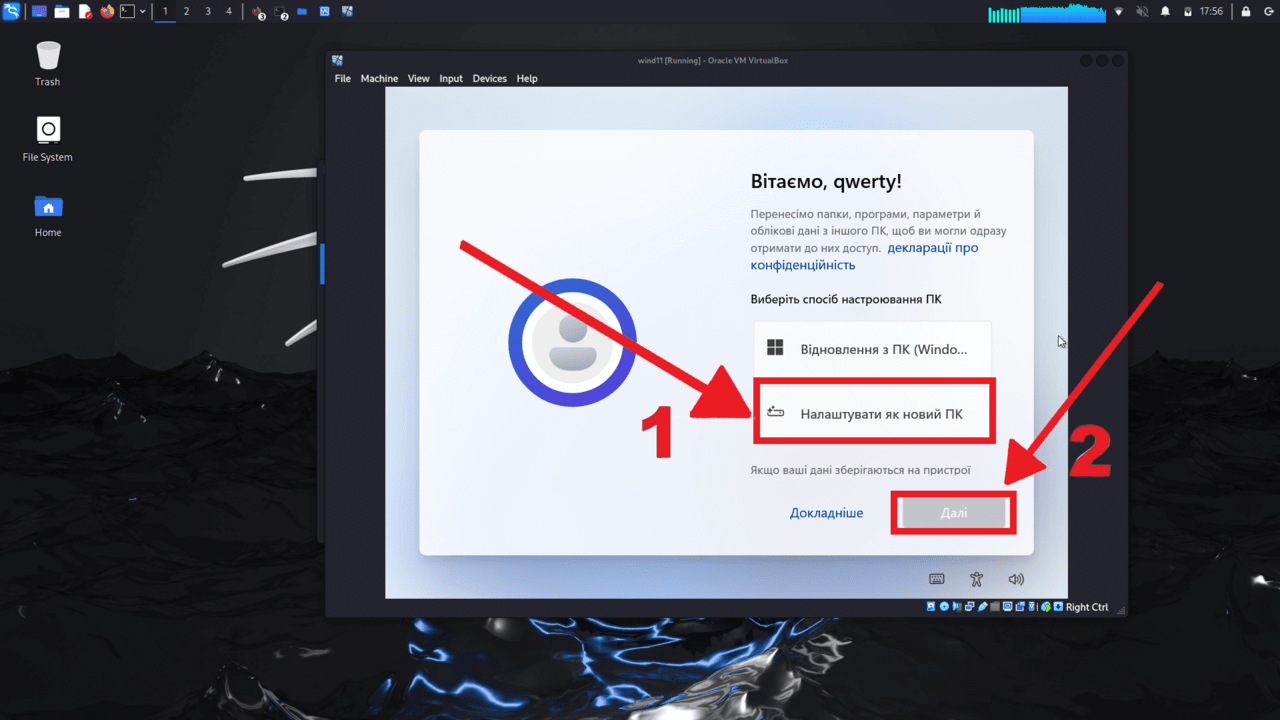
Select “Set up as a new PC”
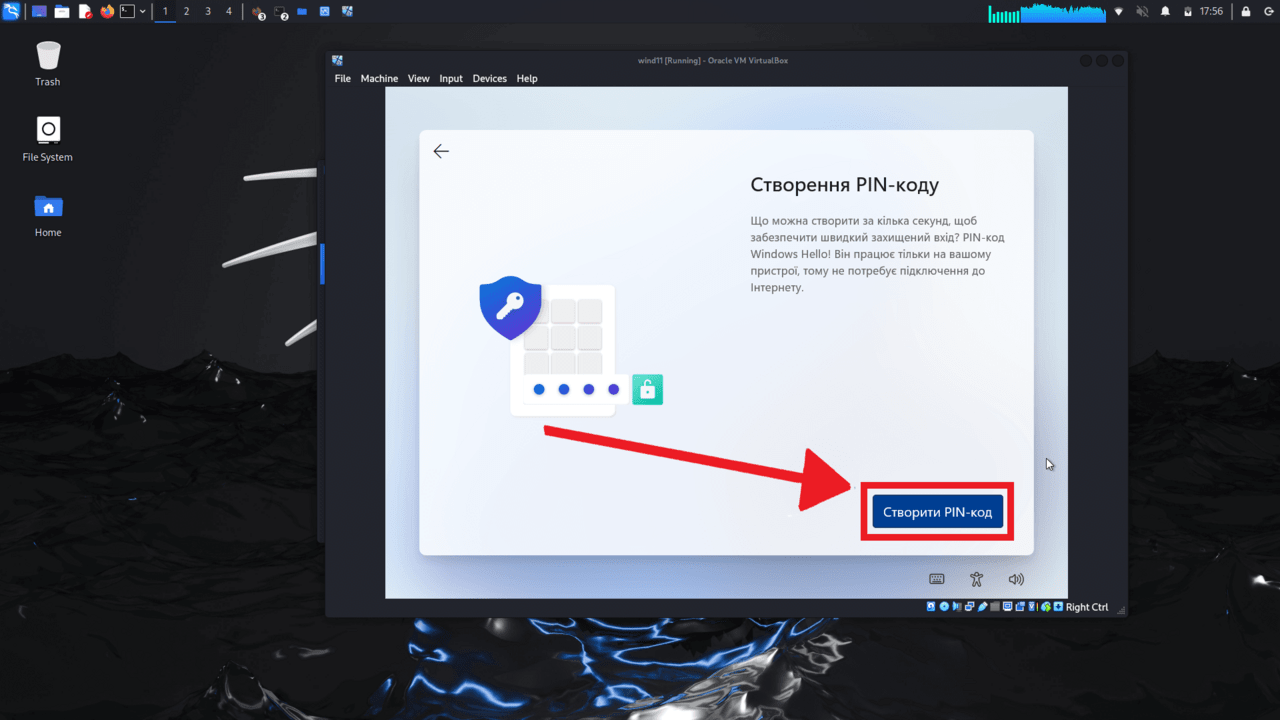
We create a pin code
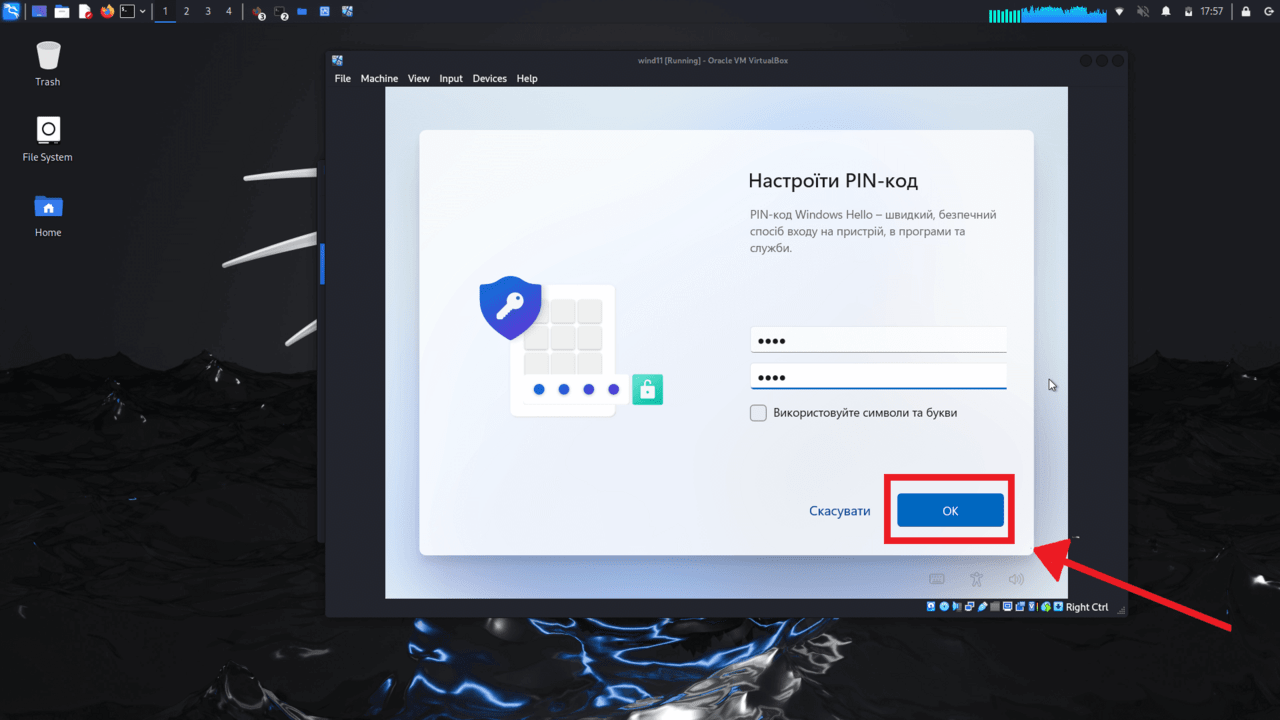
Enter the pin code twice and click “OK”
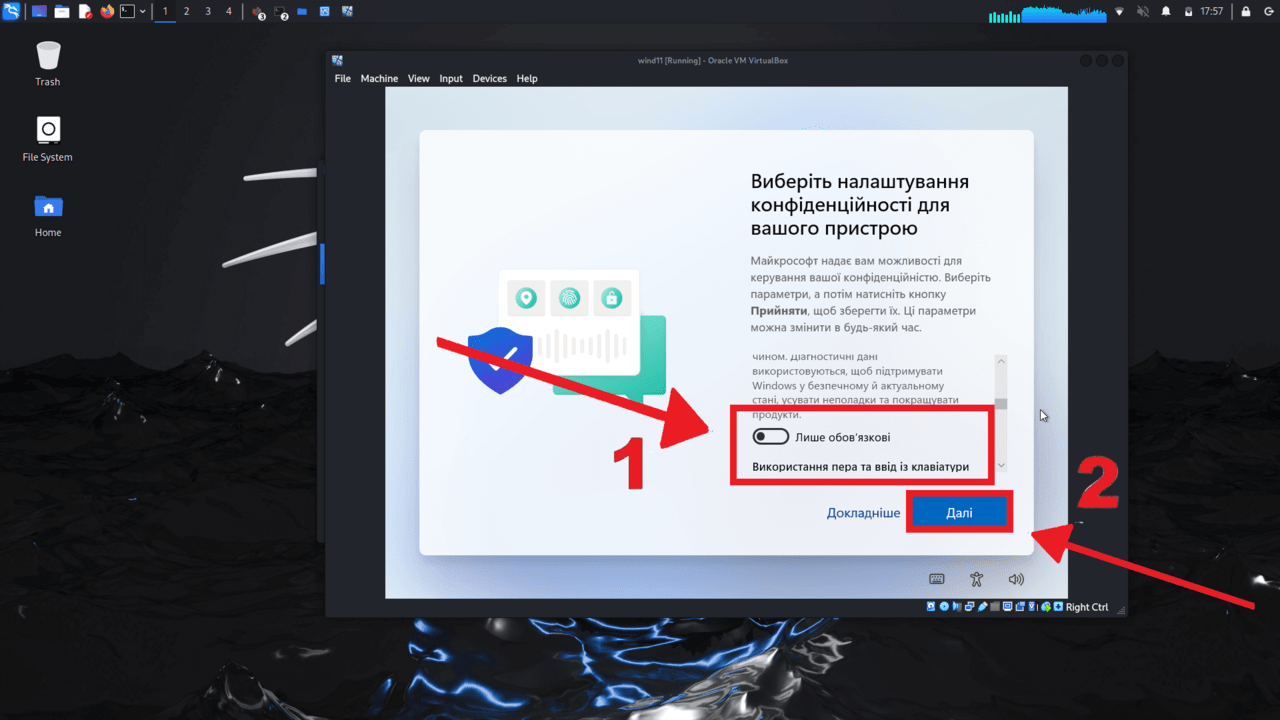
We leave the slider as shown in the screenshot and move on
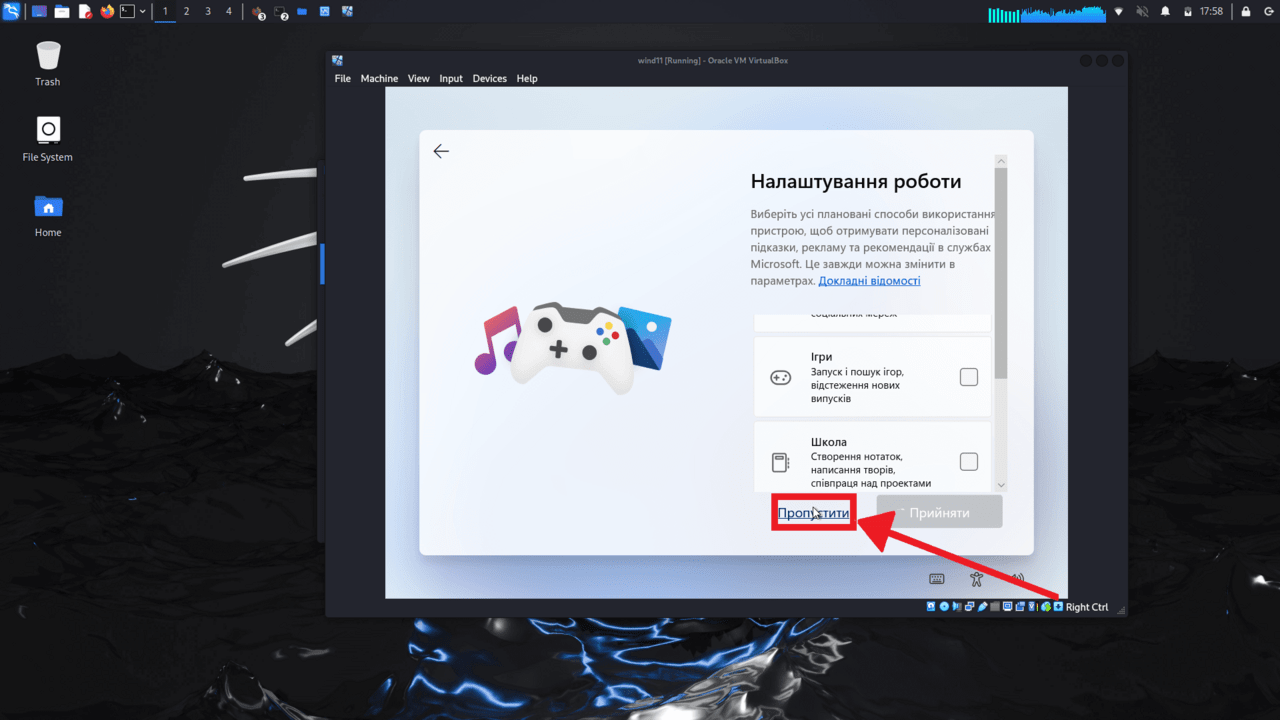
Click “Skip”
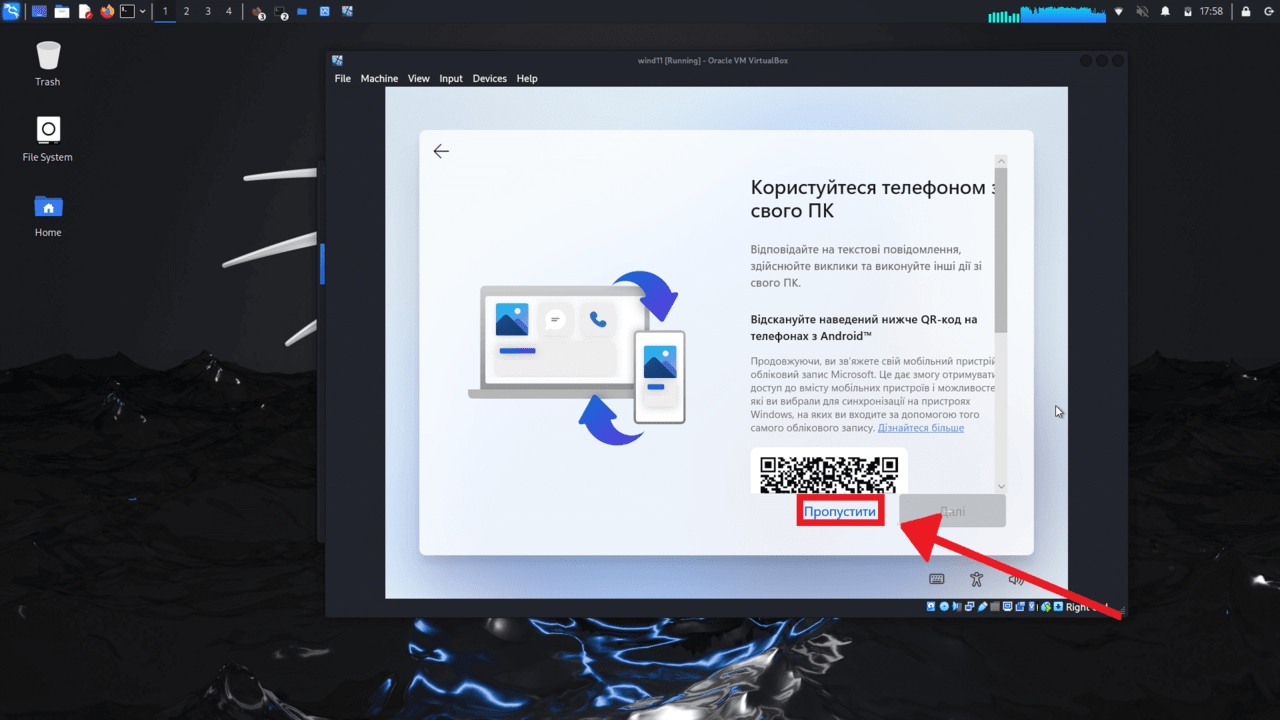
We repeat the previous action

Click “Not now”
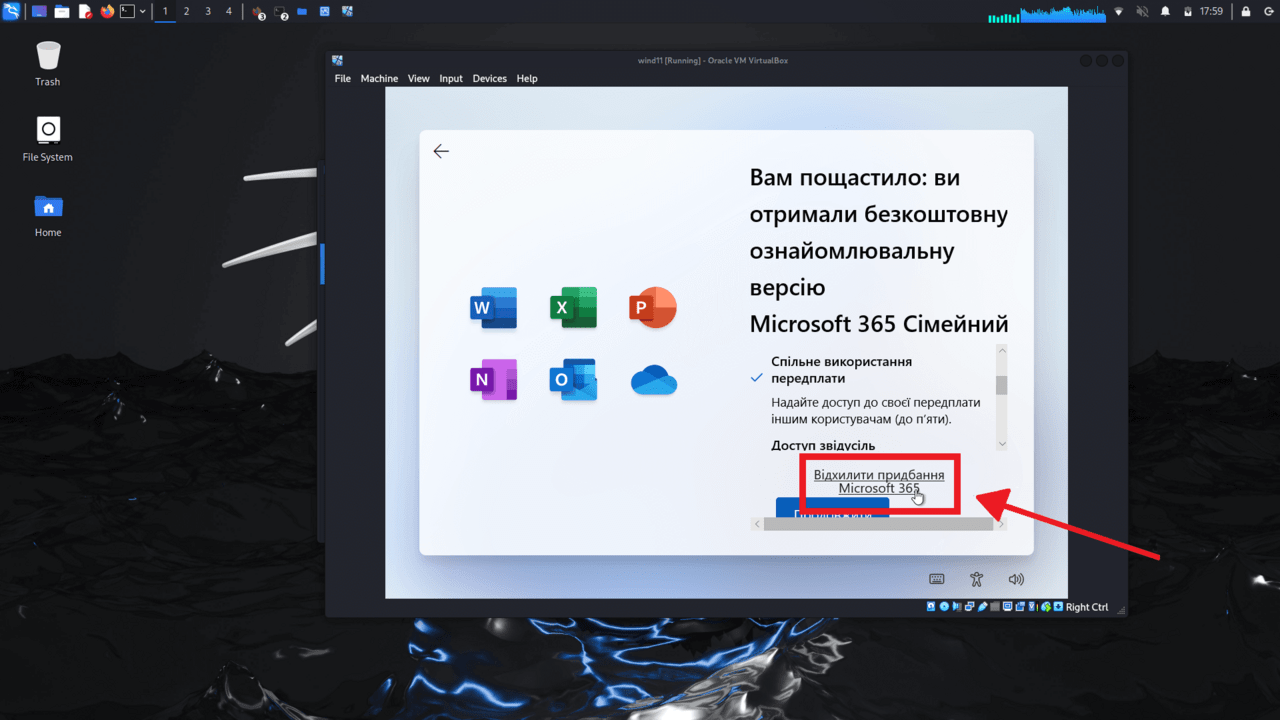
Click “Reject the purchase of Microsoft 365”
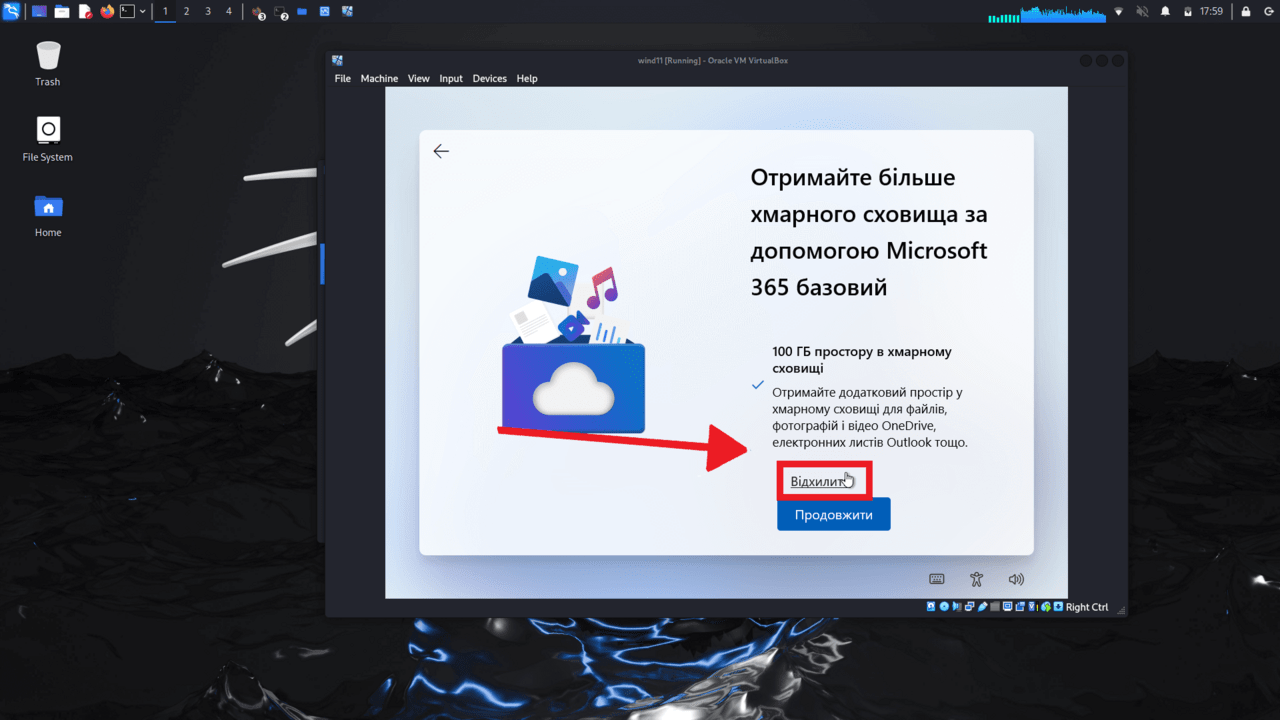
Again, click “Reject”

We are waiting
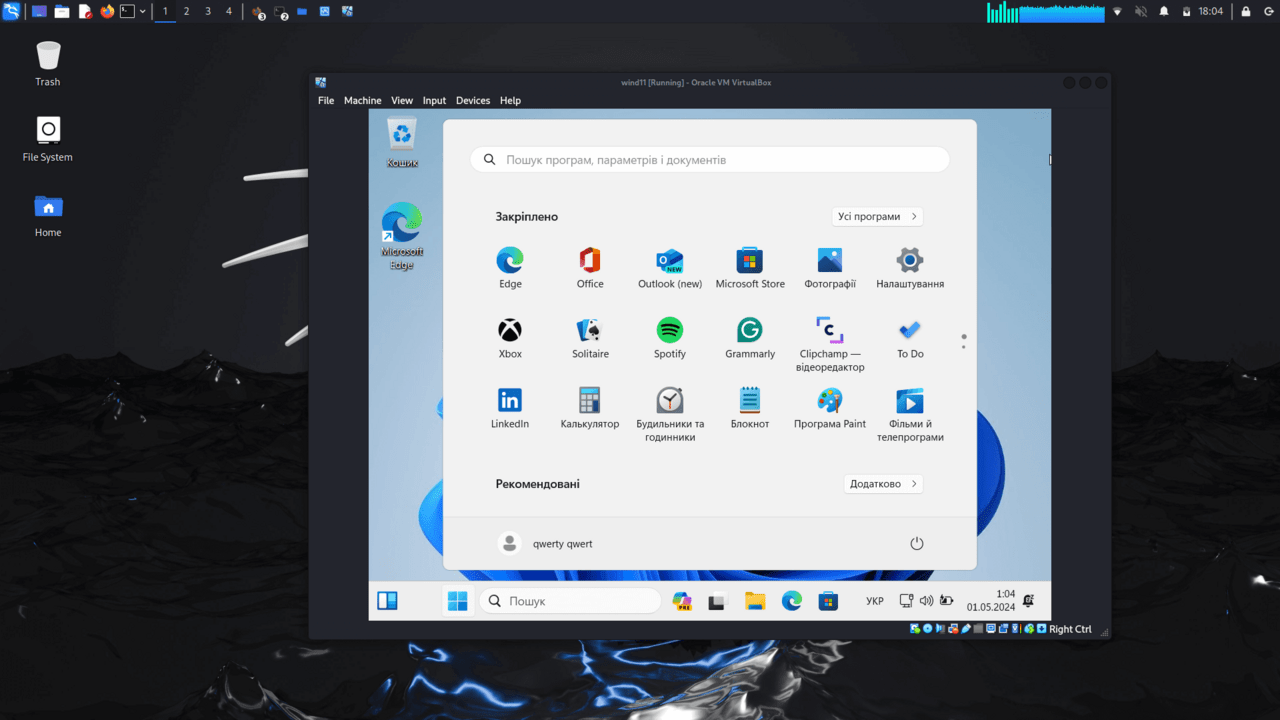
Congratulations, everything worked out for you