
05.07.2023
2 min
2085

Every day, millions of people are looking for ways to protect their privacy on the global web. With ever-increasing threats in the internet space, using a reliable VPN service is not just a recommendation, but a must. Our Mullvad VPN installation article will help you understand the ins and outs of this process and its importance.
Why choose Mullvad among the many VPN providers? Its unique privacy policy, logless structure, and high level of encryption make it one of the most secure options on the market. If you’re looking to ensure the security of your online activities and data, installing Mullvad VPN is a step in the right direction. Thanks to our article, you will be able to easily and quickly implement this tool in your daily life. Keep your privacy under control with Mullvad VPN, also known for its ease of use and intuitive interface. Installing and configuring Mullvad VPN takes only a few steps and does not require special skills – you will see this later.
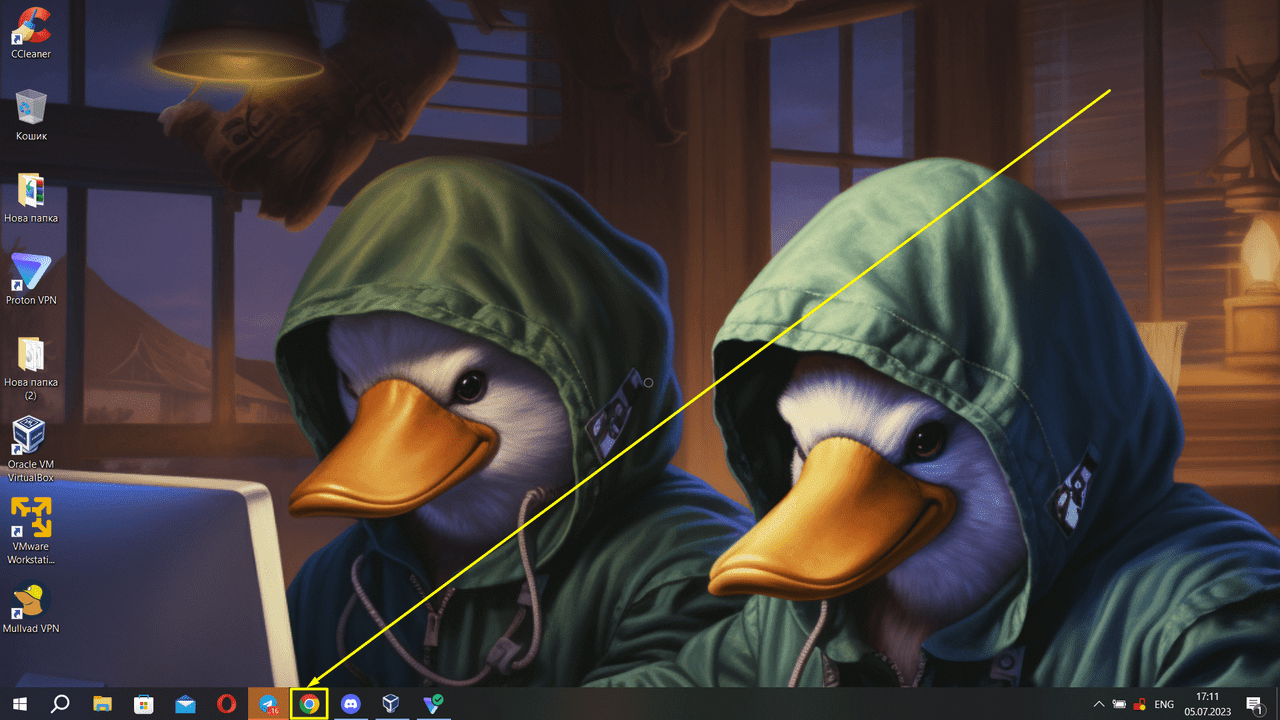
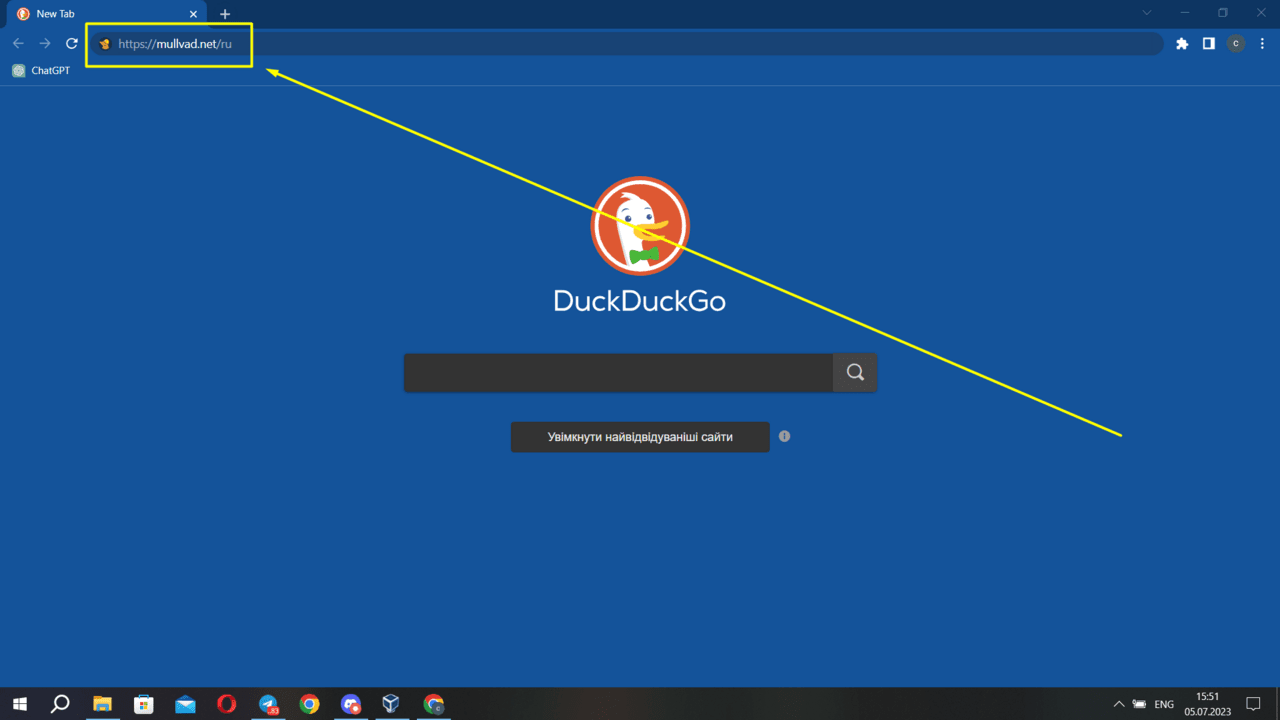
Open the Google Chrome browser
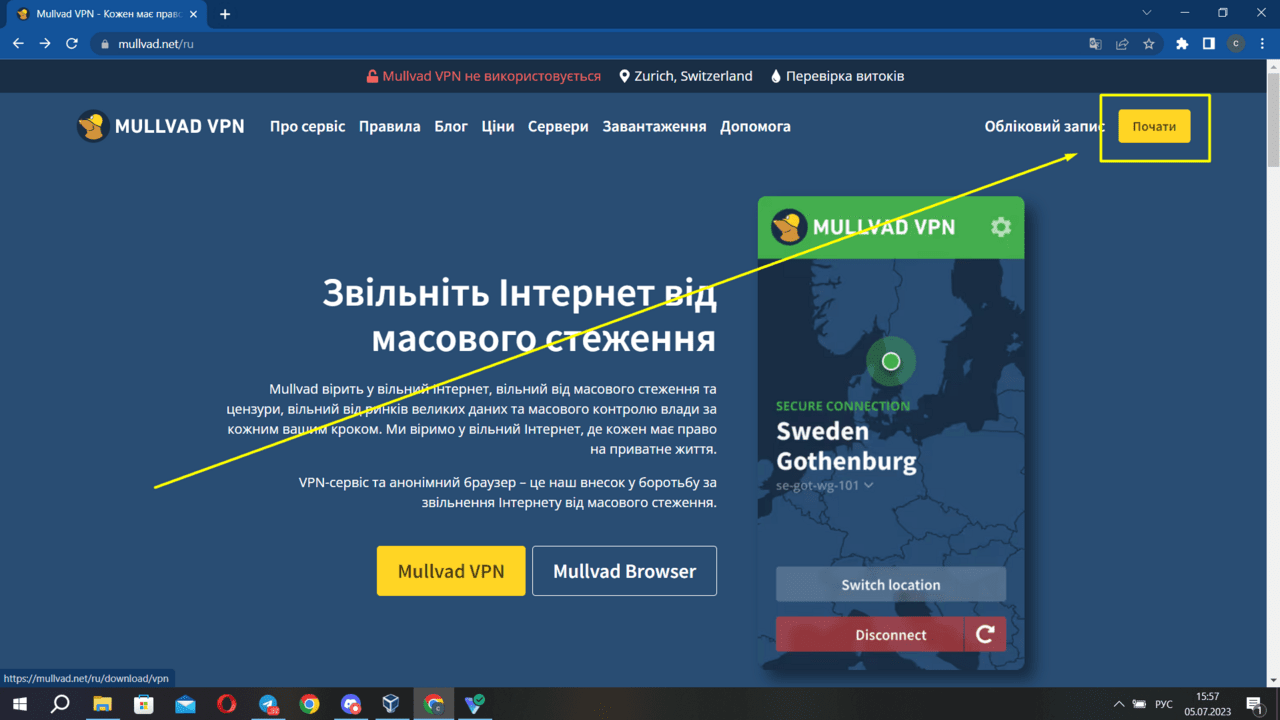
Click “Start”
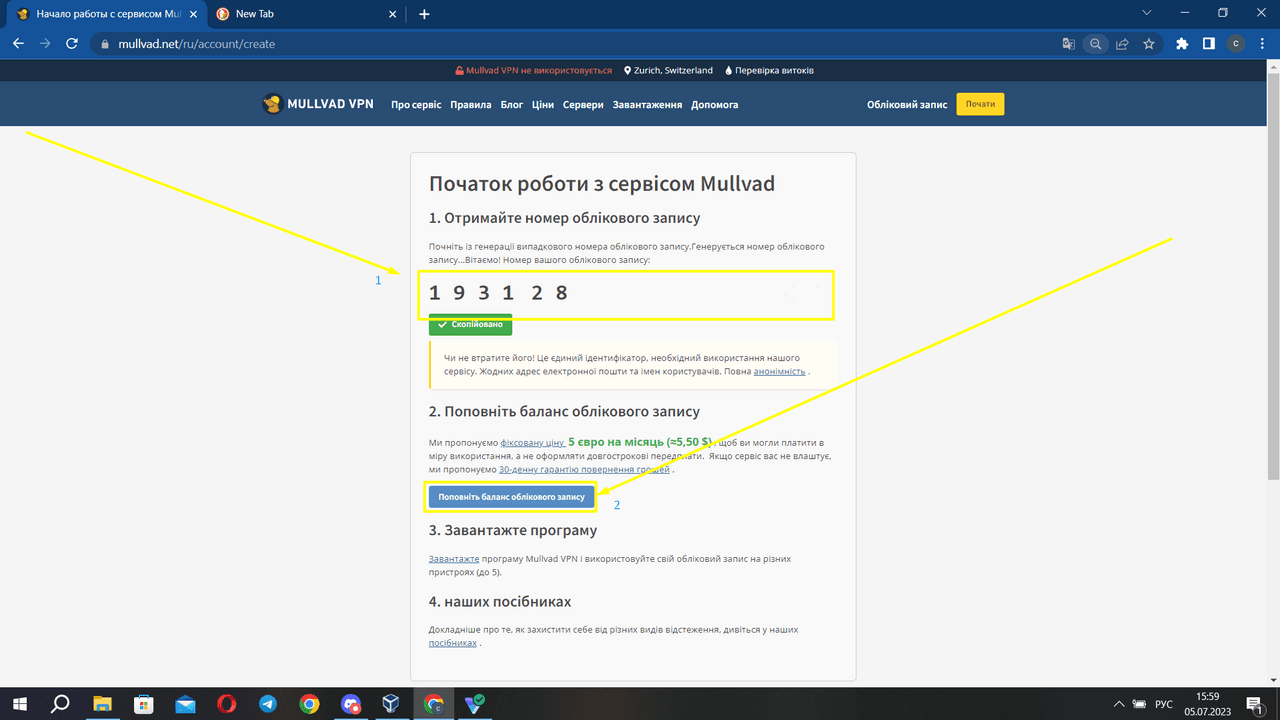
1. We will receive an account number, which is your password and login at the same time, so do not lose it. 2. Click the button and top up the account balance
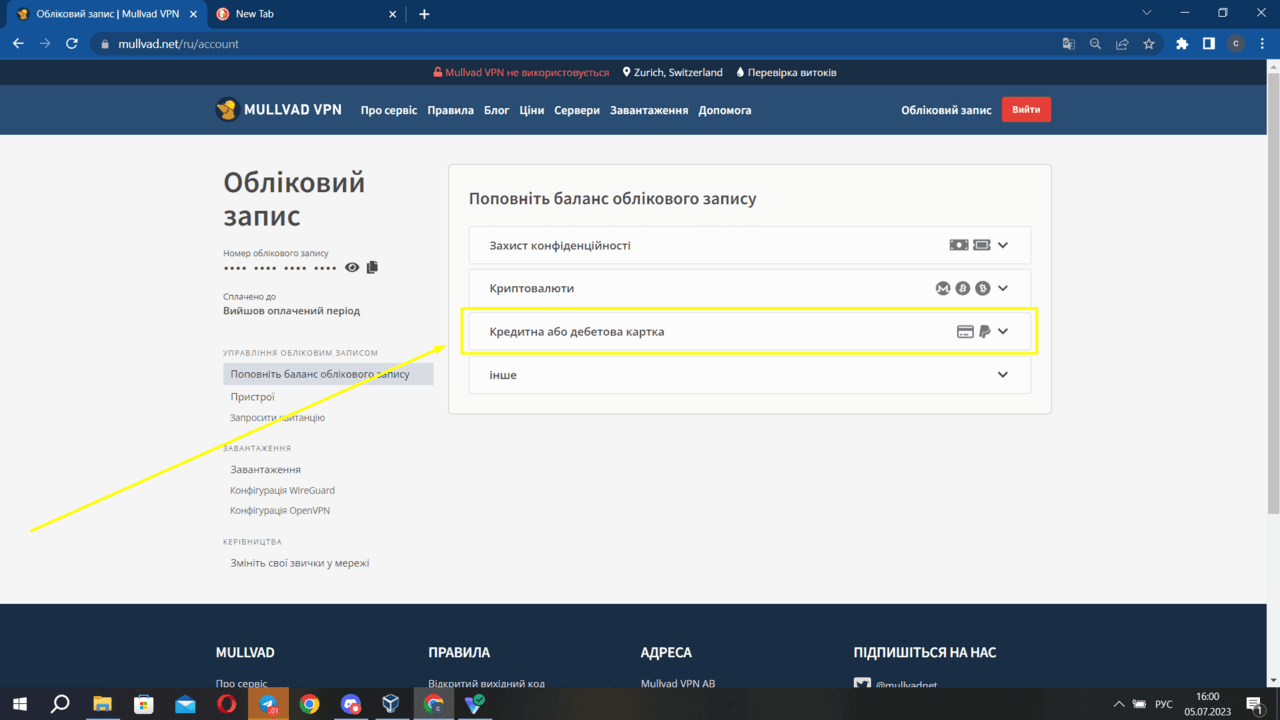
Select “Credit or debit card”
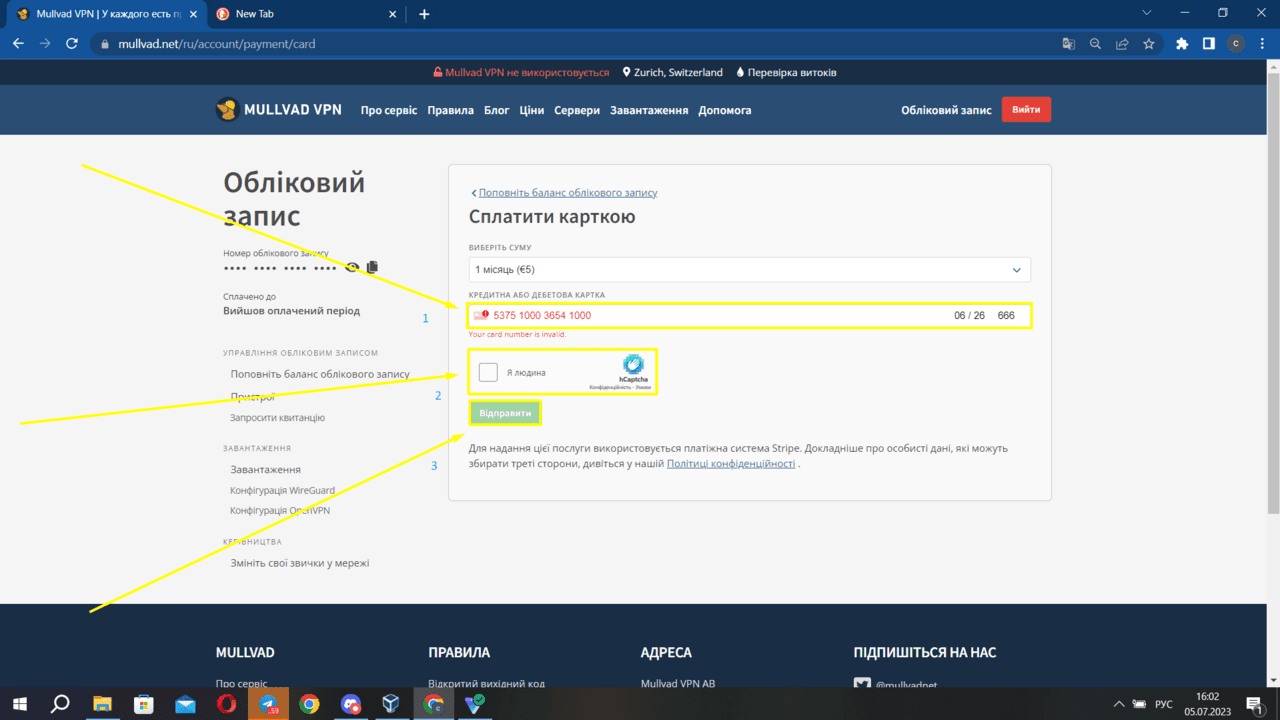
1. Enter the card number 2. We pass the CAPTCHA 3. Click the “Send” button
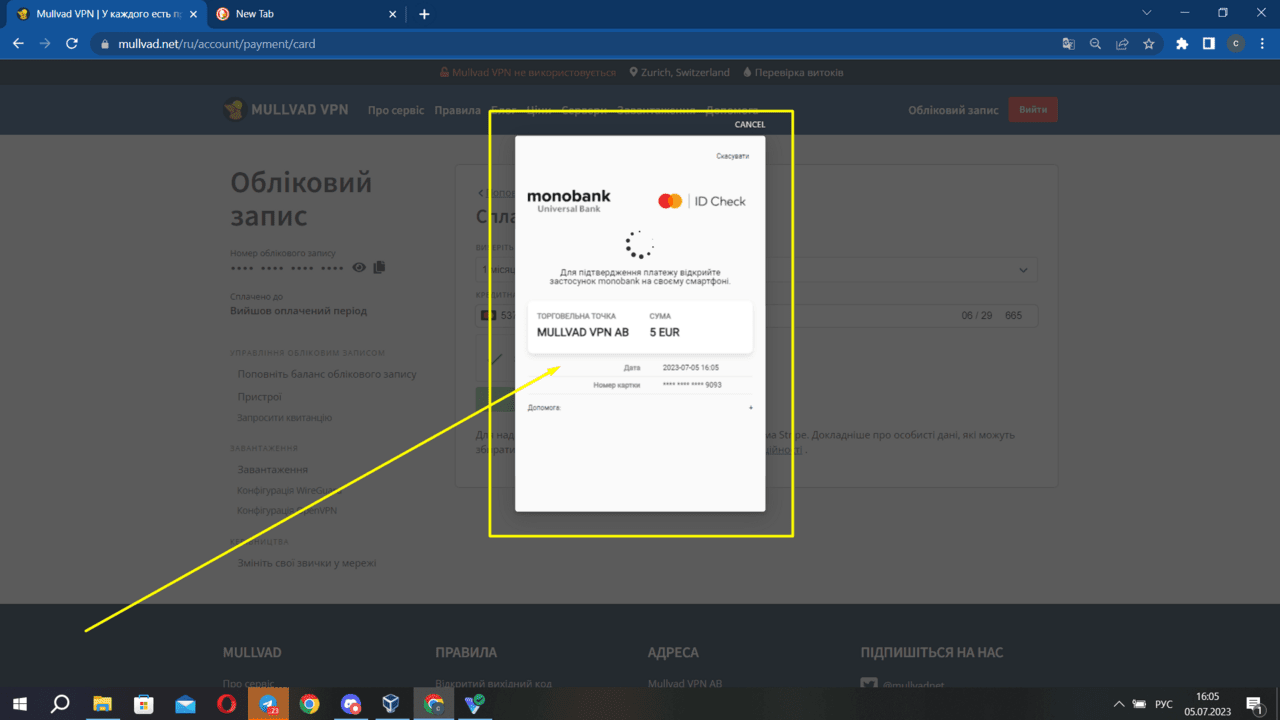
We confirm the payment in your bank’s application
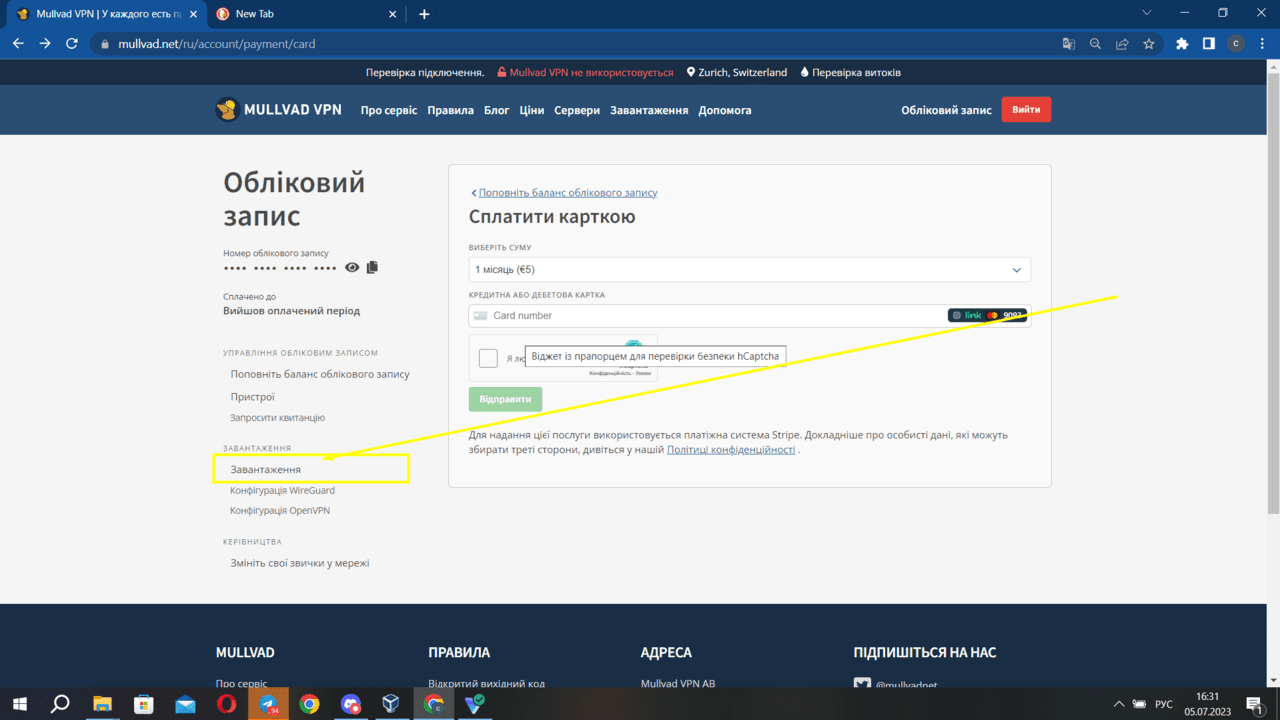
Click “Download”

Click “Download”
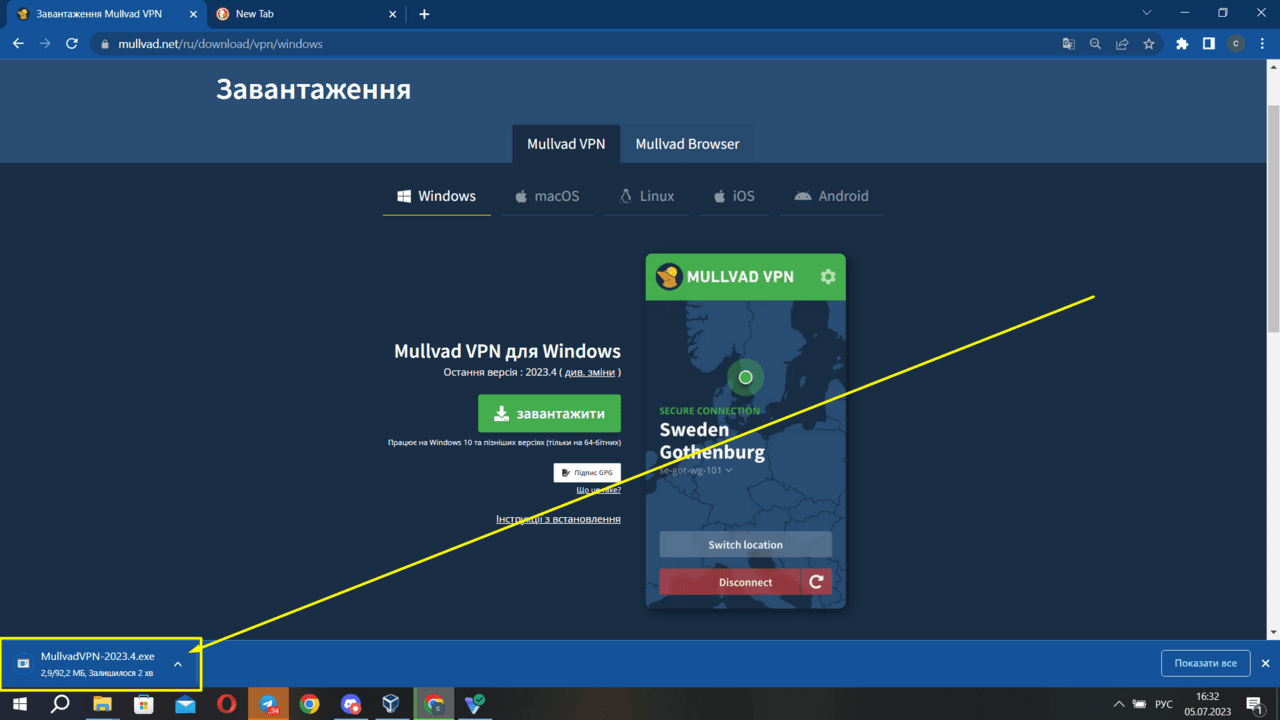
Open the downloaded file
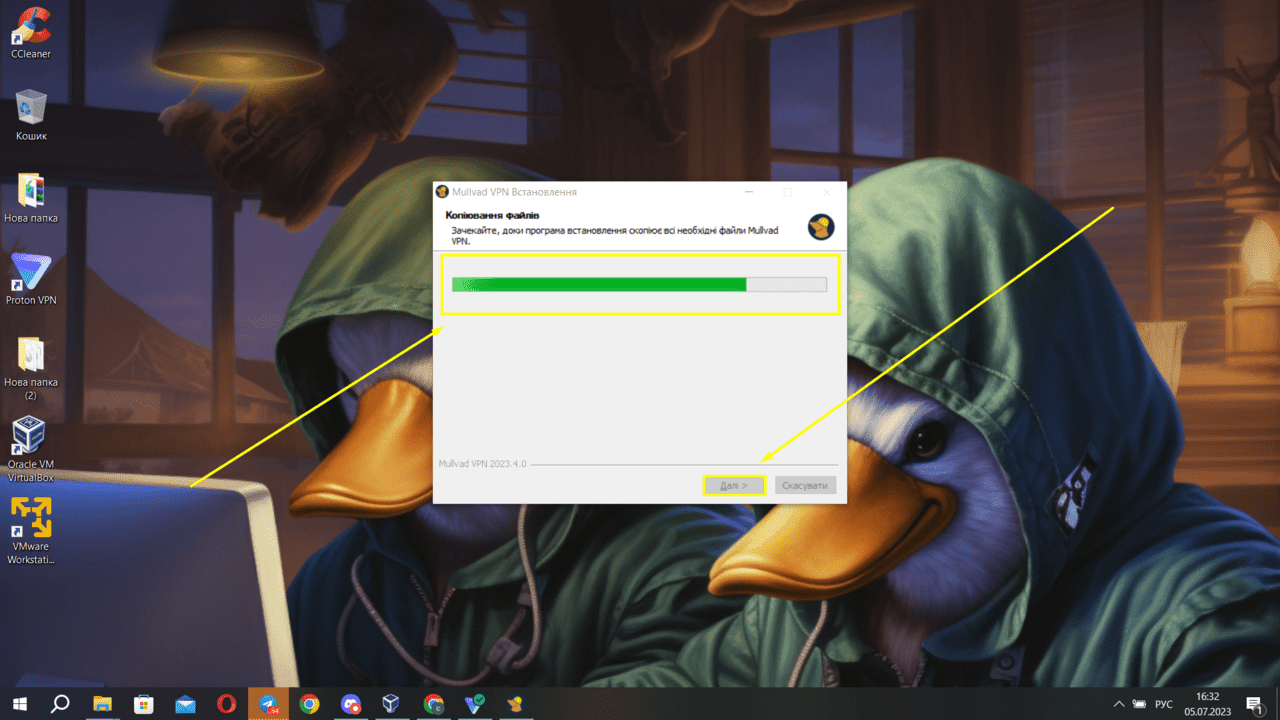
Wait for the download to start and click Next

Click “End”
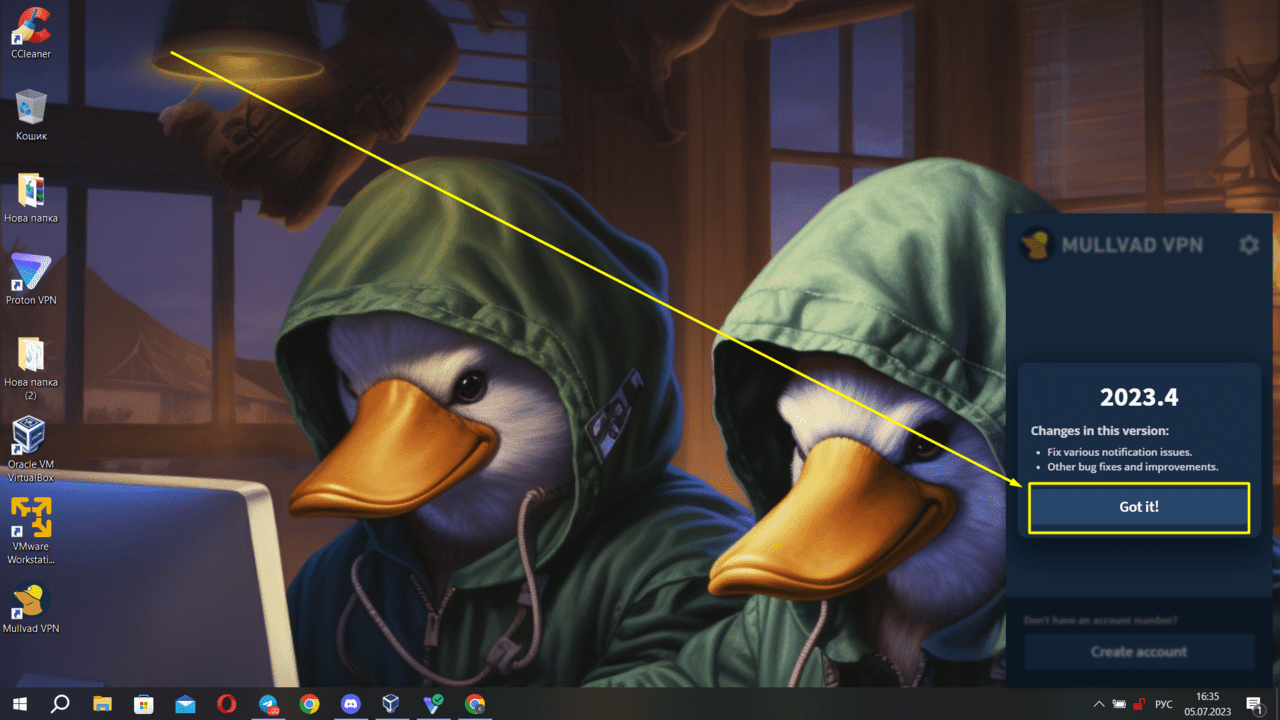
Click “Got it!”
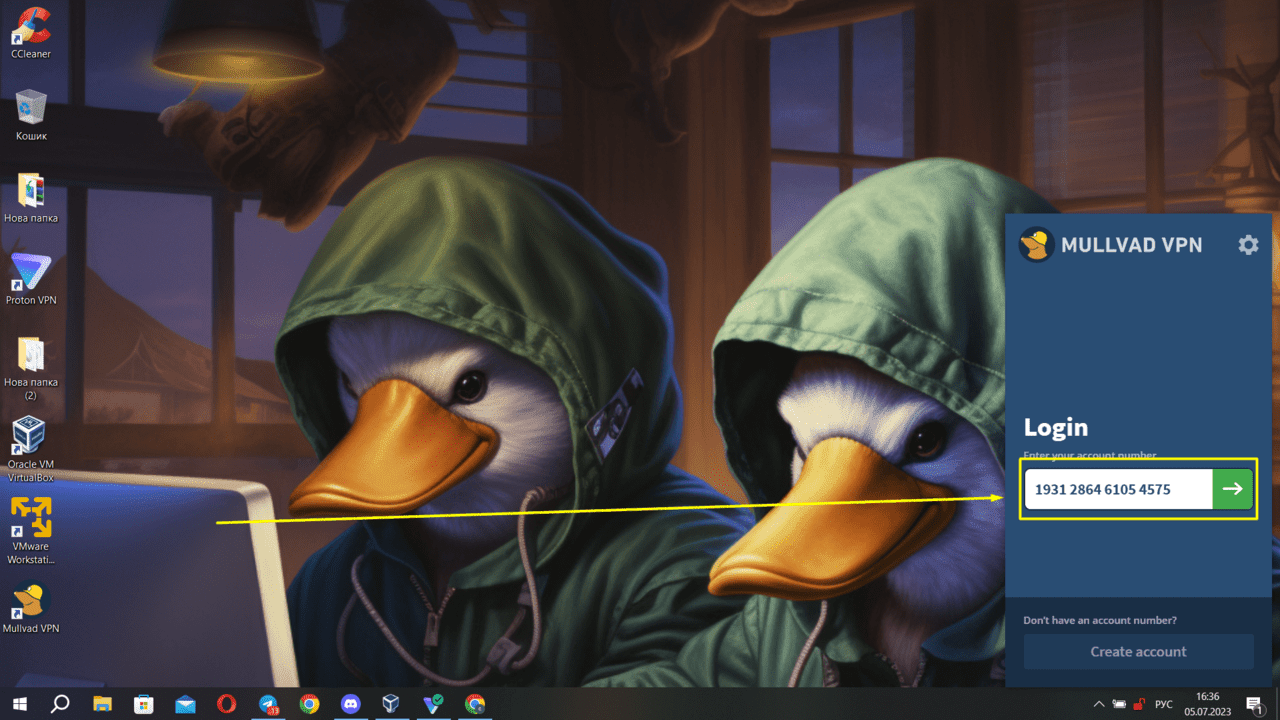
Enter Login
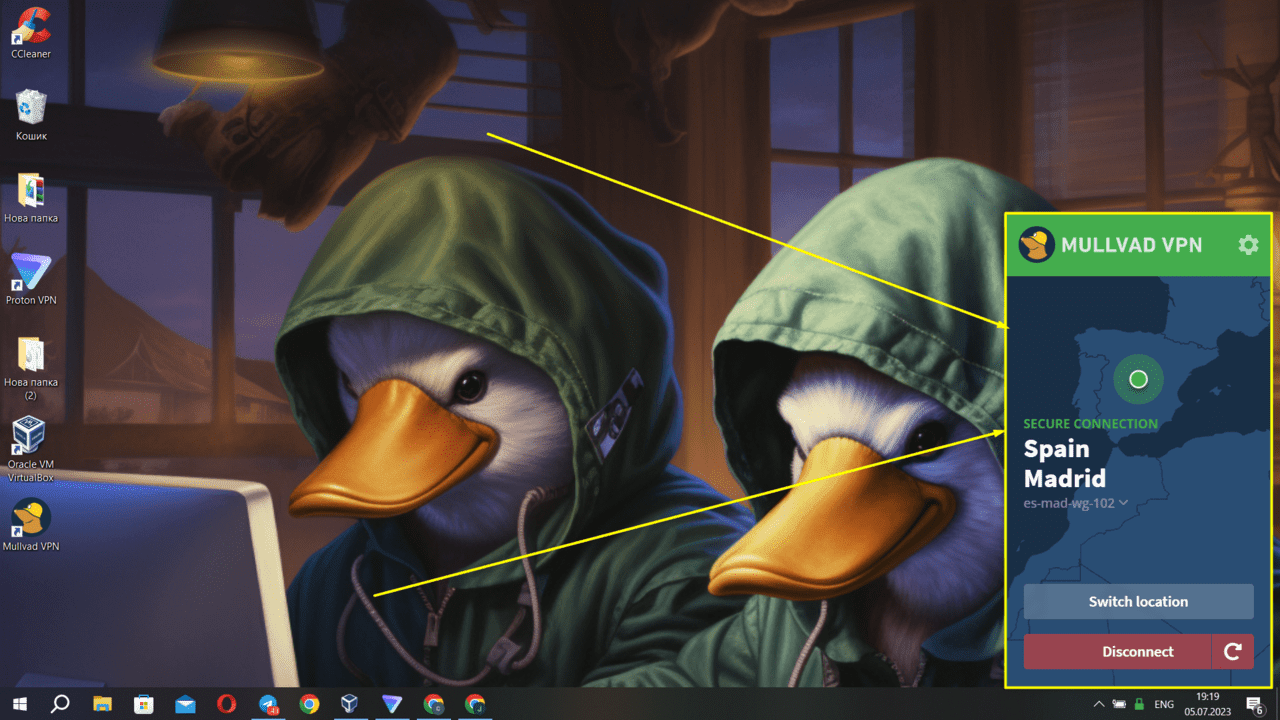
Everything worked out for us, we connected to “Spain Madrid”. You can also click on “Switch location” to choose another country you need