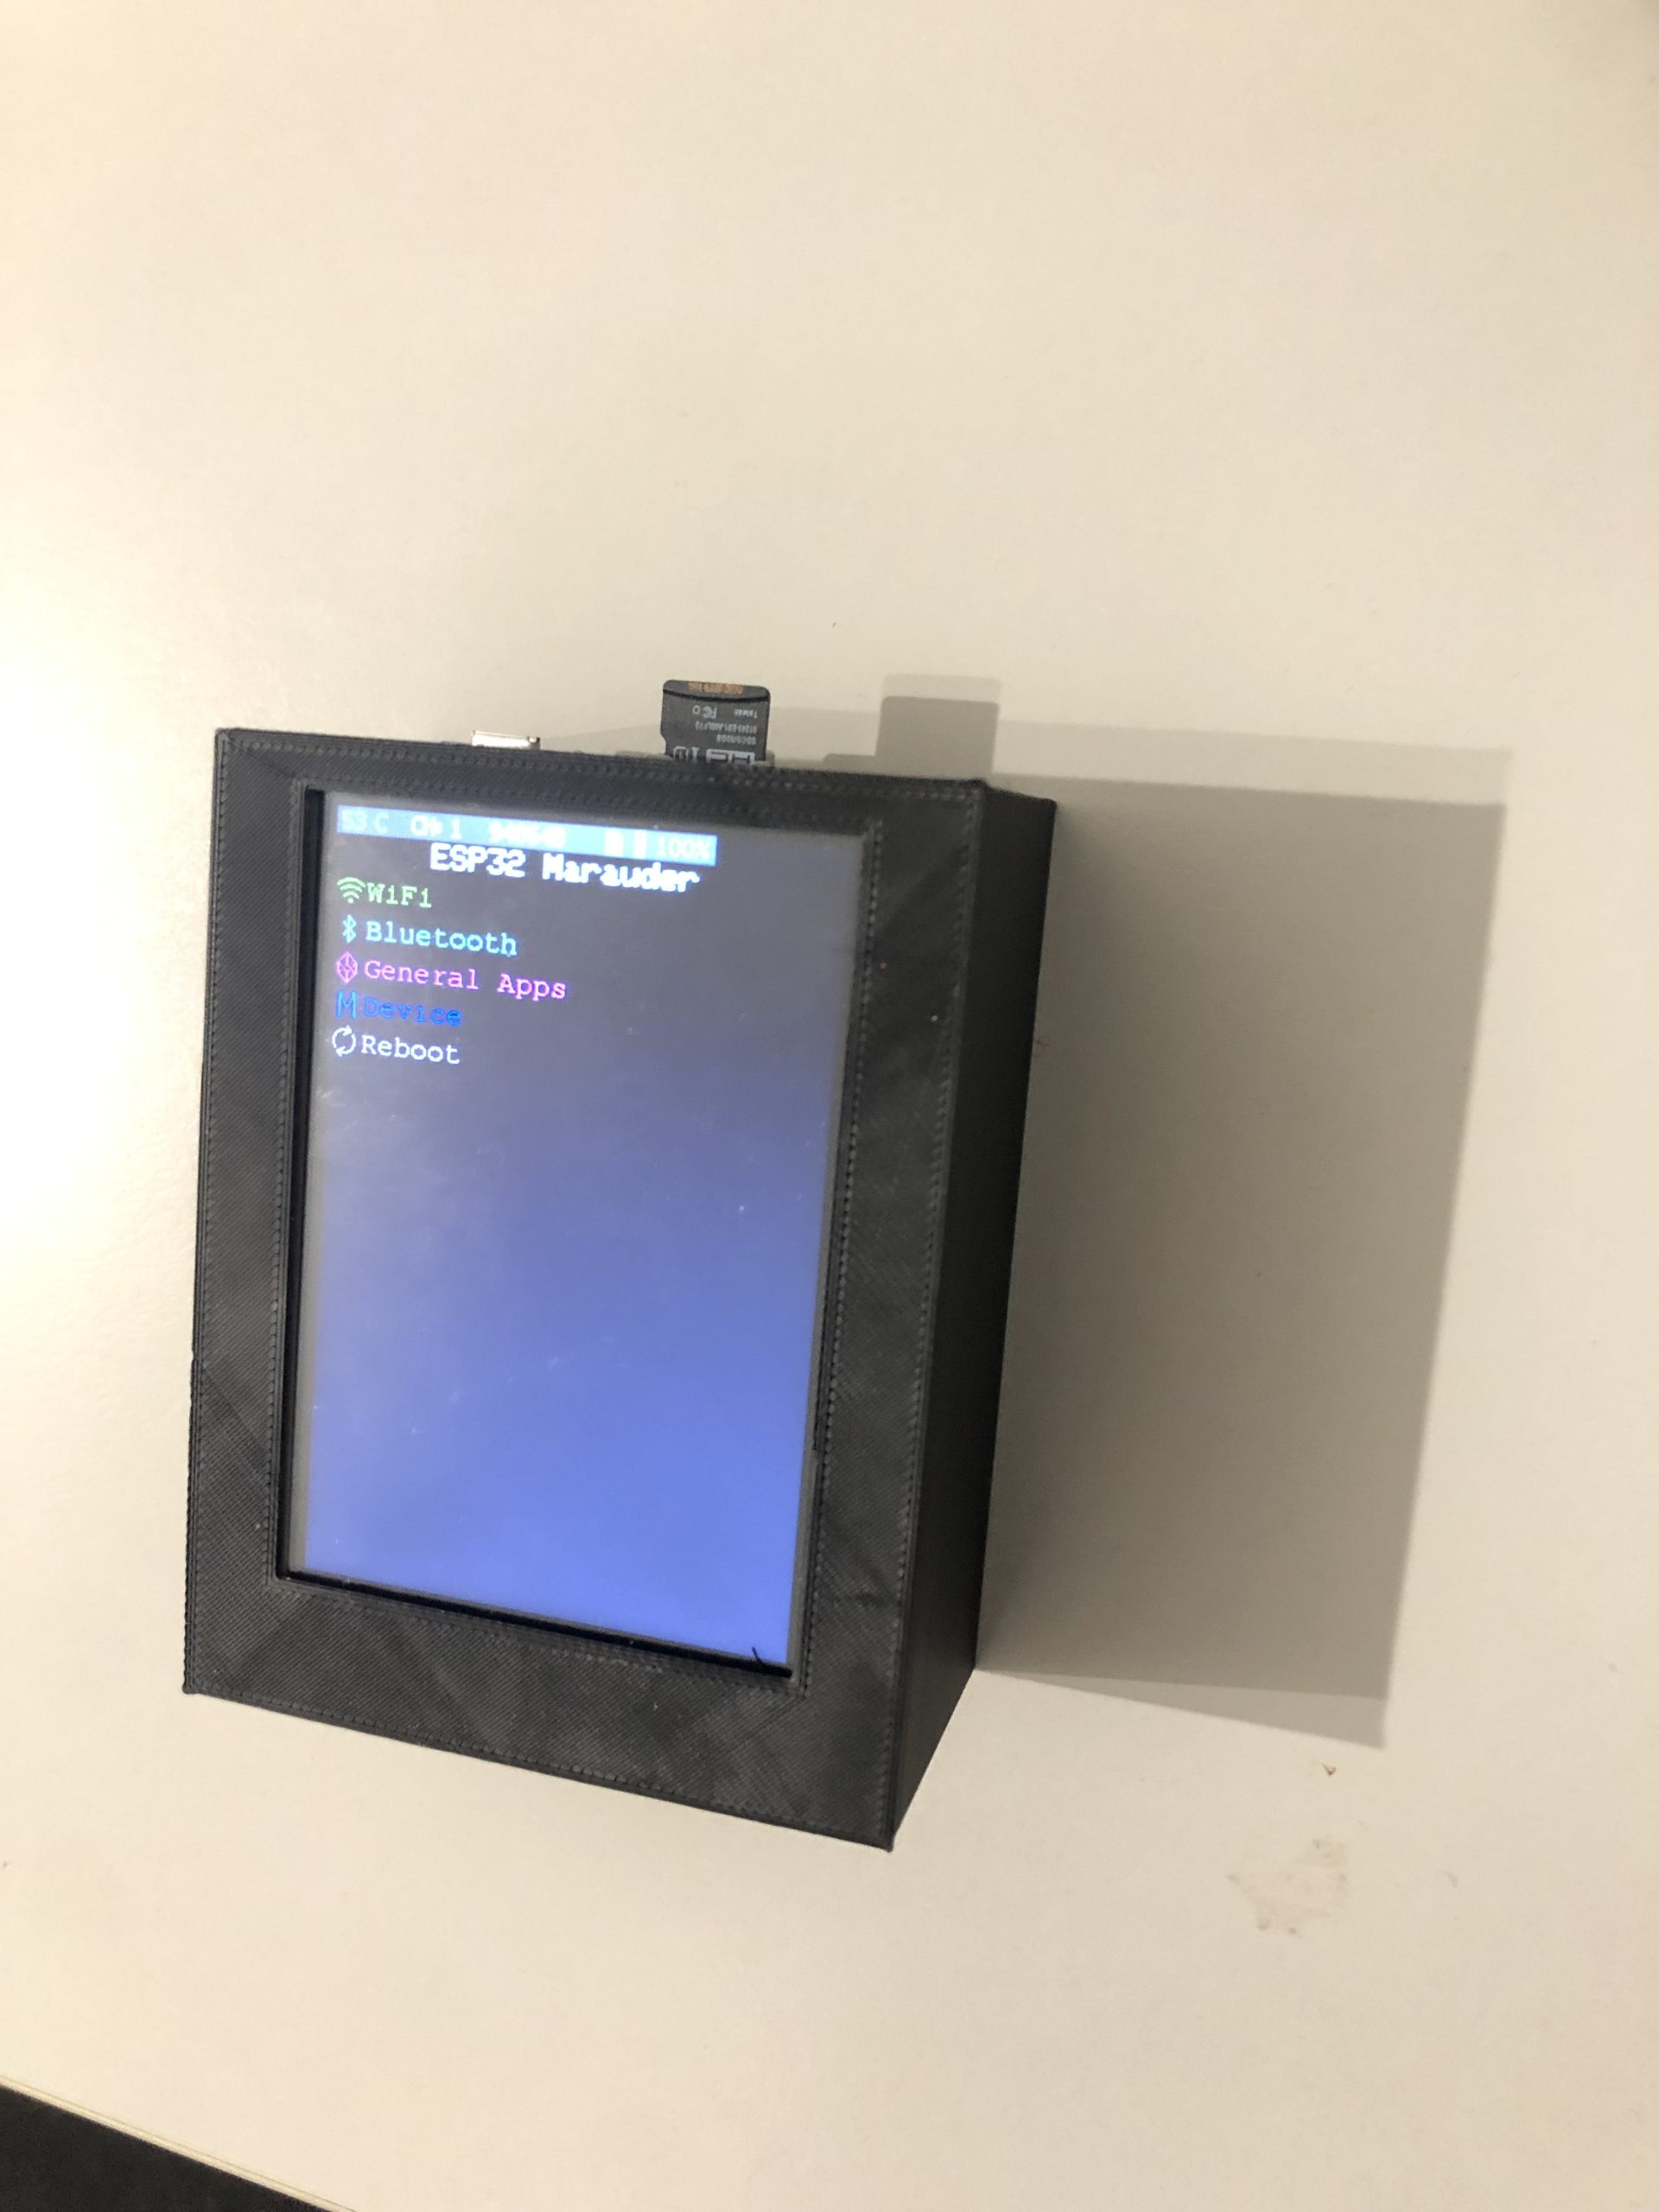
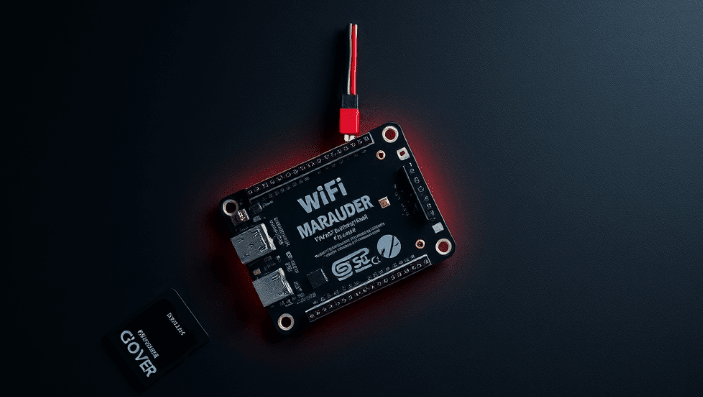
ESP32 Marauder is a functional tool based on ESP32, designed for Wi-Fi and Bluetooth testing. It allows you to perform attacks, clone networks, save data in PCAP format, analyze traffic and detect threats. This article explains how to safely and effectively use all the capabilities of the device.

Welcome to the WiFi Marauder User Guide. This guide is designed to help you navigate and utilize the powerful features of your WiFi Marauder. Whether you are a cybersecurity enthusiast, a network administrator, or just someone interested in exploring the possibilities of WiFi and Bluetooth technologies, this guide will provide you with detailed instructions on how to perform various attacks and sniffing operations.
The WiFi Marauder is equipped with a number of tools for hacking WiFi and Bluetooth, including deauthentication attacks, beacon spam, probe request overload, and more. In addition, it offers advanced sniffing capabilities to capture and analyze network traffic. With a user-friendly interface and a full set of features, the WiFi Marauder is your ideal device for wireless security testing and research.
This guide is divided into several sections, each focusing on a different feature of the WiFi Marauder. From performing deauthentication attacks to creating malicious portals, from Bluetooth interception to detecting card skimmers, we’ve got you covered. Follow our step-by-step instructions to get the most out of your device.
A deauthentication flood is a wireless attack that forges fake deauthentication packets to throw clients away from a targeted access point. This can disrupt the network connectivity of clients on that network.
Wi-Fi > Sniffers > Access Point Scan
Wait for the target SSID to appear and complete the scan.
Wi-Fi > General > Select Access Points
Select the target access points you want to deauthenticate
Wi-Fi > Attacks > Delayed Authentication Flood
It may take some time to start blocking devices as you are trying to block every device on this wireless network. For a more targeted attack, consider Deauth Targeted.
A deauthentication attack is the same as a flood, but it targets specific clients. This can be used to focus the attack on a specific device connected to the network.
Wi-Fi > Sniffers > Scan Stations
Wait for the target MAC address to appear
Wi-Fi > General > Select Stations
Select the target stations (MAC addresses) to deauthenticate
Wi-Fi > Attacks > Target Deauthentication
Now that your device is focused on a few selected targets, it should take less time.

This spams Wi-Fi SSIDs from a generated list to the device. This will not work if you do not generate this list.
Wi-Fi > General > Generate SSID
Wi-Fi > Attacks > Beacon Spam List
Works the same as the Beacon Spam List, but does not require a generated SSID list. They will be completely random.
Wi-Fi > Attacks > Random Beacon Spam
It broadcasts many probe requests with random SSIDs. This can be used to confuse probe sniffers such as Marauder or WiFi Pineapple.
Clones an access point, creating confusion for those trying to find a legitimate network.
Wi-Fi > Sniffers > Access Point Scan
Wait for the target SSID to appear and complete the scan.
Wi-Fi > General > Select Access Points
Select the target access points you want to clone
Wi-Fi > Attacks > Access Point Cloning (Spam)

The malicious portal creates an access point and hosts a web server. The web server serves a web page with forms for entering a username and password. Once a client connects to the access points and tries to access any web page, they will be redirected to a web page hosted by Marauder. Any credentials they enter in the username and password fields will be displayed in the serial number, screen, and logs fields.
To run evilportal, the user will need to provide two configurations:
Access point name (can be provided from SSID list, access point list or SD file)
index.html (can only be provided by SD file)
The access point name can be set using the following priority list:
First SSID in the SSID list
First instance of the “selected” AP in the AP list
From the /ap.config.txt file on the SD card connected to your ESP32
Using SSID:
You can create a list of SSIDs using the “ssid”, “Add SSID” or “Generate SSID” commands.
Using access points from the scanned list:
You can get a list of access points using the “Scan Access Points” feature. This option will actually clone a previously scanned access point and use it for EvilPortal.
index.html:
Currently, the index.html file can only be accessed via /index.html in the root directory of your SD card.
You can find many different HTML files in the EvilPortal repository by bigbrodude6119 on Github. Once you have selected your HTML file, rename it to index.html and place it in the root directory of your ESP32 SD card. If you want to store multiple HTML files on the SD card, you can use the evilportal command sethtml to select a specific HTML file before or during the attack.

Sour Apple. Exploits a vulnerability in iOS17 and sends pop-ups to nearby Apple devices until the device crashes. Recovery typically takes a few minutes.
Swiftpair Spam. Swiftpair Spam is a vulnerability that uses Bluetooth Low Energy (BLE) to create Swiftpair traffic from randomly generated MAC addresses. This can cause Swiftpair-enabled devices, such as Windows PCs, to receive repeated notifications about BLE device pairings. The attack can generate over 1,000 notifications per minute.
Samsung BLE Spam. Works very similarly to Sour Apple, but does not cause the phone to crash, only sends spam pairing notifications to Samsung devices.
Google BLE Spam. Works very similarly to Sour Apple, but does not cause the phone to crash, only sends spam pairing notifications to Google devices (such as Pixel).
BLE Spam. Throws the kitchen sink at everything around him.
Probe request reading captures probe request frames from nearby devices searching for available Wi-Fi networks. This can help identify nearby devices and the networks they are searching for.
Go to Wi-Fi > Sniffers > Probe Request Sniffer.
The device will start capturing probe requests from nearby devices.
Analyze the data to identify the devices and their preferred networks.

Beacon sniffing captures beacon frames from nearby access points. This can help you discover available networks and gather information about their configurations.
Go to Wi-Fi > Sniffers > Beacon Sniff.
The device will start capturing beacon frames from nearby access points.
Review the captured data to see detailed information about available Wi-Fi networks.
A deauthentication sniffer captures deauthentication frames on the network. This can help you detect deauthentication attacks targeting your network.
Go to Wi-Fi > Sniffers > Deauthentication Sniffers.
The device will start capturing deauthentication frames.
Monitor the received data for any suspicious deauthentication packets.
Detect Pwnagotchi is used to identify nearby Pwnagotchi devices. Pwnagotchi is a device used for automated Wi-Fi hacking.
Go to Wi-Fi > Sniffers > Detect Pwnagotchi.
The device will scan for Pwnagotchi devices.
If detected, Pwnagotchi devices will be displayed in the list.

EAPOL/PMKID scanning is used to capture EAPOL (Extensible Authentication Protocol over LAN) and PMKID (Pairwise Master Key Identifier) frames, which are useful for WPA/WPA2 capture attempts.
Go to Wi-Fi > Sniffers > EAPOL/PMKID Scan.
The device will start capturing EAPOL and PMKID frames.
Analyze the resulting data for potential handshake interceptions.
The packet monitor captures and displays all WiFi packets in real time, providing a complete view of network traffic.
Go to Wi-Fi > Sniffers > Packet Monitor.
The device will start capturing all WiFi packets.
Monitor the captured packets for detailed network analysis.
Access Point Scanning is used to detect and list available access points nearby.
Go to Wi-Fi > Sniffers > Scan Access Points.
The device will scan for available access points.
Review the list of detected access points for further action.

Raw data capture allows you to capture all raw Wi-Fi frames without any filtering or processing.
Go to Wi-Fi > Sniffers > Raw Data Capture.
The device will start recording all raw WiFi frames.
Analyze the raw data using external tools or software.
Station Sniff collects data from client devices (stations) connected to access points.
Go to Wi-Fi > Sniffers > Station Sniffer.
The device will start collecting data from client devices.
Review the collected data to identify connected devices and their activity.
Signal Monitor provides real-time monitoring of the signal strength of nearby Wi-Fi networks.
Go to Wi-Fi > Sniffers > Signal Monitor.
The device will start monitoring the signal strength of nearby networks.
Use the signal strength data to determine the proximity and quality of networks.
A Bluetooth sniffer intercepts nearby Bluetooth packets. This helps identify Bluetooth devices and analyze their communication.
Go to Bluetooth Sniffers > Bluetooth Sniffer.
The device will start intercepting Bluetooth packets from nearby devices.
Analyze the received data to identify Bluetooth devices and their communication patterns.
Ця функція використовується для виявлення скімерів карток Bluetooth, які часто використовуються в шахрайській діяльності для крадіжки інформації про картки.
Go to Bluetooth Sniffers > Card Skimmer Detection.
The device will scan for Bluetooth devices that match the signature of known card skimmers.
If a potential card skimmer is detected, it will be listed.
ForcePMKID: Send deauthentication frames when APs are detected during sniffpmkid
ForceProbe: Send deauthentication frames when APs are detected during sniffprobe
SavePCAP: Save the captured WiFi data to PCAP files on the connected SD card. You can analyze them in Wireshark or other packet capture software.
EnableLED: Enable/disable the included LED status indicator
WiFi Marauder is more than just a tool, it’s a full-fledged pocket lab for testing wireless network security. Its flexibility, power, and openness make it incredibly useful for both experienced professionals and enthusiasts. With support for Wi-Fi and Bluetooth attacks, deep sniffing, phishing portals, and malicious device detection, it opens up a new level of cybersecurity analysis.
However, with great power comes great responsibility. Use this tool only for legal purposes — to test your own infrastructure or with the written consent of the network owner. Remember that abusing WiFi Marauder’s capabilities may violate the laws of your country.
If you are serious about learning wireless security, understanding attack vectors, and protecting yourself or your organization — WiFi Marauder will become your indispensable ally in this process.