05.08.2024
3 min
1352

Rubber Ducky is a popular hacking tool that looks like an ordinary USB flash drive, but is actually a device that automatically executes commands on the computer it is connected to. With the help of a special script, Rubber Ducky can perform automated attacks on computers, for example, enter commands or run scripts without the user’s knowledge. However, the original Rubber Ducky is quite expensive and can be replaced with a more economical option, the Digispark ATtiny85. In this article, we’ll look at how to make your own Rubber Ducky using a Digispark ATtiny85.

Disclaimer: This article is based on information from open sources and is for educational and research purposes only. All the given instructions and examples are intended to demonstrate working with microcontrollers and programming. You should only use these tools for legitimate purposes, such as testing your own systems or with the permission of the owners. We do not support or encourage any illegal activities. Always follow the law and ethical standards in the use of technical knowledge.
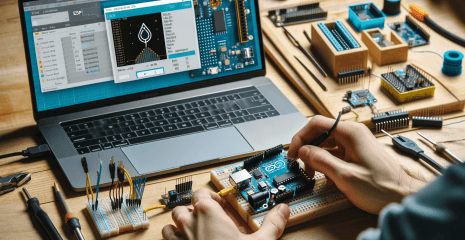
The Digispark ATtiny85 is the microcontroller that will be the basis of your Rubber Ducky.
Arduino IDE is the development environment in which you will write and upload scripts to Digispark.
Computer with USB port for Digispark programming.
Download and install the Arduino IDE on your computer.
Open the Arduino IDE and go to File > Preferences.
In the Additional Board Manager URLs field, add the following URL: http://digistump.com/package_digistump_index.json.
Click OK and go to Tools > Board > Boards Manager.
Find Digispark (by Digistump) and install it.
Here is an example of code that simulates Rubber Ducky typing commands on a computer.
#include "DigiKeyboard.h"

void setup() {
 DigiKeyboard.sendKeyStroke(0); // Sending null code for initialization
}

void loop() {
 DigiKeyboard.sendKeyStroke(KEY_R, MOD_GUI_LEFT); // Win + R to open Run dialog
 DigiKeyboard.delay(500);
 DigiKeyboard.print("cmd"); // Type "cmd"
 DigiKeyboard.sendKeyStroke(KEY_ENTER); // Press Enter
 DigiKeyboard.delay(500);
 DigiKeyboard.print("ipconfig"); // Entering the ipconfig command
 DigiKeyboard.sendKeyStroke(KEY_ENTER); // Press Enter
 DigiKeyboard.delay(5000); // Waiting to output the result
 DigiKeyboard.sendKeyStroke(KEY_ESC); // Close the command line
 while(1) {} // Stop code execution
}
Connect your Digispark ATtiny85 to your computer.
In the Arduino IDE, select Tools > Board > Digispark (Default – 16.5mhz).
Click the Upload button. The Arduino IDE will ask you to connect the Digispark to USB (if it is not already connected). The code will be downloaded automatically after connection.
Now, after downloading the code to Digispark, you can connect it to any computer. Once the Digispark is plugged into a USB port, it will automatically perform the programmed actions.
Using the Digispark ATtiny85 as an alternative to the Rubber Ducky is a fun and affordable way to explore command automation and microcontroller capabilities. Such a tool can be used to create demo scenarios or test computer security.
If you have any problems, you can contact us at [email protected].