
09.09.2023
3 min
2658

Welcome to the step-by-step guide to installing 1Password on Windows, the perfect solution for managing your passwords. Known for its security and convenience, 1Password is an indispensable tool for protecting personal information in the digital world. This article goes through the process of installing 1Password on Windows in detail, providing you with the necessary knowledge and tips to use the program effectively. We’ll cover everything from choosing the right version of 1Password to completing the installation and setting up your first password vault.

This guide will be a reliable assistant in installing and configuring 1Password on Windows, ensuring your security and privacy in the digital space. In this article, you’ll find a comprehensive overview of the installation and setup process for 1Password on Windows, ensuring that every step is clear and easy to understand. We’ll take a look at how to download the app the right way, avoiding fake or malicious versions, and provide important download safety tips. This article is not only a step-by-step guide, but also provides tips and best practices for using 1Password effectively. It’s the perfect resource for users of all experience levels, from beginners to advanced users looking to improve their cybersecurity.
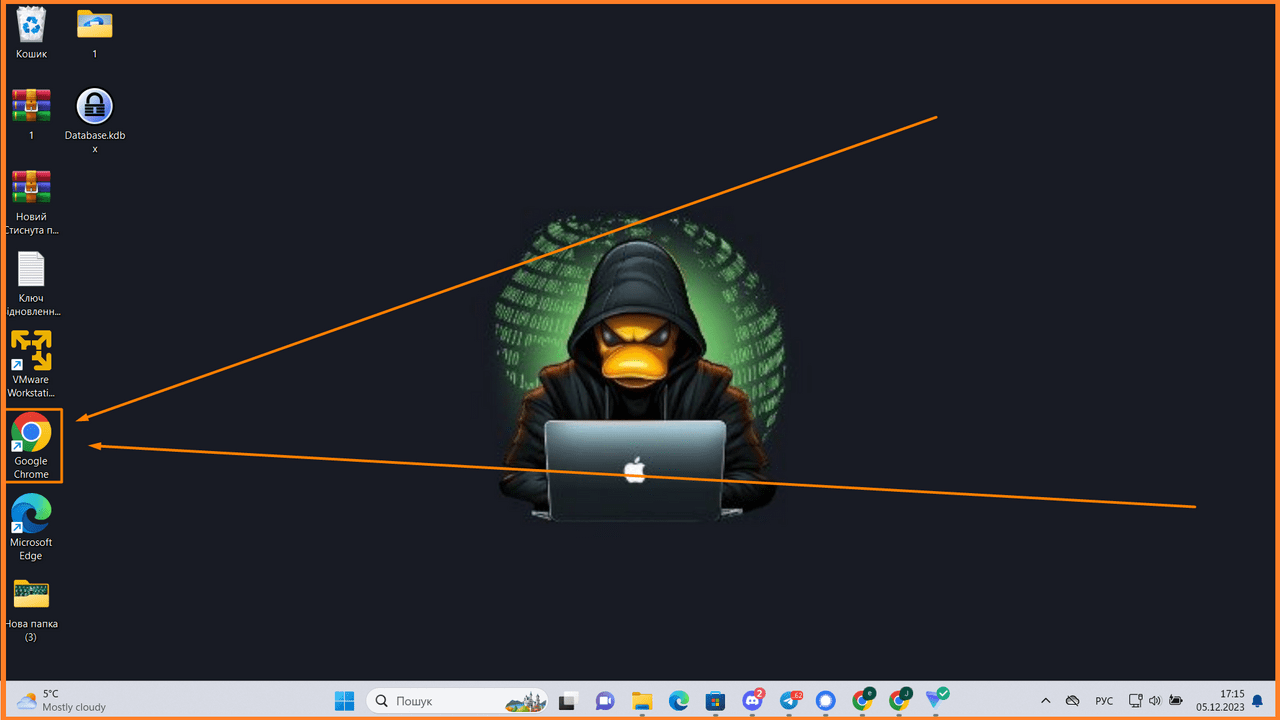
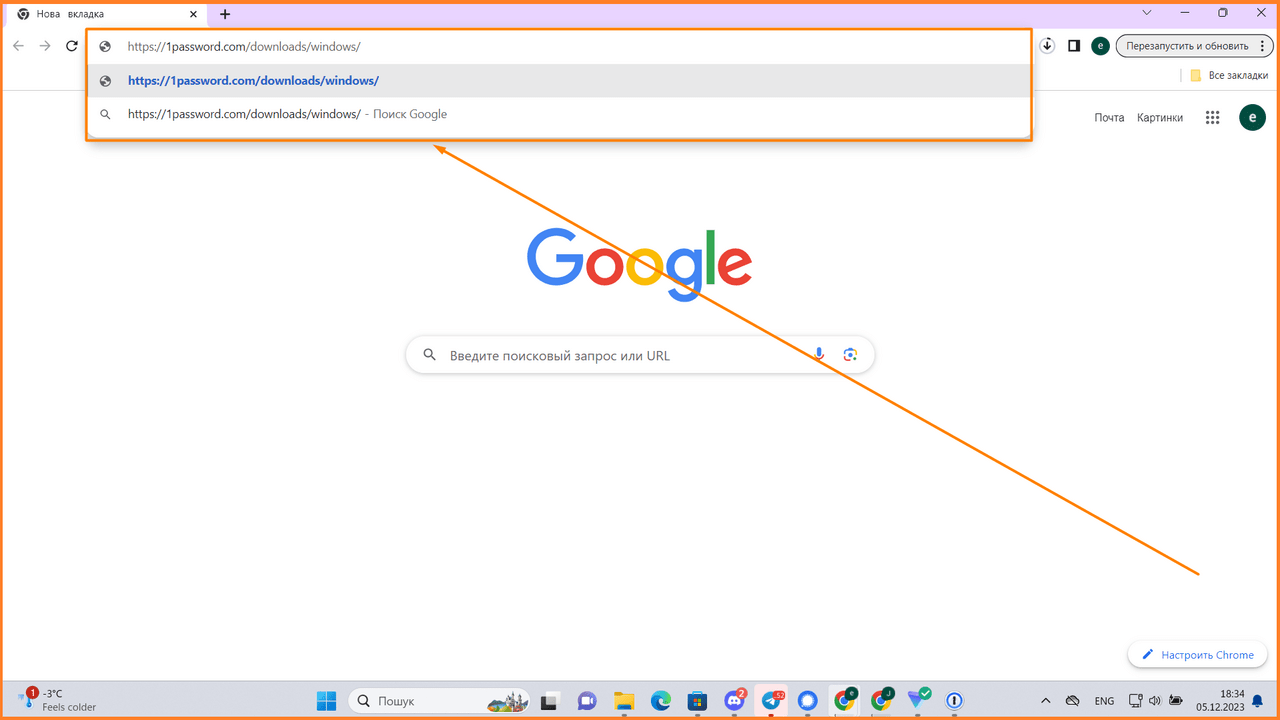
Open the Google Chrome browser

Click “Download 1Password 8 for Windows”
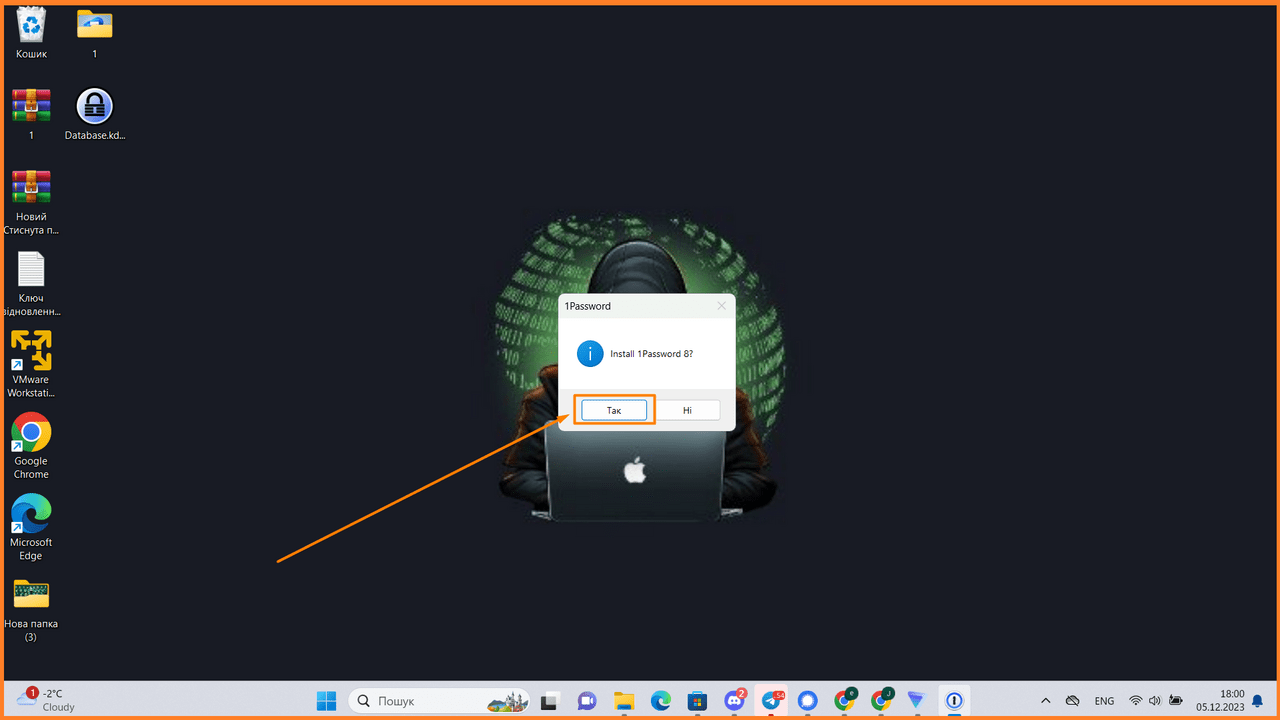
Click “Yes”
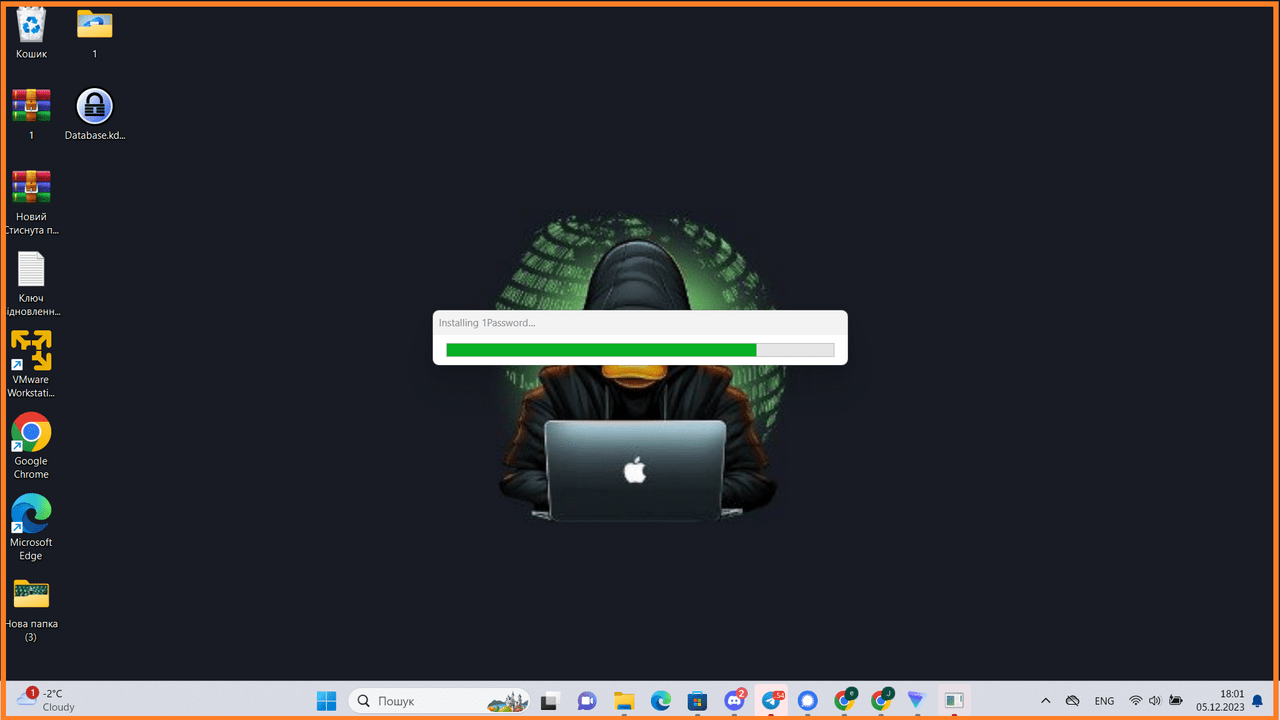
We are waiting for the program to be installed on our computer
We create a new account
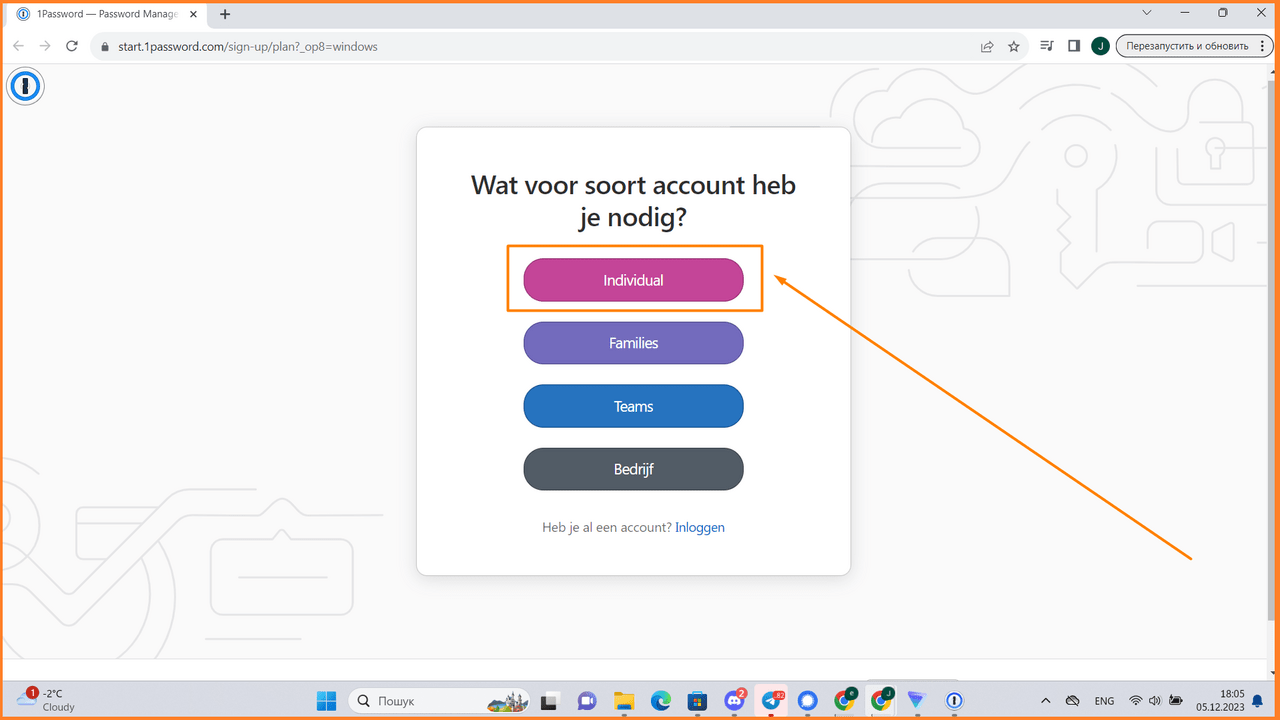
Click on “Individual”
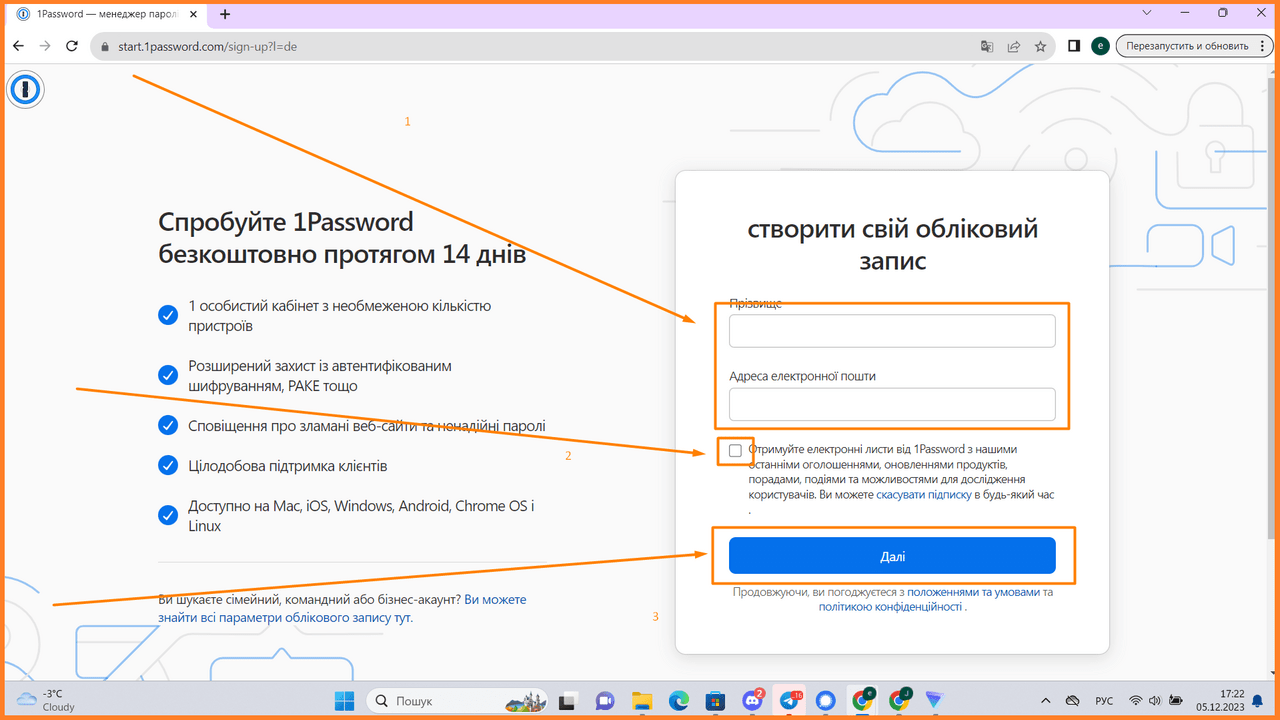
Create your account and click next
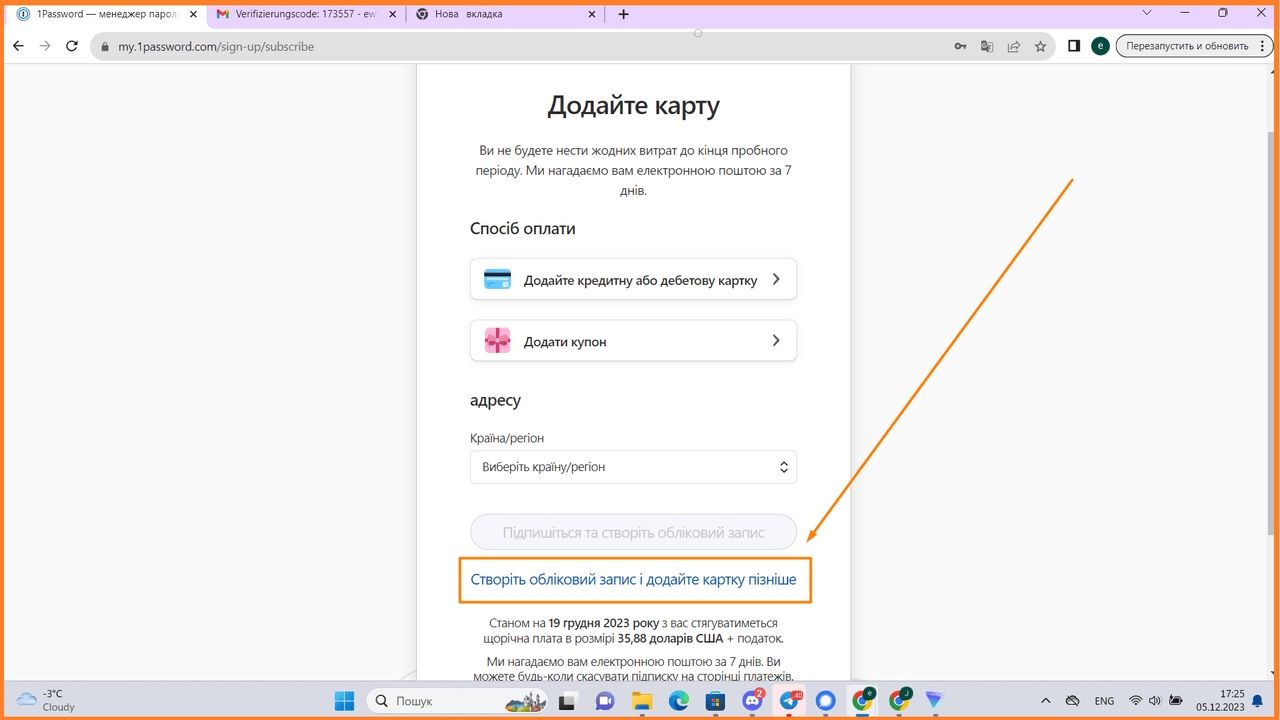
Click on “Create an account and add a card later”
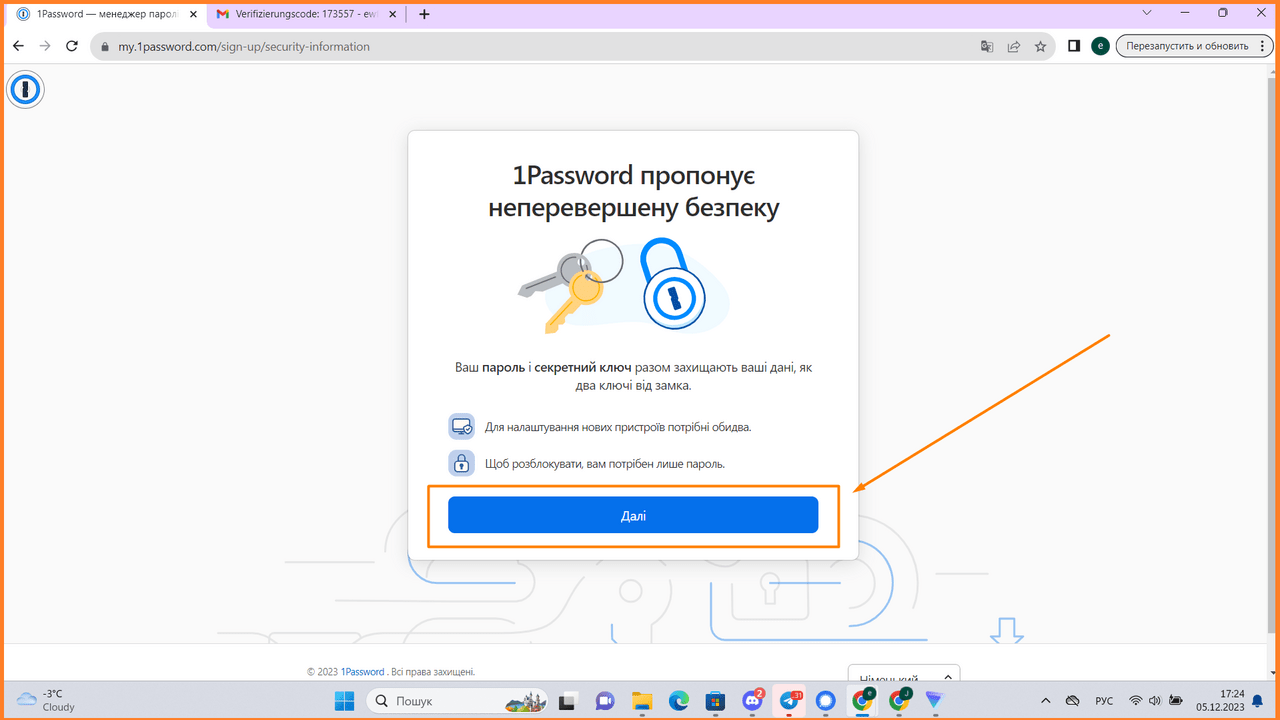
Click “Next”
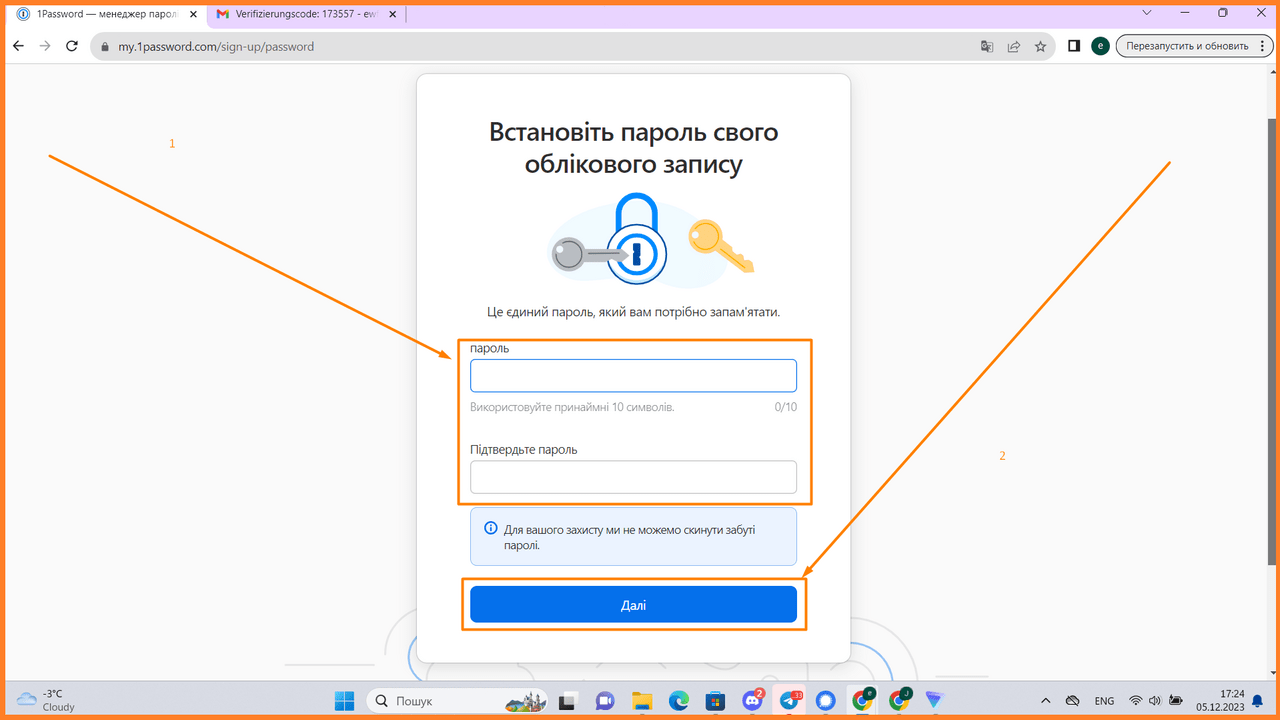
Set a password for your account
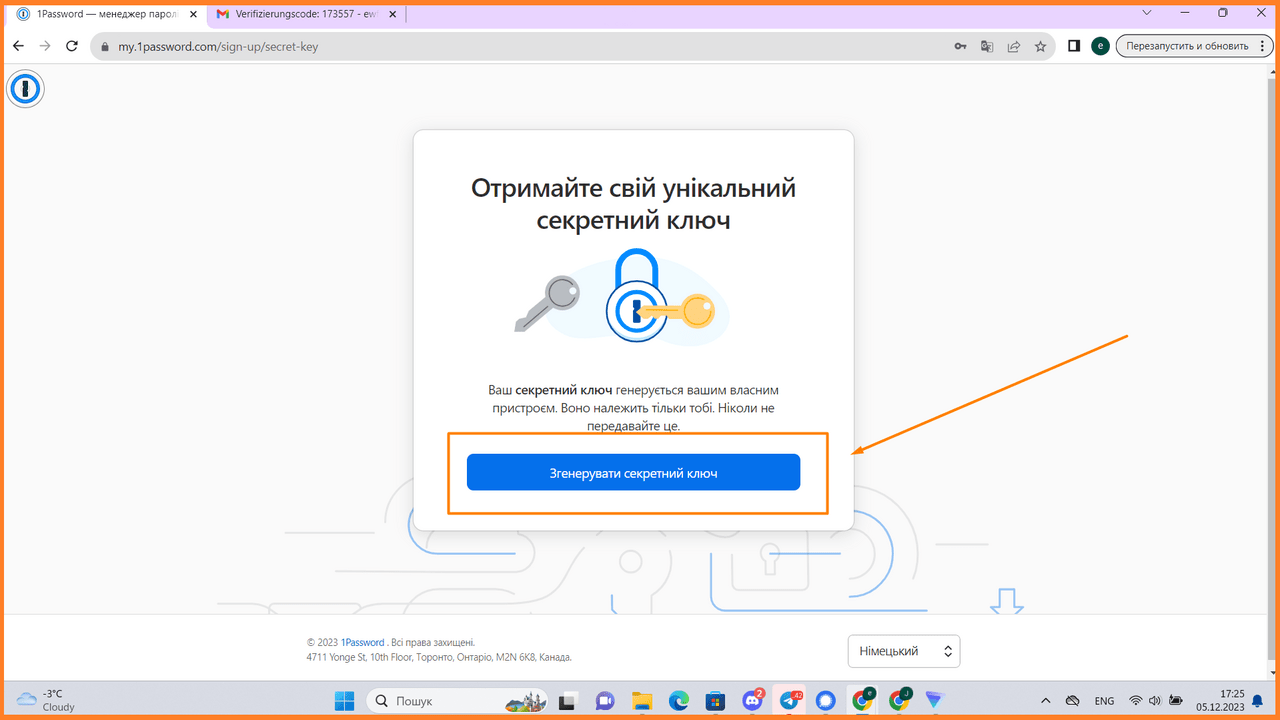
Click “Generate secret key”
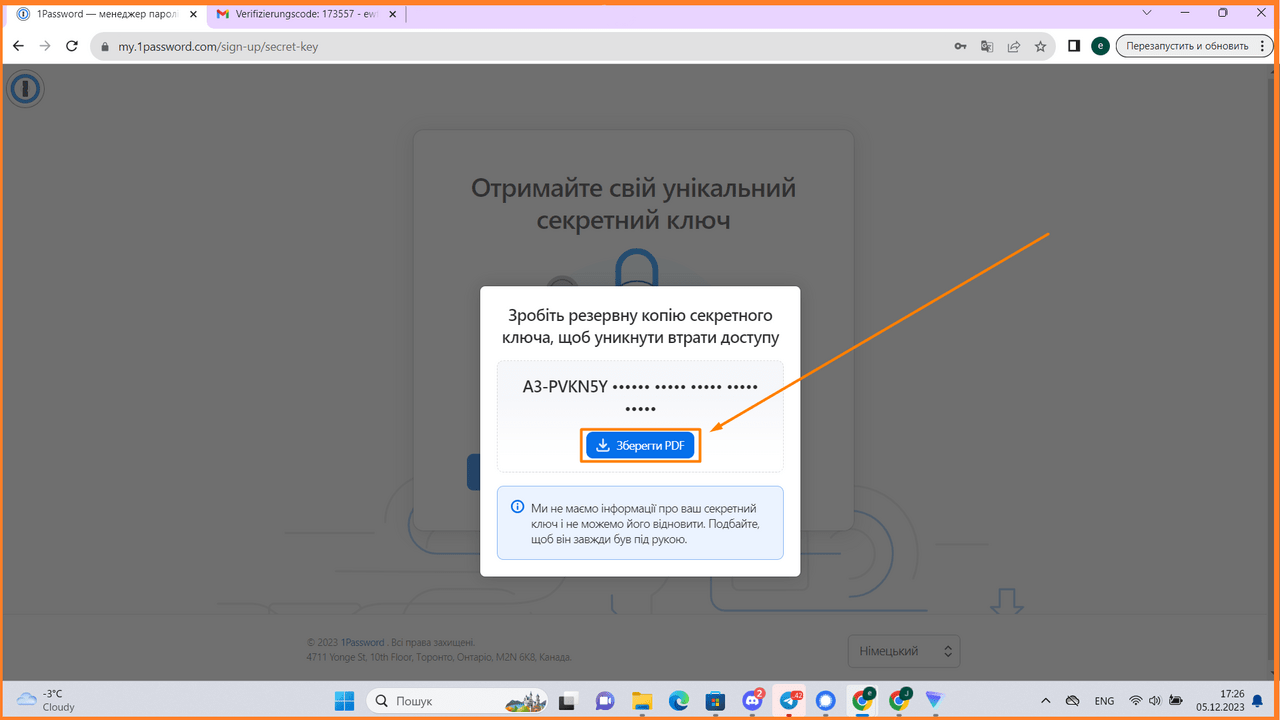
Click “Save PDF”

We confirm the email address, the code will be sent to your email
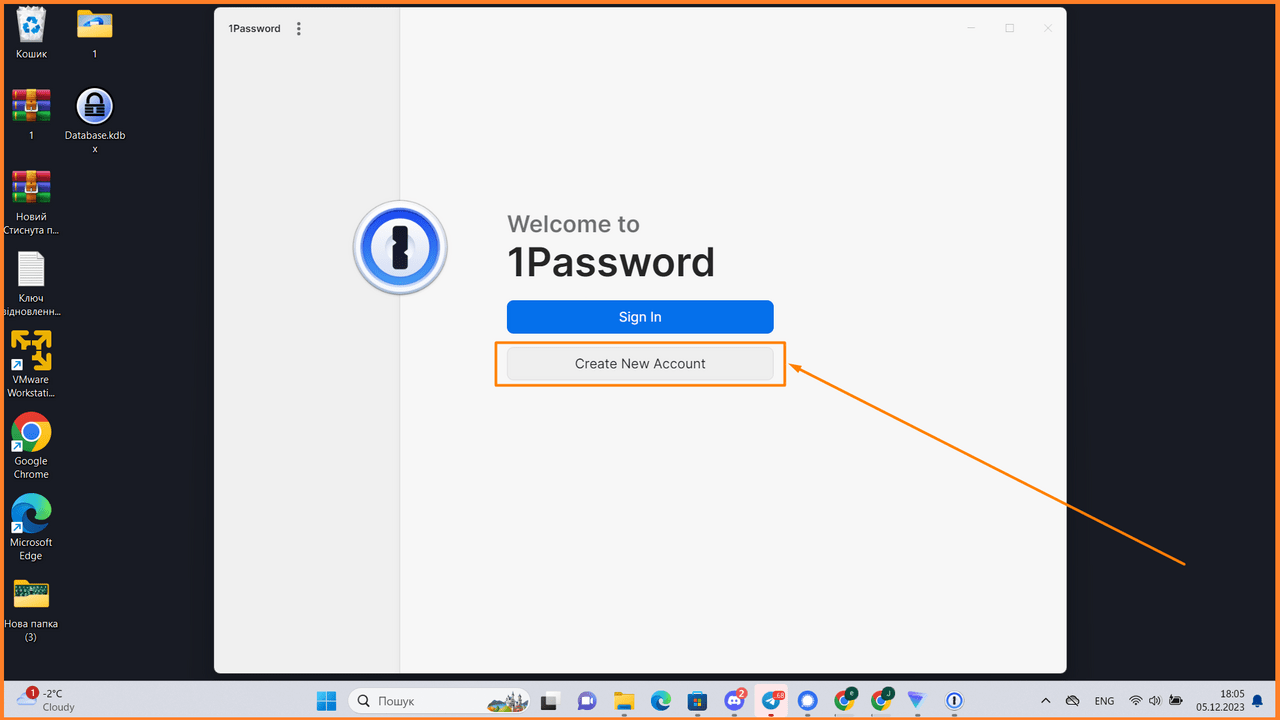
Click on the “1password” program icon
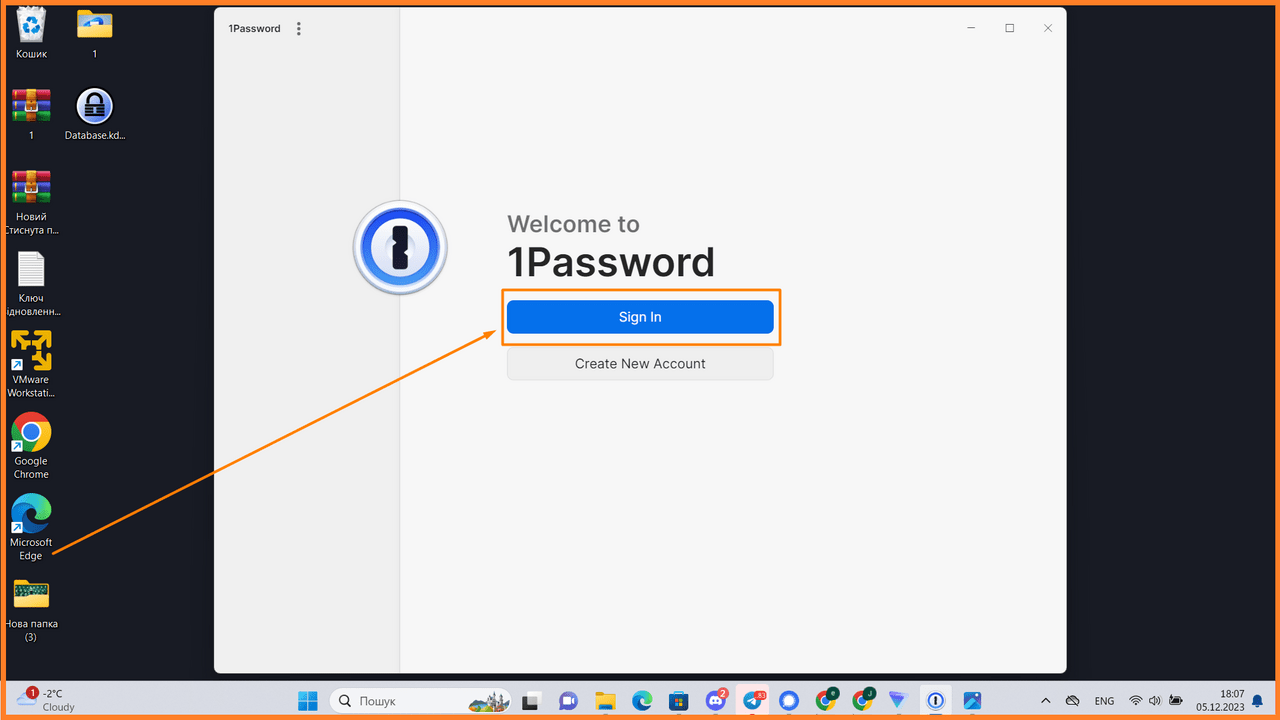
Click “Sign in”
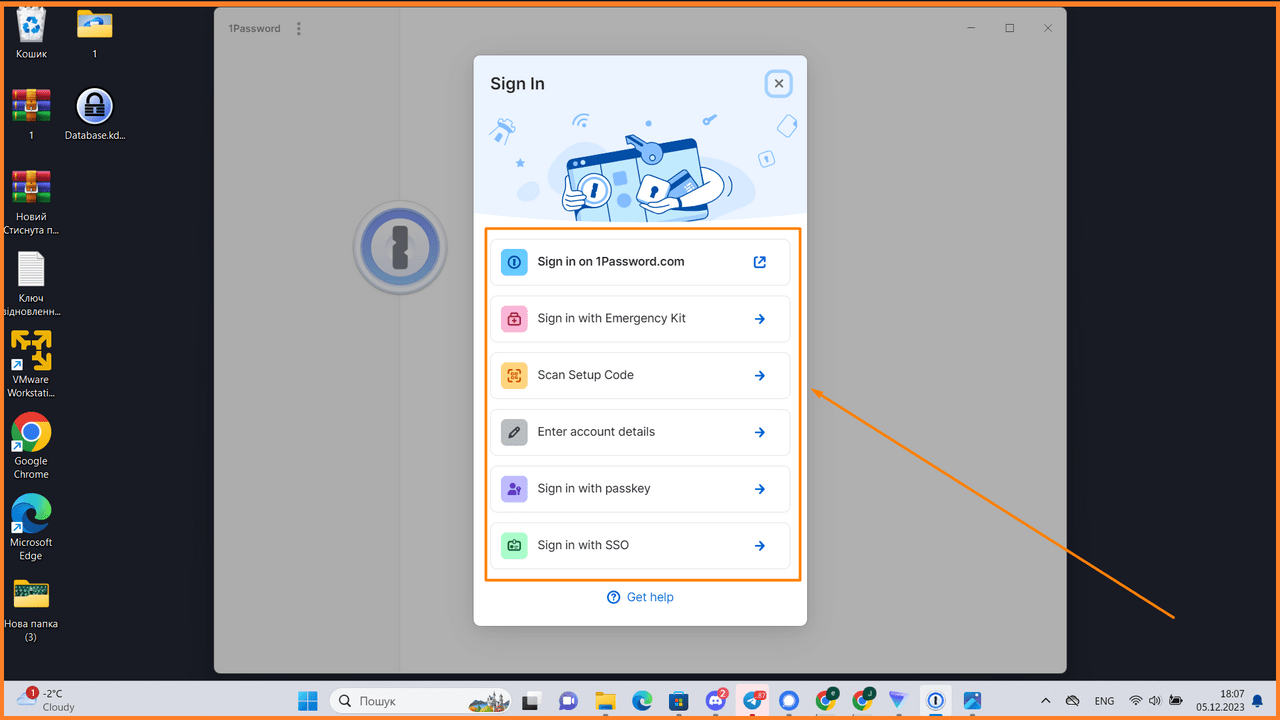
Click “Enter account details”
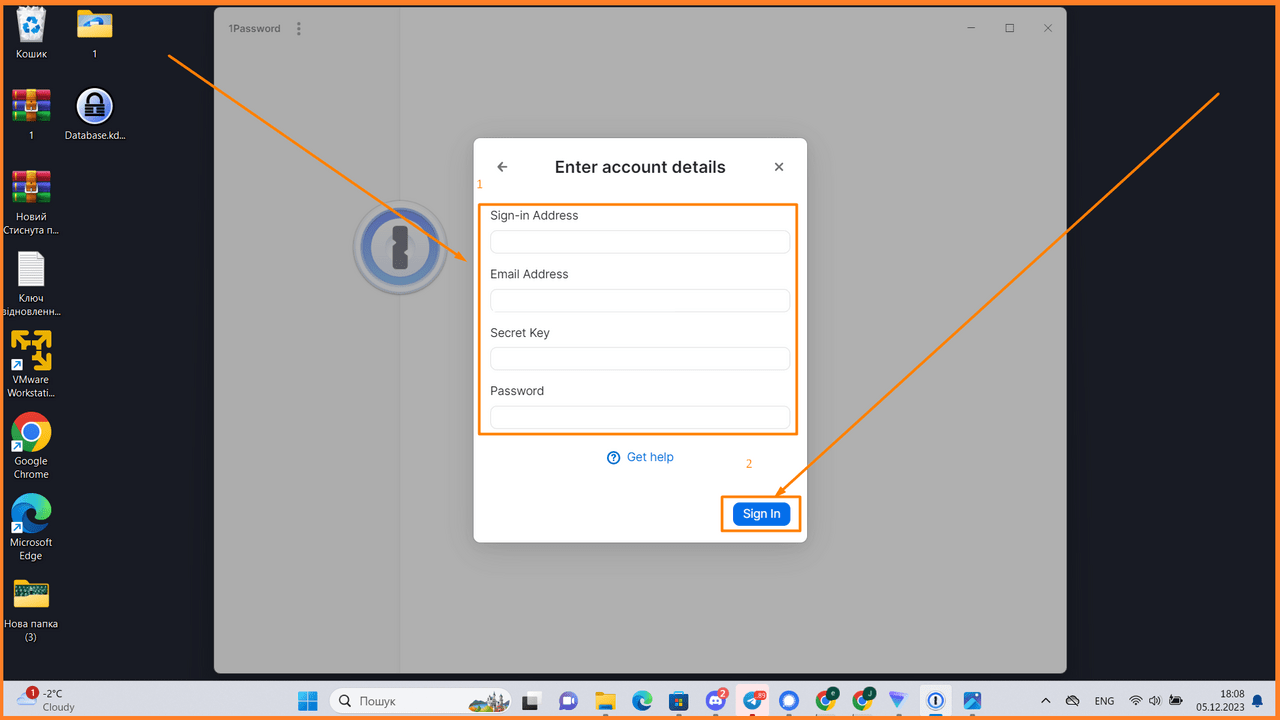
Enter your account information and click “Sign in”
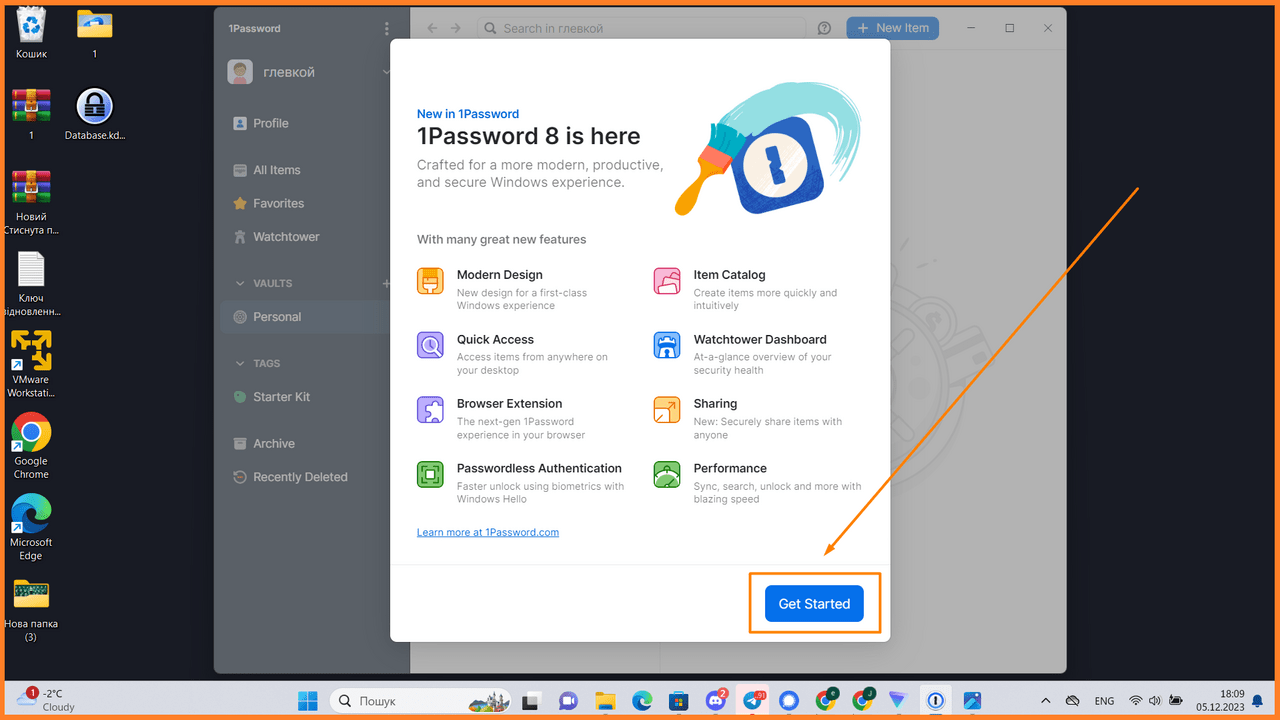
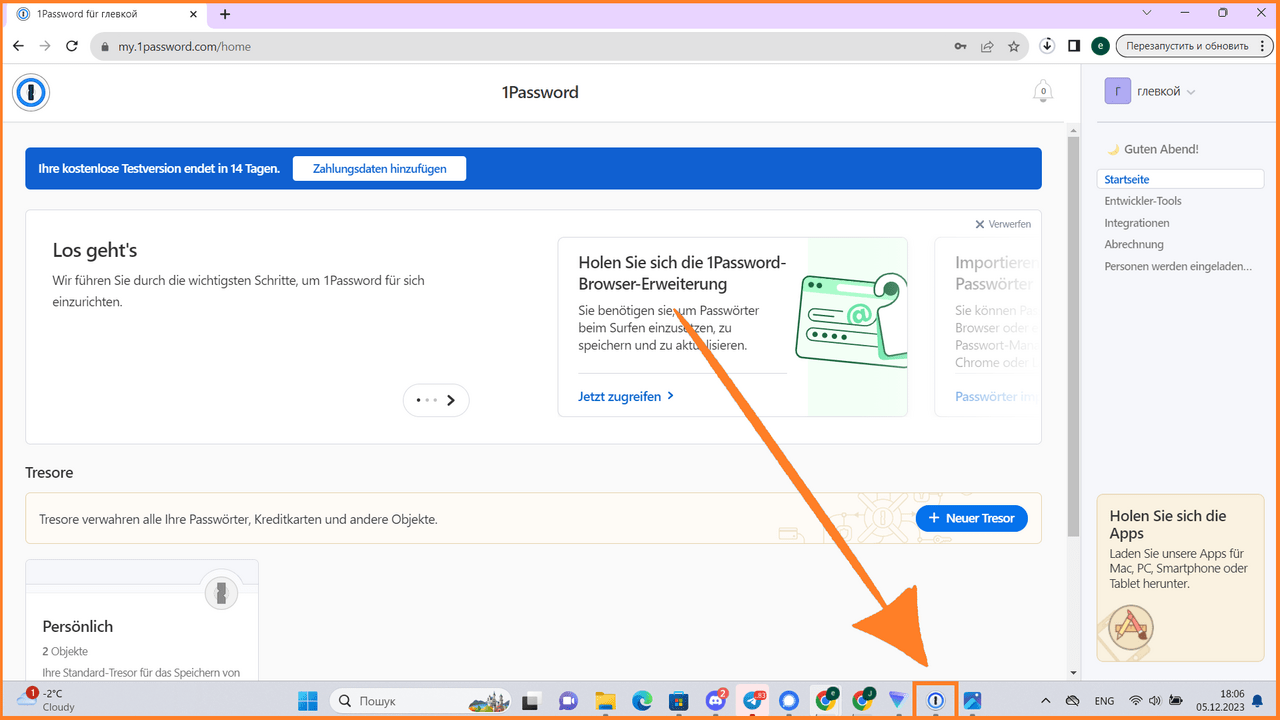
Click “Get Started”
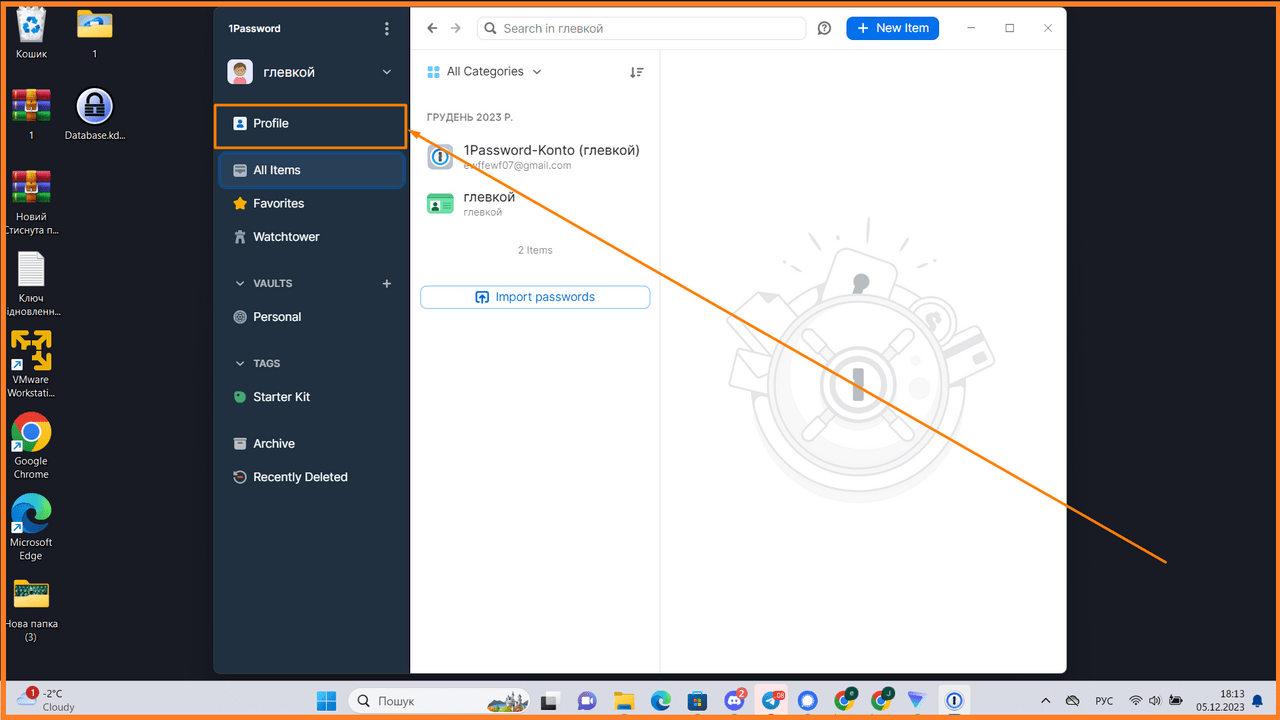
Go to your profile

Next, go to the “Manage Account” section
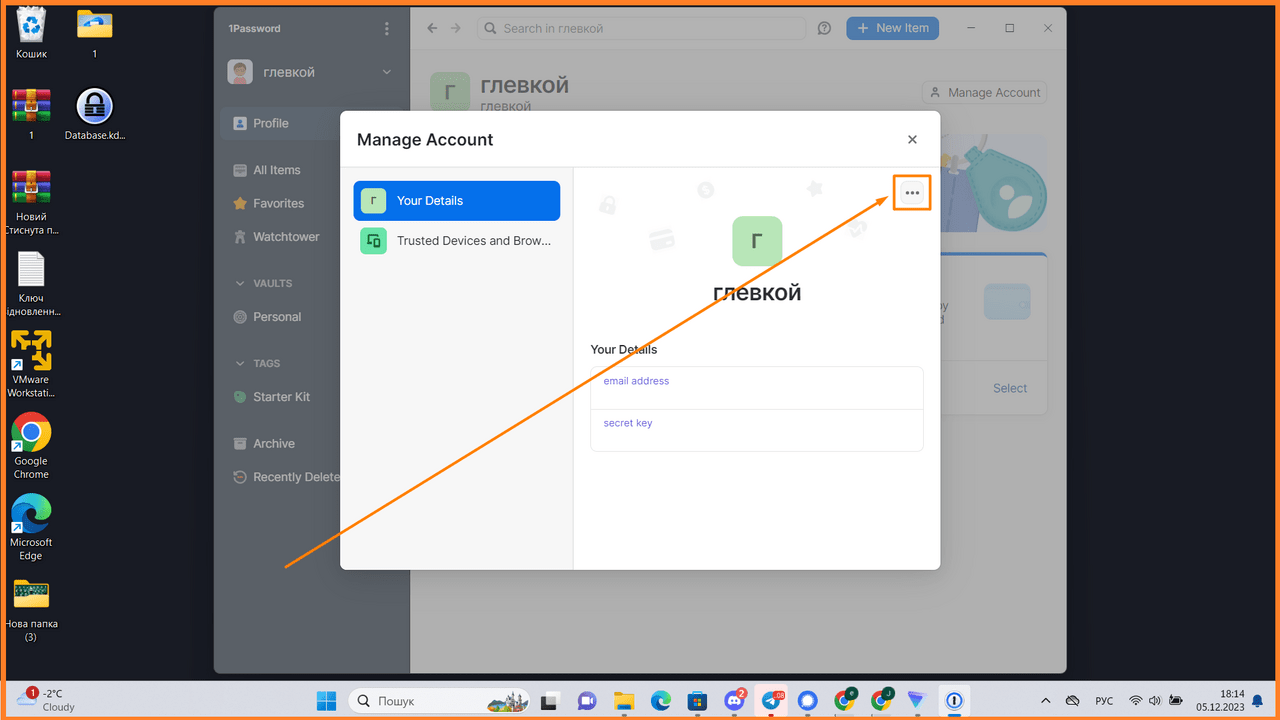
Click on the three dots
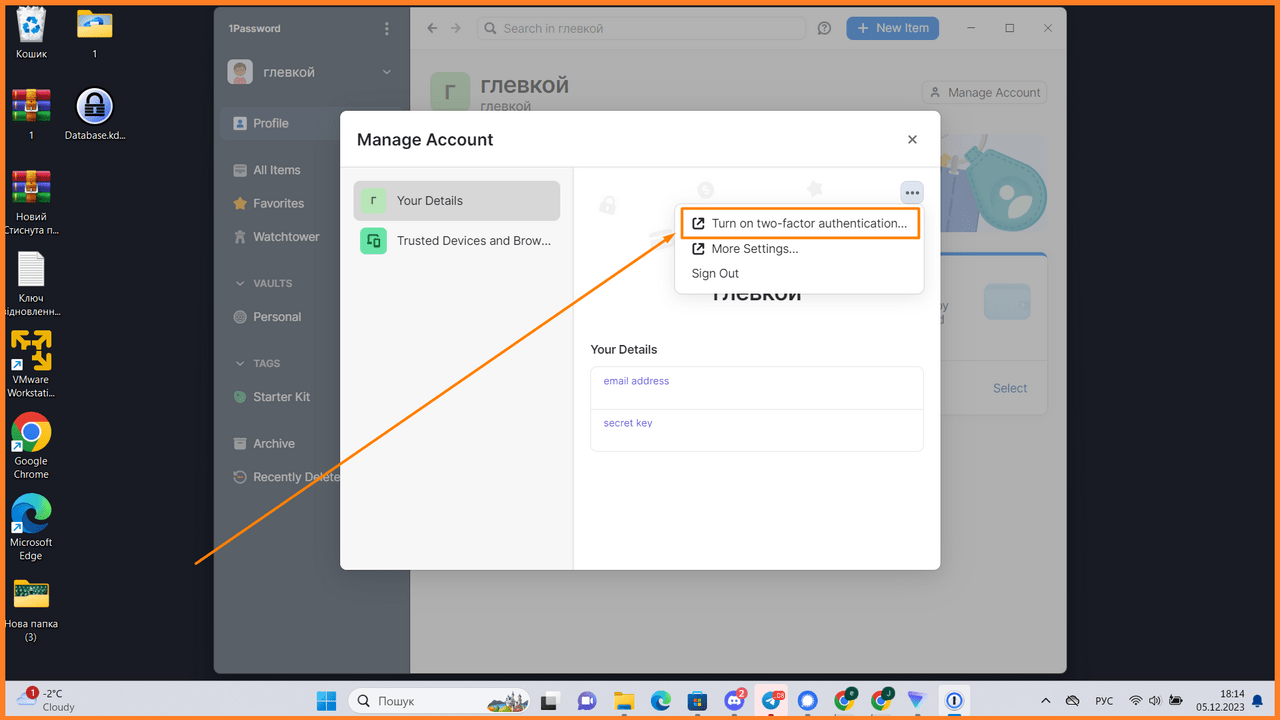
Click “Enable two-factor authentication”
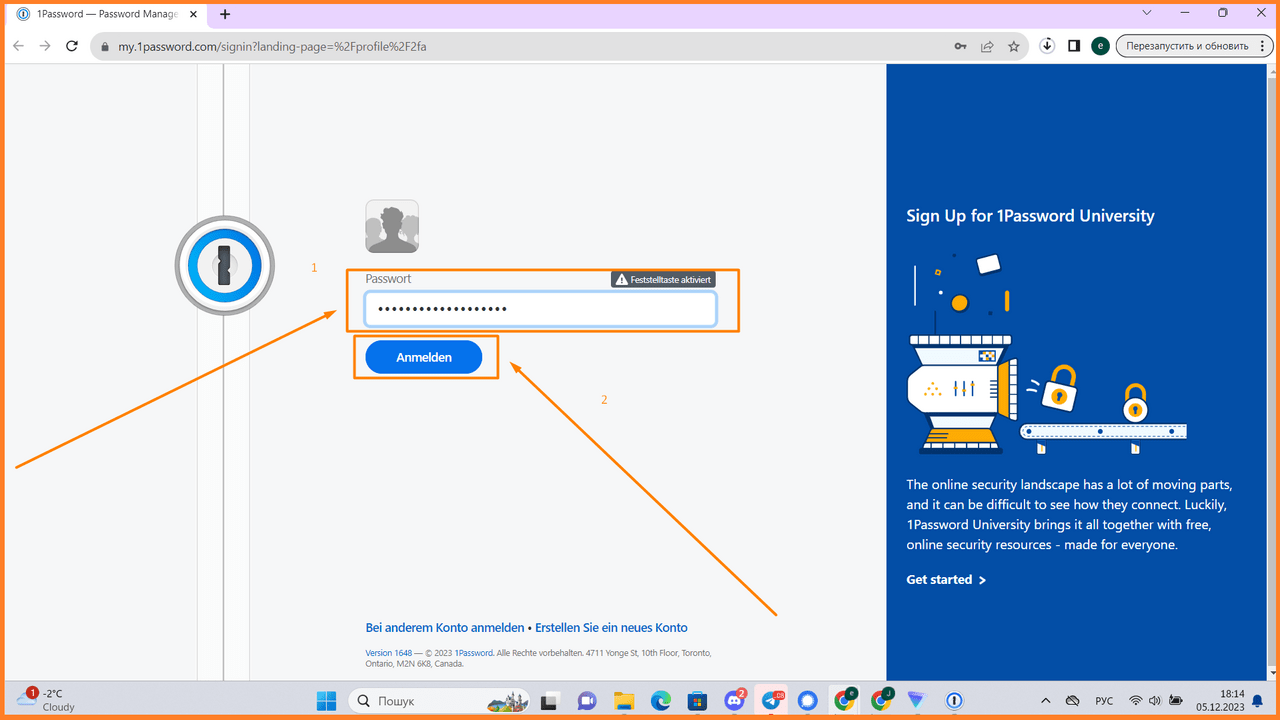
Enter the password and click “Anmelden”
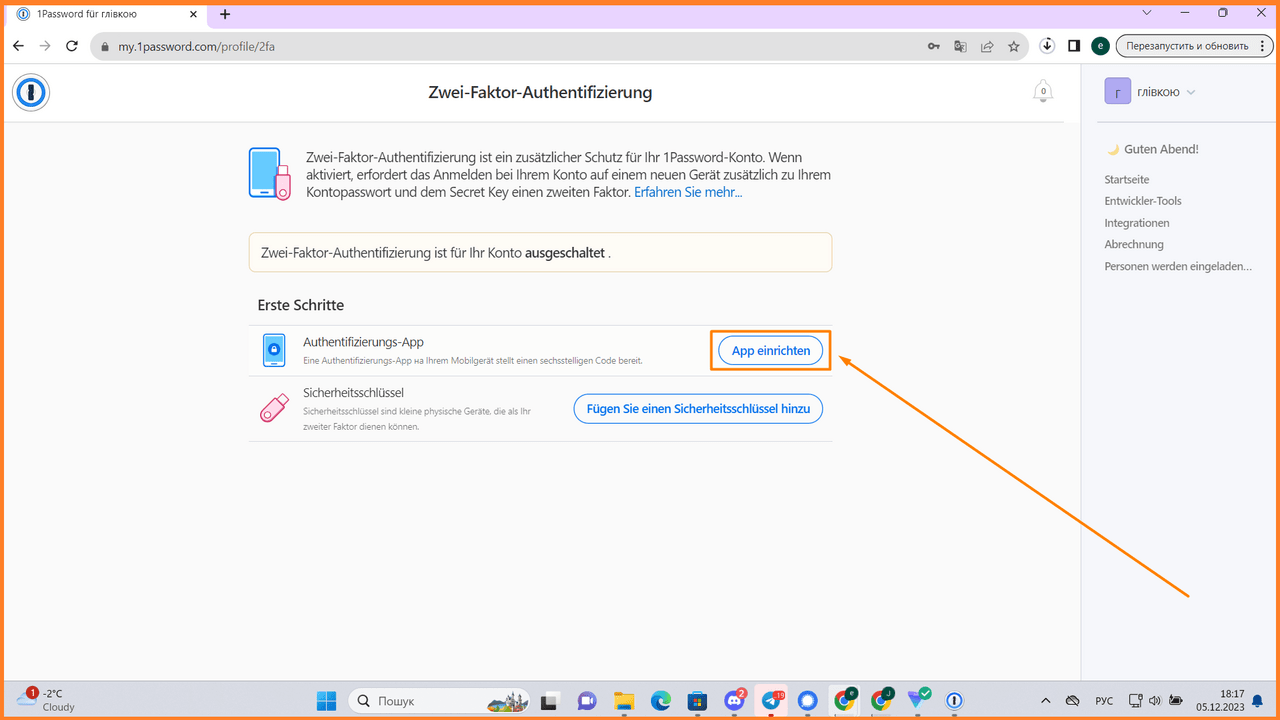
Click “App einrichten”
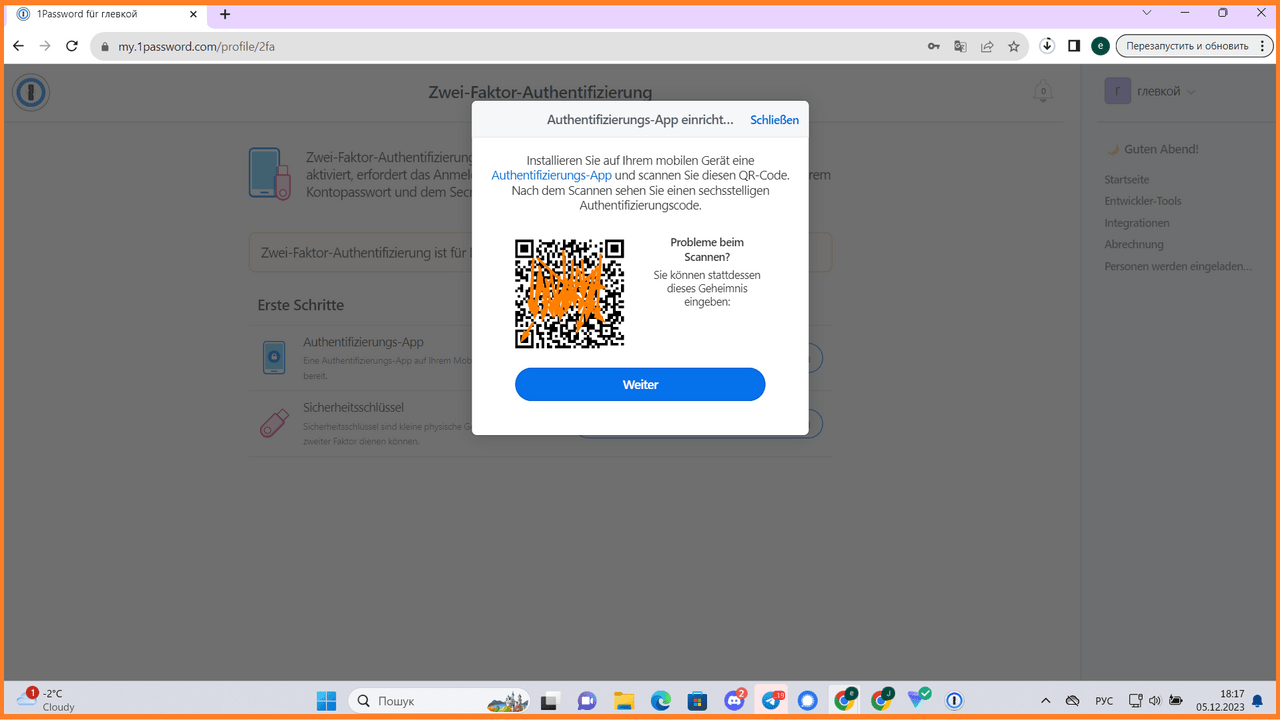
Press “Weiter”
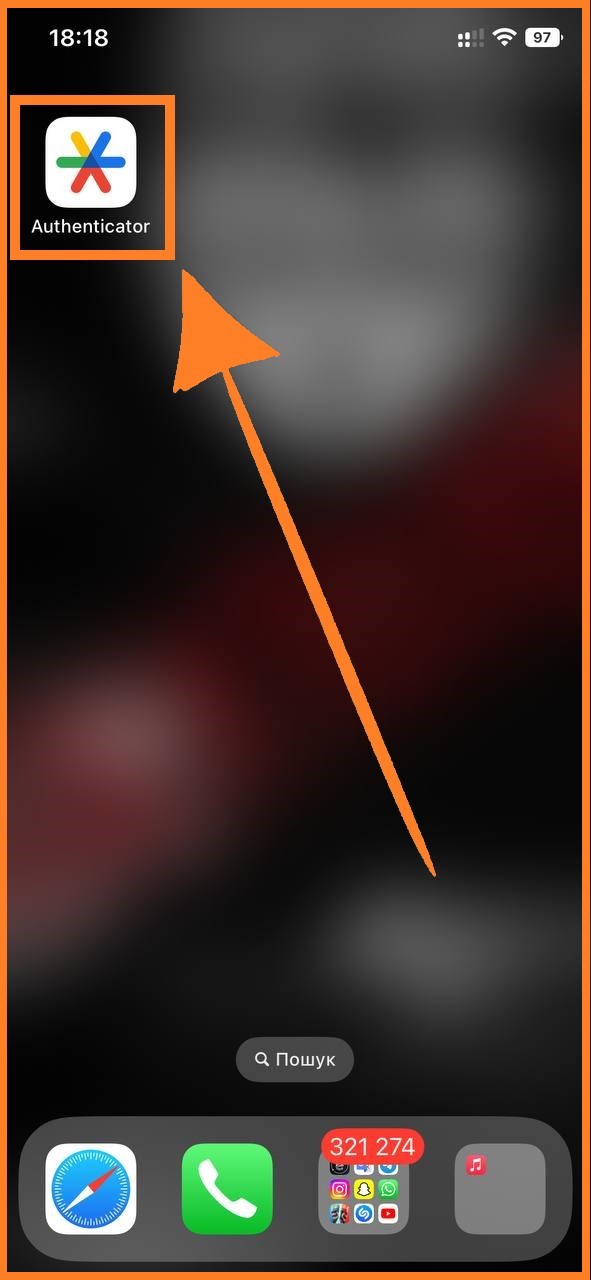
Open the “Authenticator” application
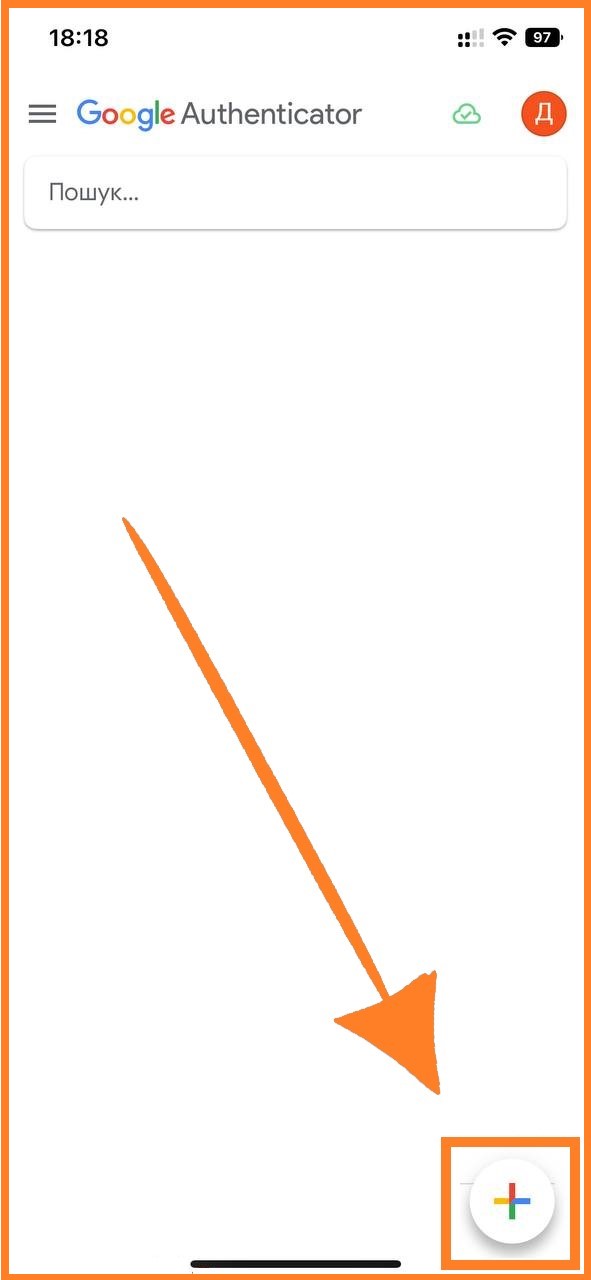
Click on “+”
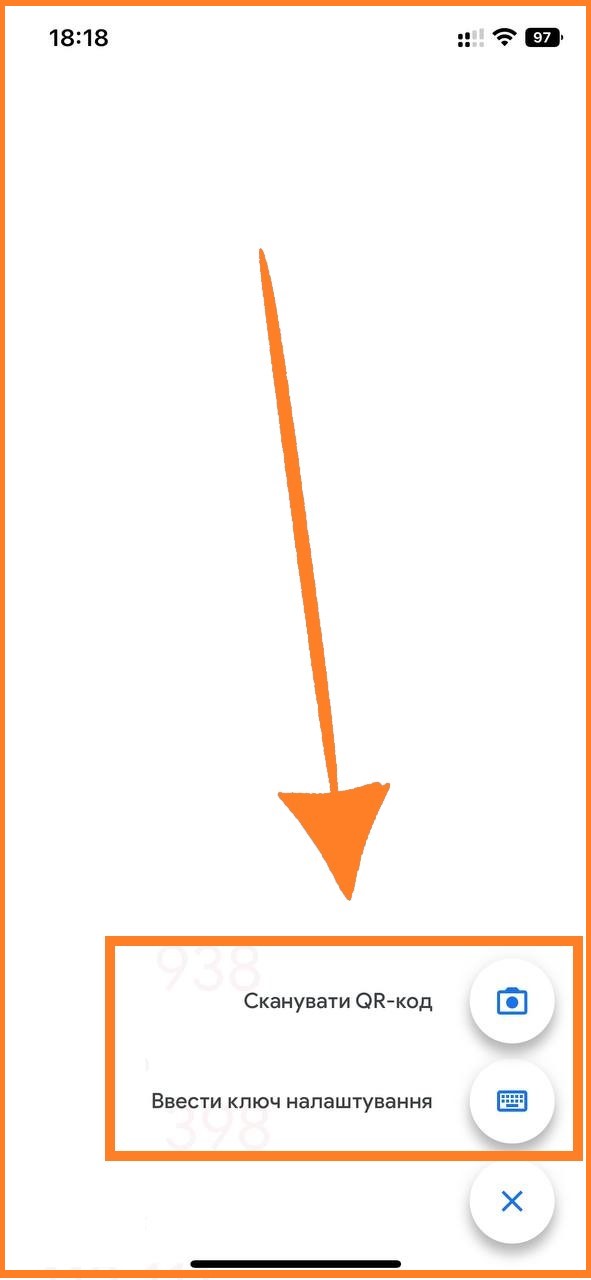
We choose whether to scan the QR code or enter the configuration key

Enter the six-digit code that will be sent to us by e-mail
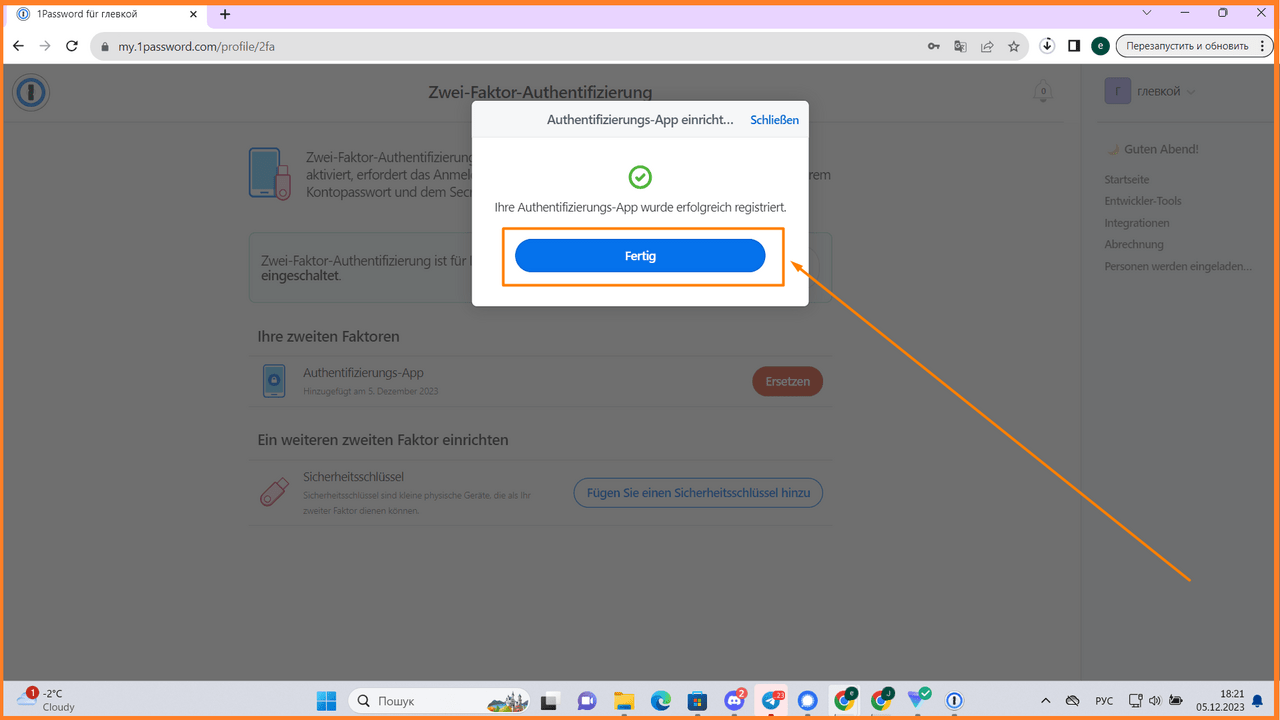
Press “Fertig”
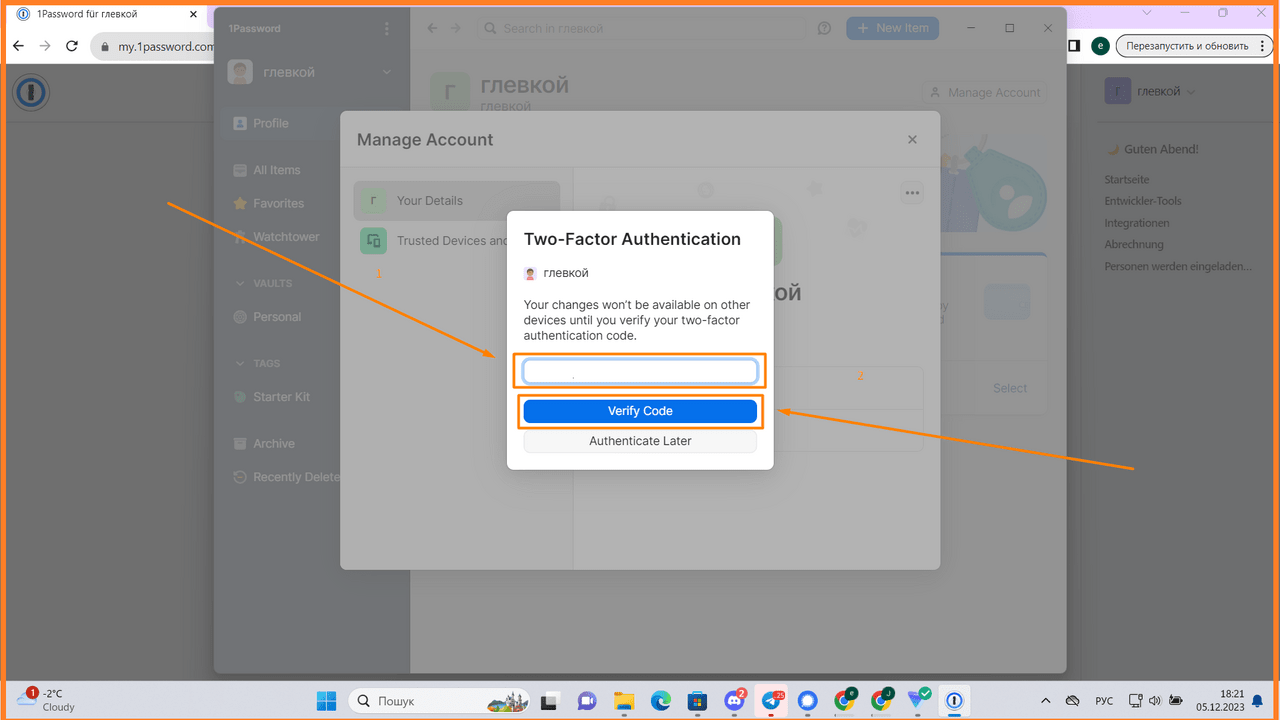
Your changes will not be available on another device until you confirm your two-factor withdrawal code. Click “Verify Code”
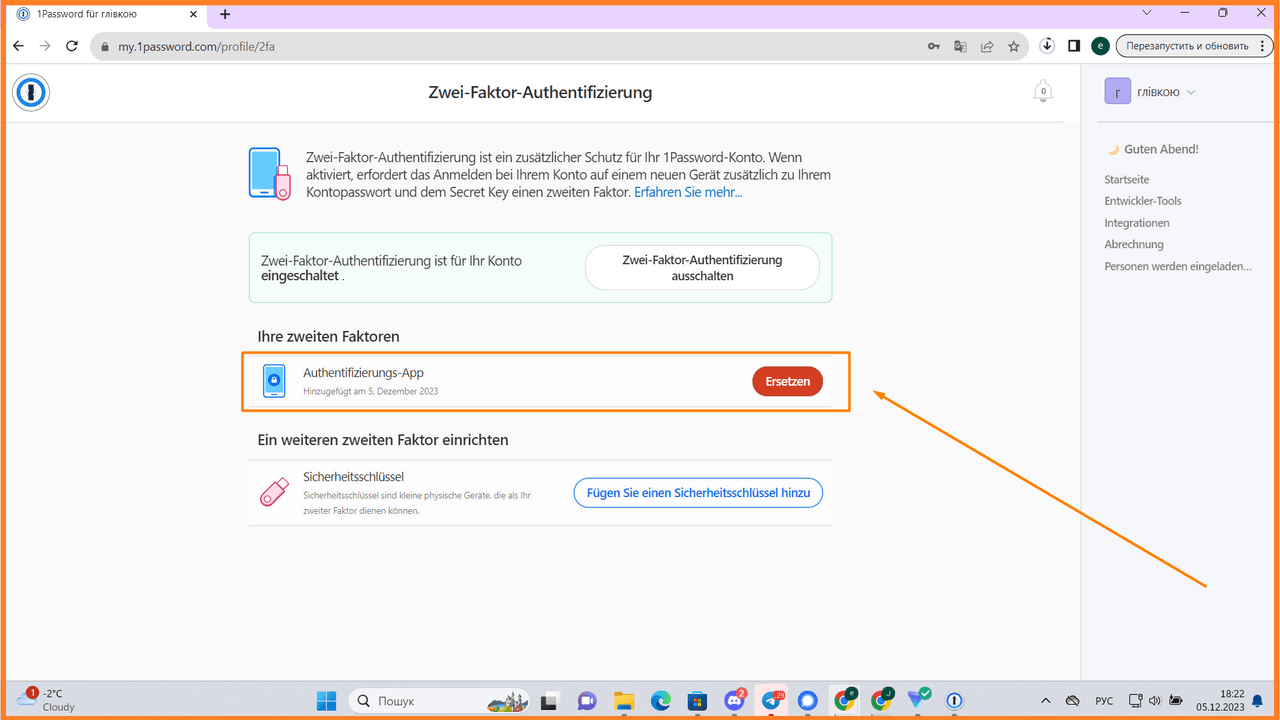
Congratulations, everything worked out for you!