28.01.2025
11 min
316

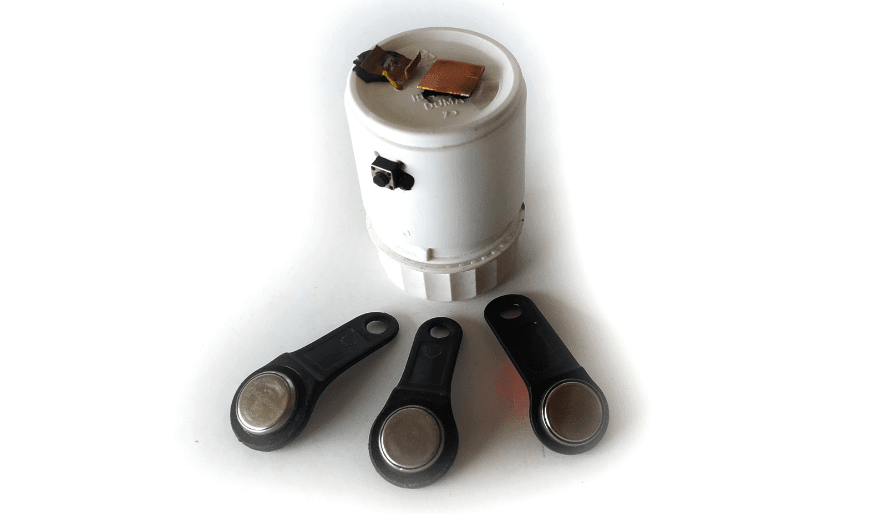
A doorphone key duplicator is a handy device that allows you to create copies of electronic keys for doorphones. If you need to program or duplicate a key, you can do it yourself using an Arduino NANO. In this article, we will look at how to build a key duplicator with a minimal budget. You will need an Arduino NANO, a button, resistors, and a few simple components.
DISCLAIMER: This material is provided solely for informational and educational purposes. The author and the platform do not encourage copying, modification, or hacking of any devices. All examples and instructions are aimed at studying electronics, Arduino programming, and technology security, and should not be used in violation of the law.
It’s time to create your own intercom key duplicator, which will not only be able to copy existing keys, but will also allow you to record a unique individual code.
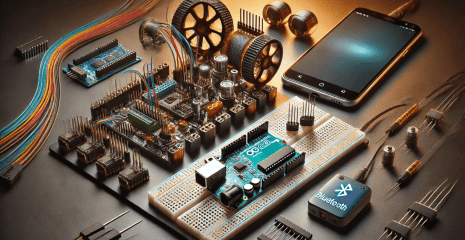
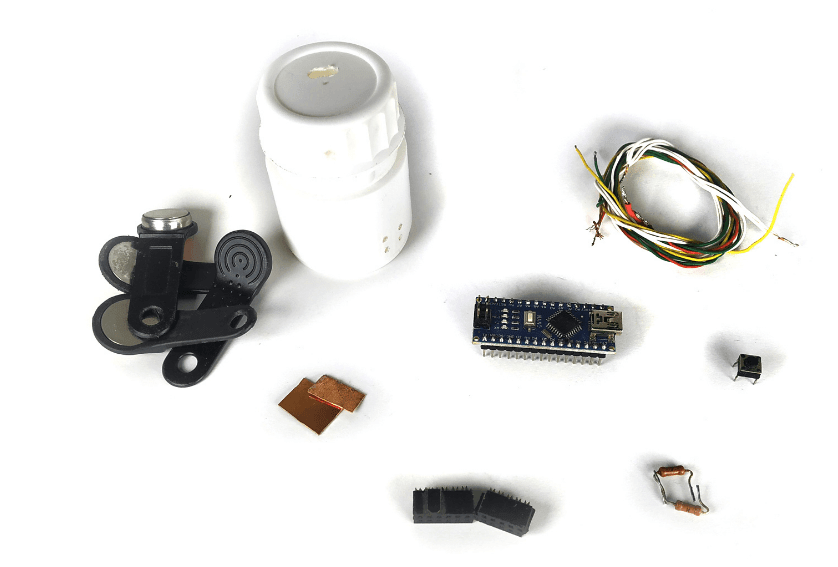
For the minimum assembly of the duplicator you will need:
Arduino NANO, button, 2 pins 1 – 2.2 kΩ, and some wires.
To assemble a more complete duplicator, I also use:
2 copper plates, 2 pieces from the IDE bus connector and a jar of some pills.

Before you start assembling, upload this sketch to the board.
#include "OneWire.h"
#define pin 11
OneWire ibutton (pin); // Пин D11 для подключения iButton (Data)

byte addr[8];
byte ReadID[8] = { 0x01, 0xFF, 0xFF, 0xFF, 0xFF, 0xFF, 0xFF, 0x2F };
// Свой ключ. Прошивается последовательность 01:FF:FF:FF:FF:FF:FF:2F

const int buttonPin = 12; // Пин D11
const int ledPin = 13;

int buttonState = 0;
int writeflag = 0;
int readflag = 0;

void setup() {
  pinMode(ledPin, OUTPUT);
  pinMode(buttonPin, INPUT);
  Serial.begin(115200);
  Serial.println("---------- Start ----------");
}

void loop() {
  buttonState = digitalRead(buttonPin);
  if (buttonState == HIGH) {
    readflag = 1; writeflag = 1;
    digitalWrite(ledPin, HIGH);
  }
  if (!ibutton.search (addr)) {
    ibutton.reset_search();
    delay(50);
    return;
  }
  digitalWrite(ledPin, HIGH); delay(50);
  for (byte x = 0; x < 8; x++) {
    Serial.print(addr[x], HEX);
    if (readflag == 0) {
      ReadID[x] = (addr[x]);
    } Serial.print(":");
  }
  byte crc; // Проверка контрольной суммы
  crc = ibutton.crc8(addr, 7);
  Serial.print("CRC: ");
  Serial.println(crc, HEX);
  digitalWrite(ledPin, LOW);
  if ((writeflag == 1) or (Serial.read() == 'w')) {
    ibutton.skip(); ibutton.reset(); ibutton.write(0x33);
    Serial.print("  ID before write:");
    for (byte x = 0; x < 8; x++) {
      Serial.print(' '); Serial.print(ibutton.read(), HEX);
    }
    // send reset
    ibutton.skip();
    ibutton.reset(); // send 0xD1
    ibutton.write(0xD1); // send logical 0
    digitalWrite(pin, LOW); pinMode(pin, OUTPUT); delayMicroseconds(60);
    pinMode(pin, INPUT); digitalWrite(pin, HIGH); delay(10);
    Serial.print('\n');
    Serial.print("  Writing iButton ID:\n    ");
    byte newID[8] = { (ReadID[0]), (ReadID[1]), (ReadID[2]), (ReadID[3]), (ReadID[4]), (ReadID[5]), (ReadID[6]), (ReadID[7]) };
    ibutton.skip(); ibutton.reset(); ibutton.write(0xD5);
    for (byte x = 0; x < 8; x++) {
      writeByte(newID[x]);
      //Или int writeByte(newID[x]); если будет выдавать ошибку!
      Serial.print('*');
    }
    Serial.print('\n');
    ibutton.reset(); // send 0xD1
    ibutton.write(0xD1); //send logical 1
    digitalWrite(pin, LOW); pinMode(pin, OUTPUT); delayMicroseconds(10);
    pinMode(pin, INPUT); digitalWrite(pin, HIGH); delay(10);
    writeflag = 0; readflag = 0; digitalWrite(ledPin, LOW);
  }
}

int writeByte(byte data) {
  int data_bit;
  for (data_bit = 0; data_bit < 8; data_bit++) {
    if (data & 1) {
      digitalWrite(pin, LOW); pinMode(pin, OUTPUT);
      delayMicroseconds(60);
      pinMode(pin, INPUT); digitalWrite(pin, HIGH);
      delay(10);
    } else {
      digitalWrite(pin, LOW); pinMode(pin, OUTPUT);
      pinMode(pin, INPUT); digitalWrite(pin, HIGH);
      delay(10);
    } data = data >> 1;
  } return 0;
}
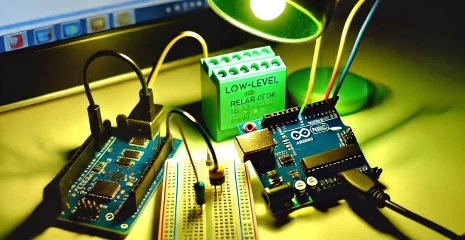
After downloading the sketch, assemble everything according to this diagram.
Watch this video to learn how to assemble a duplicator and how to use it.
Link to video instructions: https://www.youtube.com/watch?v=CJEHb01H05A&ab_channel=MasterKolotushkinArduino