
06.12.2023
3 min
2039

Welcome to the step-by-step guide to installing LastPass on Windows, the trusted password manager that’s the perfect tool for anyone looking to stay digitally secure. LastPass allows you to securely store, manage and generate passwords, increasing the level of protection of your personal information. This article is your complete guide to installing LastPass on Windows, providing step-by-step instructions that will make the process easy and straightforward. We’ll start with the LastPass download process, emphasizing the importance of using the official website to avoid malware.

Once downloaded, we’ll go through the process of installing LastPass on your system in detail. You will learn how to properly configure the program for optimal use, ensuring effective management of your passwords. This guide will be an indispensable resource for anyone looking to install LastPass on Windows, providing effective password management and increased cybersecurity. With LastPass, you can confidently manage your digital identity, knowing that your passwords are securely protected. In this article, you’ll find everything you need to effectively install and use LastPass on Windows. We provide step-by-step instructions for downloading the program from an official source, avoiding the potential cyber threats that can accompany downloading from untrusted sites. This article will be your trusted guide to the world of cybersecurity, helping you install and make the most of LastPass to protect your personal data online.
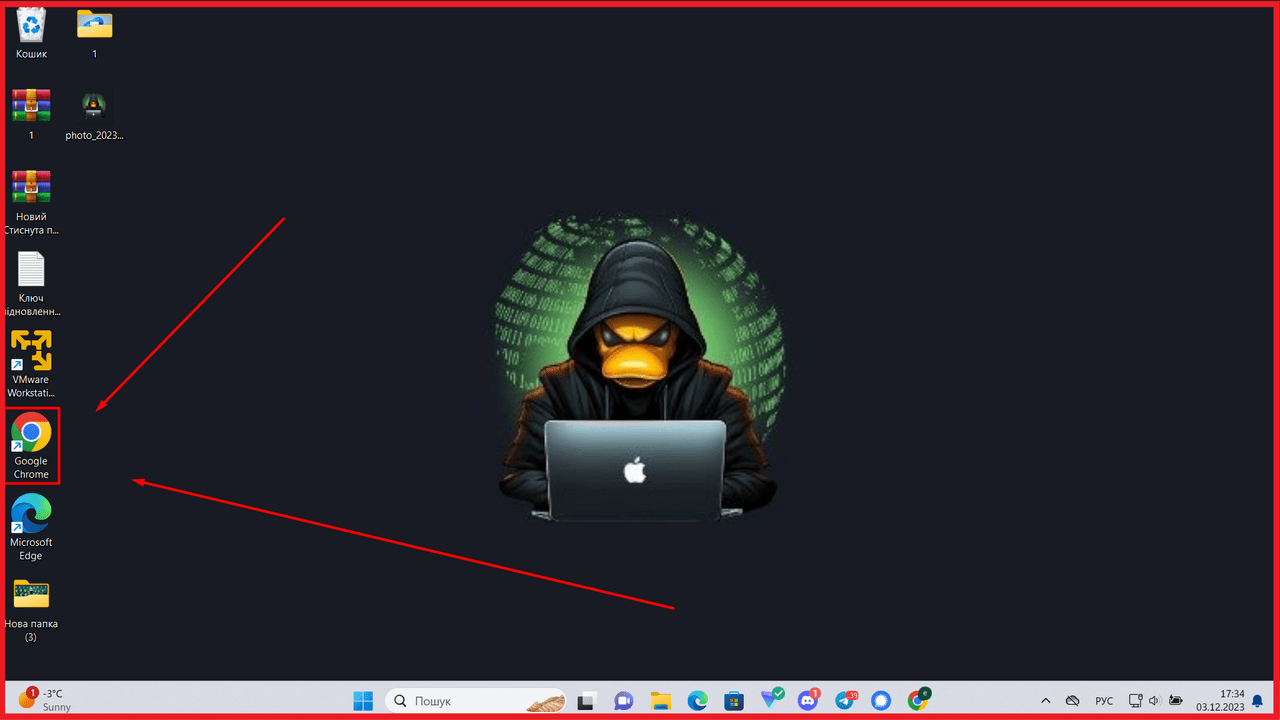
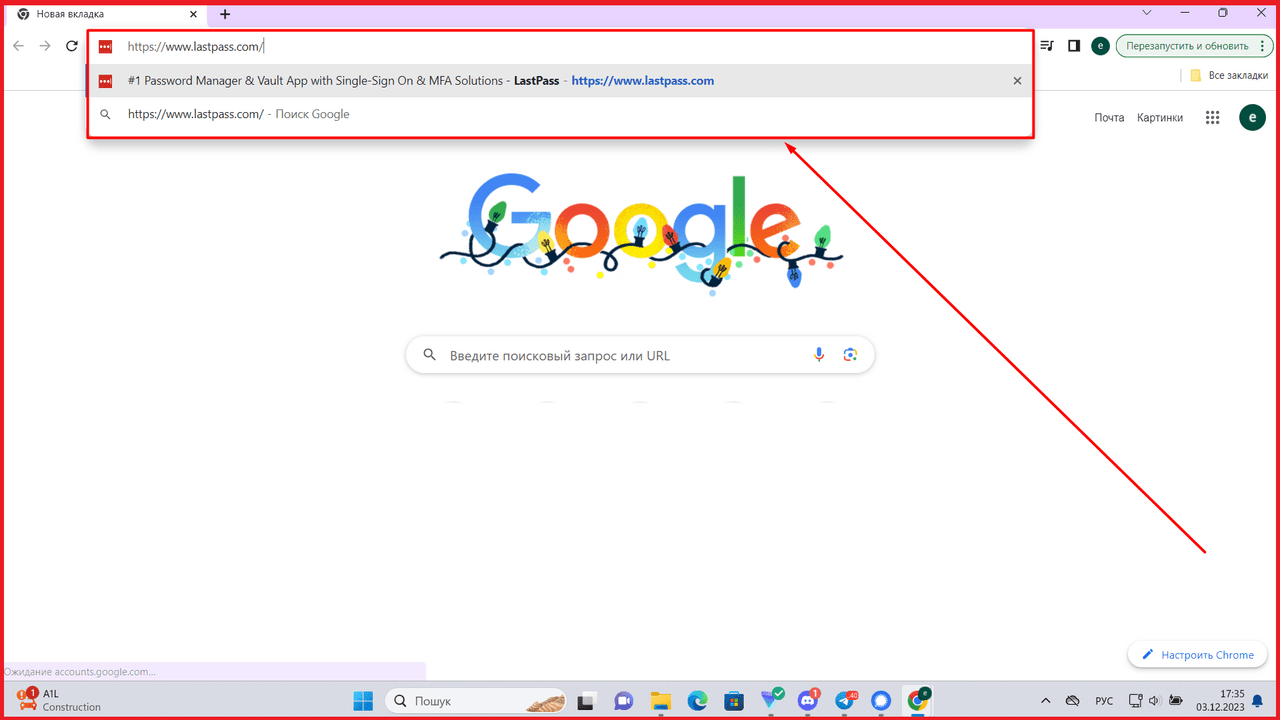
Open the Google Chrome browser
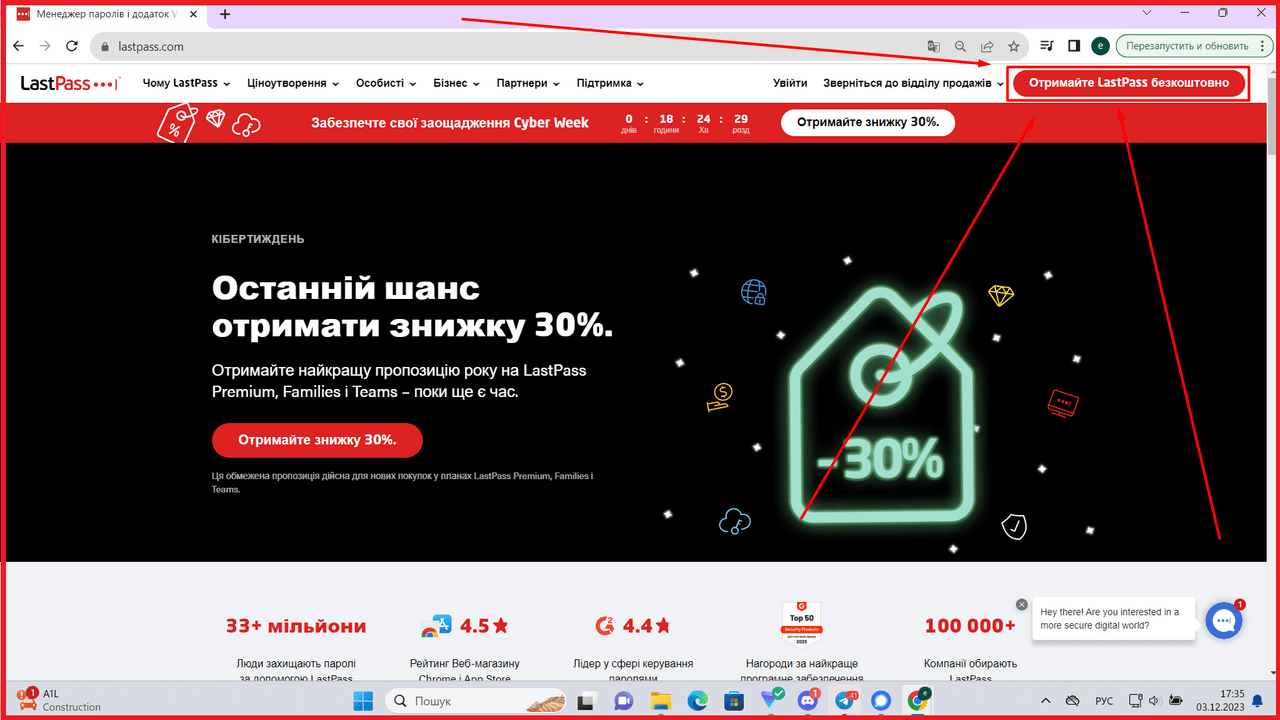
Click “Get LastPass for free”
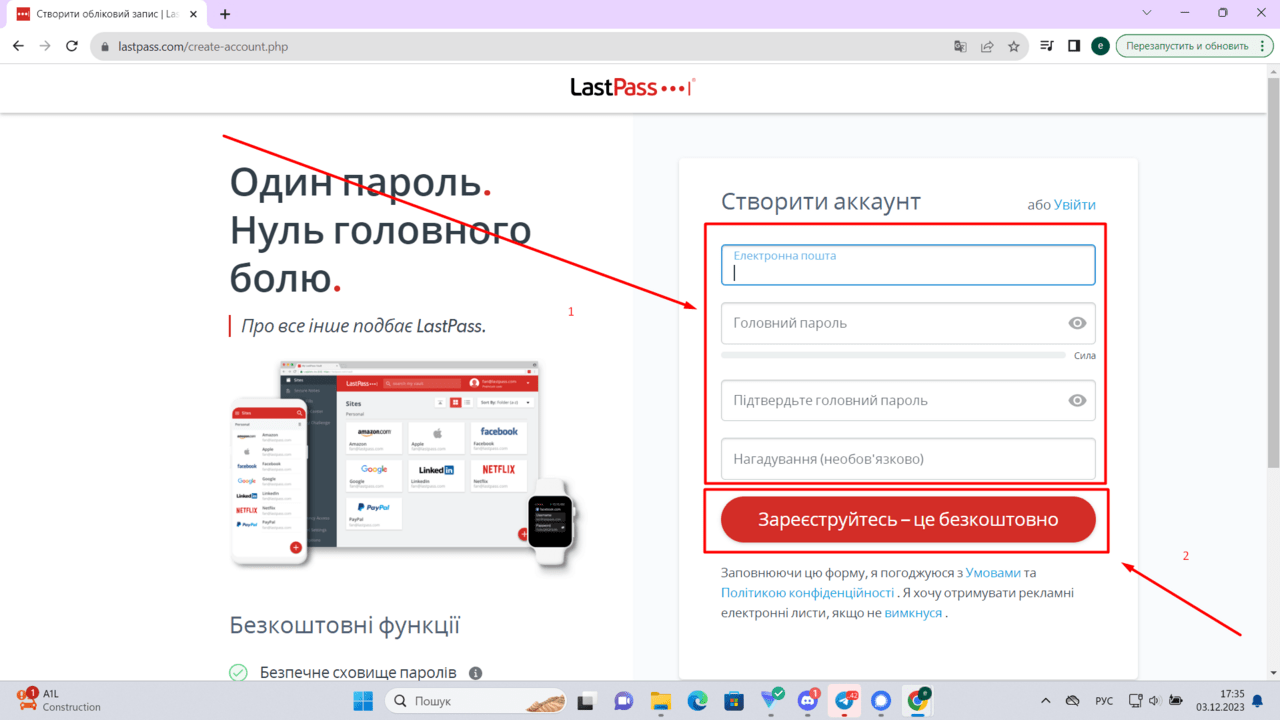
To continue, we need to register, create an account and move on
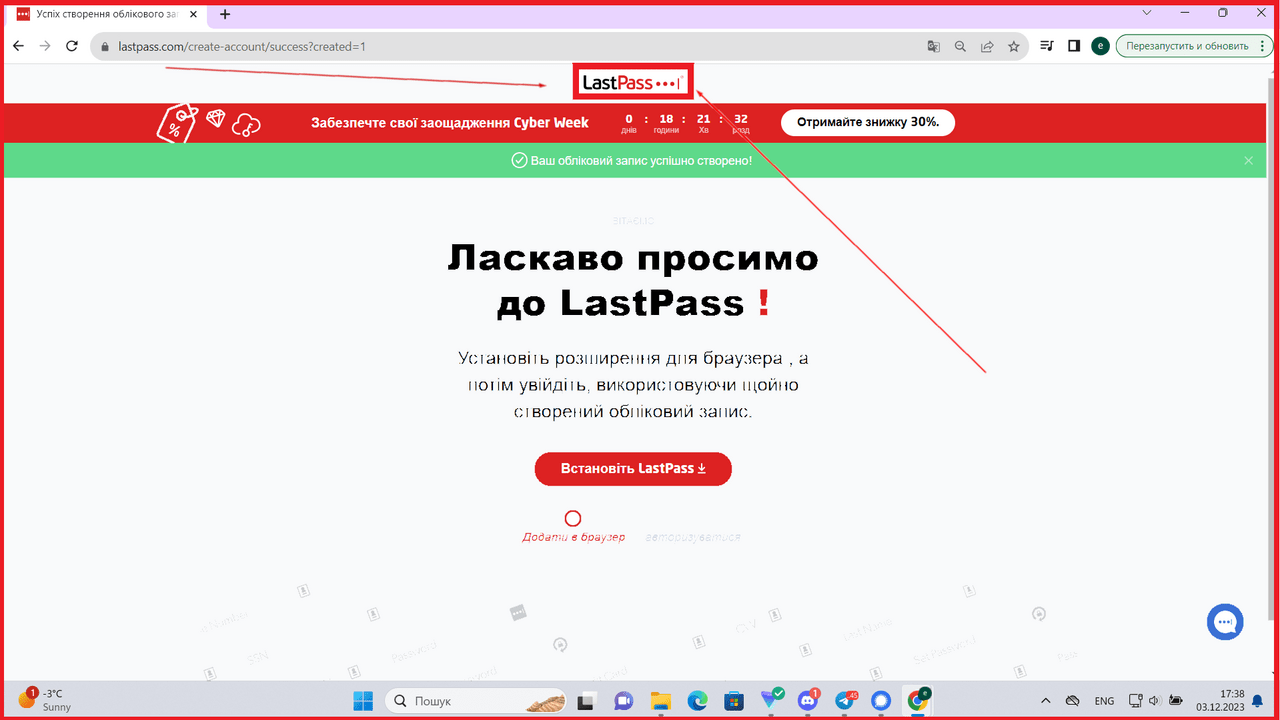
Click on “LastPass” with the left mouse button, as shown in the screenshot
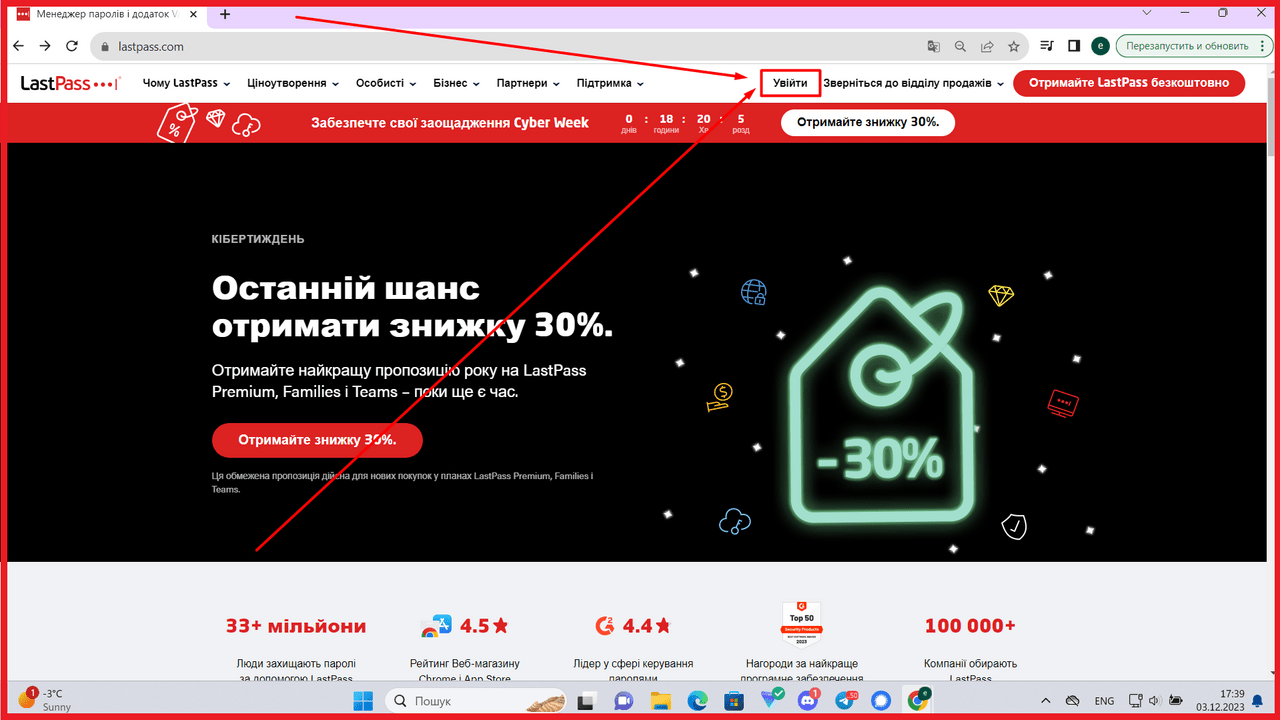
Click “Login”
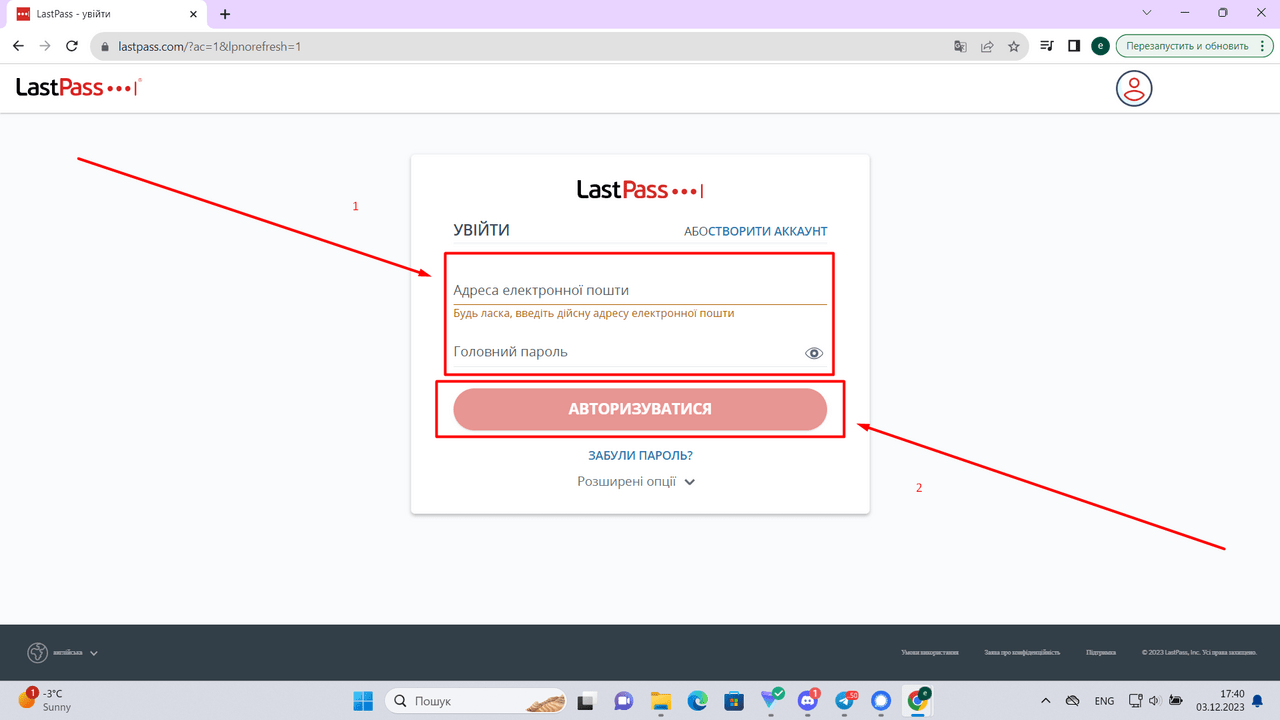
We used to create e-mail, now we log in with it
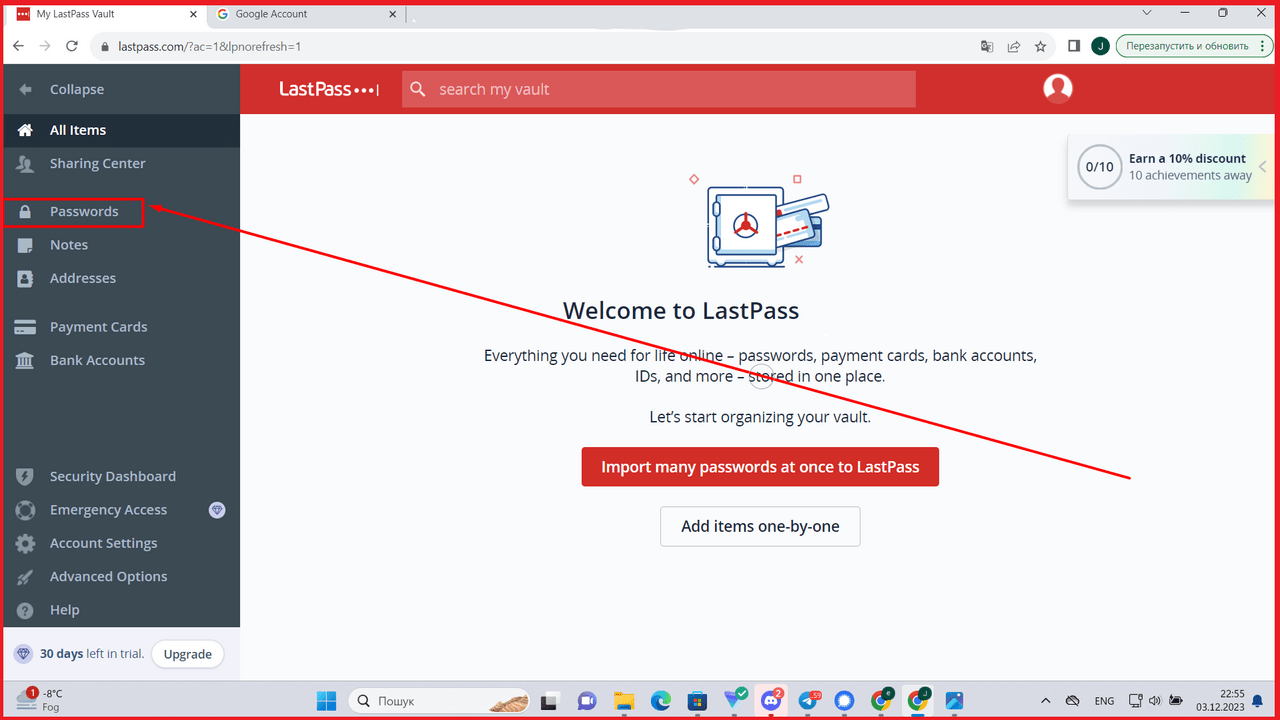
Click “Passwords”

Click “Account Settings”
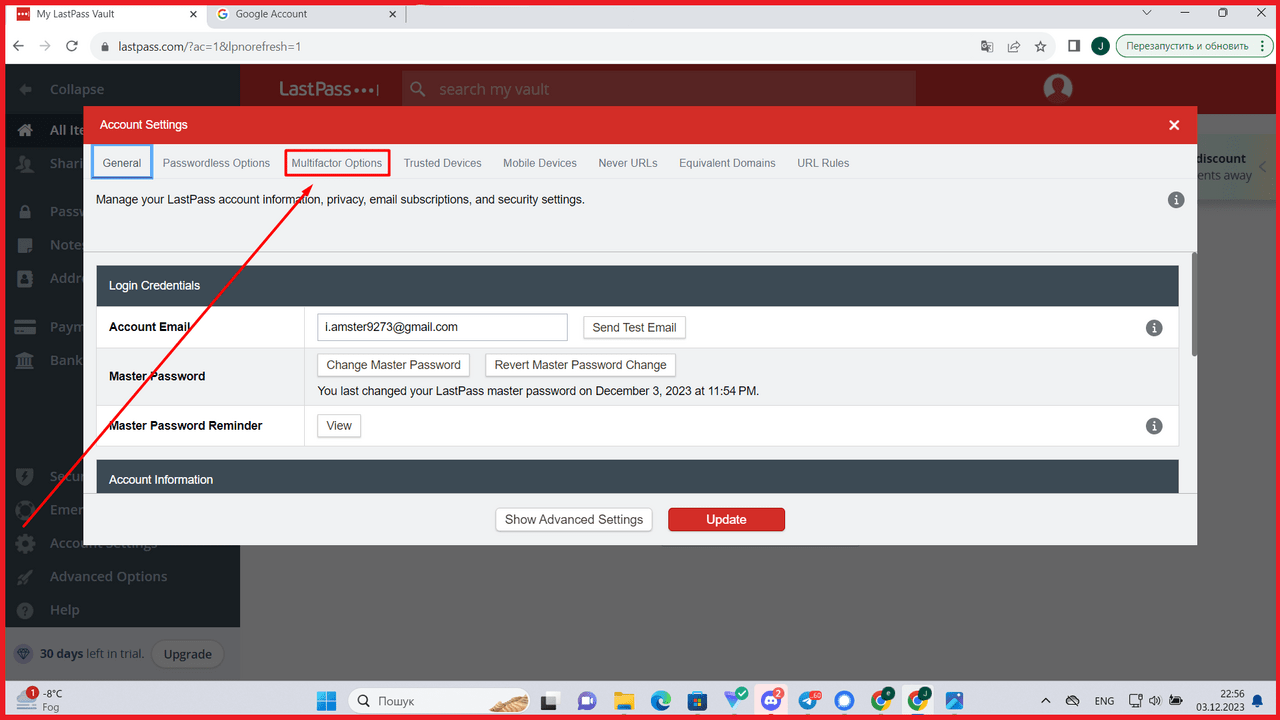
Click “Multifactor Options”
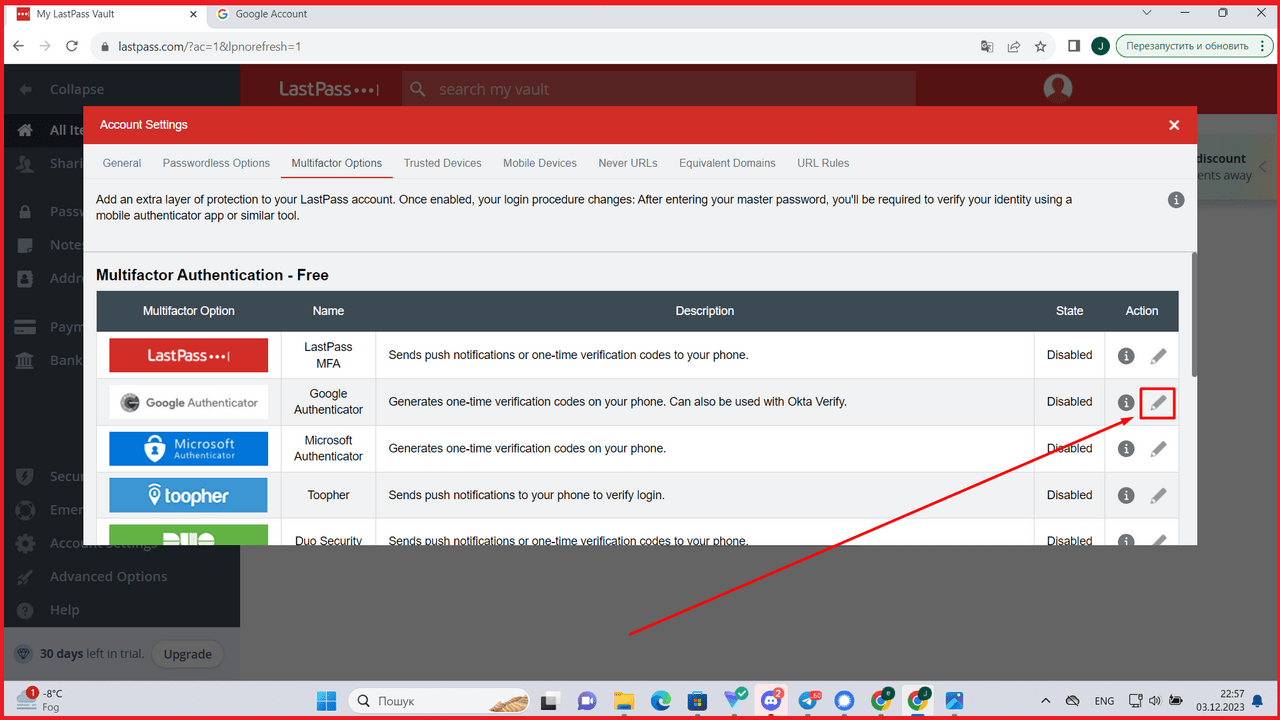
Click on the pencil, as shown on the screenshot
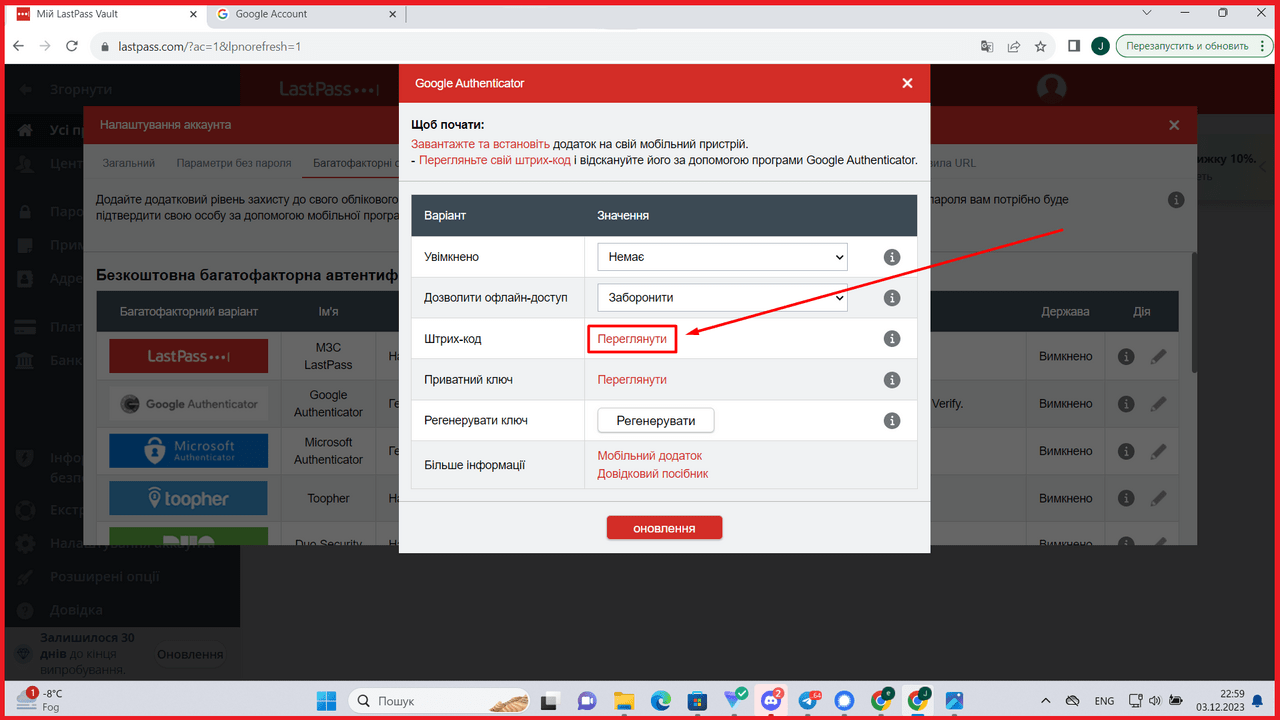
Click “View”
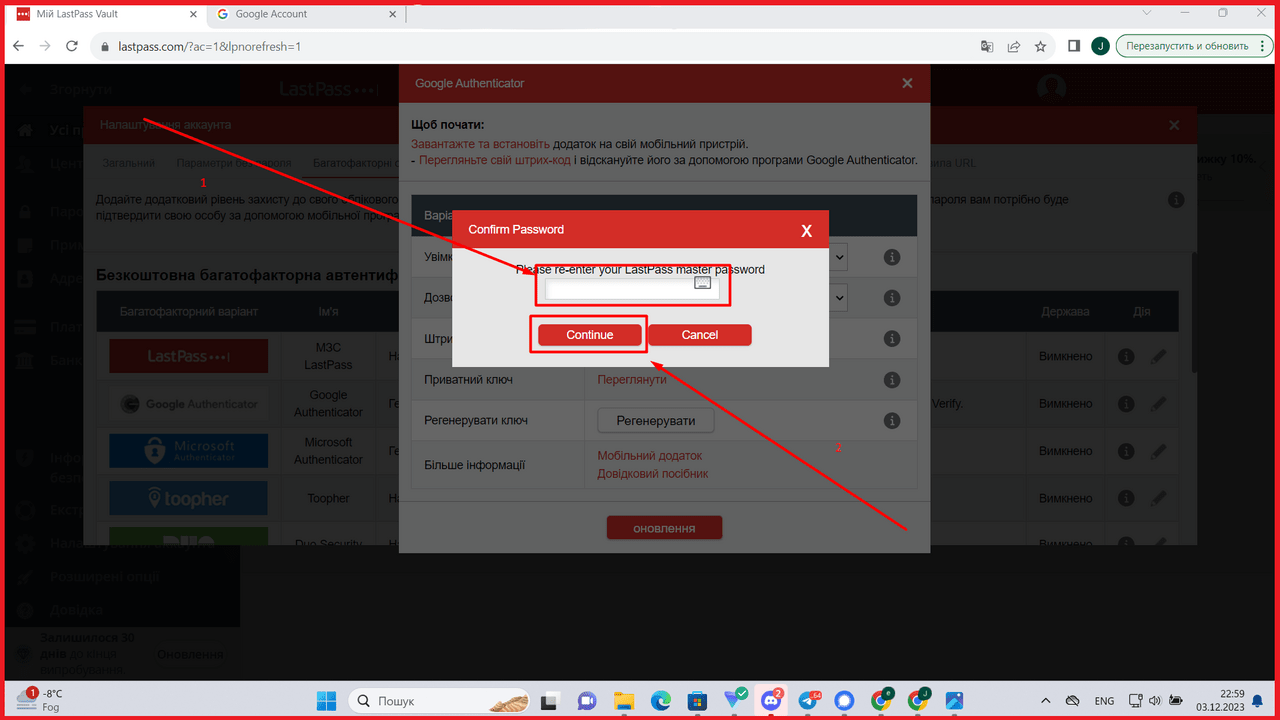
Enter the password and click “Next”
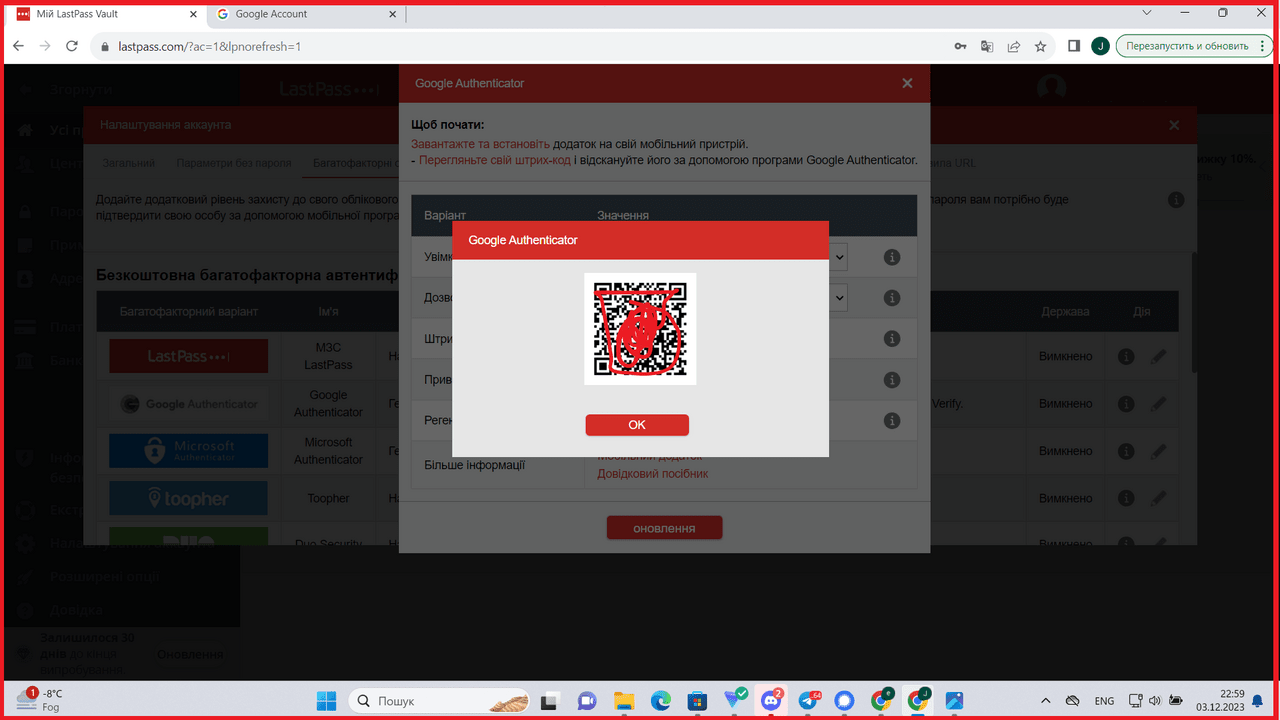
Download and install the app on your mobile device, view your barcode and scan it with Google Authenticator
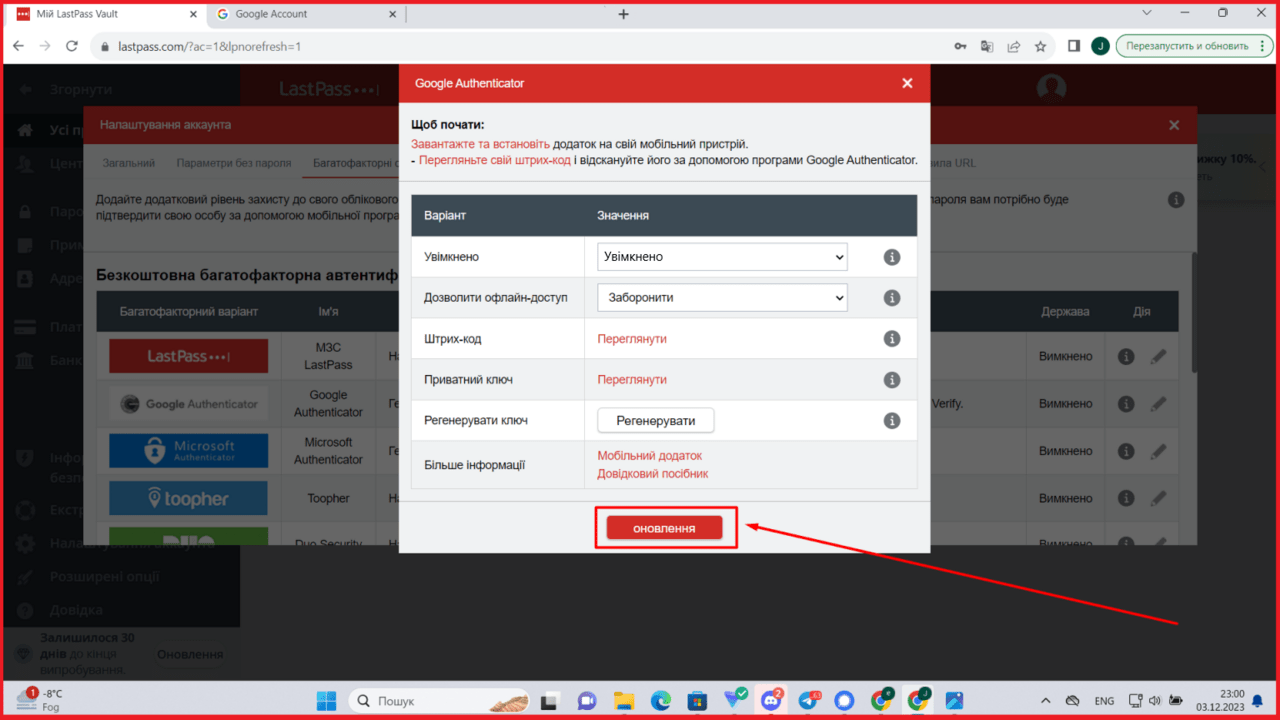
Click “Update”
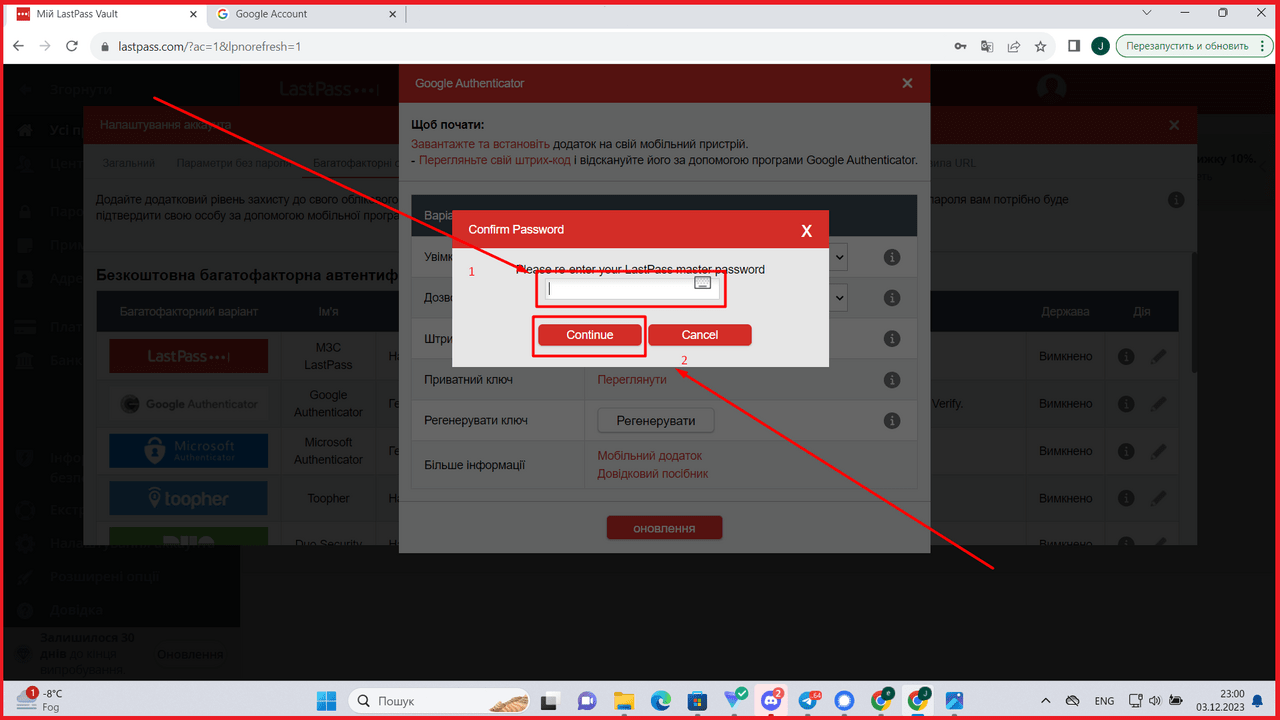
Enter your password again and click “Next”
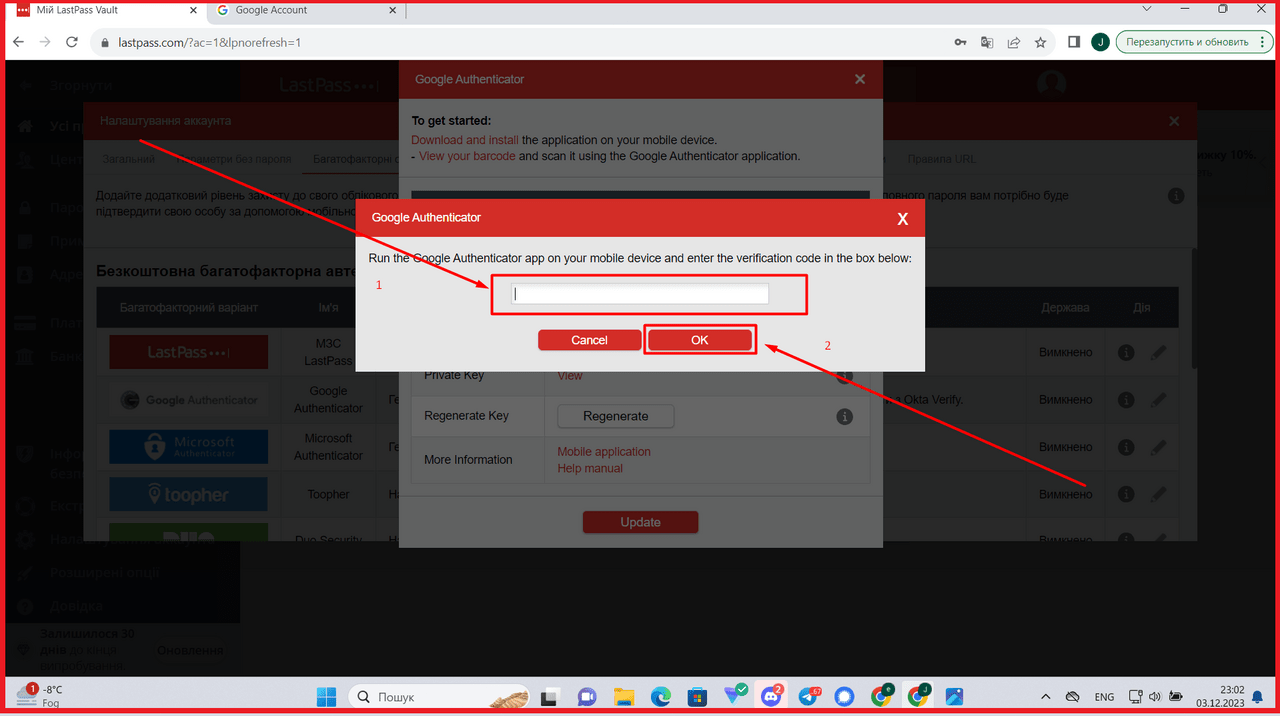
A verification code will be sent to your mobile phone in the “Google Authenticator” application, which you need to enter, then click “OK”
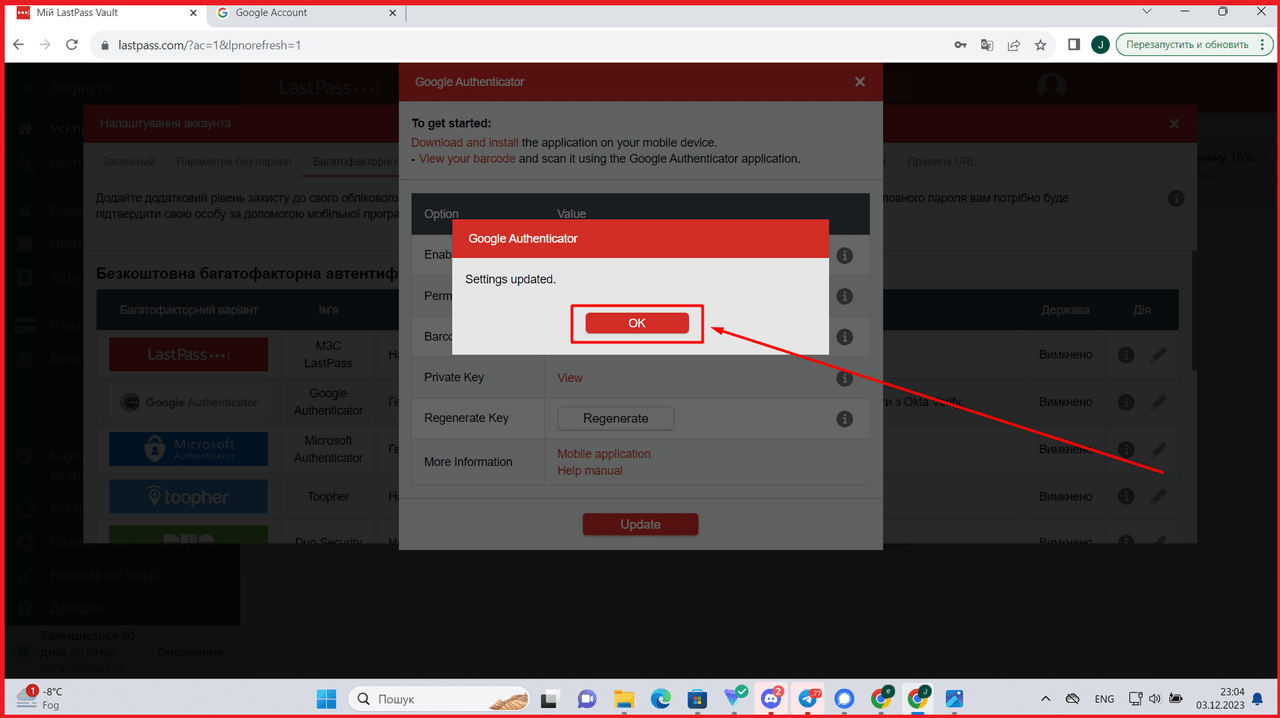
Click “OK”
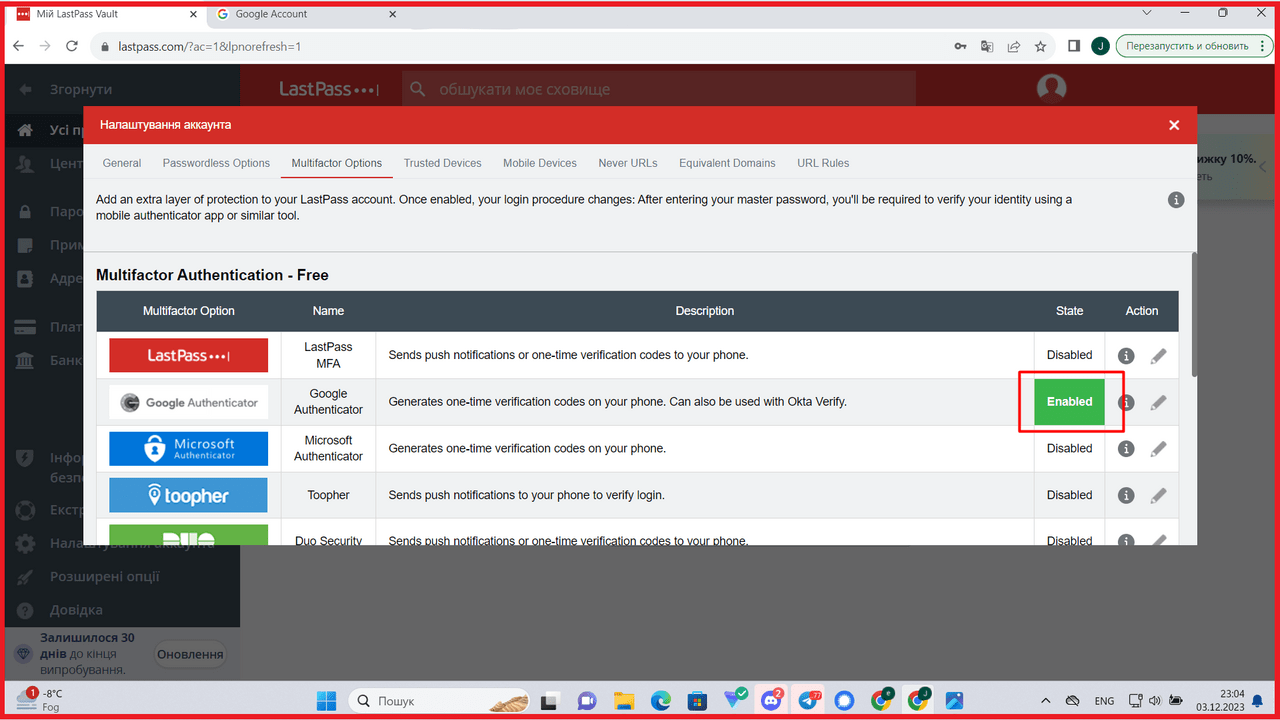
Congratulations, everything worked out, as we can see “Google Authenticator” is “Enabled”