
14.07.2023
3 min
2384

Windows 11 is the latest version of the operating system from Microsoft with an updated interface and improved performance. Learn how to install and configure Windows 11 with this step-by-step guide that covers all the necessary steps, from downloading to completing the installation.

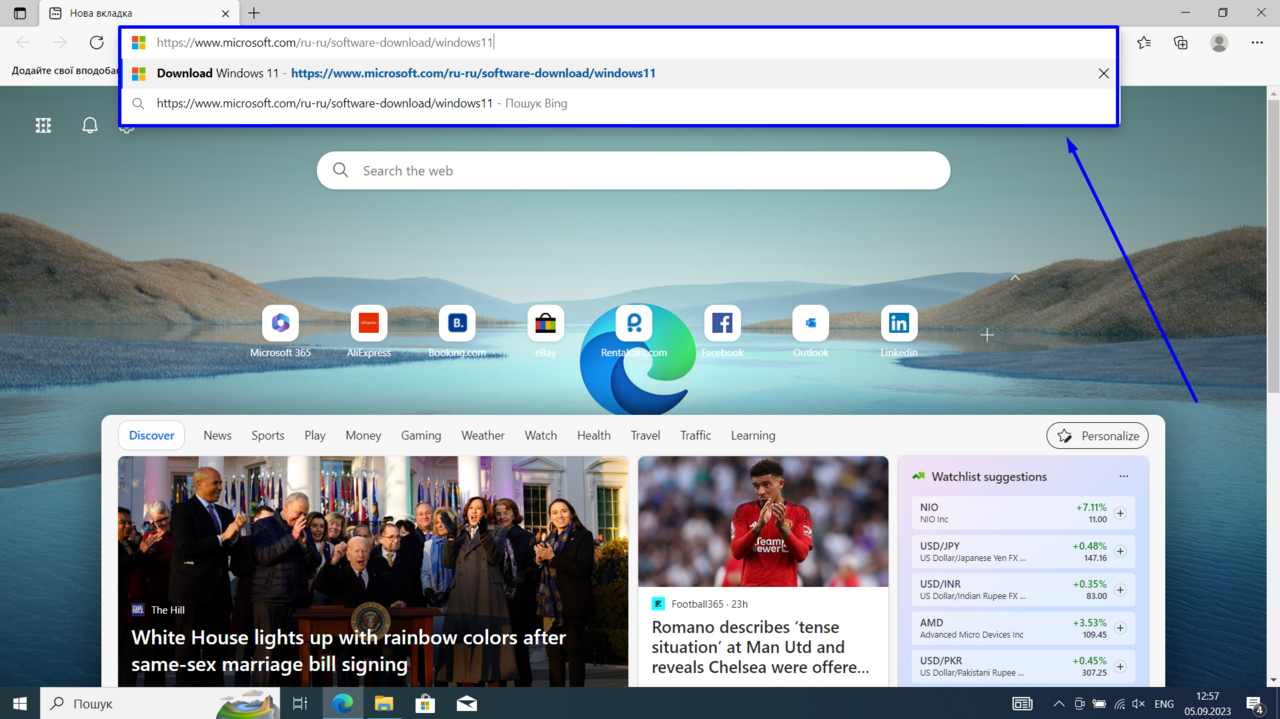
Go to the browser
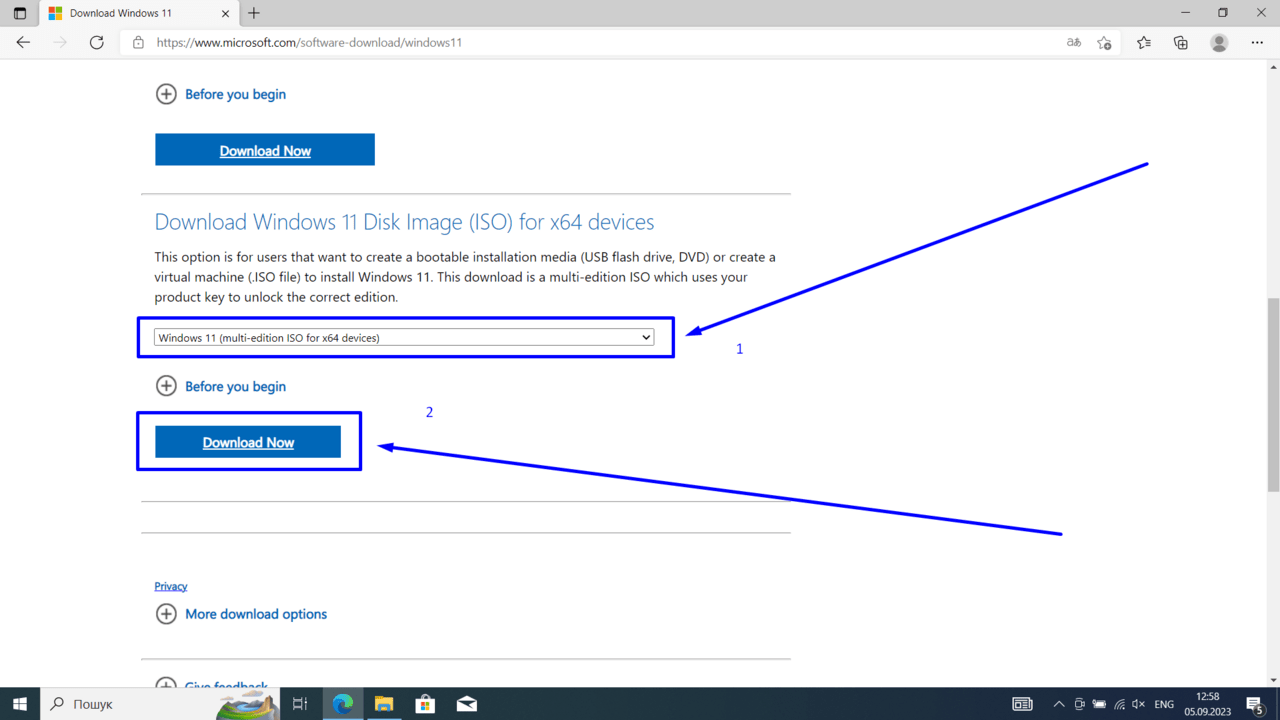
Select the version of Windows 11 as shown in the screenshot and click “Download Now”
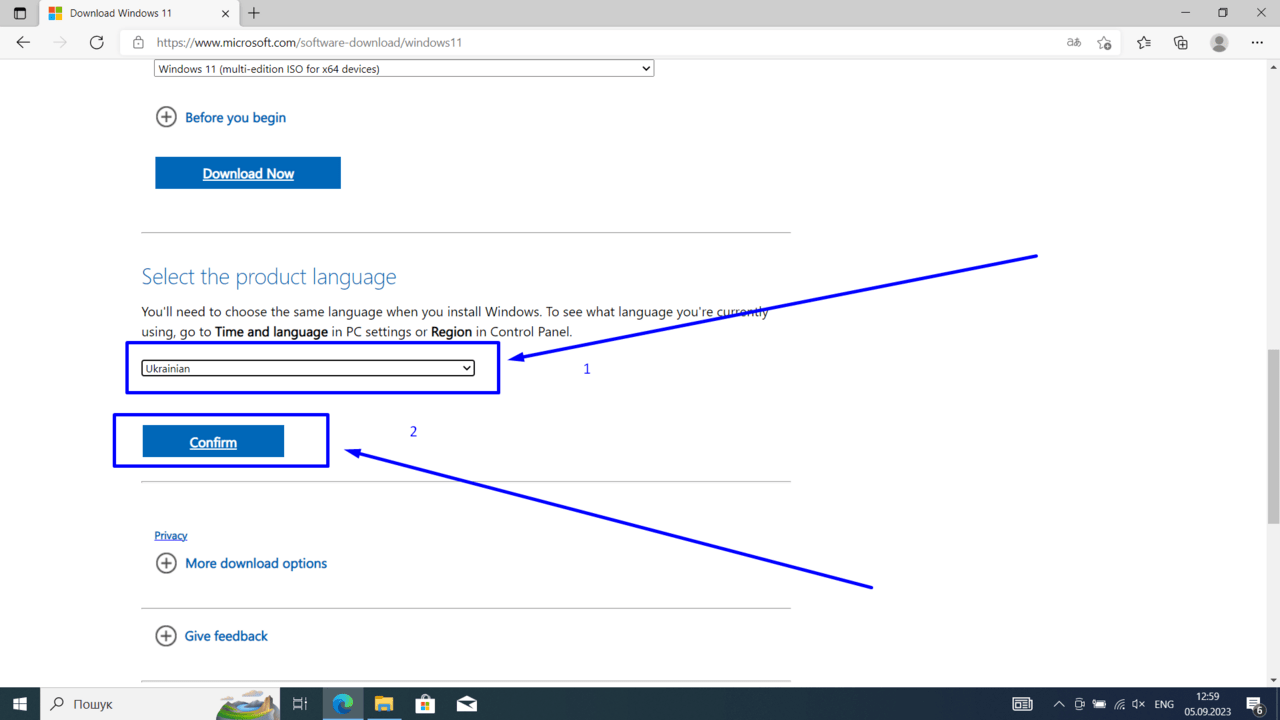
Select the language and click “Confirm”
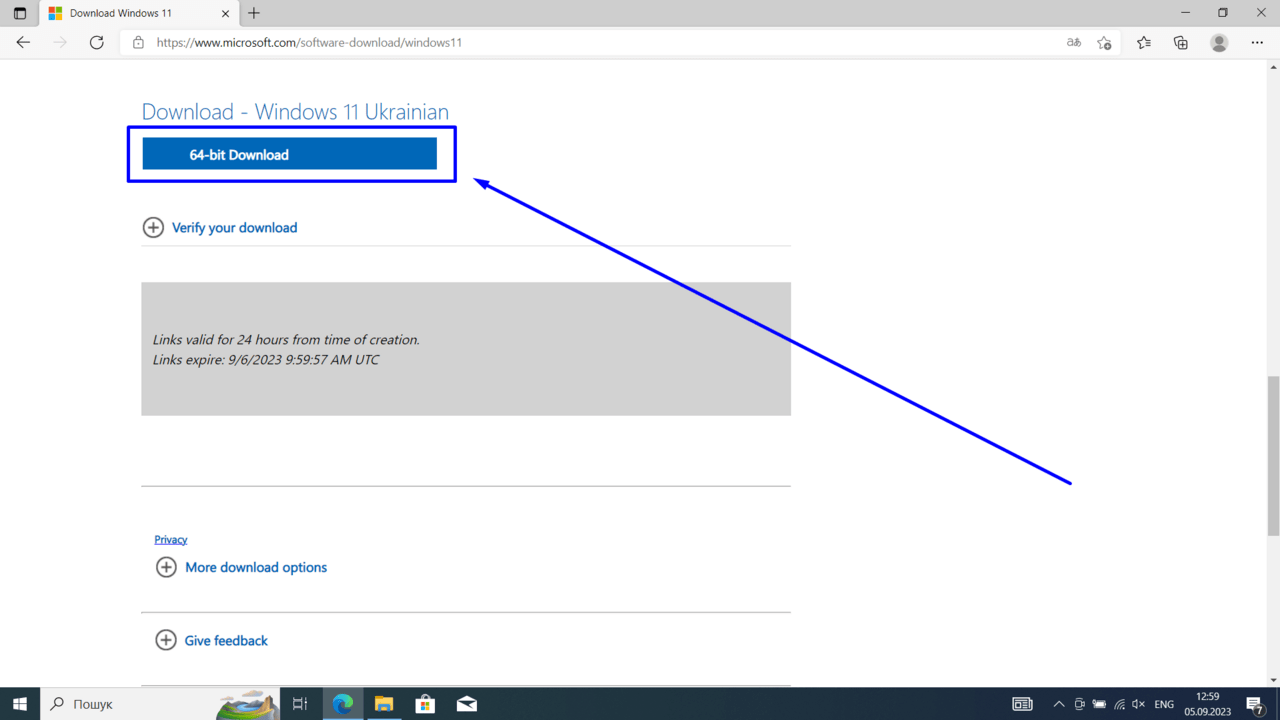
Download the 64-bit system
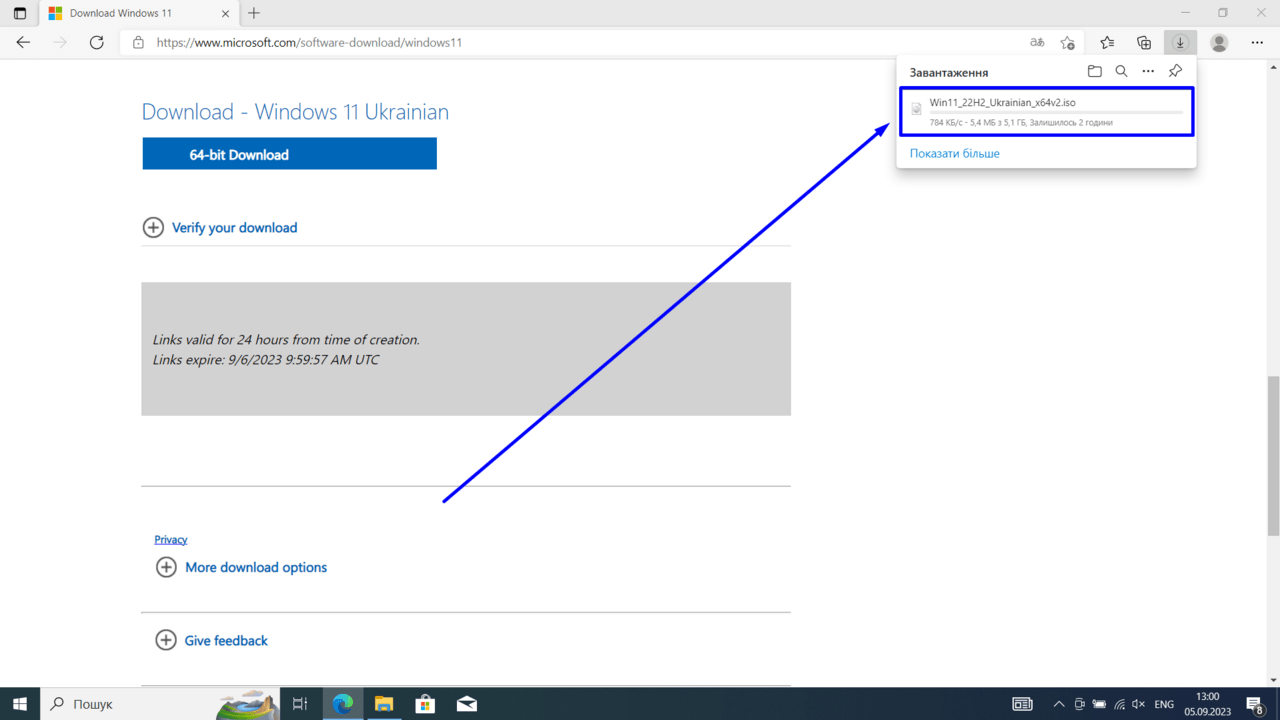
We are waiting for the file to finish downloading
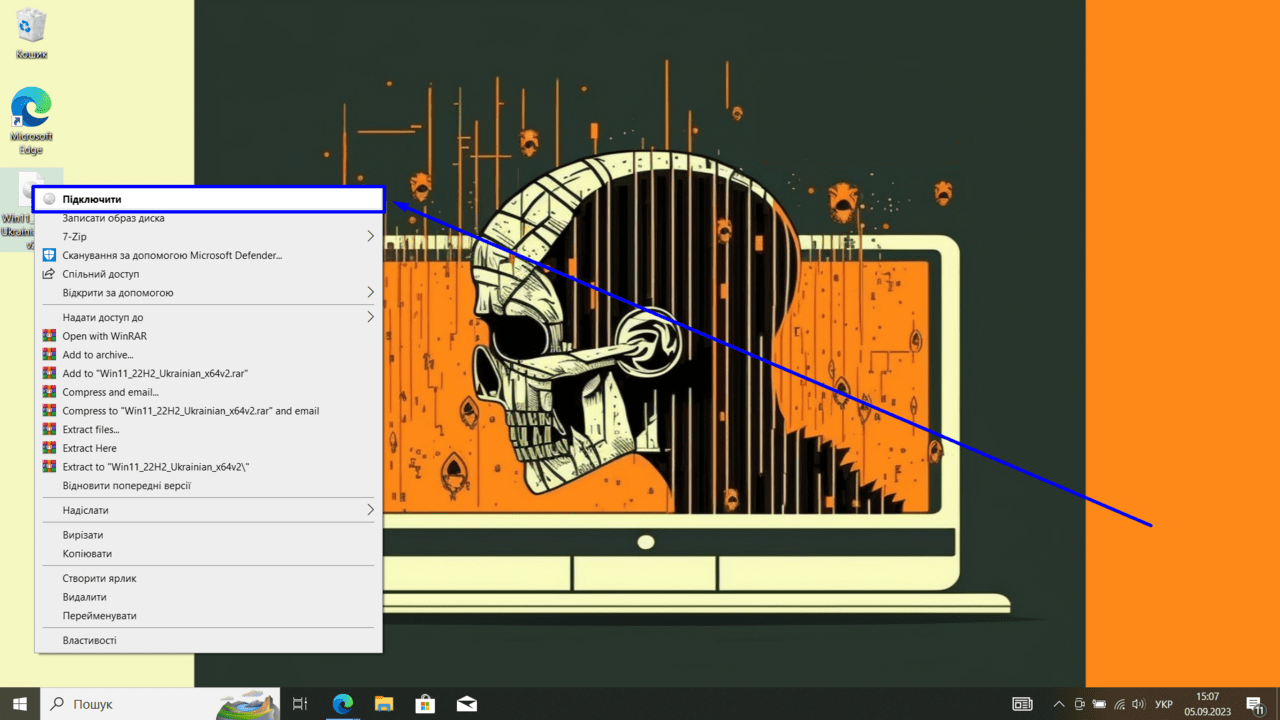
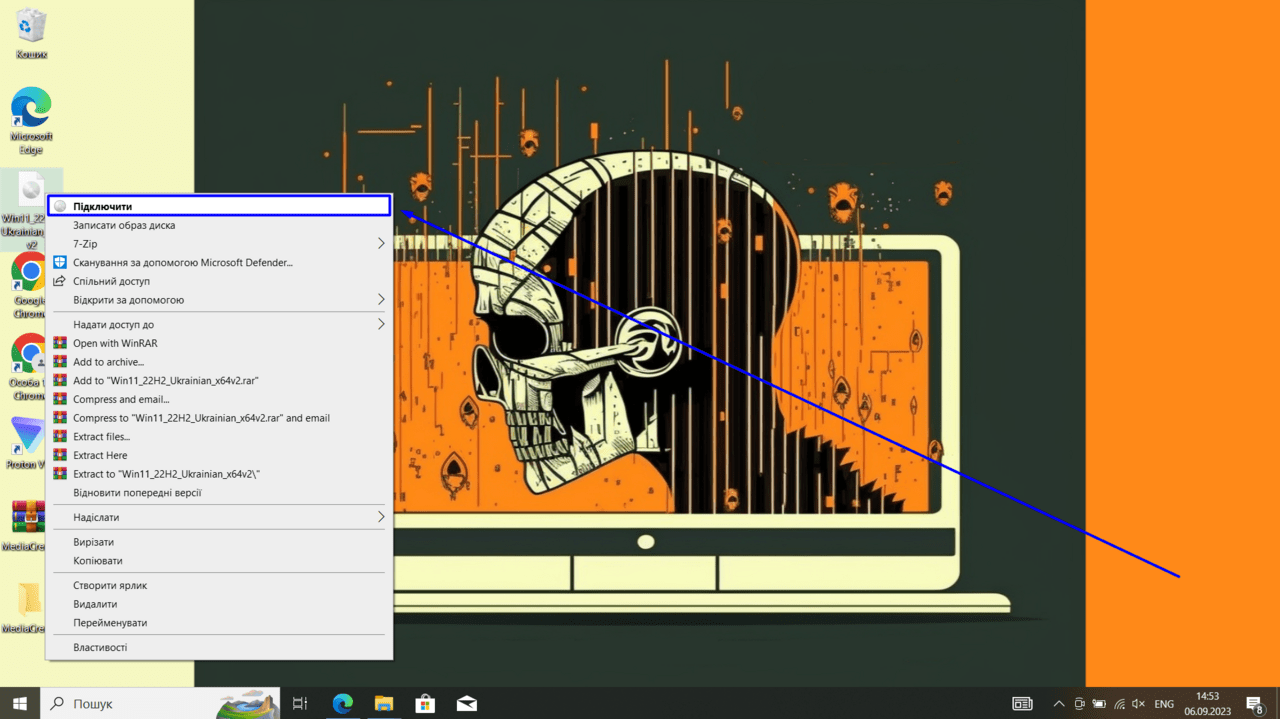
Right-click on the downloaded file and click “Connect”
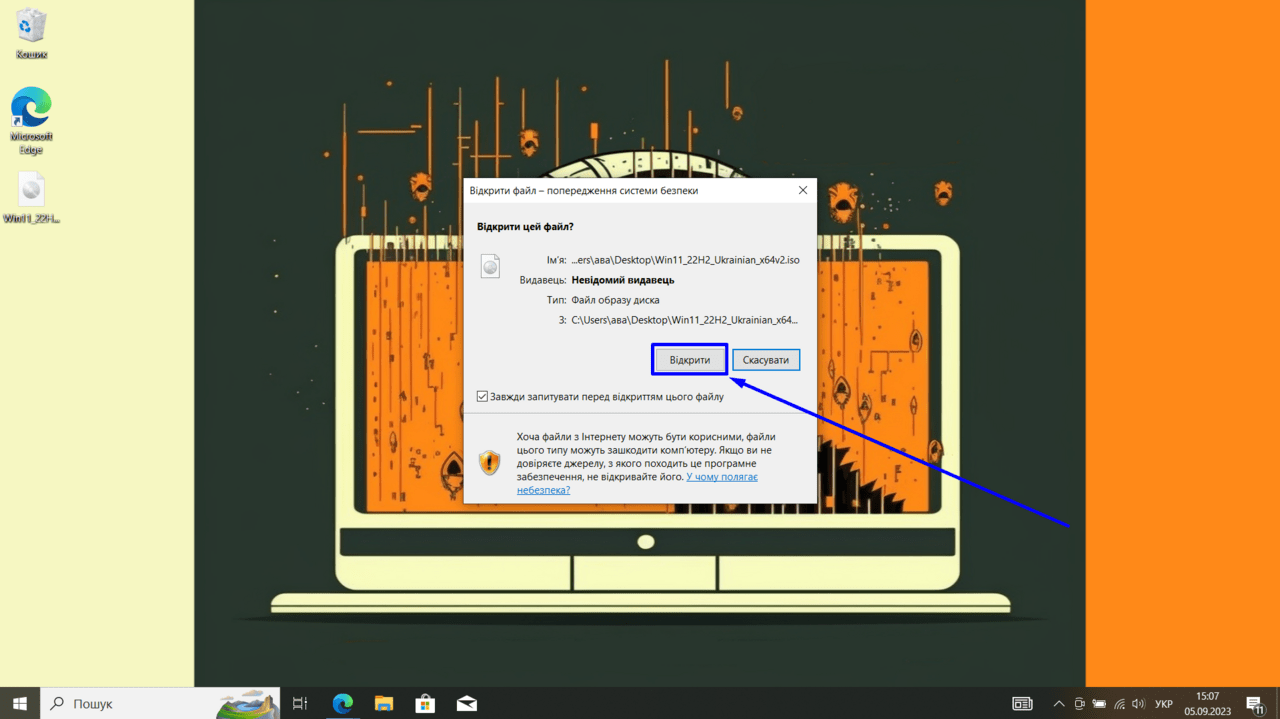
Click “Open”
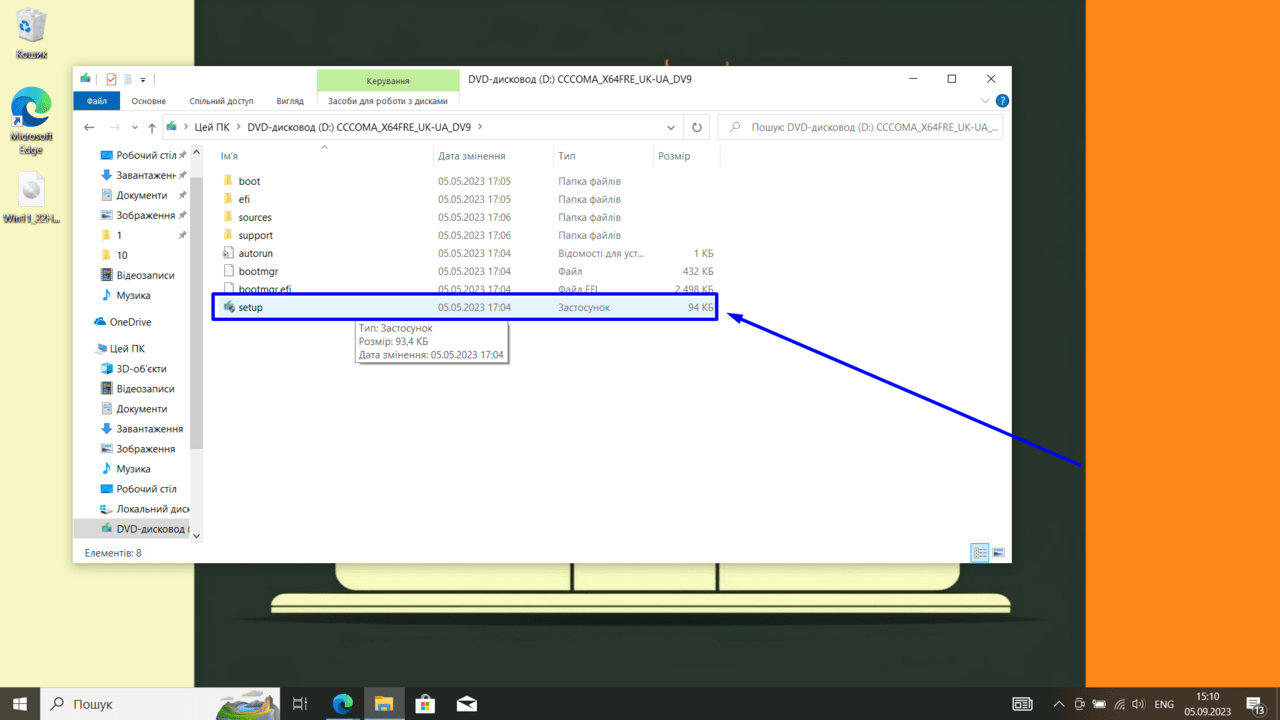
Click twice on “setup”
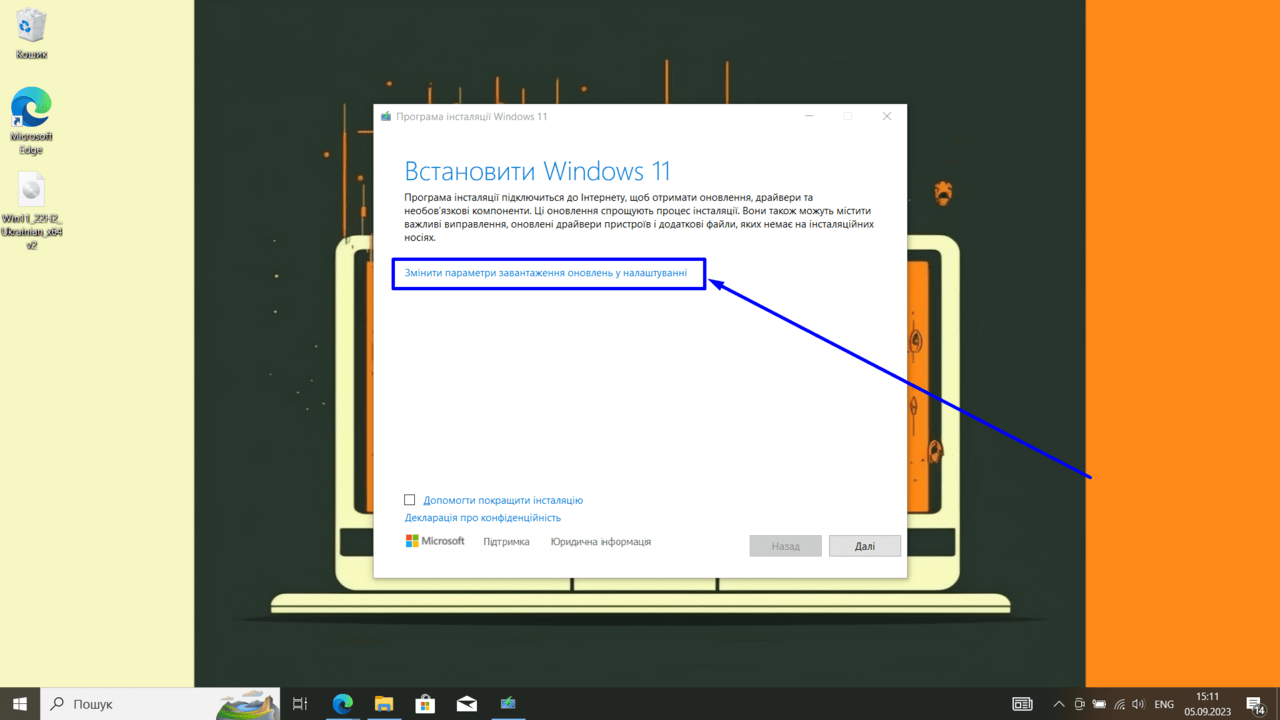
Click on “Change update download parameters in settings”
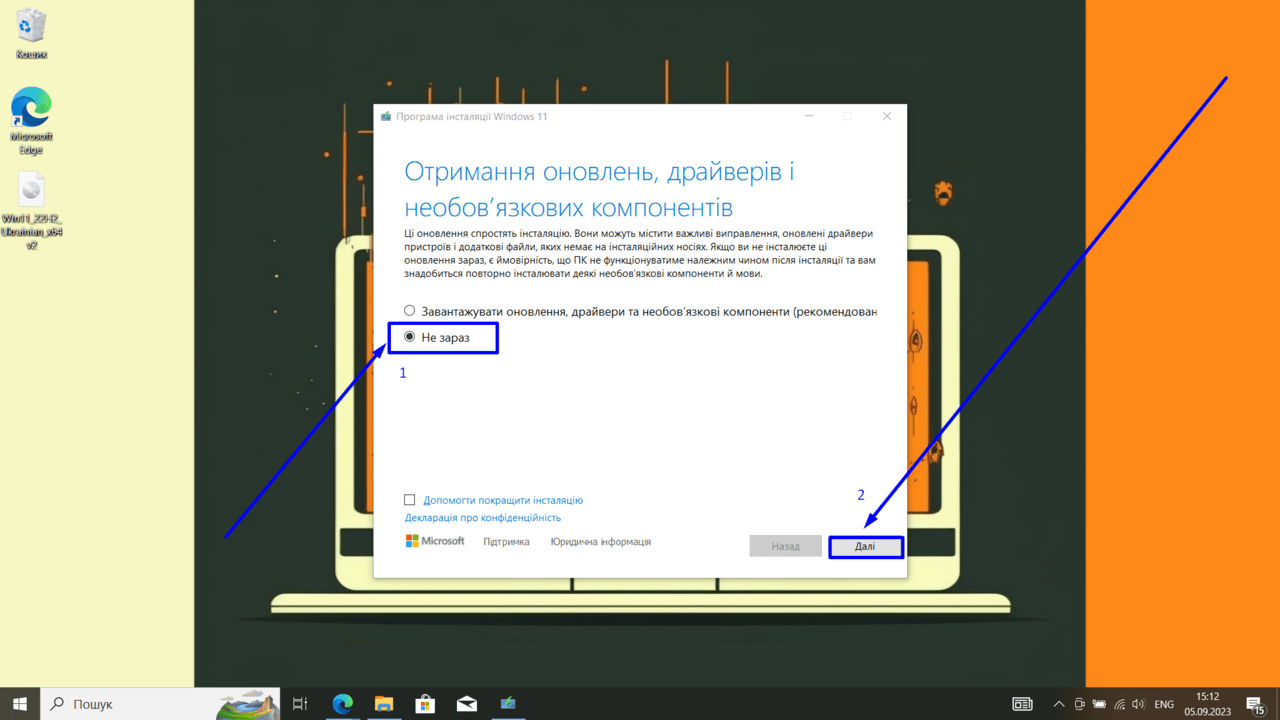
Click “Not now” and move on
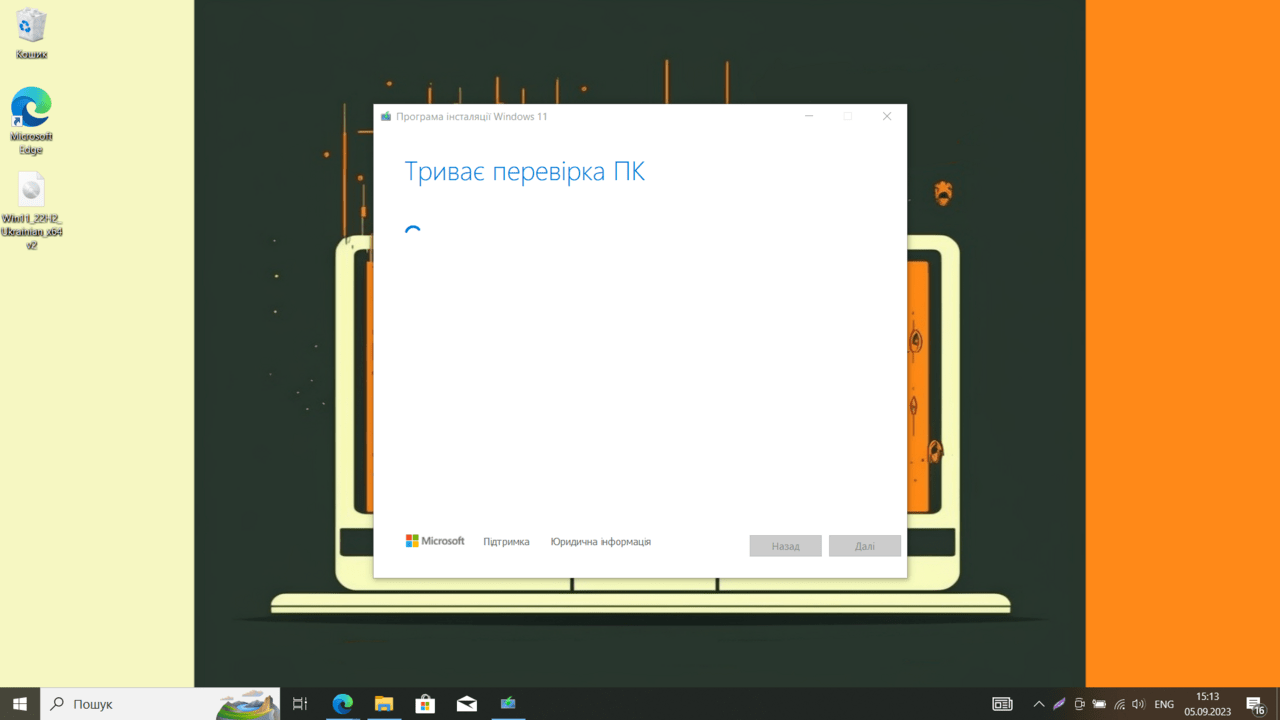
We are waiting while the PC check is in progress
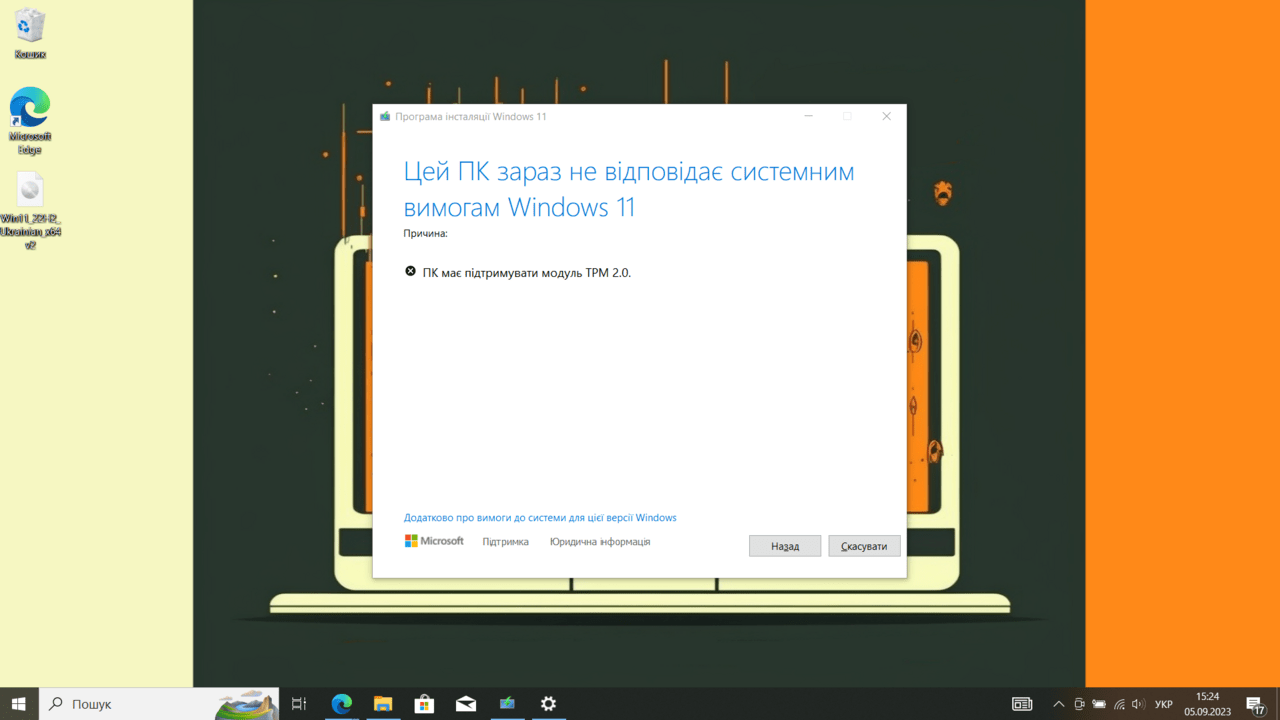
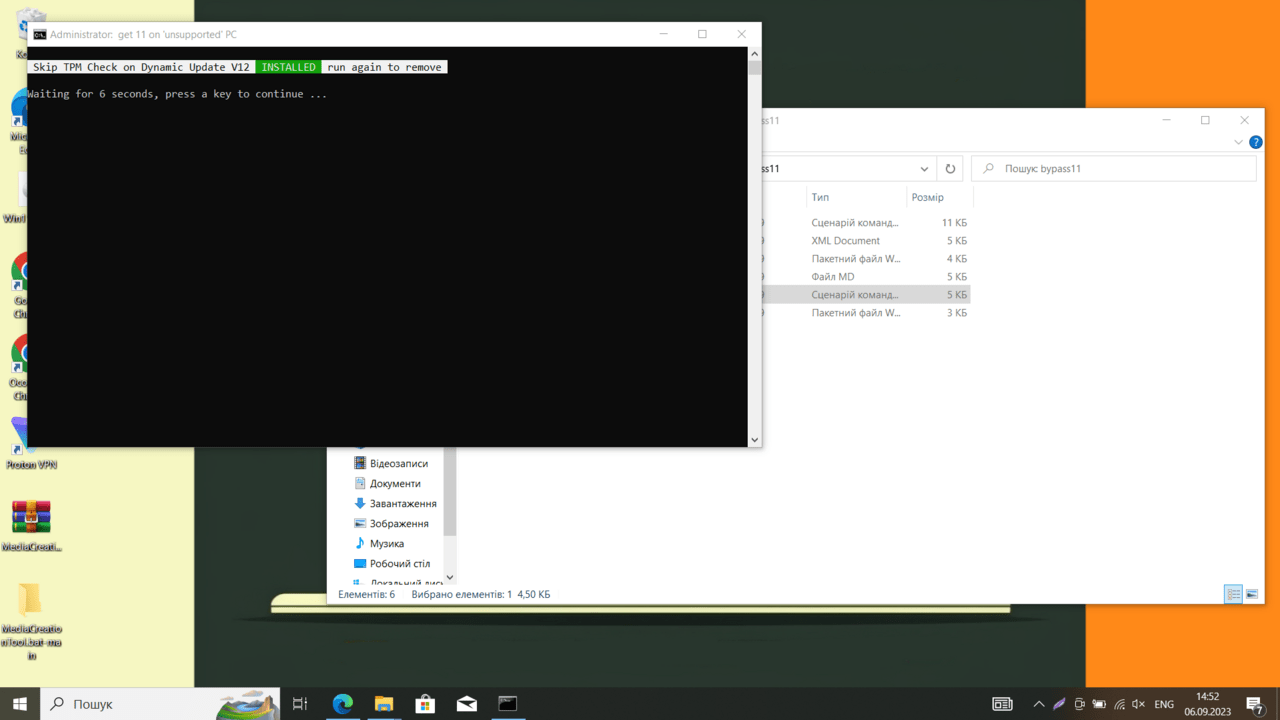
The error about the lack of support for the TPM 2.0 module is one of the most common. Therefore, later in the article, we will show how to solve it in a few clicks
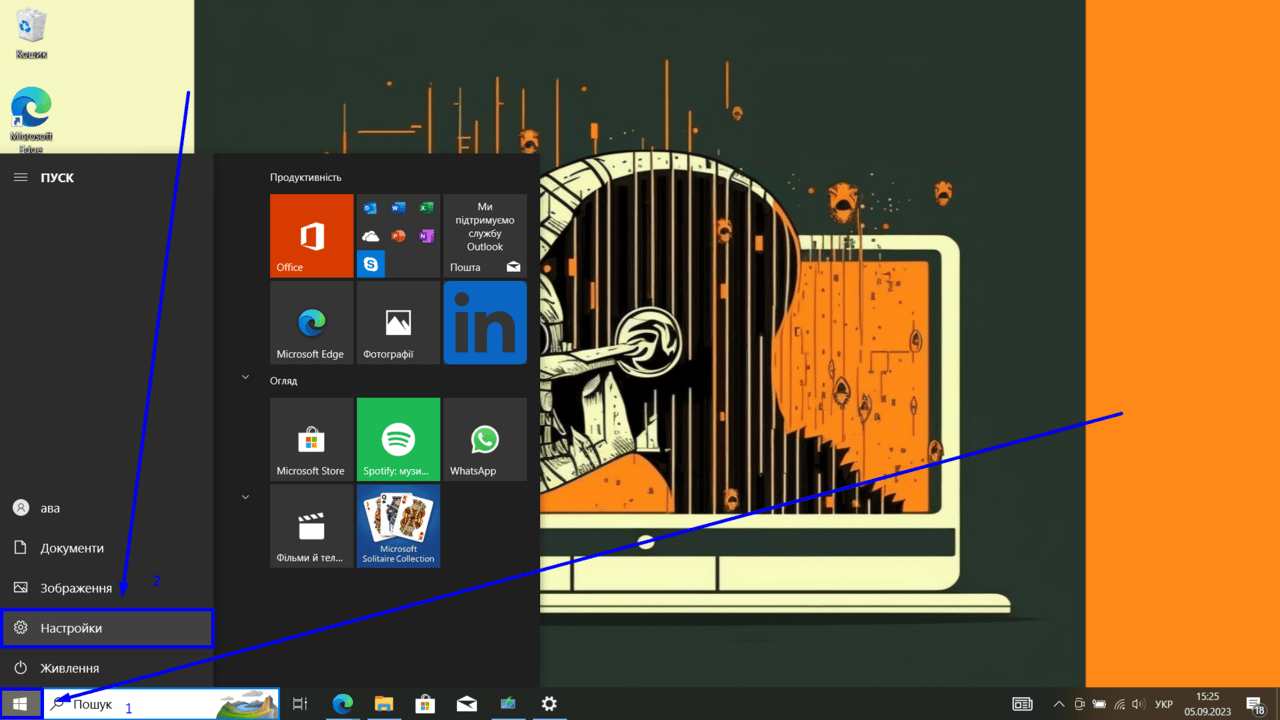
Click on the “Start menu” and go to the “Settings” section
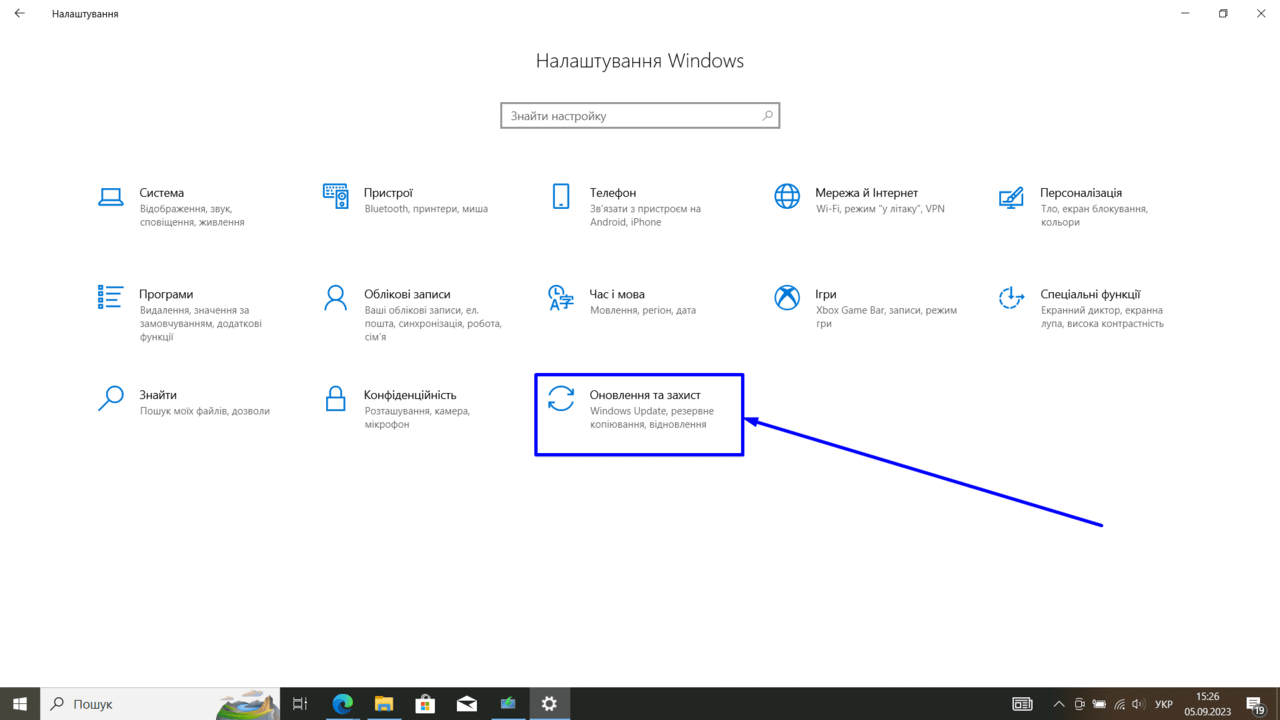
Click on “Update and protection”
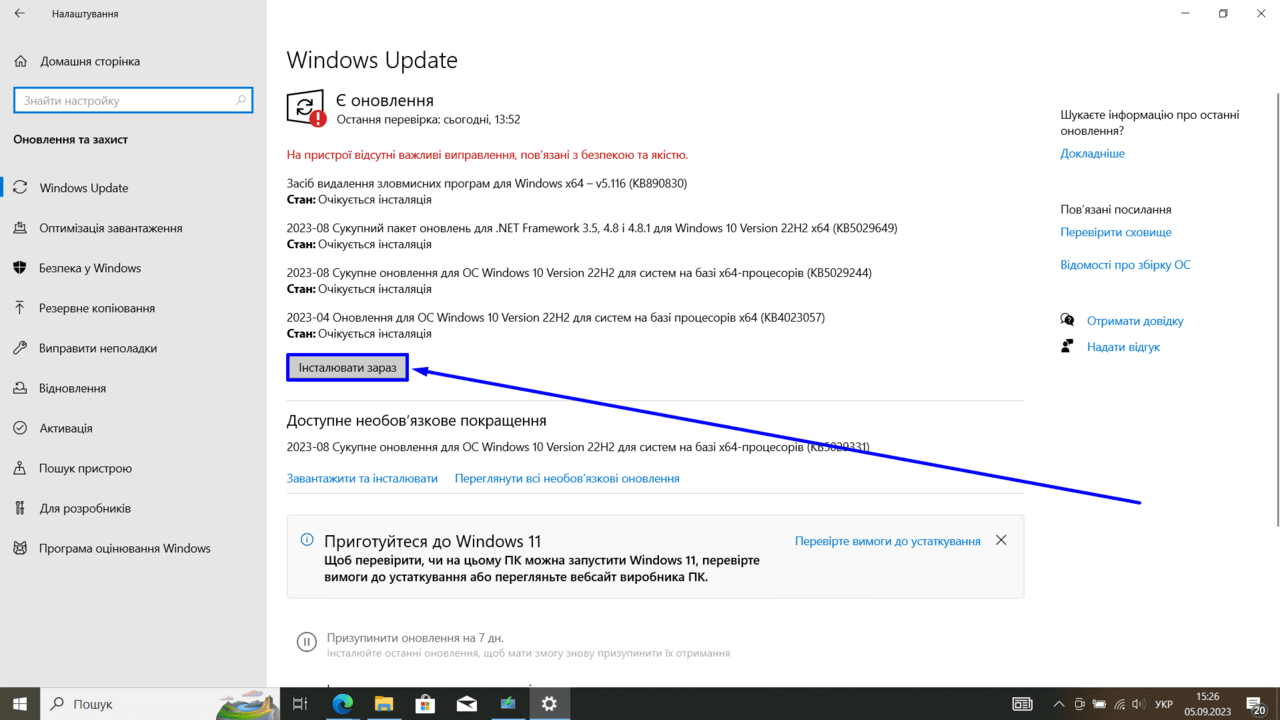
We need to update Windows 11. Click on “Install now. You will need to reboot the system
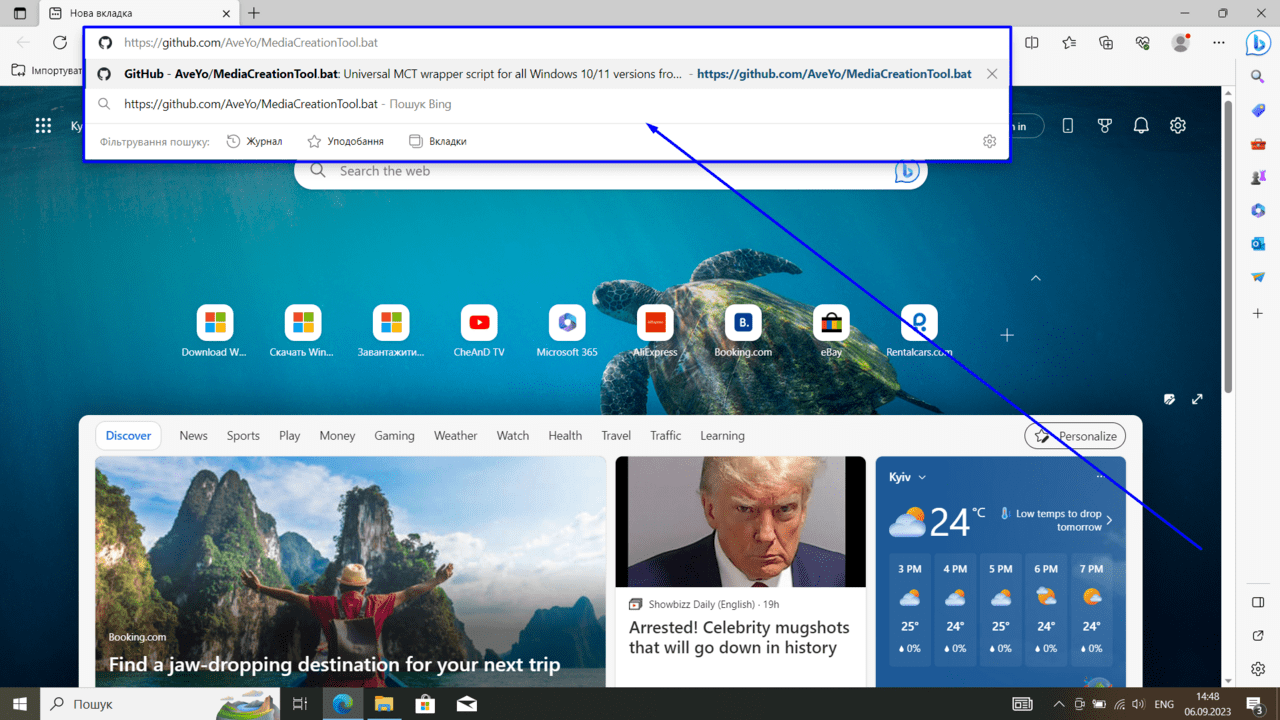
Go to the browser

Click on “Code”, then click on “Download ZIP”
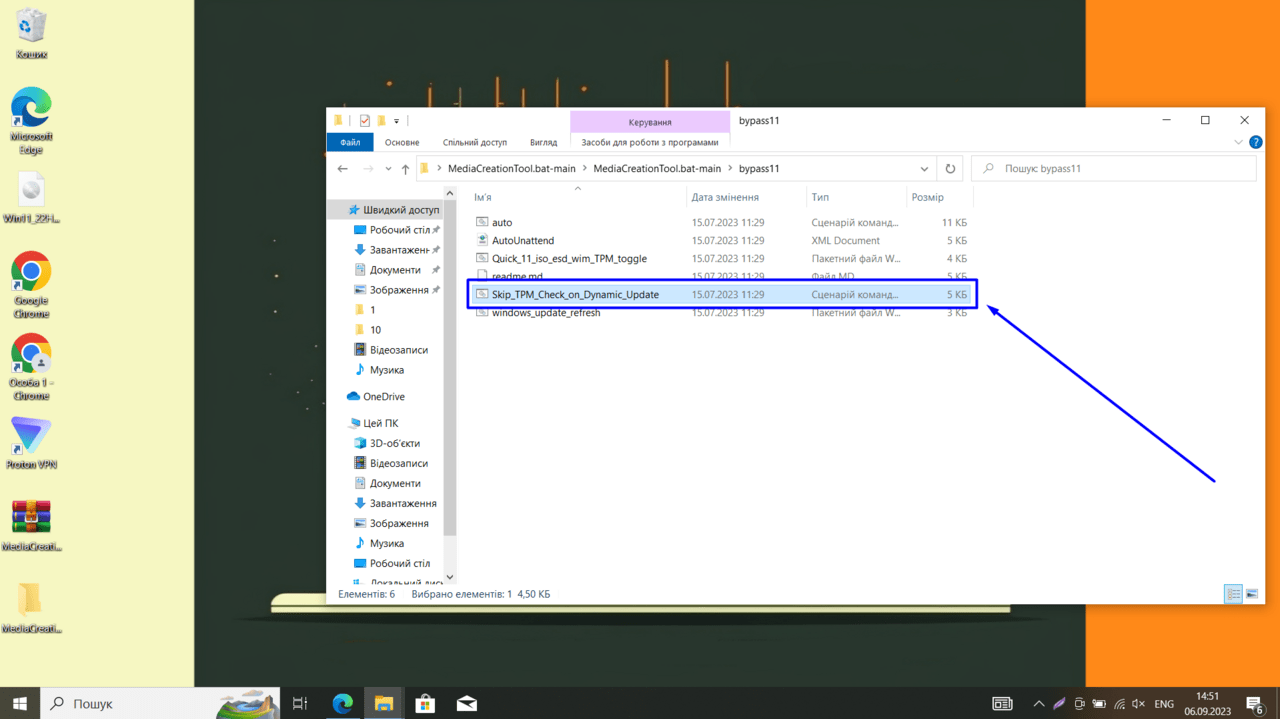
We unpack our archive and double-click on the downloaded file
We are waiting until we have the same thing as not screenshots
At this stage, double-click the downloaded file again and click “Connect”
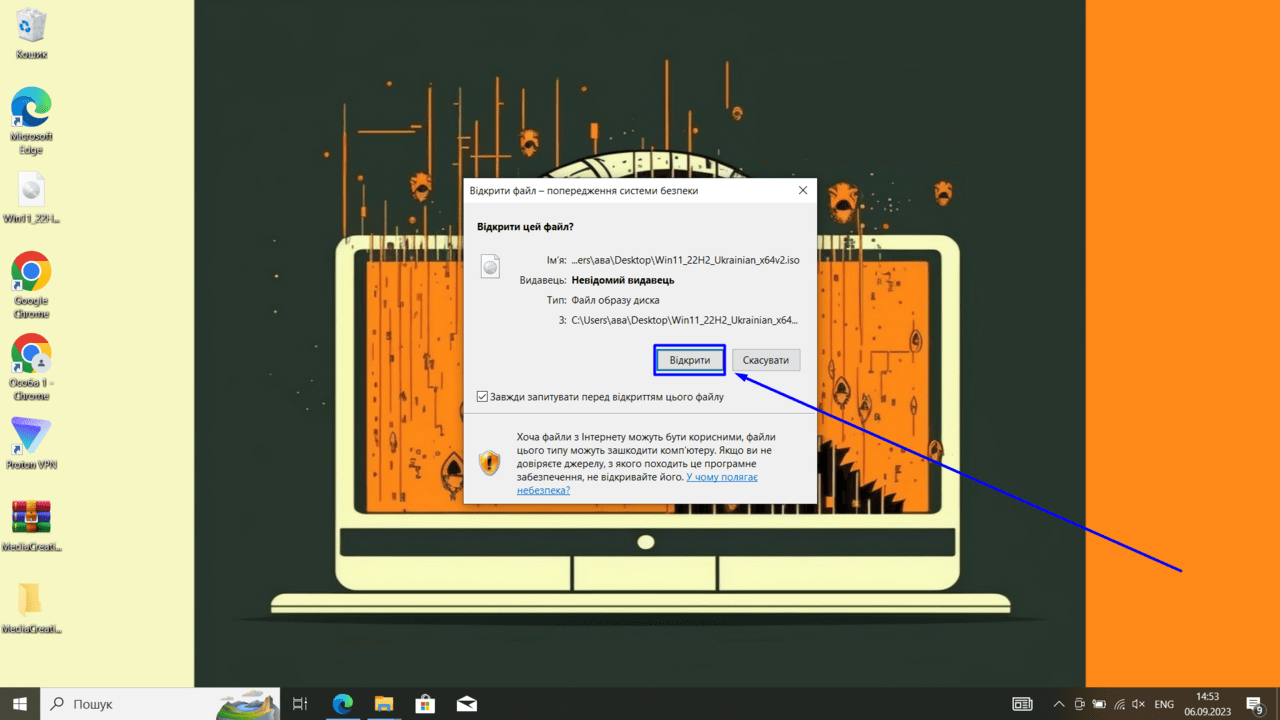
Open this file
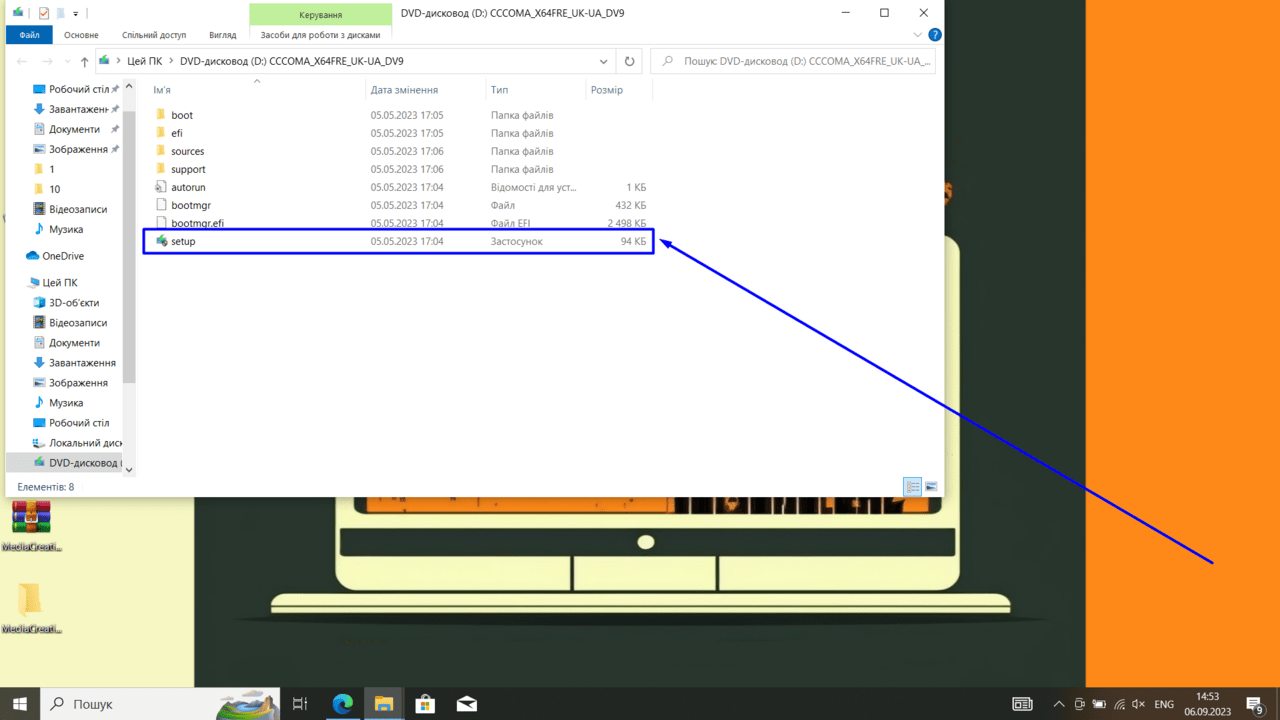
Double click on “setup”
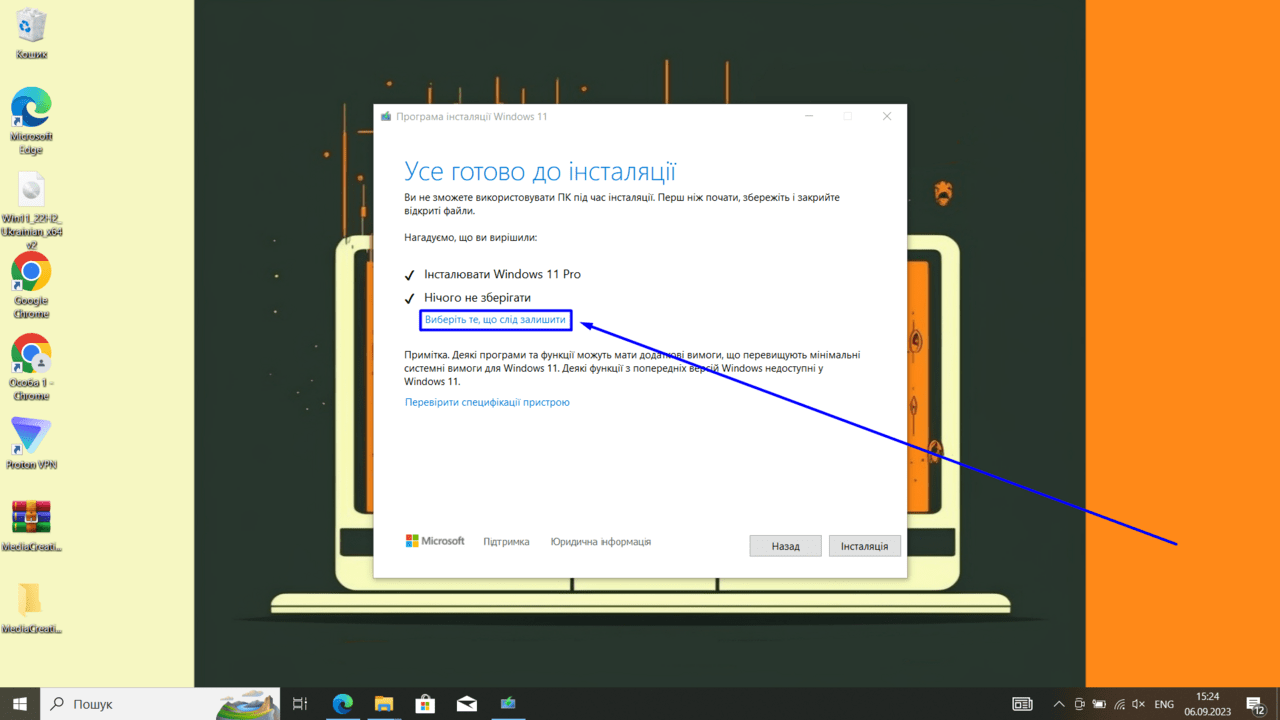
Click on “Choose what should be left”
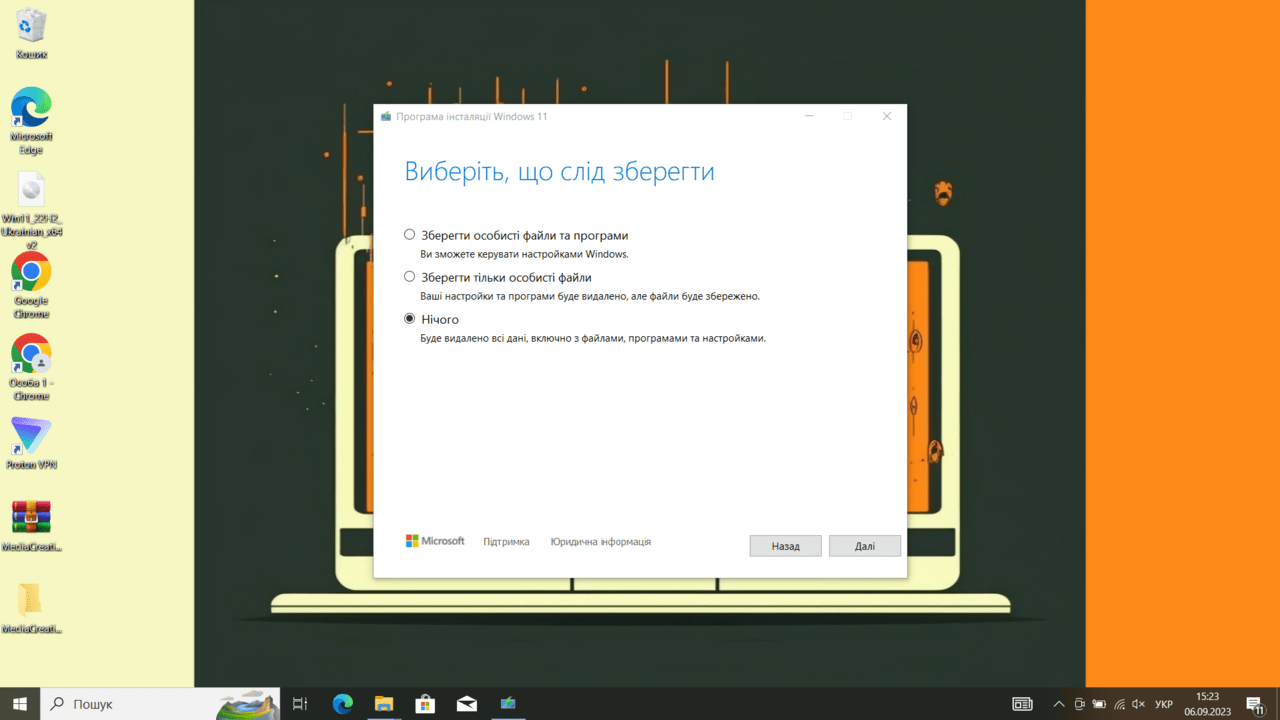
In our case, we choose “Nothing”. You choose what you need and move on
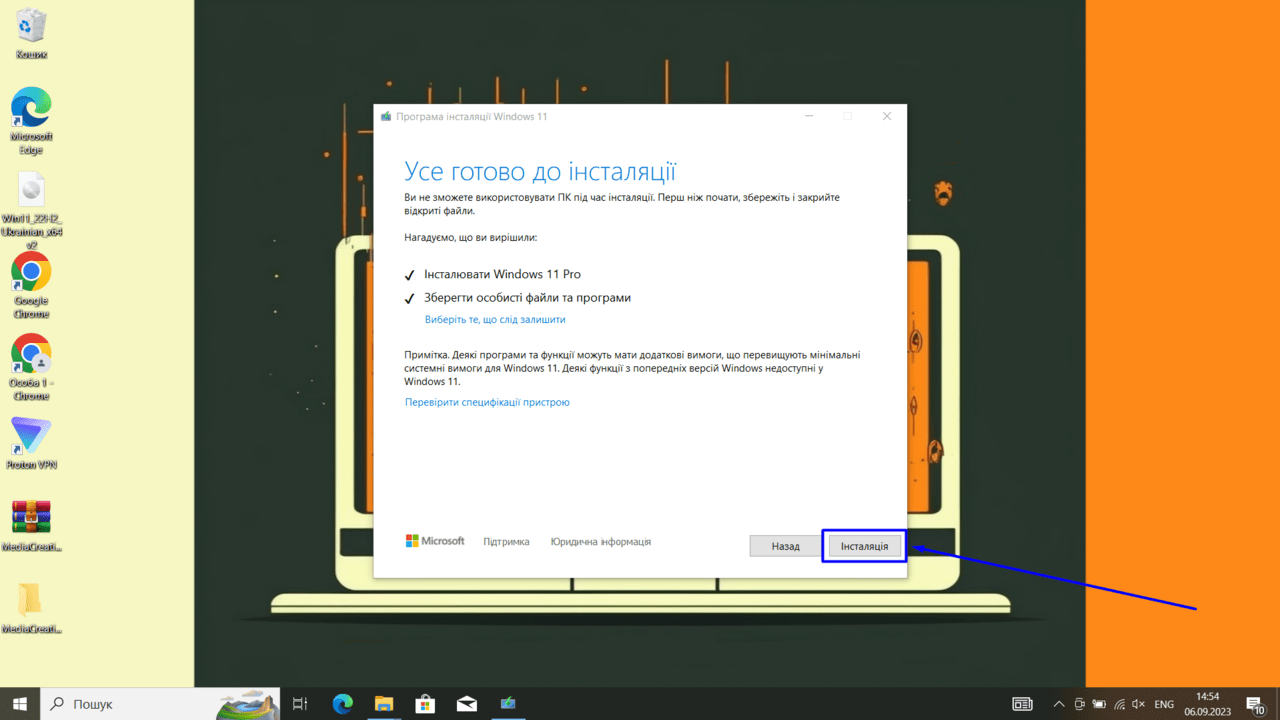
Click “Installation”
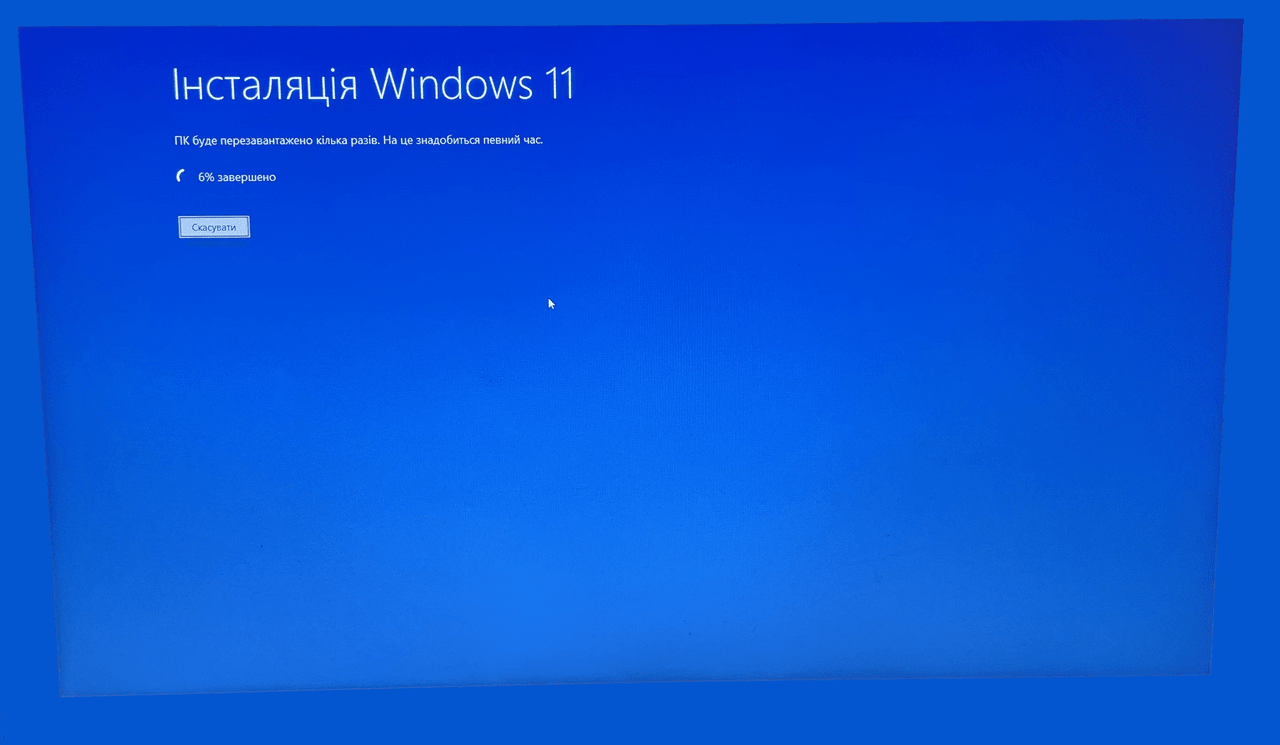
We are waiting for the Windows 11 installation to complete

This procedure is not fast. We need to wait a little longer with you
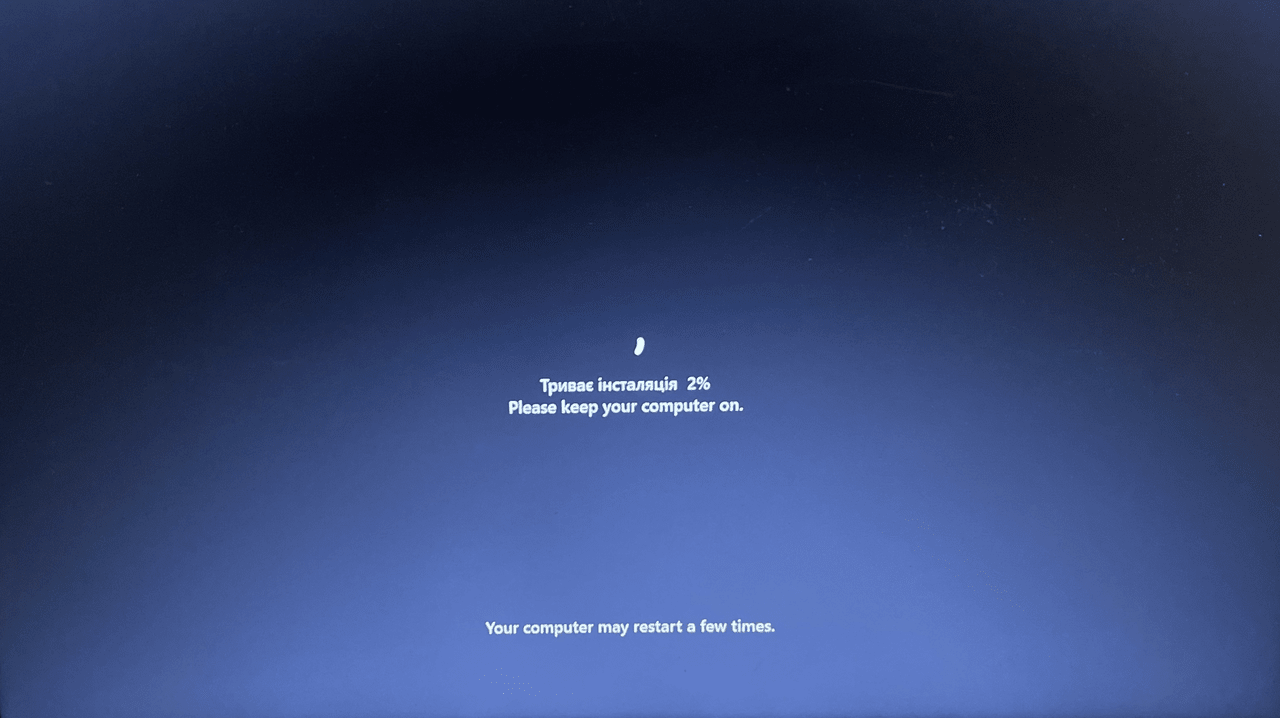
Windows 11 installation on the finish line
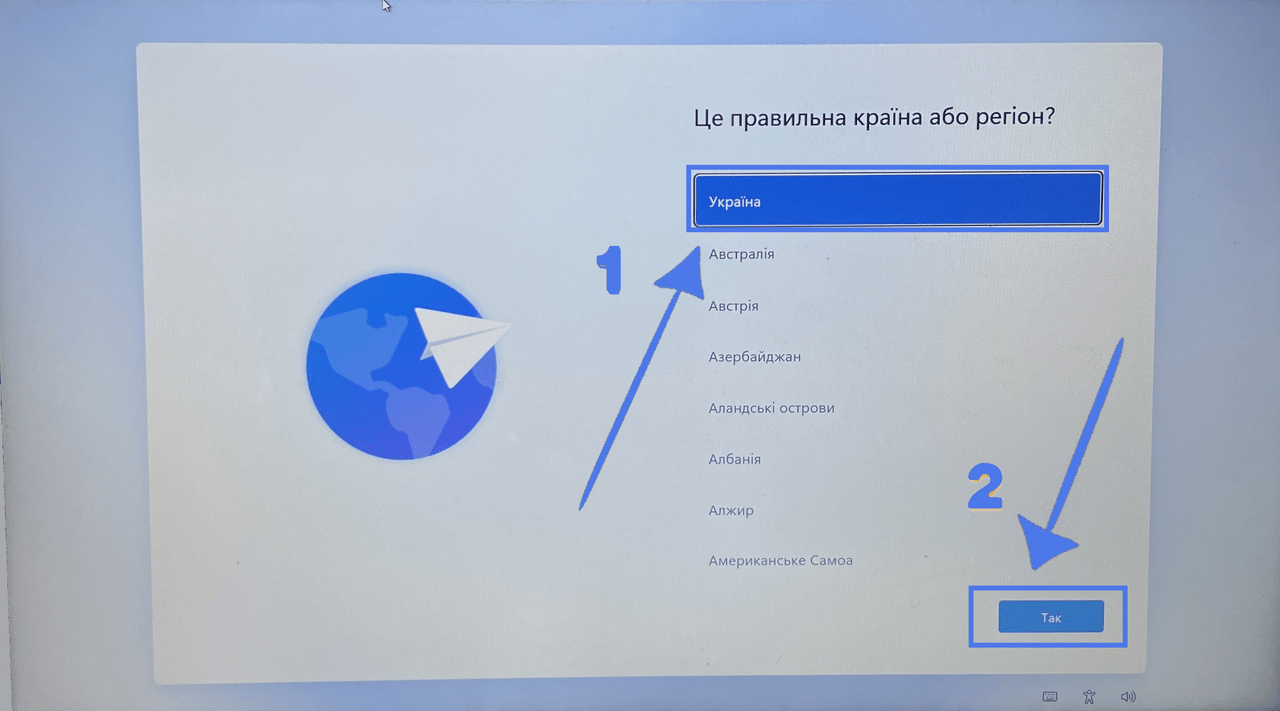
The installation is finished, select the language and click “Yes”
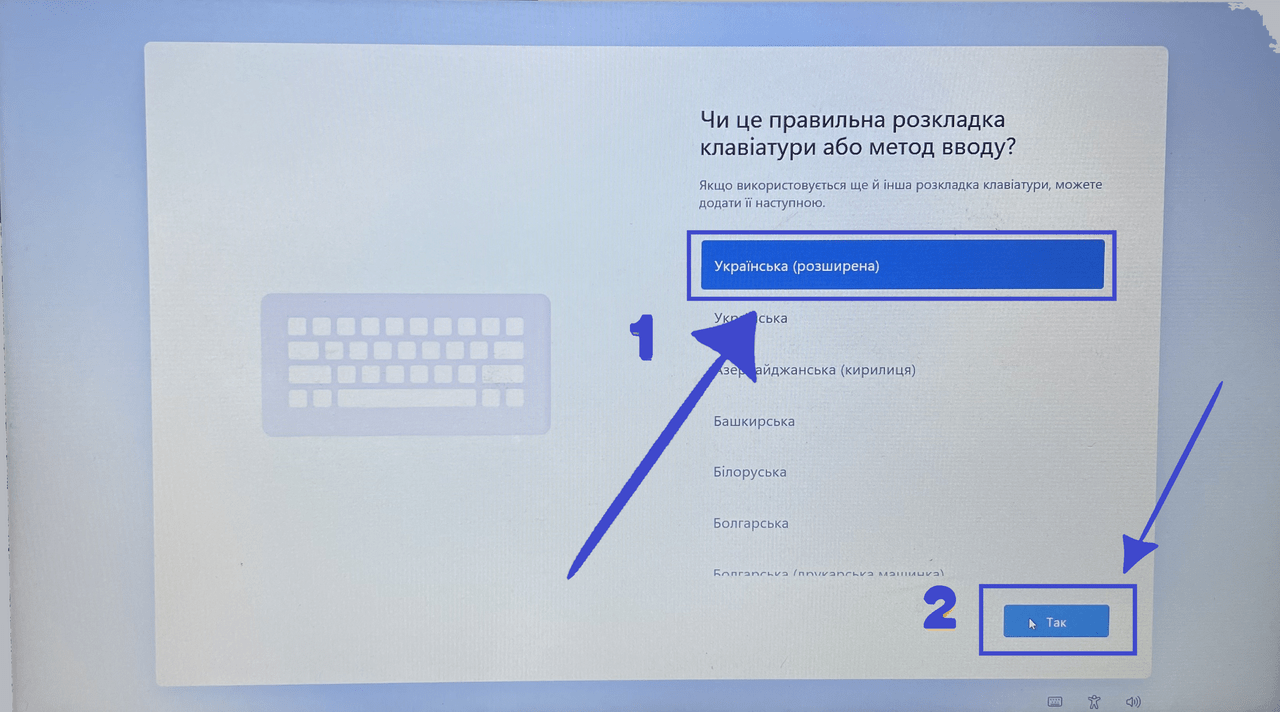
We choose the keyboard layout and move on
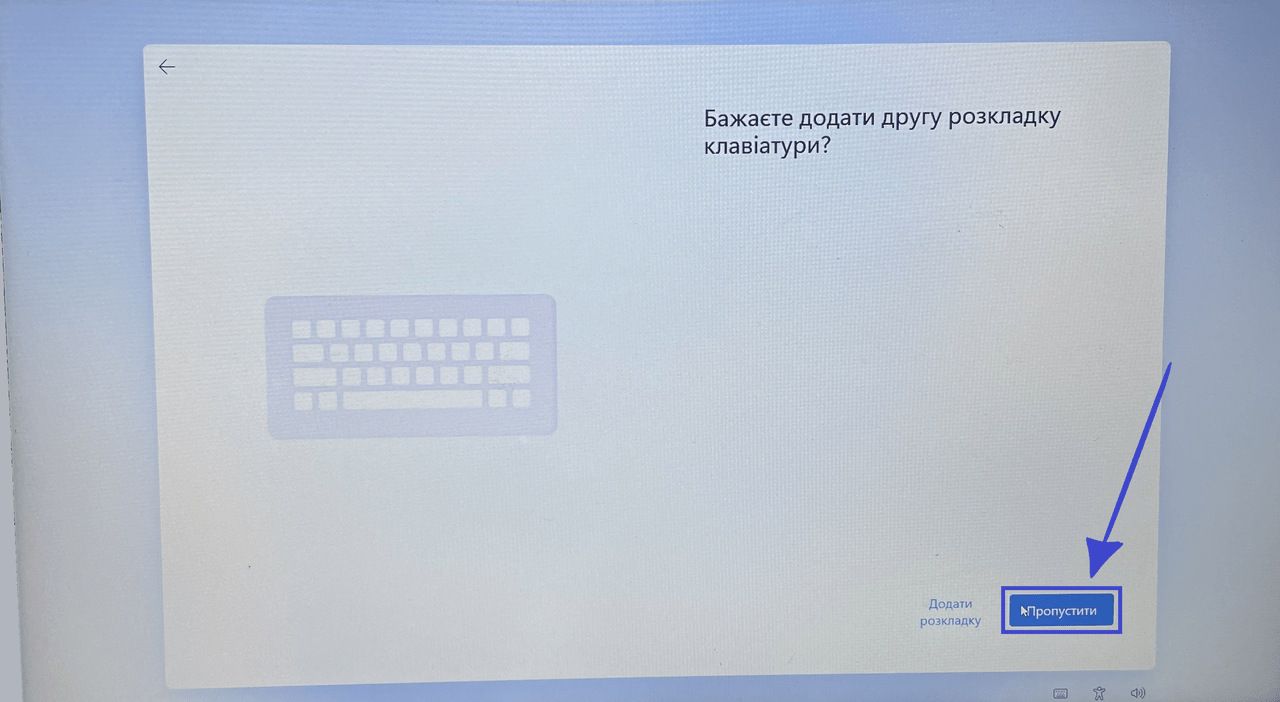
This step can be skipped
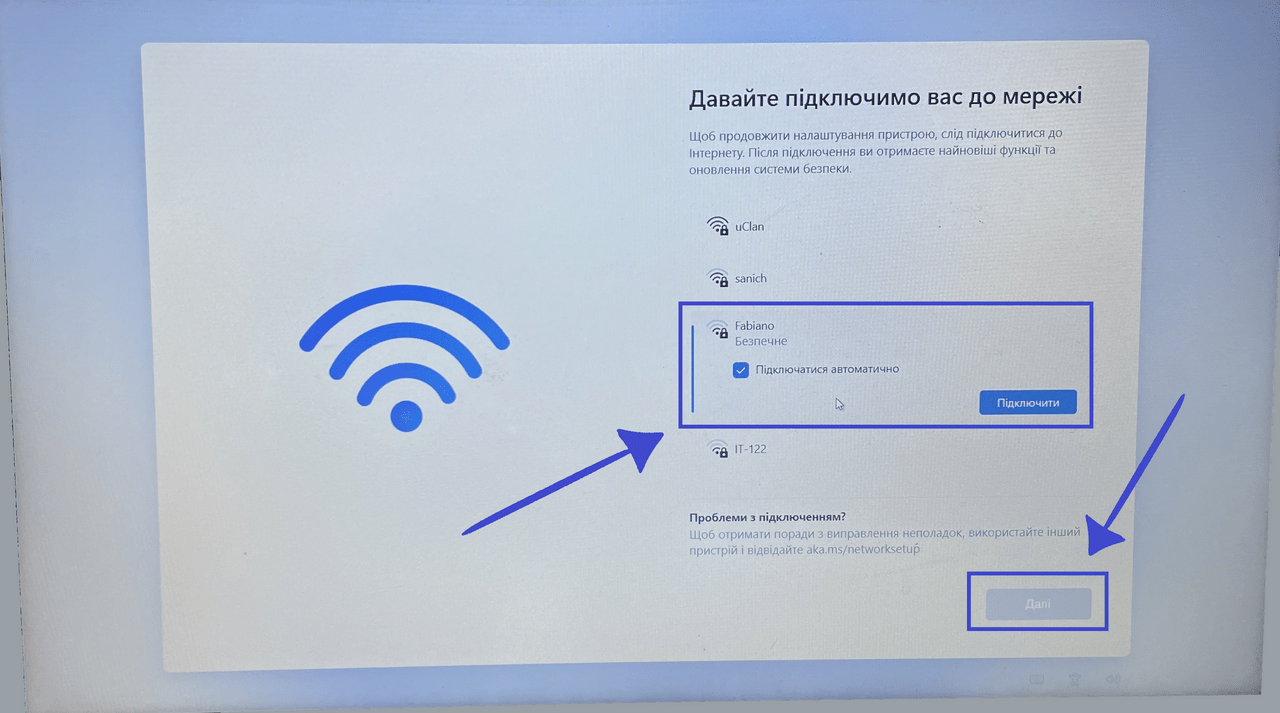
We connect our Windows 11 to Wi-Fi
Wait until the system checks for updates
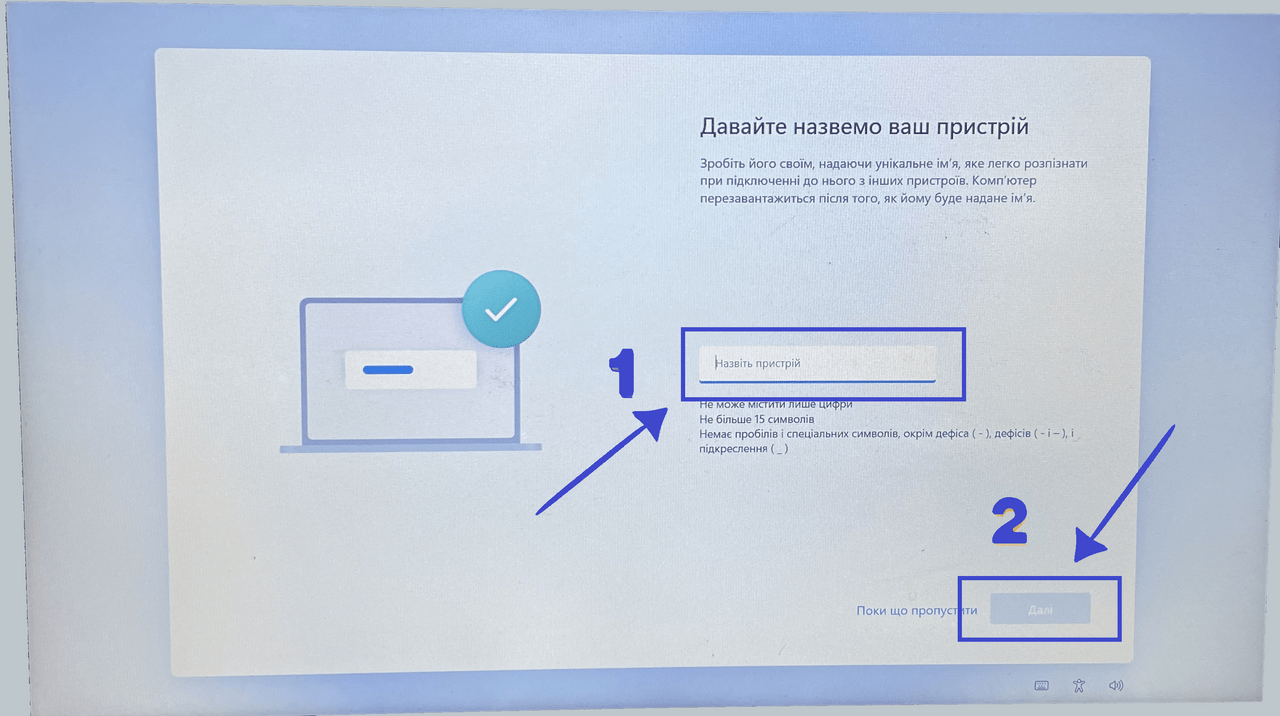
Here we need to come up with a name for our operating system
Click on the selected fragment, as shown in the screenshot
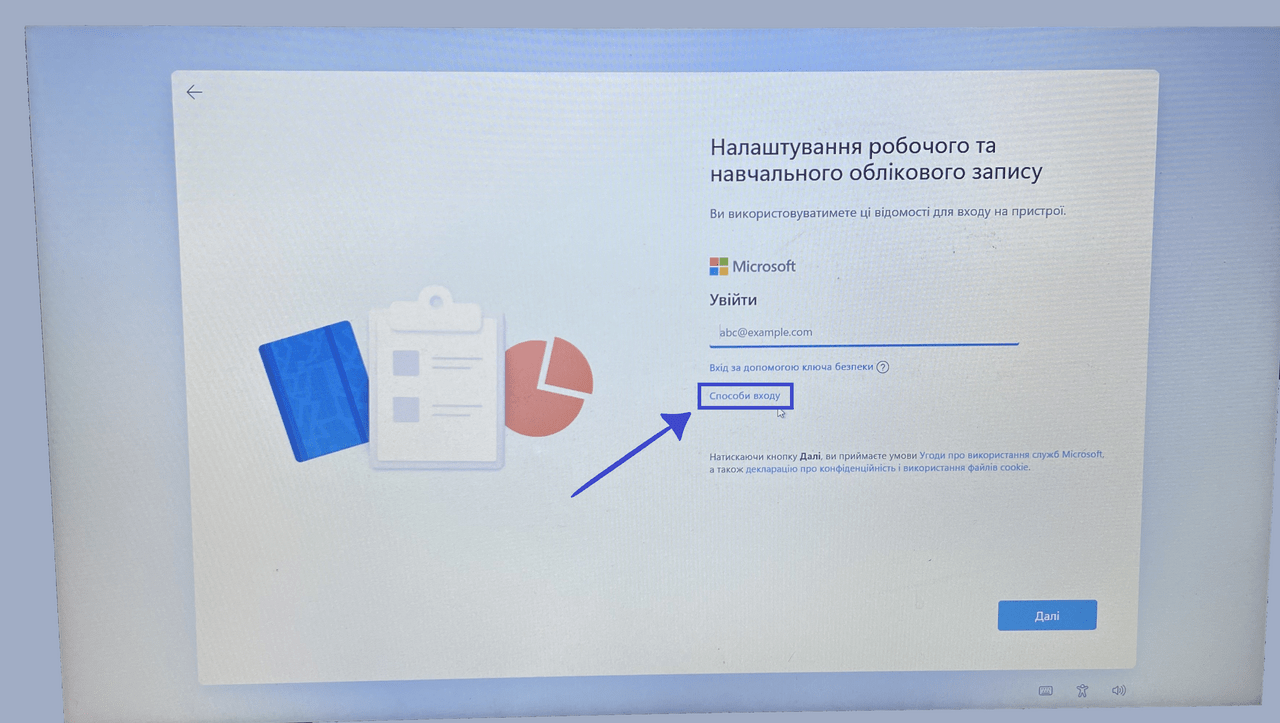
Click on “Login methods”
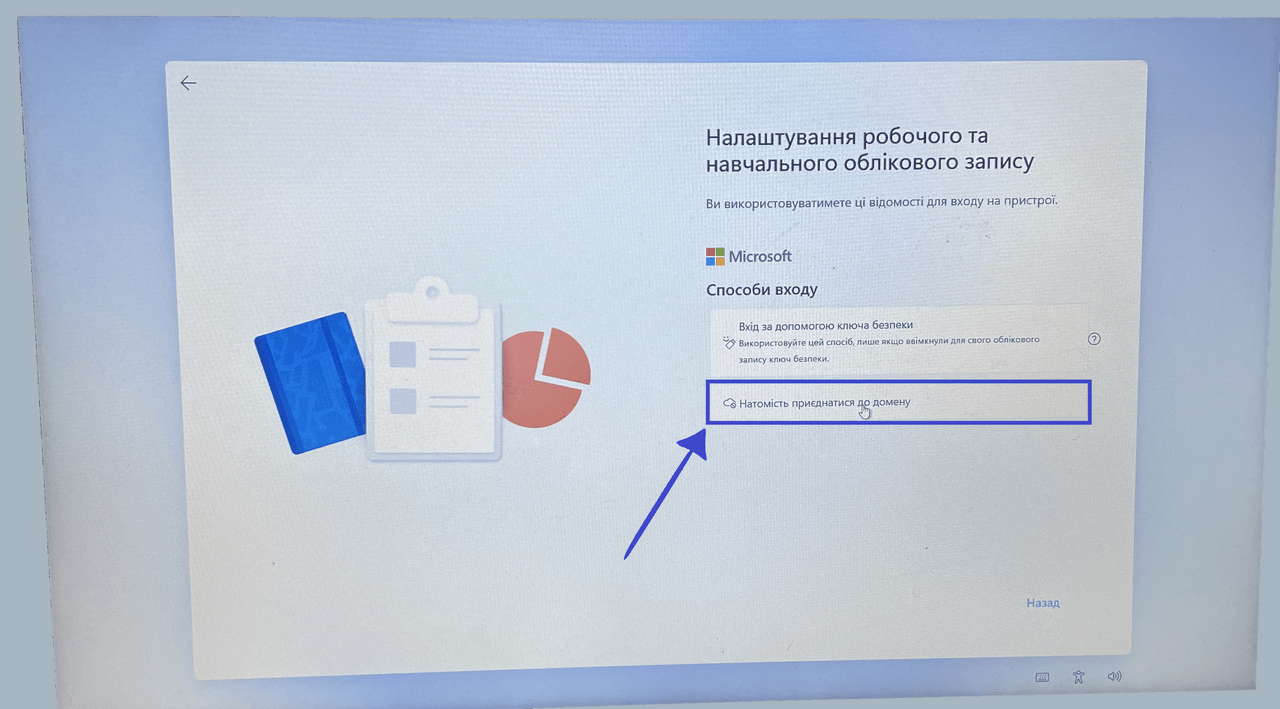
Click on “Join the domain instead”
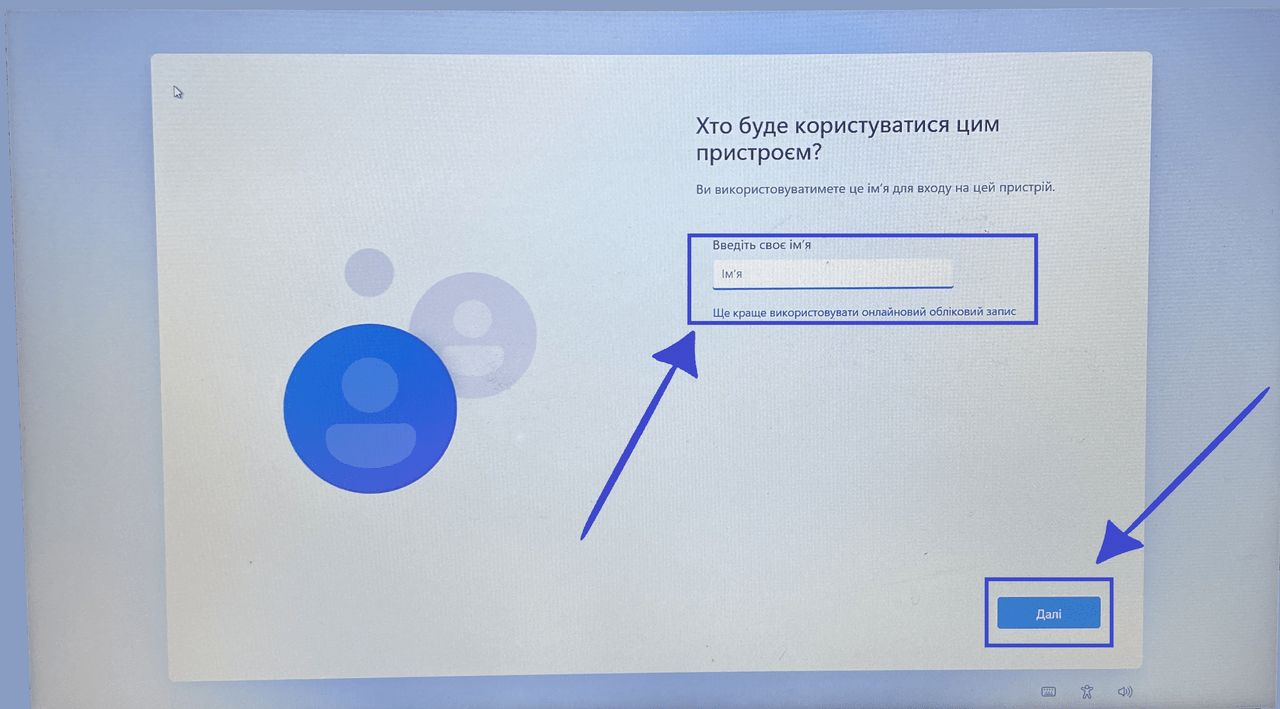
Enter your name and click next
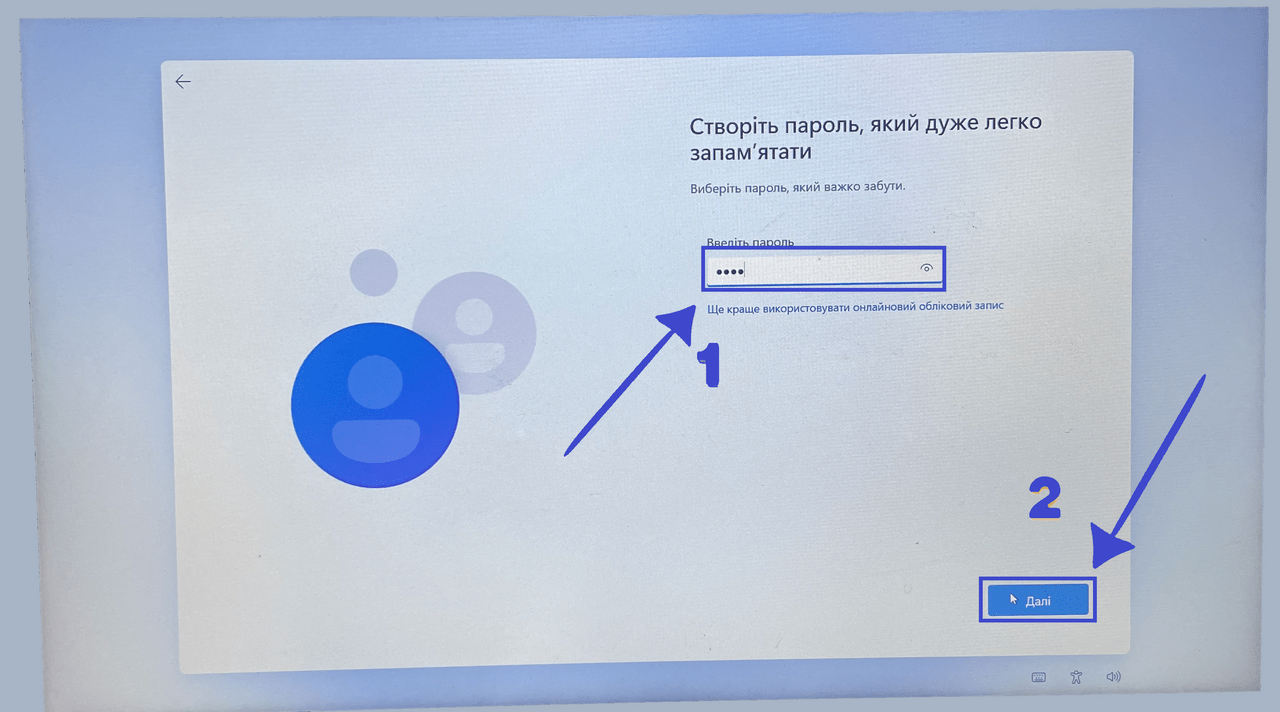
We create a password for our OS
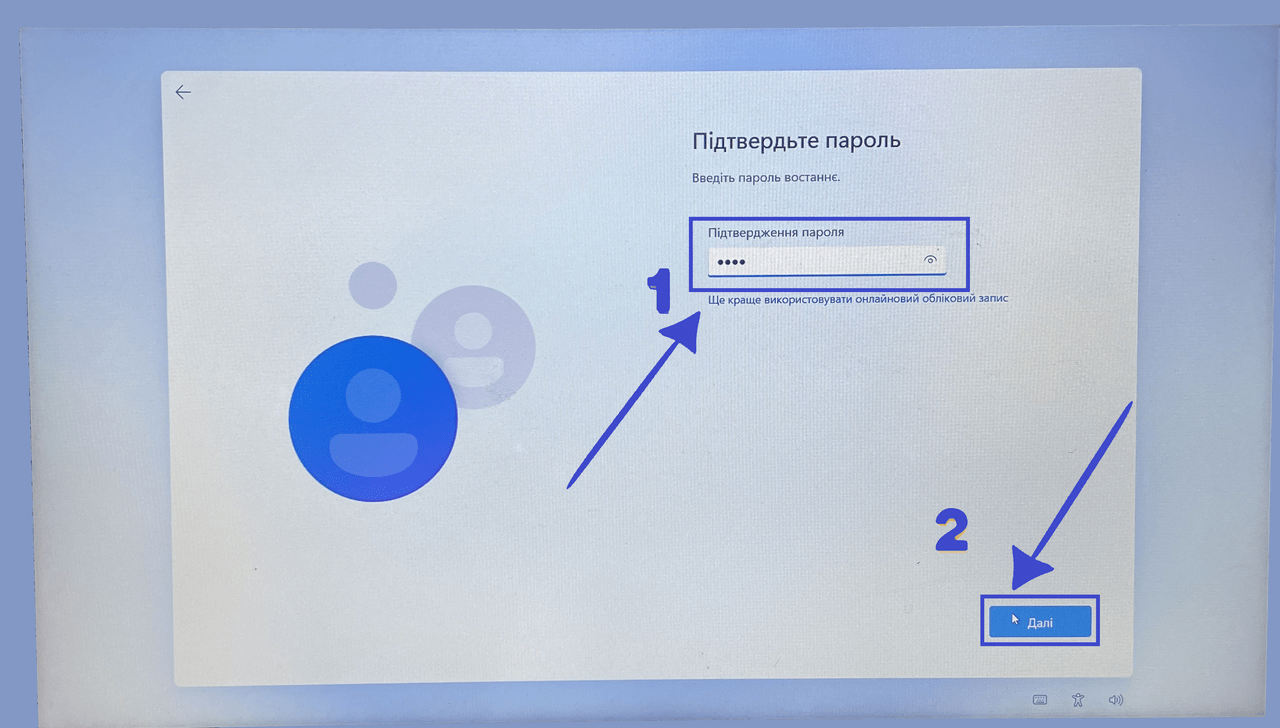
To confirm, enter the password again
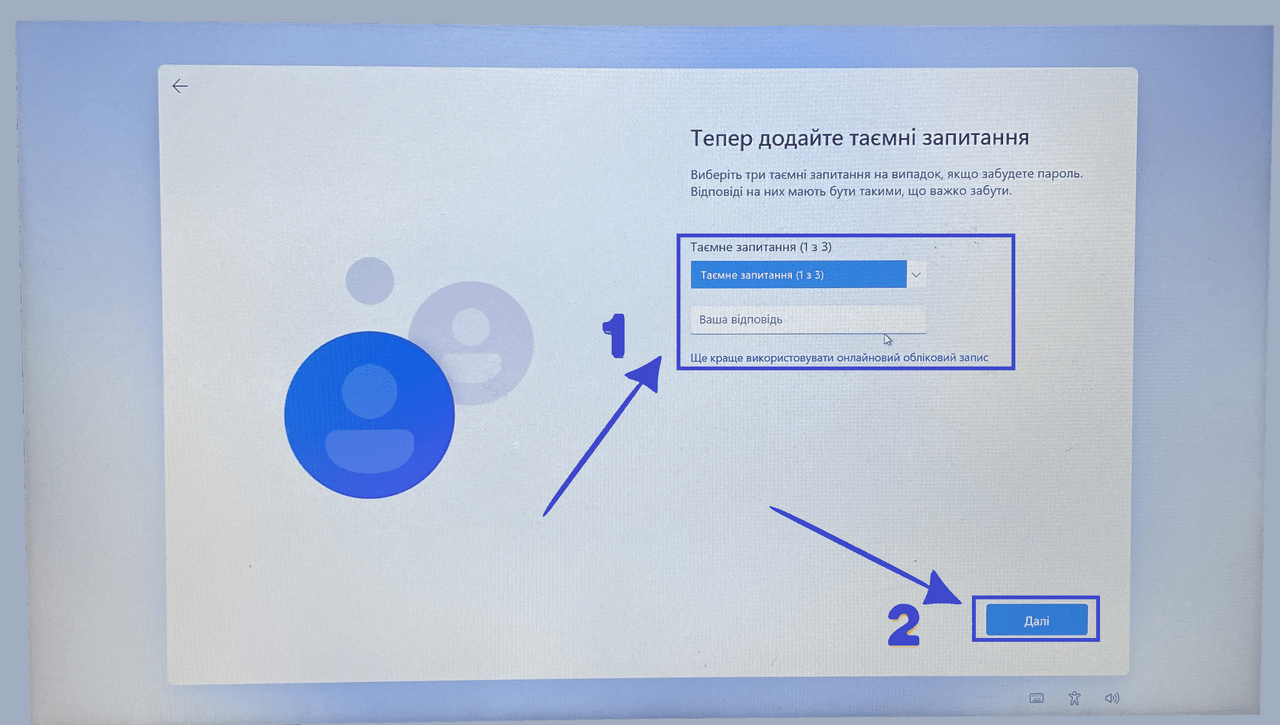
At this step, you and I will add “secret questions”. We invent our answer and press next
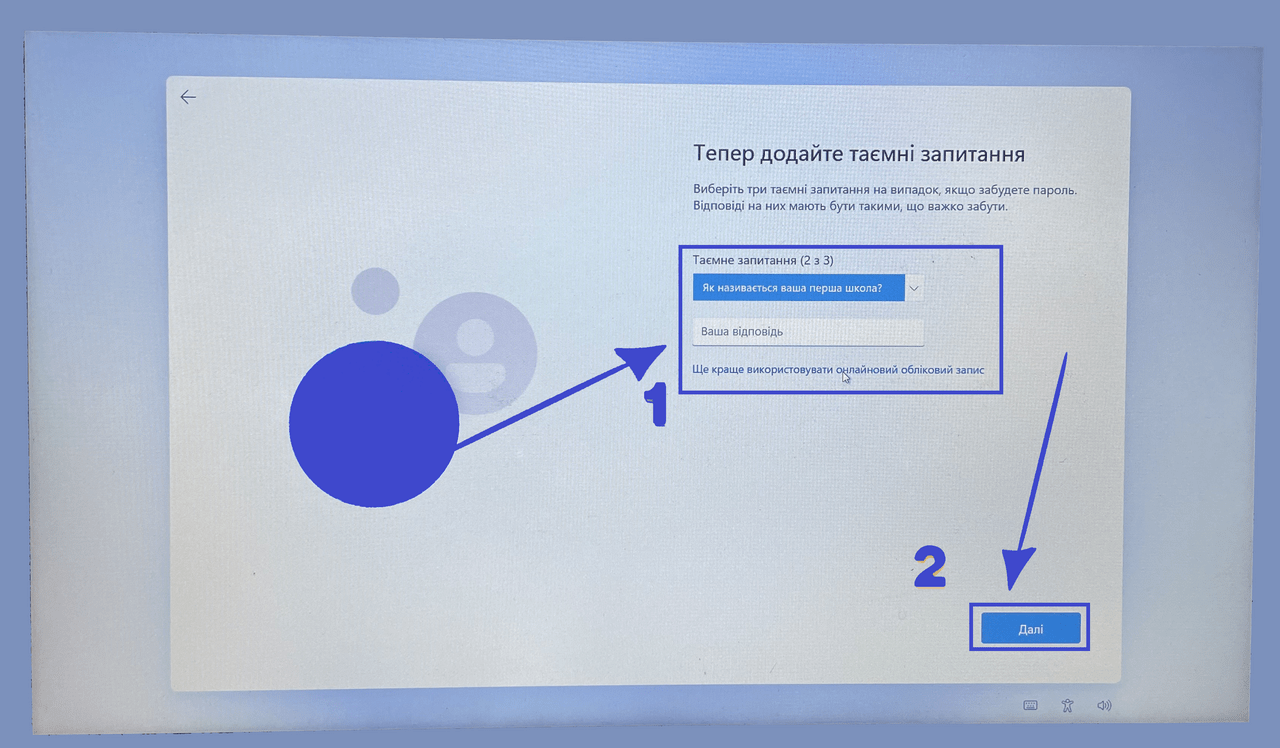
Все те саме, відповідаємо на поставлене питання, так щоб ми могли запам’ятати відповідь
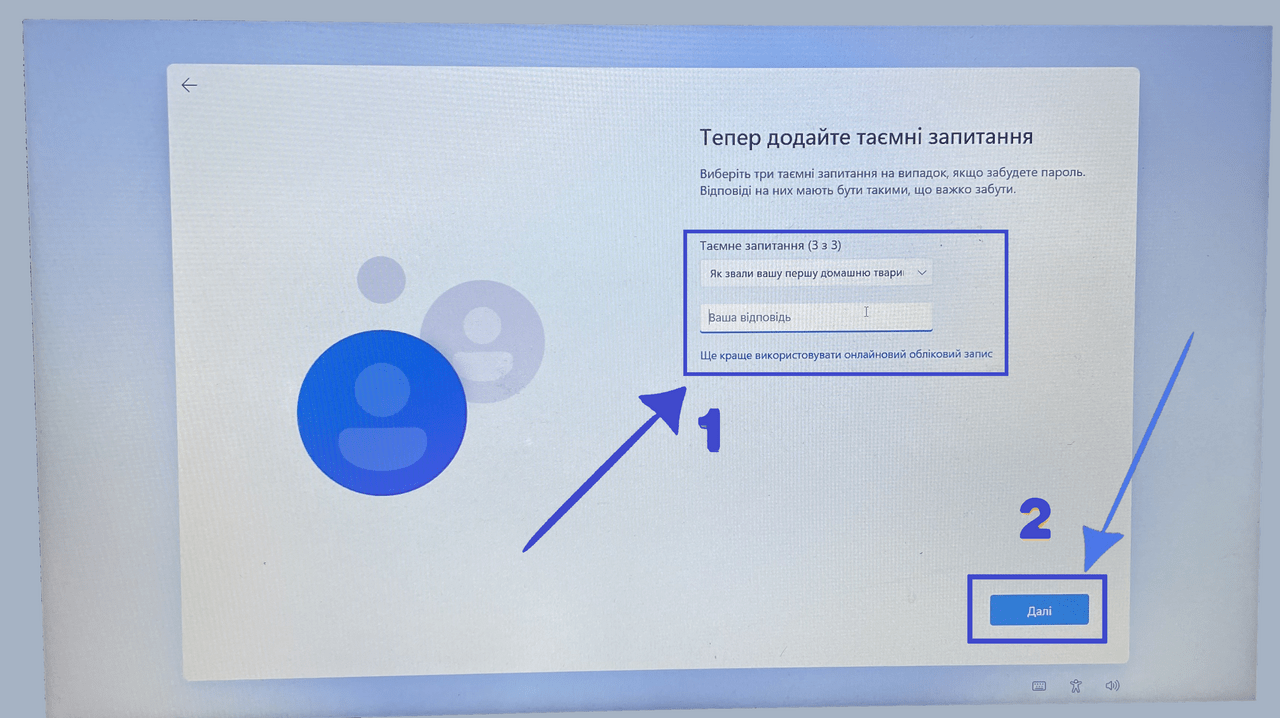
We repeat the previous step
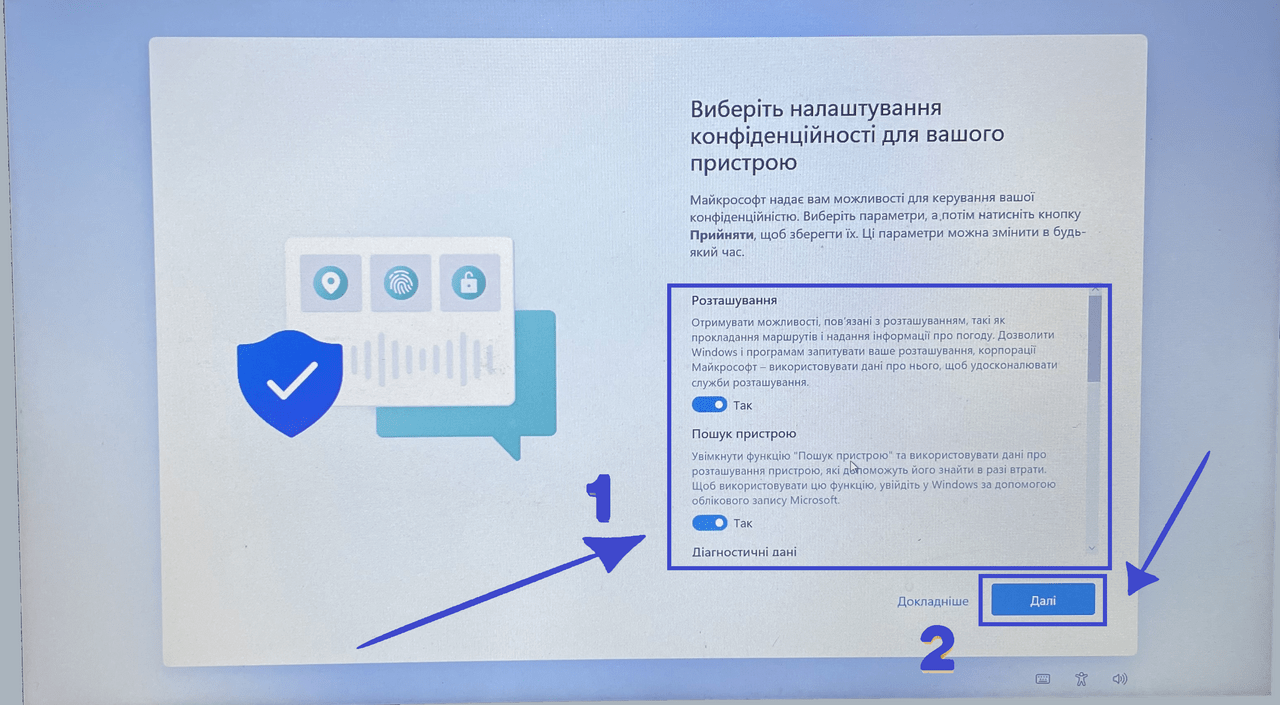
In the privacy settings, drag the two sliders to “No” and click “Next”

We wait a few seconds while our Windows 11 prepares the settings
Congratulations, everything worked out for us. Now you can use Windows 11 on your computer