
17.04.2023
6 min
2002

Mac and Linux share a similar management tool (terminal) because both OSes are Unix-like. DDoS attacks are so complex and powerful these days that it can be very difficult to solve them yourself. Technological progress is taking leaps and bounds, and sophisticated attacks are gaining popularity. c The situation in our country is not easy and modern solutions are needed in the 21st century, each of you can direct a Ddos attack in the right direction after reading the manual. MHDDoS_proxy is software designed to organize DDoS attacks. It is used by criminals to increase the number of requests to the target server in order to overload its resources and cause unavailability for legitimate users.

Also, this program allows attackers to carry out DDoS attacks by sending a large number of requests to the target server from different IP addresses, which can overload the server and make it unavailable to legitimate users. MHDDoS_proxy can be installed on botnet computers, which consist of a mess of connected computers controlled by criminals. These computers can be infected with malware that gives criminals remote access and control over them. MHDDoS_proxy can be used to carry out various types of DDoS attacks, such as SYN flood, UDP flood, HTTP flood and others. After installing the program on the botnet’s computers, criminals can launch an attack on the target server using the command line or the program’s interface. Using MHDDoS_proxy to launch DDoS attacks is illegal and can lead to serious consequences for criminals, including criminal liability and prosecution. So, help us win!
Insert commands in the Terminal. After each command – Enter. Each new line with a dot is a new command.
cd ~
sudo apt update -y
sudo apt install –upgrade git python3 python3-pip gcc libc-dev libffi-dev libssl-dev python3-dev rustc -y
sudo rm -rf mhddos_proxy
It may appear like this, but this is normal.
![]()
(This means that mhddos_proxy has not been installed before)
git clone https://github.com/porthole-ascend-cinnamon/mhddos_proxy_releases
cd mhddos_proxy
ulimit -n 1048576
So that there are no limits on open sockets for proxies (so that attacks are more effective): the command will not issue every message – that’s normal.
![]()
a) cd ~/mhddos_proxy
b) git pull origin main
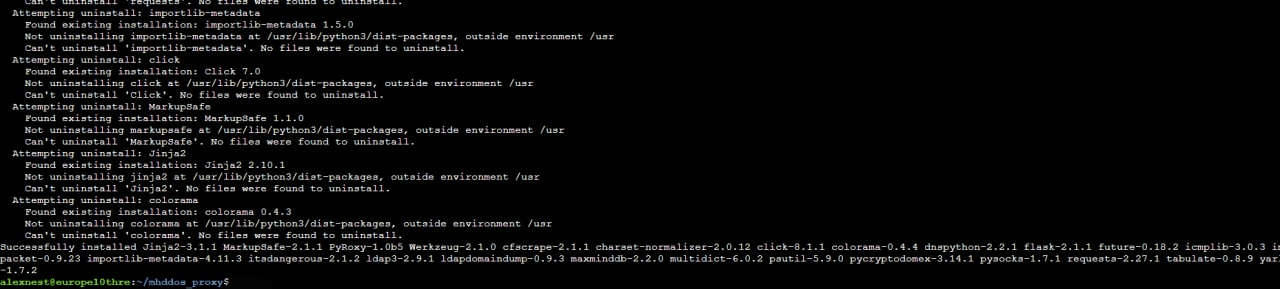
c) python3 -m pip install -r requirements.txt
d) python3 -m pip install uvloop
In the future, in order to launch attacks, you will only need to do the following actions:
1) Open the Terminal and go to the desired folder:
![]()
2) Update the program version:
![]()
3) load new dependencies:

4) Launch the attack:

5) To stop the attack: in the open window with the attack, press Ctrl+C
THERE SHOULD BE NO MORE THAN TWO ATTACKS RUNNING IN THE BACKGROUND OTHERWISE PROCESSOR THROTTLING AND PERFORMANCE DROP TO ZERO.
1) We install a tool that will transfer our processes to the background:
![]()
2) We start the process in the background:
![]()

To transfer to the background – press Ctrl+A, and immediately Ctrl+D, if everything is successful – there will be a message [detached from voenkomat]. Now the process will work even when the terminal is closed, that is, 24/7 if we are talking about Linux servers. In this case, the process is given the name voenkomat, which you can then use.
1) Track like this:
![]()
You will be shown a list of running processes in the background.
2) To jump into the process and see what it outputs, type this:
![]()
After that, if you want to kill the process: Press Ctrl+C.
To disconnect again and leave it working: Press Ctrl+A, then Ctrl+D – AND EVERYTHING IS DONE – WORKS IN THE BACKGROUND.
In the future, you can change the command itself: sudo python3 and the name of the process from voenkomat to something else.

![]()