
Distributed denial of service (DDoS) attacks have become commonplace. Everything connected to the Internet can be brought down by a DDoS attack. We all know that in a DDoS attack, the attackers use a procedure on the servers that respond to the request. Attackers do not use their IP address for DDoS, but the IP address of the target of the attack. The server responds not to the intended client, but to itself, resulting in an endless cycle of server requests and responses. However, an increase in the number of requests leads to a very high data transfer rate, which ultimately leads to an overload of the server and its destruction. And if I tell you that you can sit at home and help our troops? We live in a time of progress and it is a pity that only a small part of adequate people understand this.
The mhddos_proxy utility keeps up with technology, having a good arsenal and potential: Built-in proxy server database with a wide range of IP addresses around the world. A variety of different load testing methods. Ability to set a huge number of targets with automatic load balancing. Efficient use of your resources thanks to asynchronous architecture. This type of distributed denial of service (DDoS) attack overwhelms the target, causing systems and services to crash or shut down.
1) We enter the Terminal
2)-> We write python3
-> press Enter

3) After receiving python3, close this terminal window.

!!ONLY IF THE PREVIOUS METHOD FAILED!!
1) Download python:

2) Click in this order.
3) Run the downloaded file.
4) The usual Mac installation procedure follows.
5) After successful installation, a window like this will appear.
1) We download the git`a installer:
https://github.com/git-guides/install-git#install-git-on-windows.
2) After clicking, you will be automatically transferred to the site with autoloading after 5 seconds.
3) After downloading, you need to click on the file that was downloaded, then go to settings, Security and Privacy, and click “Open anyway” (You will need to enter your password before unlocking the Mac).
4) But once again you need to press – Open. DONE.
1) Code -> Download ZIP.
https://github.com/porthole-ascend-cinnamon/mhddos_proxy
Or directly from the link:
https://github.com/porthole-ascend-cinnamon/mhddos_proxy/archive/refs/heads/main.zip
2) Click on the green “Code” button.
3) And click “Download ZIP”.
4) The downloaded archive must be unpacked (double-click), and the resulting folder called “mhddos_proxy” should be transferred to the desktop (for faster access).
5) Go to the “Services” menu with the right mouse button and select “New terminal in folder”.
6) Next, enter (only once on a new machine):
if it doesn’t run at all (it says some python-related errors), try this:
press Enter.
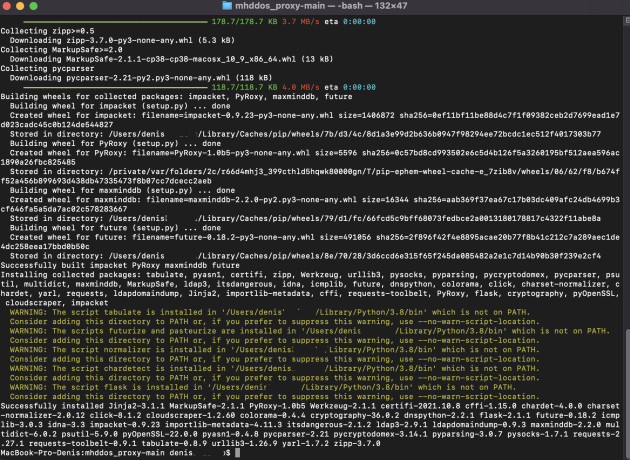
7) Download started:
8) When everything is done, close the window (red button in the upper left corner).

1) VPN is not required for mhddos_proxy because it has its own proxies, but I recommend installing a fast VPN to avoid scaring your ISP.
2) Click on the folder with mhddos_proxy, and click the right mouse button, select “Services” from the list there and select “New terminal in folder”.
3) We update the version of the program:
4) load new dependencies:
5) Launch the attack:
if it doesn’t run at all (it says some python-related errors), try this:
Or this:
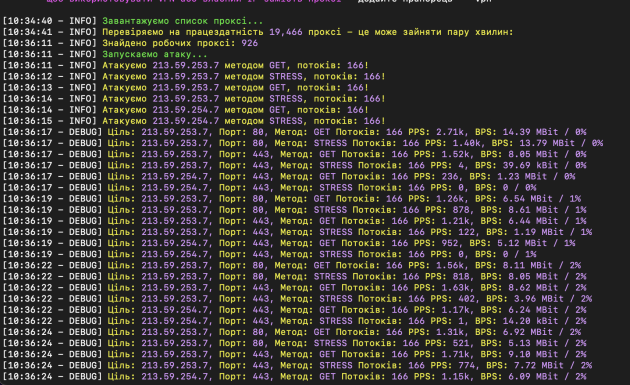
6) Congratulations, the attack has started.

7) To stop the attack: in the open window (in the terminal) with the attack, press ctrl + C.

Also, if you are connected to a Russian VPN, you can add the –vpn option, which will allow the attack to take place directly from your IP, but then you need to reconnect the VPN every 5-10 minutes.
Example:

