

29.10.2026
30 min
311



Linux file permissions determine who can read, modify, and execute files, access directories, and manage system resources. For DevOps and DevSecOps, properly configuring permissions is an essential part of server administration and infrastructure security. In Part 3 of the series, we’ll explore the UGO model, rwx permissions, numeric and symbolic permission notation, the chmod, chown, and chgrp commands, as well as special permission bits (SUID, SGID, and Sticky Bit) and extended Access Control Lists (ACLs).
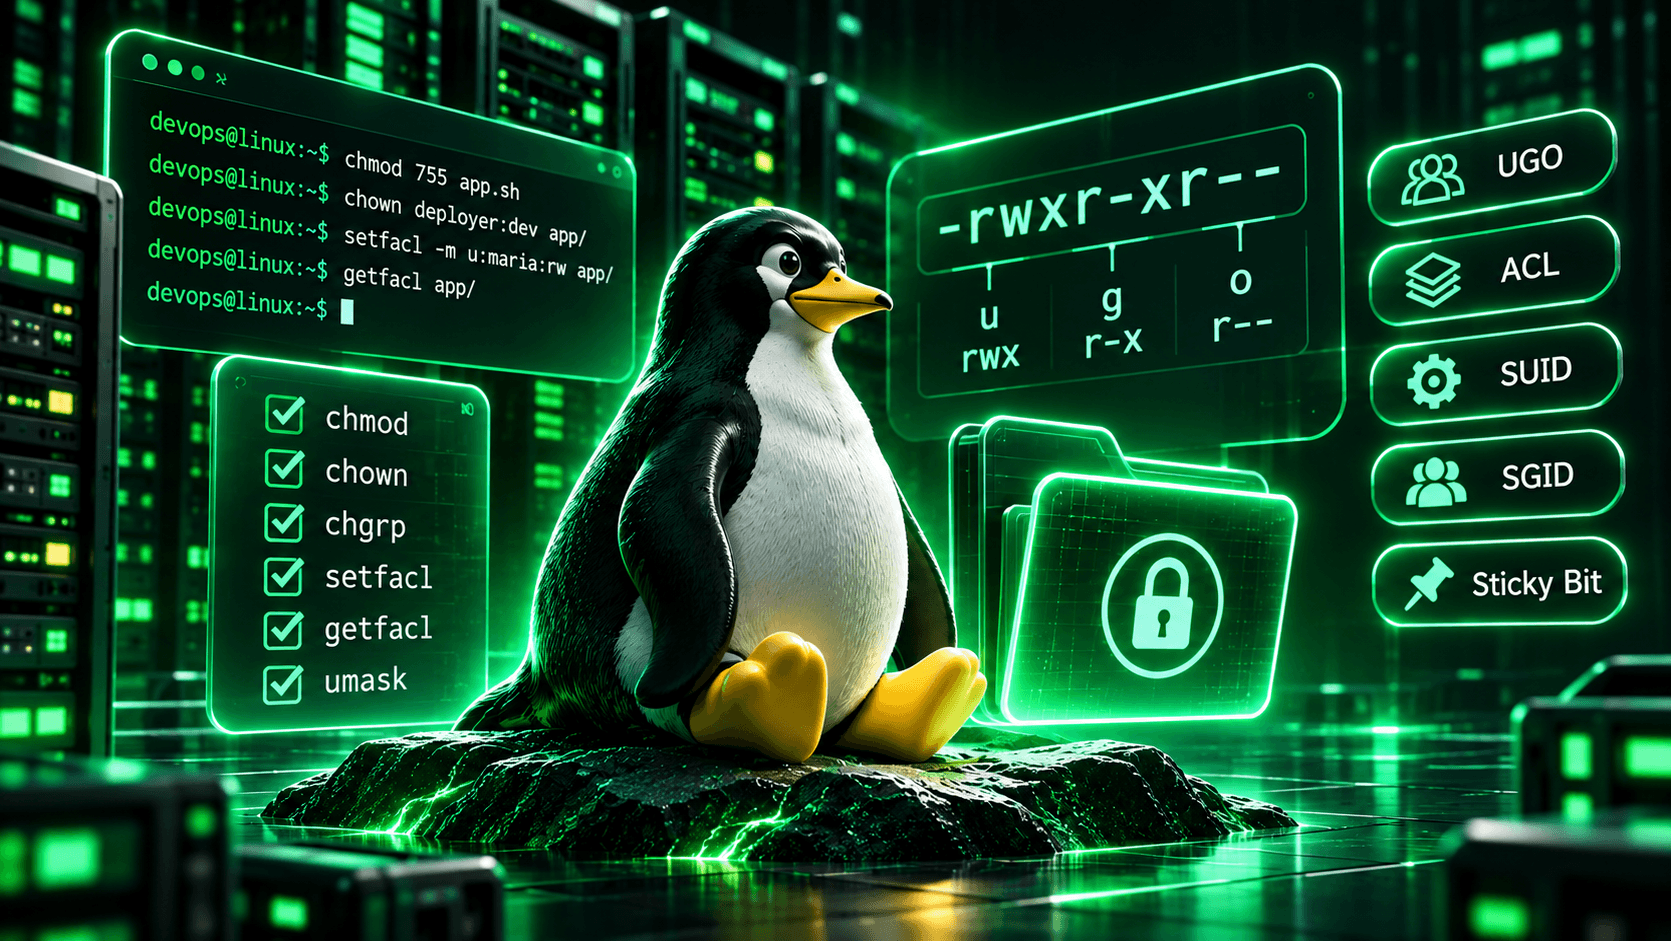
In the previous parts of this series, we covered the Linux file system, terminal navigation, and user and group management. Now, we’ll move on to the mechanisms that determine what these users can actually do with system resources. Creating a user account or adding it to a group is not enough. Access to files, directories, configurations, and services must also be properly configured so that each user has the permissions they need without receiving unnecessary privileges.
This is especially important in server environments, where web servers, databases, automated scripts, and developer accounts operate simultaneously. Incorrect permissions can cause anything from a simple application failure to a sensitive data leak or privilege escalation by an attacker. That’s why, in this part, we won’t just go through a list of commands. We’ll explore how Linux file permissions work and learn how to apply them in practice.
Linux is a multi-user operating system in which different users and processes can access the same resources simultaneously. For example, an Nginx web server serves website files, PostgreSQL manages its database, and a developer edits an application’s source code. Each of these components should have access only to the information it actually needs.
To control access, Linux uses a file permission system. Every regular file or directory has an owner, a group, and a set of permissions that define which operations are allowed. This information is stored in the file system’s metadata, including the inode, which contains the attributes of a file system object.
When a user attempts to open a file or modify its contents, the system checks the process’s relevant user and group identifiers, the object’s permissions, and other access restrictions. If the required permissions are missing, the operation typically fails with a Permission denied error.
You can view standard file permissions using the ls command, which we introduced in Part 1:
ls -l /etc/passwd
On a typical system, the result might look like this:
-rw-r--r-- 1 root root 2847 Nov 2 10:30 /etc/passwd
At first glance, this looks like just a string of characters and numbers. In reality, it contains almost all the essential information needed for an initial check of file access permissions.
The first block, -rw-r--r--, indicates the object type and its permissions. It is followed by the number of hard links, the owner’s username, the owning group, the file size, the time of the last content modification, and the filename.
Pay particular attention to the first block. It helps explain why one user can modify a file, another can only read it, and a third may have no access at all.
The standard Linux permission model is called UGO, which stands for User, Group, and Others. It divides users into three categories in relation to a specific file or directory.
User (u) – the owner of the object, meaning the user whose UID is recorded in its metadata.
Group (g) – the owning group, whose members can share a common set of permissions.
Others (o) – all other users who are not granted access through the owner or the corresponding group category.
Each category has its own set of permissions. This makes it possible to give the owner full control over a file, allow members of a specific group to read it, and deny access to everyone else.
Let’s look at an example:
-rwxr-x---
The first character indicates that we are dealing with a regular file. The next nine characters are divided into three groups:
-  rwx  r-x  ---
   │    │    │
   │    │    └── Others
   │    └─────── Group
   └──────────── User
The owner has rwx permissions, meaning they can read, modify, and execute the file. The group has r-x permissions, allowing members to read and execute the file but not modify it. All other users have no standard permissions.
In addition to regular files, Linux supports directories, symbolic links, sockets, devices, and other types of file system objects. You can identify their types by the first character in the output of ls -l.
| Symbol | Object type |
- |
Regular file |
d |
Catalog |
l |
Symbolic link |
b |
Block device |
c |
Character device |
p |
Named channel |
s |
Unix socket |
For example, if the permission string starts with d, the object is a directory. If it starts with l, it is a symbolic link. For symbolic links, the standard permissions displayed by ls generally do not determine access to the target file. Instead, the system checks the permissions of the object the link points to, along with the permissions required to traverse the relevant directories.
It’s important to remember that the standard UGO model assigns one owner and one owning group to each object. If you need to grant different permissions to multiple users and groups, you may need to use ACLs, which we’ll cover later.
Each of the three UGO categories uses the same permission symbols: r, w, and x. They represent read, write, and execute permissions.
For regular files, the concept is fairly straightforward. The r permission allows users to read a file’s contents, w allows them to modify its data, and x allows them to execute the file as a program, provided its format and other conditions permit execution.
For example, an application’s configuration file might have rw-r----- permissions. This means the owner can read and edit the configuration, members of the owning group can only read it, and all other users have no access.
However, these same permission symbols have different practical meanings when applied to directories, and this is where mistakes often occur.
For a directory, r allows users to read the list of directory entries, w, together with the necessary traversal permission, allows them to create, rename, and delete entries, and x allows them to traverse the directory and access objects inside it by their known names.
Imagine a user who has read permission on a directory but lacks the x permission. They may be able to list the filenames but cannot properly access those files through the directory. Conversely, if they have x permission but not r, they may still be able to open a file if they know its name and the necessary conditions are met, even though they cannot list the directory’s full contents.
This explains why a file may have read permissions for everyone but still be inaccessible. The problem may not be with the file itself, but with one of the parent directories that must be traversed to reach it.
The namei command can help you check permissions on every component of a file path:
namei -l /var/www/html/index.html
It displays each component of the path along with its permissions, owners, and groups. This is particularly useful when troubleshooting web servers, such as when Nginx or Apache cannot read a file because it lacks permission to traverse one of the directories.
Another important detail is that deleting a file primarily depends on the permissions of the directory containing it, rather than the file’s own w permission. As a result, a user with write permission on a directory may, under certain conditions, delete a file even without permission to modify its contents. Sticky Bit, ACLs, and other file system restrictions can also affect this behavior.
In Linux, permissions can be specified in two main ways: numeric and symbolic notation. Both are commonly used in system administration, but they serve slightly different purposes.
Numeric notation is based on the octal number system. Each standard permission has its own value:
| Право | Value |
|---|---|
r |
4 |
w |
2 |
x |
1 |
- |
0 |
To determine the numerical representation, you must sum the values of the permitted operations for each category. For example, `rwx` equals 7, since 4 + 2 + 1 = 7. The combination `rw-` corresponds to 6, and `r-x` equals 5. The complete set of permissions is written as three digits, corresponding respectively to the owner, the group, and other users.
755 = rwx r-x r-x
644 = rw- r-- r--
600 = rw- --- ---
700 = rwx --- ---
750 = rwx r-x ---
640 = rw- r-- ---
For example, 644 permissions are commonly used for regular text files that all users can read but only the owner can modify. Executable programs and directories that allow traversal often use 755. Private SSH keys, on the other hand, typically require much stricter permissions, such as 600.
Special care should be taken with 777 permissions. This value grants all three user categories the full set of standard permissions. For a directory, this may allow other users to create and delete entries unless additional security mechanisms restrict these operations. For a regular file, these permissions allow any user to modify its contents.
On a server with multiple user accounts, this can create a serious security risk, especially if a configuration file or script that is later executed with administrative privileges becomes writable by everyone.
Symbolic notation allows you to modify individual permissions without redefining the entire permission set. It uses u, g, o, and a, where the last letter represents all user categories. The + symbol adds a permission, - removes it, and = sets the exact permission set for the specified category.
For example:
chmod u+x script.sh
chmod g-w config.ini
chmod o-rwx private.txt
chmod u=rw,g=r,o= report.txt
The first command grants the owner the right to execute the script. The second removes write access for group members, the third completely strips away standard permissions for other users, and the fourth explicitly defines access for all three categories.
The numeric format is more convenient when you need to set a specific final state. The symbolic format is better to use when you need to modify only one or a few permissions while keeping the rest unchanged.

The `chmod` (change mode) command is used to modify access permissions for file objects. It supports both numeric and symbolic formats, as well as recursive processing of directories.
To begin, let’s set up a small test environment where you can safely experiment with the command:
mkdir -p ~/linux-permissions
cd ~/linux-permissions
touch config.txt
printf '#!/bin/sh\necho "Hello, Linux!"\n' > script.sh
ls -l
Now, let’s set permissions of 640 for the configuration file, and add execute permission for the owner of the script:
chmod 640 config.txt
chmod u+x script.sh
ls -l
As a result, `config.txt` will be readable and writable by the owner, readable by the group, and inaccessible to other users. The script will be granted execution permission for the owner, although its actual execution will also depend on the file format, the file system, and other checks.
To apply permissions to an entire directory tree, the `-R` parameter is used. For example:
chmod -R 750 ~/linux-permissions
However, there is an important detail to consider. This command sets 750 permissions on every object inside the directory, including regular text files. As a result, files receive execute permissions that they may not need at all.
This is a common mistake when configuring web servers. An administrator wants to grant access to all directories within a website and runs a recursive chmod 755 without considering the difference between files and directories.
Instead, you can set permissions separately using the find command, which we’re already familiar with:
find ~/linux-permissions -type d -exec chmod 755 {} +
find ~/linux-permissions -type f -exec chmod 644 {} +
The first command sets 755 permissions only for directories, while the second sets 644 permissions for regular files. This approach works well for practice files, but in a real project, you also need to account for executable scripts, private configuration files, and other objects that require specific permissions.
Another useful feature is the uppercase X in symbolic notation. Unlike x, it adds execute permission only to directories and files that already have execute permission set for at least one user category.
chmod -R a+X ~/linux-permissions
This approach helps add the necessary directory traversal permissions without making all regular documents executable.
However, recursive permission changes should be performed carefully. Before applying them to system directories, it’s important to check their current permissions, structure, and the requirements of services that access the files within them.
In addition to standard permissions, access control also depends on who owns a file and which group is assigned as its owning group. These settings can be changed using the chown and chgrp commands.
The chown (change owner) command allows you to change a file’s owner, its owning group, or both at the same time. The chgrp command is used specifically to change the owning group.
Let’s look at some examples:
sudo chown deployer config.txt
sudo chgrp developers config.txt
sudo chown deployer:developers config.txt
The first command changes the owner to `deployer`, the second assigns the `developers` group, and the third changes both parameters in a single operation. To run these examples, the corresponding user and group must exist on the system.
To change the owner and group recursively, the `-R` option is used:
sudo chown -R deployer:developers /srv/project
This can be useful when migrating a project or correcting file ownership after deploying an application. However, recursive ownership changes should only be performed after reviewing the directory structure, as they may affect sensitive files, service directories, and other components.
In Linux, a regular user generally cannot transfer file ownership to another arbitrary user. Doing so requires appropriate administrative privileges. However, a file owner can change the file’s owning group to one they belong to, provided the system configuration allows it.
Another important consideration is web application deployment. Assigning ownership of all website files to the web server user is not always the right approach. If the web server only needs to read static files, it is better not to give it permission to modify the application’s entire codebase.
If a web server process is compromised, excessive write permissions may allow an attacker to modify website files or create new malicious scripts. Therefore, file owners, groups, and permissions should be configured according to the actual needs of each process rather than simply granting everyone the broadest possible access.
To manage file permissions correctly, it’s important to understand not only how permissions are represented but also how the system makes access control decisions. Misunderstanding this mechanism often leads to situations where a user encounters a Permission denied error even though the necessary permissions appear to be configured correctly.
Every Linux process has several user identifiers, including the Real UID (RUID), Effective UID (EUID), Saved UID, and Filesystem UID (FSUID). These identifiers serve different purposes in process identification and privilege management.
The Real UID generally identifies the user who started the process. The Effective UID determines the process’s effective privileges for many operations, while the FSUID is used for file system access checks. In regular processes, these values are often identical, but they may differ for programs running with elevated privileges.
You can view the UID of the current process as follows:
grep '^Uid:' /proc/self/status
Typical result:
Uid: 1000 1000 1000 1000
The four values represent the real, effective, saved, and filesystem UIDs.
When a process attempts to access a file, Linux checks its identifiers, group memberships, and the object’s permissions. In the standard UGO model, without additional ACLs or special access control mechanisms, the logic works approximately as follows: if the user owns the file, the owner’s permissions apply; if the user is not the owner but belongs to the owning group, the group permissions are checked; otherwise, the Others permissions apply.
An important detail: the permissions of these three categories are not combined.
Suppose a file belongs to a user named ivan, who is also a member of the developers group. However, the owner has no standard permissions, while the group has read permission:
----r----- 1 ivan developers 128 Nov 2 10:30 secret.txt
It might seem that `ivan` should have access by virtue of his membership in the `developers` group. However, when a process runs on behalf of the owner, the standard UGO check applies the owner’s specific permissions—in this case, `—`. Group permissions do not compensate for the lack of owner permissions.
This situation can be resolved by granting the appropriate permission to the owner:
chmod u+r secret.txt
This example demonstrates how permission checks work, although such a combination of permissions is rarely configured intentionally.
The root user also requires special consideration. Processes with the appropriate privileges, including the CAP_DAC_OVERRIDE and CAP_DAC_READ_SEARCH capabilities, can bypass many standard file permission checks. However, this does not mean they are completely unrestricted.
For example, to execute a regular file directly, Linux requires at least one execute permission bit to be set. If none of the x bits are present, even a privileged process cannot simply execute the file through execve. However, an interpreter may still read and execute the contents of a script through another method, provided it has the necessary permissions.
In addition to UGO, access decisions can be affected by ACLs, SELinux or AppArmor policies, mount options, file system attributes, and other security mechanisms. That’s why, in complex situations, checking only chmod permissions and file ownership is not enough.
In addition to the three standard rwx permissions, Linux has special permission bits that modify the behavior of executable files and directories. The most important are SUID, SGID, and Sticky Bit.
These mechanisms are used to manage program privileges, enable collaboration, and protect files in shared directories. However, incorrect configuration can introduce additional security risks.
SUID (Set User ID) is a special permission bit that allows a program to run with the effective UID of the file owner when executed, provided the executable file and environment support this mechanism.
One classic example is the passwd utility. A regular user needs to be able to change their own password but does not have direct write access to /etc/shadow, where password hashes are stored. In a typical configuration, a privileged program performs the necessary operations, verifies that the requested actions are permitted, and updates the corresponding records.
Let’s check the utility’s permissions:
ls -l /usr/bin/passwd
On many systems, you can see something like this:
-rwsr-xr-x 1 root root 68248 Nov 2 10:30 /usr/bin/passwd
The letter s instead of the usual x in the owner’s permission field indicates that both SUID and execute permission are set. In numeric notation, SUID is represented by the value 4000. It can be configured using chmod u+s or a four-digit numeric value, such as 4755.
However, SUID should not be enabled on arbitrary programs, especially scripts or tools that allow users to execute commands. Setting SUID on an unsuitable executable can create a dangerous path to privilege escalation. In Linux, the kernel generally ignores SUID on regular interpreted scripts. For executable programs, its behavior also depends on restrictions such as no_new_privs, the nosuid mount option, and tracing mechanisms.
For DevSecOps professionals, it is important to know how to find files with SUID enabled and verify that the list matches the system’s expected configuration.
sudo find /usr /bin /sbin -type f -perm -4000 -print 2>/dev/null
The presence of SUID on a standard system utility is not necessarily a security issue. However, if this bit unexpectedly appears on a new or modified executable file, it is a reason to investigate the file’s origin, purpose, and integrity.
SGID (Set Group ID) behaves differently for executable files and directories. For supported executable files, it allows a process to obtain the effective GID of the file’s owning group. However, this mechanism is much more commonly used on directories, where SGID affects the group ownership of newly created files and subdirectories.
Suppose several developers are working on the same project. Each developer has their own primary group, but they all belong to a shared developers group. Without special configuration, newly created files may be assigned to each user’s primary group, making collaboration more difficult. When SGID is set on a directory, objects created within it will typically inherit the directory’s owning group under standard Linux behavior.
sudo chgrp developers /srv/project
sudo chmod g+s /srv/project
ls -ld /srv/project
As a result, the letter ‘s’ may appear in the group permission block:
drwxr-sr-x 2 root developers 4096 Nov 2 10:30 /srv/project
The numeric value of SGID is 2000. Therefore, it can be set using four-digit notation, such as 2755 or 2770, depending on the required standard permissions. However, it is important to understand that SGID ensures group inheritance but does not guarantee write access for all group members. To achieve this, you must also consider the default permissions of newly created files, umask, and any applicable ACLs.
Sticky Bit is primarily used on directories where multiple users have permission to create files but should not be able to freely delete or rename files belonging to others. A classic example is the /tmp directory, which is used to store temporary files by various programs and users.
Let’s check its permissions:
ls -ld /tmp
On a typical Linux system, the result looks like this:
drwxrwxrwt 18 root root 4096 Nov 2 10:30 /tmp
The letter ‘t’ at the end indicates that the Sticky Bit is set, along with execute permissions for “Others.” As a result, a regular user—even if they have write access to a shared directory—cannot simply delete a file belonging to someone else. Typically, deleting or renaming is permitted only for the file owner, the directory owner, or a process with appropriate privileges, subject to other access checks.
The Sticky Bit can be set using the following command:
sudo chmod +t /srv/shared
Or using a numerical method:
sudo chmod 1777 /srv/shared
The last command grants broad, standard permissions to all users; therefore, it should be used only for directories where such behavior is truly required. For general working directories, it is safer to restrict access using appropriate groups and ACLs.
Numeric values for special bits:
| Bit | Value | Primary purpose |
|---|---|---|
| SUID | 4000 |
Effective owner UID at runtime |
| SGID | 2000 |
Group privileges or directory group inheritance |
| Sticky Bit | 1000 |
Restrictions on deletion and renaming in a shared directory |
Special bits can be combined with one another, but in most administrative tasks, they are used separately, in accordance with the resource’s purpose.

The standard UGO model is fairly simple, but its capabilities are not always sufficient for real-world scenarios. For example, suppose a file belongs to a user named admin, but two additional users need access to it: maria should have read and write permissions, while sergei should only have read permission.
Implementing this level of access control using basic UGO permissions can be difficult without creating and managing additional groups. For more flexible permission management, Linux uses ACLs (Access Control Lists).
POSIX ACLs allow you to assign specific permissions to individual users and groups without changing the file’s primary owner. This is useful for shared directories, project files, backups, and other resources accessed by multiple teams.
In Linux, ACLs are typically managed using the getfacl and setfacl utilities. On Debian and Ubuntu, these tools are available through the acl package:
sudo apt install acl
Suppose we have a file named report.txt. You can view its current ACLs using the following command:
getfacl report.txt
If no additional entries are configured, the result will display the standard permissions for the owner, group, and other users.
To grant the user `maria` read and write permissions, we execute:
setfacl -m u:maria:rw report.txt
And to grant the user `sergei` read-only access:
setfacl -m u:sergei:r report.txt
After this, let’s review the list:
getfacl report.txt
The result may contain the following entries:
user::rw-
user:maria:rw-
user:sergei:r--
group::r--
mask::rw-
other::---
The file now has specific permissions for two individual users, while the primary owner remains unchanged. When extended ACLs are configured on a file, a `+` symbol typically appears after the standard set of permissions in the output of `ls -l`.
To remove a specific entry, use `setfacl -x`:
setfacl -x u:sergei report.txt
And to remove extended ACL entries:
setfacl -b report.txt
When working with ACLs, it is important to understand the significance of the mask. It limits the effective permissions for named users, groups, and the owning group, but not for the file owner or the “Others” category. For example, if a user is granted `rwx` in an ACL, but the mask only allows `r-x`, the user will not have effective write permission.
You can view the mask using `getfacl`, and modify it as follows:
setfacl -m m::rx report.txt
This explains why an ACL may appear to contain the necessary permissions, yet the operation still fails.
Another important feature of ACLs is the automatic inheritance of permissions by newly created files and directories. Imagine a shared directory where new files are constantly being created. If ACLs are configured only on the directory itself, those rules will not necessarily apply to newly created objects. This is where default ACLs come into play. They define a set of permissions that new objects inherit when they are created inside the directory.
For example, to configure permissions for the developers group on an existing directory and set default ACLs for future objects, you can run:
sudo setfacl -m g:developers:rwx /srv/project
sudo setfacl -d -m g:developers:rwx /srv/project
The first command assigns group permissions to the directory itself. The second adds default ACLs that will be applied to new objects created within it. Keep in mind that the actual permissions of newly created files also depend on the permissions requested by the application. In particular, regular text files do not automatically receive execute permission simply because x is present in the default ACL.
These commands also do not modify existing files in subdirectories. If you need to configure access for an entire existing directory tree, you must apply the appropriate rules recursively, after reviewing its structure and permission requirements.
We briefly covered umask in Part 2 when discussing user accounts and default user settings. Now, let’s take a closer look at this mechanism, as it directly affects the permissions assigned to newly created files and directories.
The umask command displays or changes the permission mask that a process uses when creating new objects. It helps determine which standard permissions should be excluded from the set requested by an application.
For regular files, applications often request initial permissions of 666, meaning read and write access for all three user categories. For directories, the typical initial permission set is 777, since the x bit is required for directory traversal.
Let’s check the current mask:
umask
For example, the result:
0022
For typical initial permissions, this mask results in 644 permissions for files and 755 for directories.
However, technically, umask works by clearing permission bits through a bitwise operation rather than performing ordinary arithmetic subtraction. Therefore, with non-standard values, the results cannot always be calculated correctly using simple subtraction.
The most common values are:
| umask | New files | New catalogs |
|---|---|---|
022 |
644 |
755 |
027 |
640 |
750 |
077 |
600 |
700 |
These results assume standard requested permissions and the absence of additional factors that alter object creation behavior.
For example, if the umask is set to 077, new files will, under normal conditions, be accessible only to their owner:
umask 077
touch private.txt
mkdir private-dir
ls -ld private.txt private-dir
This can be useful for files containing sensitive configurations, private data, and other information that requires restricted access. For production servers, a umask value of 027 is often a reasonable compromise between security and group collaboration. It allows the owner to manage files, preserves limited access for the group, and removes standard permissions for Others.
However, there is no universal umask value suitable for every system. The appropriate setting depends on the server’s purpose, application requirements, security policies, and collaboration needs. It can be defined through shell configuration, PAM, user account creation settings, or systemd service configuration.
For the current shell, you can run:
umask 027
And in a systemd unit file, the corresponding parameter might look like this:
[Service]
UMask=0027
This is particularly useful for services that automatically create files, logs, or temporary data. A properly defined mask helps reduce the risk of accidentally exposing sensitive information.

To reinforce what we’ve learned, let’s create a practice environment where we’ll configure file ownership, standard permissions, and ACLs. All file operations can be performed within your own home directory. For examples involving an additional user, you’ll need a test system where creating local user accounts is permitted.
First, let’s create the working directory structure:
mkdir -p ~/permissions-lab/{config,logs,shared}
cd ~/permissions-lab
touch config/app.conf
touch logs/app.log
touch shared/report.txt
Let’s review the current permissions:
ls -ld config logs shared
ls -l config/app.conf logs/app.log shared/report.txt
Now, let’s assign different permissions based on the purpose of the files. We will make the configuration accessible only to the owner, allow the group to read the log, and set up the directory containing shared files for future use with ACLs.
chmod 600 config/app.conf
chmod 640 logs/app.log
chmod 700 config
chmod 750 logs
chmod 700 shared
Let’s check the result:
ls -ld config logs shared
ls -l config/app.conf logs/app.log
At this stage, we have several objects with different sets of permissions. The configuration file is accessible only to the owner, the log file has more restricted group access, and the private directory is closed to other users.
Next, let’s create a separate account for training purposes. This command requires administrative privileges:
sudo useradd -m -s /bin/bash labreader
Now, using an ACL, we will grant access to the current user’s home directory and the path to the test file. To do this, let’s first determine the absolute path:
pwd
After this, the following can be performed within the learning environment:
setfacl -m u:labreader:x "$HOME"
setfacl -m u:labreader:rx "$HOME/permissions-lab"
setfacl -m u:labreader:rx "$HOME/permissions-lab/shared"
setfacl -m u:labreader:r "$HOME/permissions-lab/shared/report.txt"
These rules grant the test user access to traverse the necessary directories and read a specific file, without exposing the entire home directory to other users.
Let’s verify the configured ACLs:
getfacl "$HOME/permissions-lab/shared/report.txt"
Now let’s try to read the file as labreader:
sudo -u labreader cat "$HOME/permissions-lab/shared/report.txt"
With the correct configuration, the command should execute without errors. Since the file is empty, no text will appear in the terminal, but the read operation itself will be permitted.
To verify that writing is prohibited, let’s try adding a new line to the file:
sudo -u labreader sh -c 'echo test >> "$1"' sh "$HOME/permissions-lab/shared/report.txt"
The operation should result in an access error, as we have granted only read permissions to the `labreader` user. This example illustrates the distinction between directory permissions, standard file permissions, and additional ACLs. In a real-world infrastructure, these mechanisms are often used in combination to provide access to specific resources without granting excessive privileges.
Once the exercise is complete, you can remove the training account and the files that were created:
sudo userdel -r labreader
setfacl -x u:labreader "$HOME"
rm -r "$HOME/permissions-lab"
The last command removes the practice directory. Before running it, make sure you no longer need its contents.
🔎 Checking Permissions and Ownership
ls -l– Display standard file permissions, owner, and group.
ls -ld– Check the permissions of the directory itself.
stat– Display detailed metadata about a file system object.
namei -l– Check permissions on every component of a file path.
id– Display a user’s UID, GID, and group memberships.
🔐 Changing Standard Permissions
chmod 644 file– Allow everyone to read the file, but only the owner to modify it.
chmod 600 file– Allow only the owner to read and write the file.
chmod 755 dir– Give the owner full access while allowing others to read and traverse the directory.
chmod u+x file– Add execute permission for the owner.
chmod g-w file– Remove write permission from the group.
chmod -R– Recursively change permissions within a directory.
👤 Managing File Ownership and Groups
chown user file– Change the file owner.
chown user:group file– Change both the owner and group.
chgrp group file– Change the owning group.
chown -R– Recursively change ownership and group assignments.
⚙️ Special Permission Bits
chmod u+s file– Set the SUID bit.
chmod g+s dir– Set the SGID bit on a directory.
chmod +t dir– Enable Sticky Bit.
find /usr -type f -perm -4000– Find files with SUID enabled in the/usrdirectory.
🛡️ Extended Access Control Lists (ACLs)
getfacl file– Display ACL entries.
setfacl -m u:user:rw file– Grant a user read and write permissions.
setfacl -m g:group:rx dir– Grant a group read and directory traversal permissions.
setfacl -x u:user file– Remove a specific ACL entry.
setfacl -b file– Remove extended ACL entries.
setfacl -d– Configure default ACLs for a directory.
📁 Default Permissions for New Files
umask– Display the current permission mask.
umask 022– A common setting that allows files to be read by other users.
umask 027– Restrict access for users outside the owner and owning group.
umask 077– Under typical configurations, restrict access to the owner only.
Linux file permissions determine how users and processes interact with files, directories, and system resources. Proper permission configuration not only helps prevent application errors but also limits the potential impact of a system compromise.
In Part 3 of this series, we explored the standard UGO model, the meaning of rwx permissions, numeric and symbolic permission notation, and the chmod, chown, and chgrp commands. We also covered how the Linux kernel checks access permissions, special permission bits such as SUID, SGID, and Sticky Bit, extended ACLs, and the umask mechanism.
For DevOps engineers, these tools are essential for deploying applications, configuring servers, and enabling team collaboration. For DevSecOps professionals, they help control privileges, identify insecure configurations, and reduce the risk of unauthorized access.
In Part 4, the final installment of the “Linux for DevOps and DevSecOps” series, we’ll move on to processes and system management. We’ll cover PID, PPID, signals, the ps, top, htop, kill, and nice commands, as well as service management with systemd and how to analyze service behavior.