
As AI tools continue to evolve, they are becoming increasingly integrated into penetration testing workflows. Security professionals often rely on solutions such as Claude Code, Grok, ChatGPT, and other models that can be deployed on VPS instances, company servers, or locally on physical and virtual machines. Each pentester uses these tools according to their own needs and objectives. In this article, we will explore one such solution, PentestGPT, an AI-powered tool designed to help accelerate and simplify complex penetration testing tasks.

Disclaimer: The author assumes no responsibility for any actions taken by users. This tool was used solely for research and educational purposes. When using this tool, it is recommended to work within a virtual machine and use a VPN to enhance your security and privacy while connected to the internet.
To follow this guide, you will need a Linux distribution installed. Detailed installation instructions can be found on our website. In this example, we will be using Kali Linux.
Since PentestGPT supports local operation in addition to using APIs from tools such as Claude Code and ChatGPT, we will install Ollama to run a local language model.
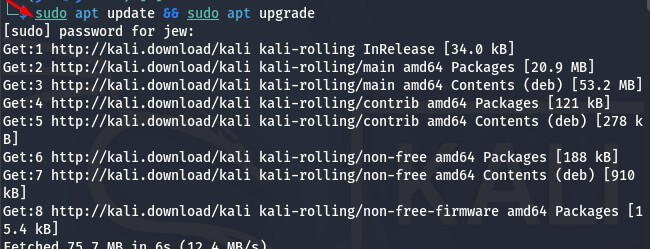
Open a terminal and begin the Ollama installation process. First, update your system packages using the following command:
sudo apt update && sudo apt upgrade
This process may take some time depending on your network speed and hardware performance. Simply wait until the update process has completed.
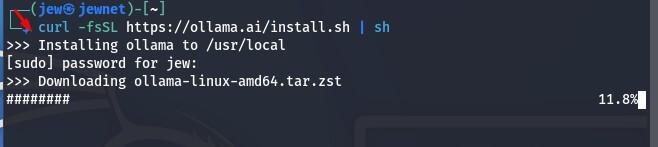
Next, we need to install Ollama. To do this, enter the following command in the terminal. This is the official installation method provided by the developers, as the standard sudo apt install ollama command may result in an error.
To avoid installation issues, use the official command:
curl -fsSL https://ollama.ai/install.sh | sh
If you are installing Ollama on a virtual machine, as shown in this guide, you may encounter a warning or error message similar to the one below.
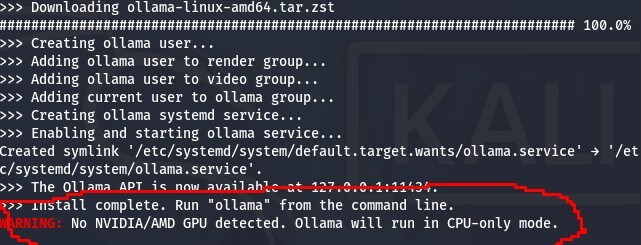
This is not critical and everything should continue to work correctly. The installation script simply cannot detect signed AMD or NVIDIA GPU drivers because we are running inside a virtual machine, which is completely normal. You can safely ignore this message and proceed with the installation.
Now start the local Ollama server by running the following command in the terminal:
ollama serve
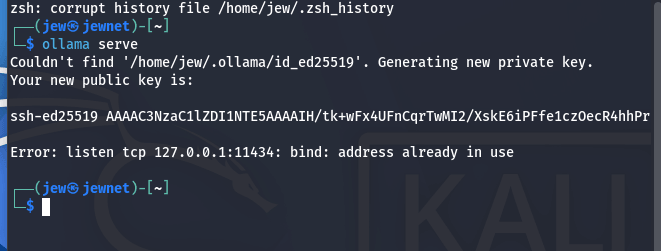
By default, Ollama starts on 127.0.0.1:11434.
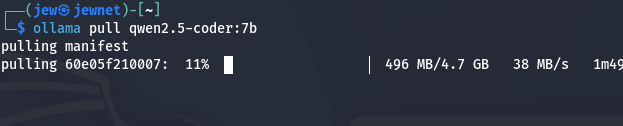
Next, we will install the model that will be used throughout this guide.
ollama pull qwen2.5-coder:7b
The model size is approximately 4.7 GB, so keep this in mind before downloading. If you prefer, you can use a different model that better suits your requirements.
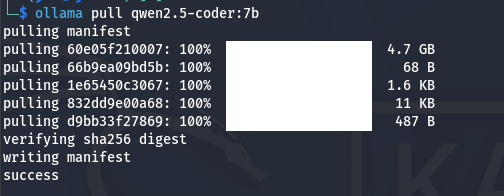
As we can see, the model has now been successfully installed.
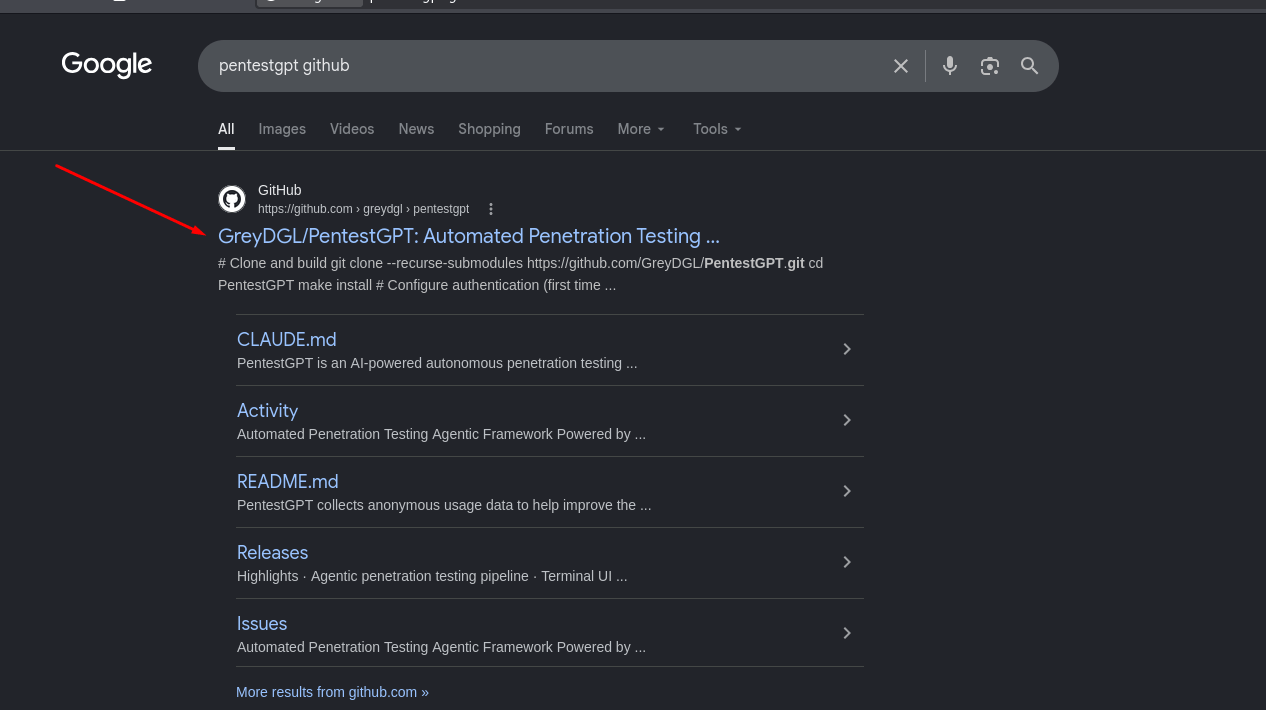
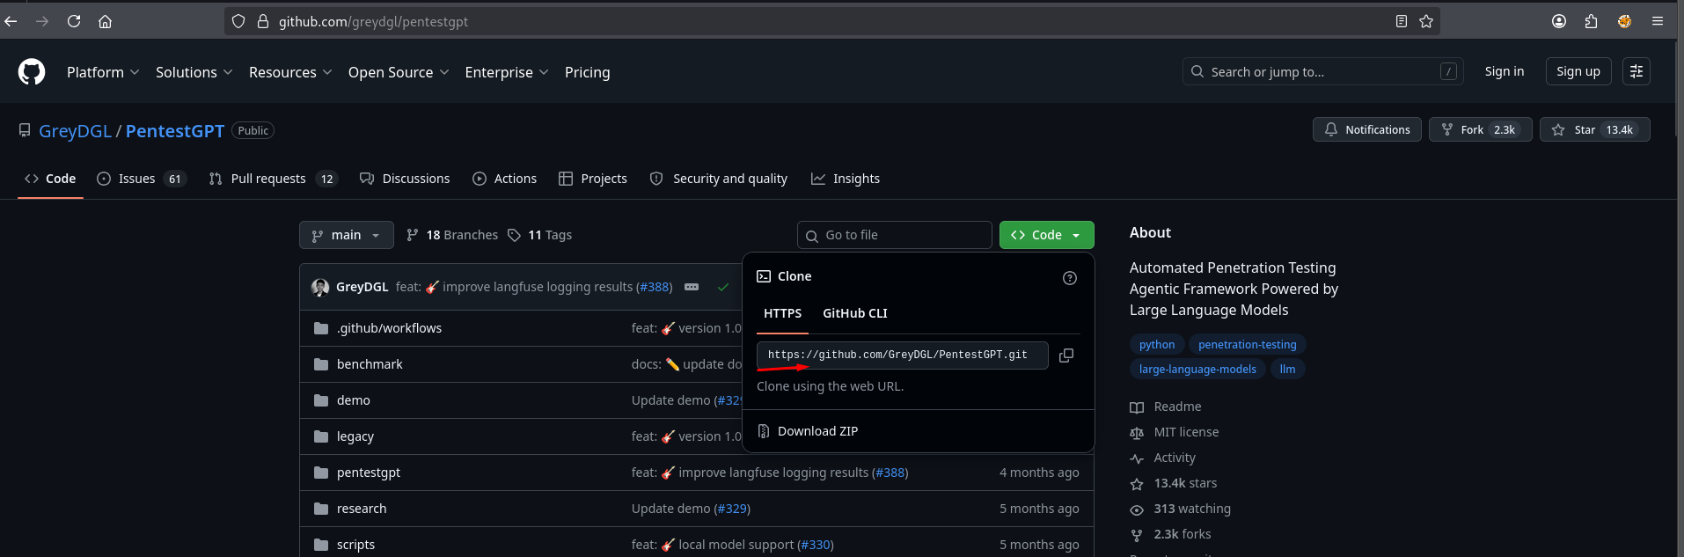
Now we can install PentestGPT itself. Open your preferred search engine, type “PentestGPT GitHub”, and open the first result:
Open the repository page and copy the highlighted command:
Next, build and prepare the tool using Docker with the following command:
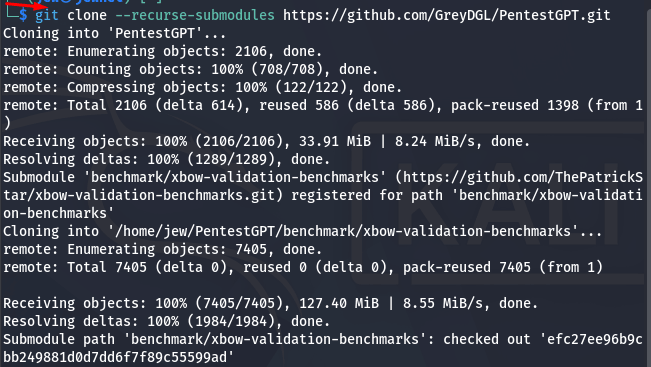
git clone --recurse-submodules https://github.com/GreyDGL/PentestGPT.git
To do this, open a terminal, enter the command, and wait until you see an output similar to the following:
Next, navigate to the PentestGPT directory to build the Docker container and configure the application. Use the following command:
cd PentestGPT
First, build the container using the following command:
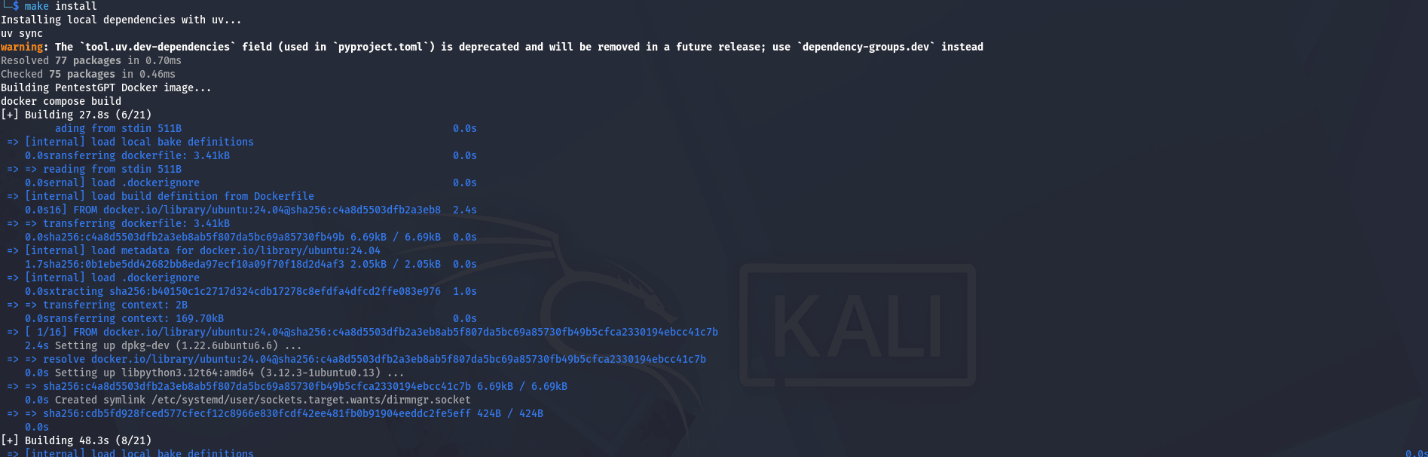
make install
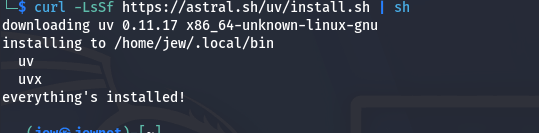
In some cases, you may encounter an error indicating that the uv Python package manager is missing. This can be resolved with a single command:
curl -LsSf https://astral.sh/uv/install.sh | sh
Next, update the dependency paths in your terminal by running the following command:
source ~/.zshrc
Now, navigate back to the PentestGPT directory using cd PentestGPT and build the Docker container with the following command:
make install
(Important: If no errors occurred, you do not need to perform the action described in the screenshot below. However, if you encounter Error 1, Error 25, or Error 45, you will need to remove the no-cache value from the file.)
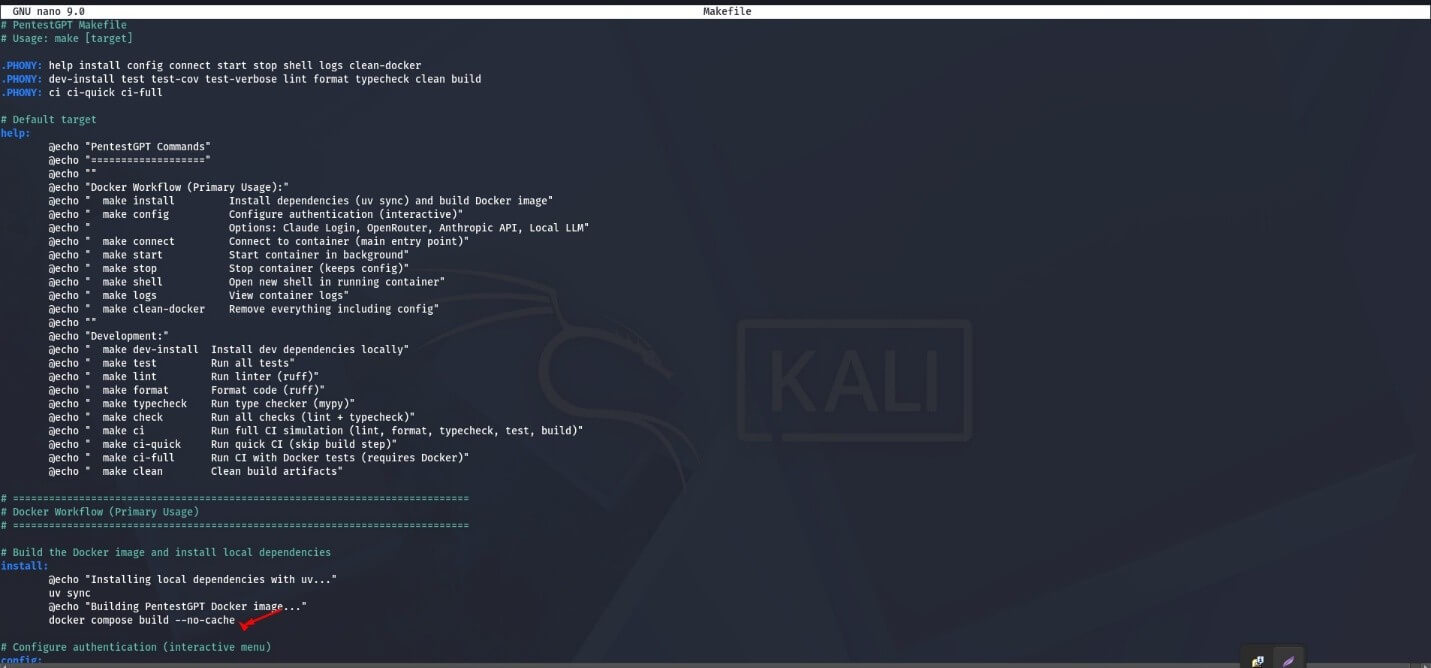
In the Makefile file, repeat the steps in the following order:
cd PentestGPT
make install
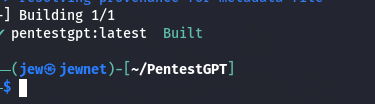
And finally, as we can see, everything worked successfully. Now you need to wait for the installation and configuration process of all components to complete.
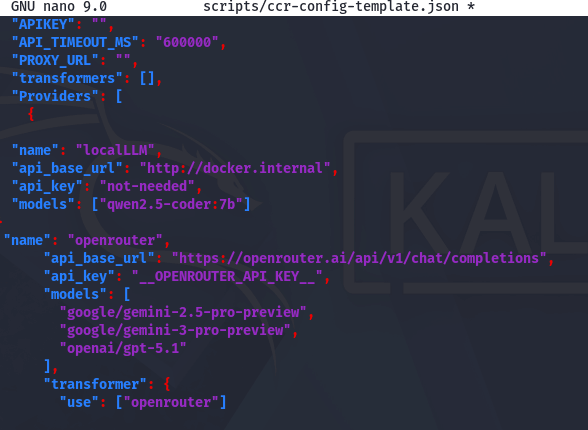
Now edit the config file and set the following values:
nano scripts/ccr-config-template.json
{
  "name": "localLLM",
  "api_base_url": "http://docker.internal",
  "api_key": "not-needed",
  "models": ["qwen2.5-coder:7b"]
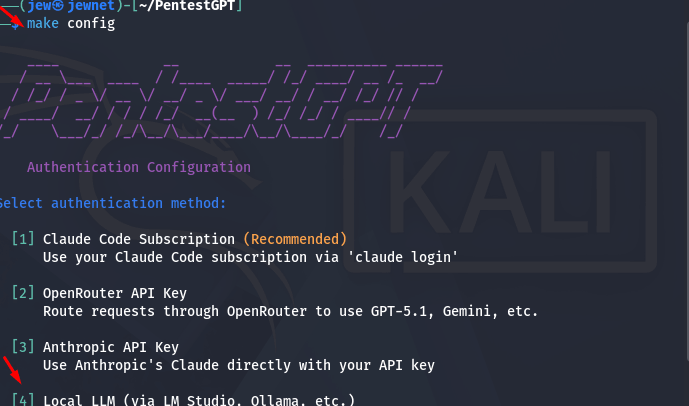
You need to select option 4, as shown in the screenshot, to ensure that the local model is used.
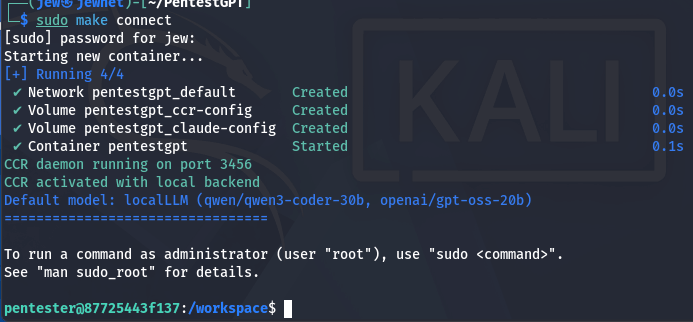
After selecting the required option, run everything that is needed using the following command:
make connect
Or:
sudo make connect
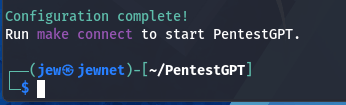
At the end of the configuration process, you need to enter the following command to ensure that the local model is used.
pentestgpt --reasoning_model=localLLM --parsing_model=localLLM
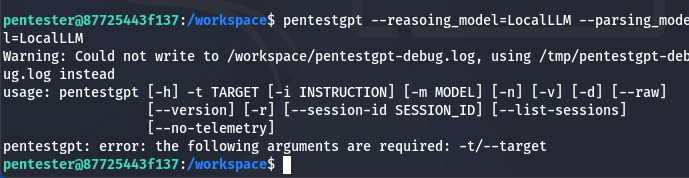
In summary, this command must be entered together with the target. For example:
pentestgpt -t "http://127.0.0.1" -m "назва моделі ШІ яка використовується для пентесту"
This tool improves the penetration testing workflow for anyone looking to learn or optimize their work. It is not a silver bullet for every possible scenario, but rather one of many tools that can be useful in specific situations. Like any AI-powered assistant, its effectiveness depends on how it is used and the experience of the person operating it.


Вау, клас!. Але от на Github’і проєкту інша інструкція встановлення. Чув, що ви навмисно так робите, щоб тупо не копіпастили команди. Респект.
Слава Україні. РуZZні 3.14зда!
замість qwen – глючного китайського лайна можете поритись на huggingface та підшукати собі якусь хоча б трохи менш цензуровану модельку, а так прікольно