13.06.2025
9 min
2643

Are you building an ESP32 Marauder yourself? This guide will help you build a complete ESP32-based Wi-Fi scanner with a TFT display, MicroSD, battery, and TP4056 charging module. Explanations of wiring diagrams, Arduino library setup, firmware, SPIFFS configuration, and even 3D printing of the case are all in one place. Learn how to build your own cybersecurity device without ready-made boards — simply, cheaply, and efficiently.

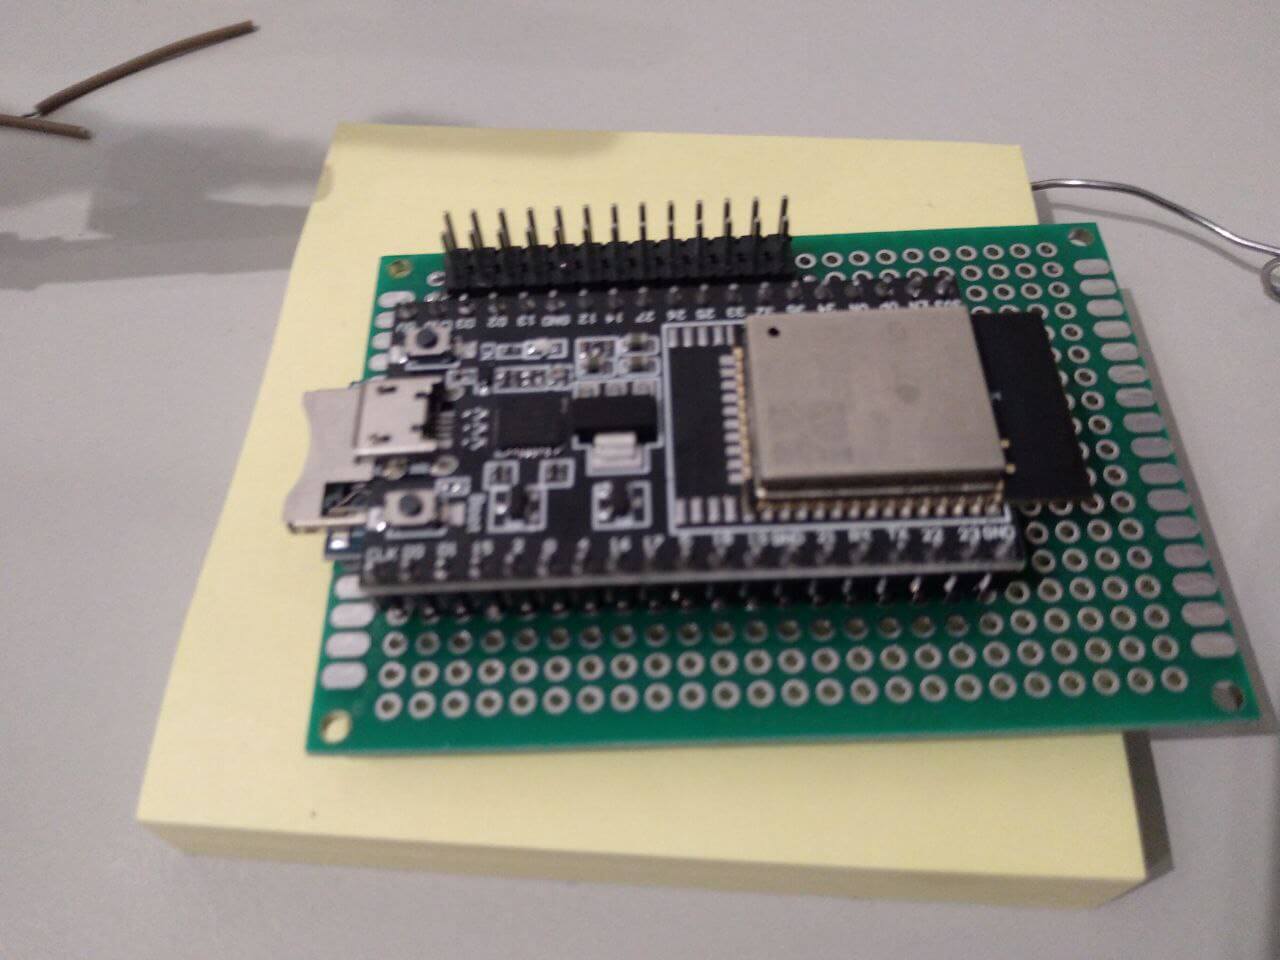
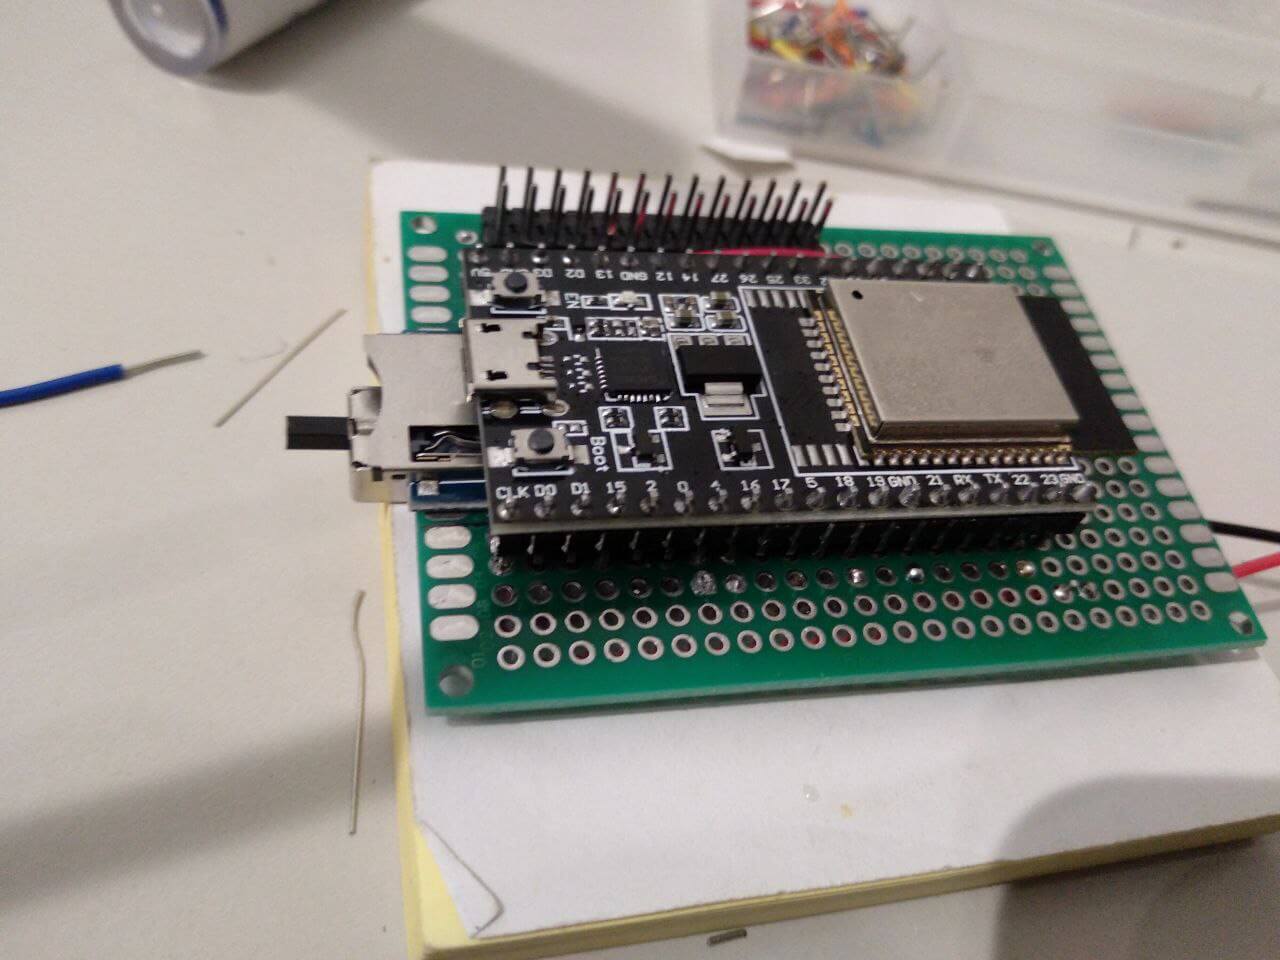
If you want to build the ESP32 Marauder yourself, without using a pre-made board, you will need a basic set of electronic components, a little time, soldering skills, and a willingness to experiment. This project does not require expensive equipment, and all the components are easy to find online or at your local electronics store.
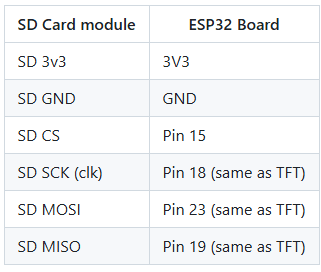
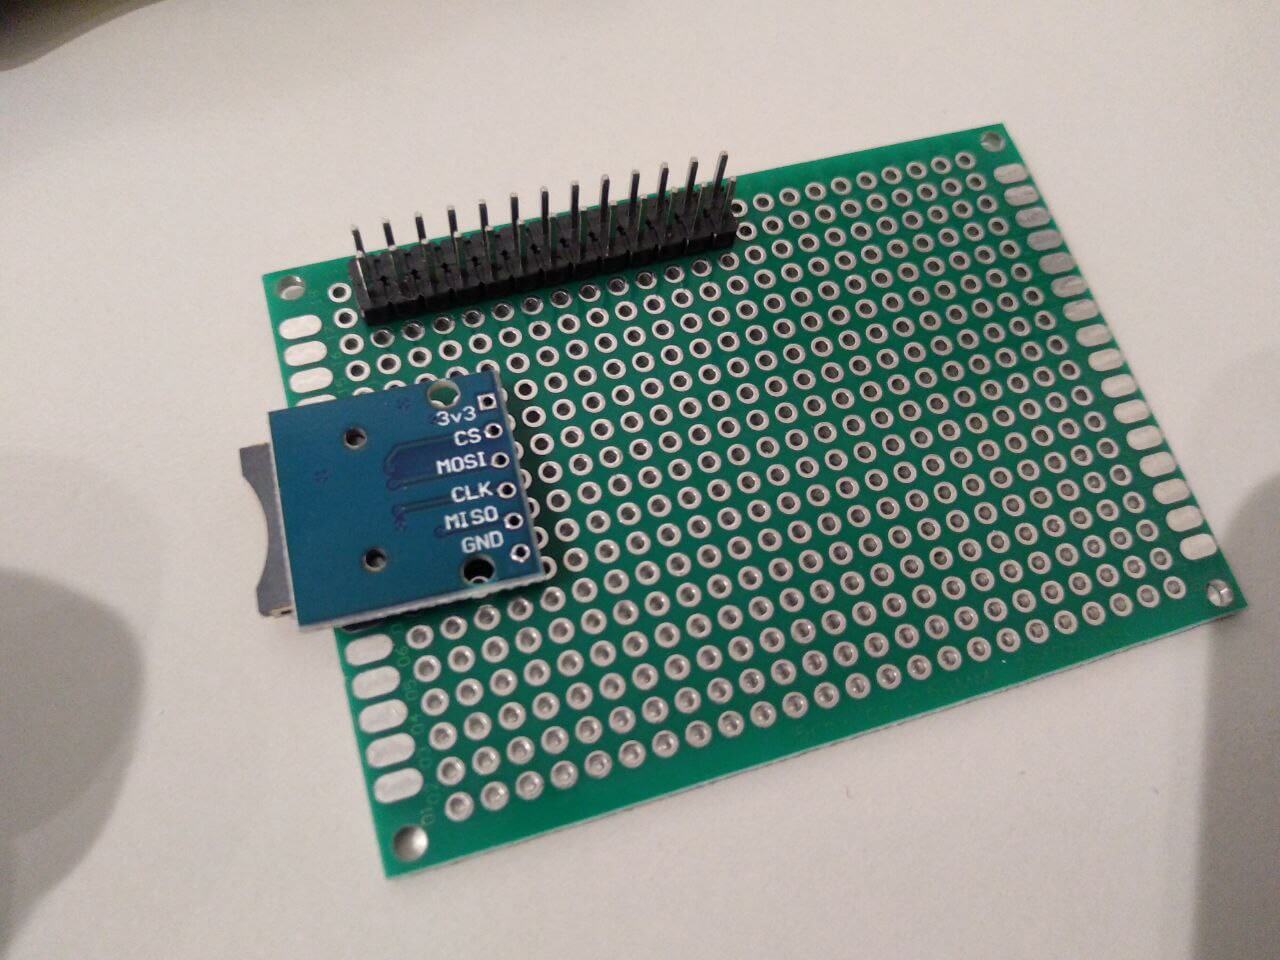
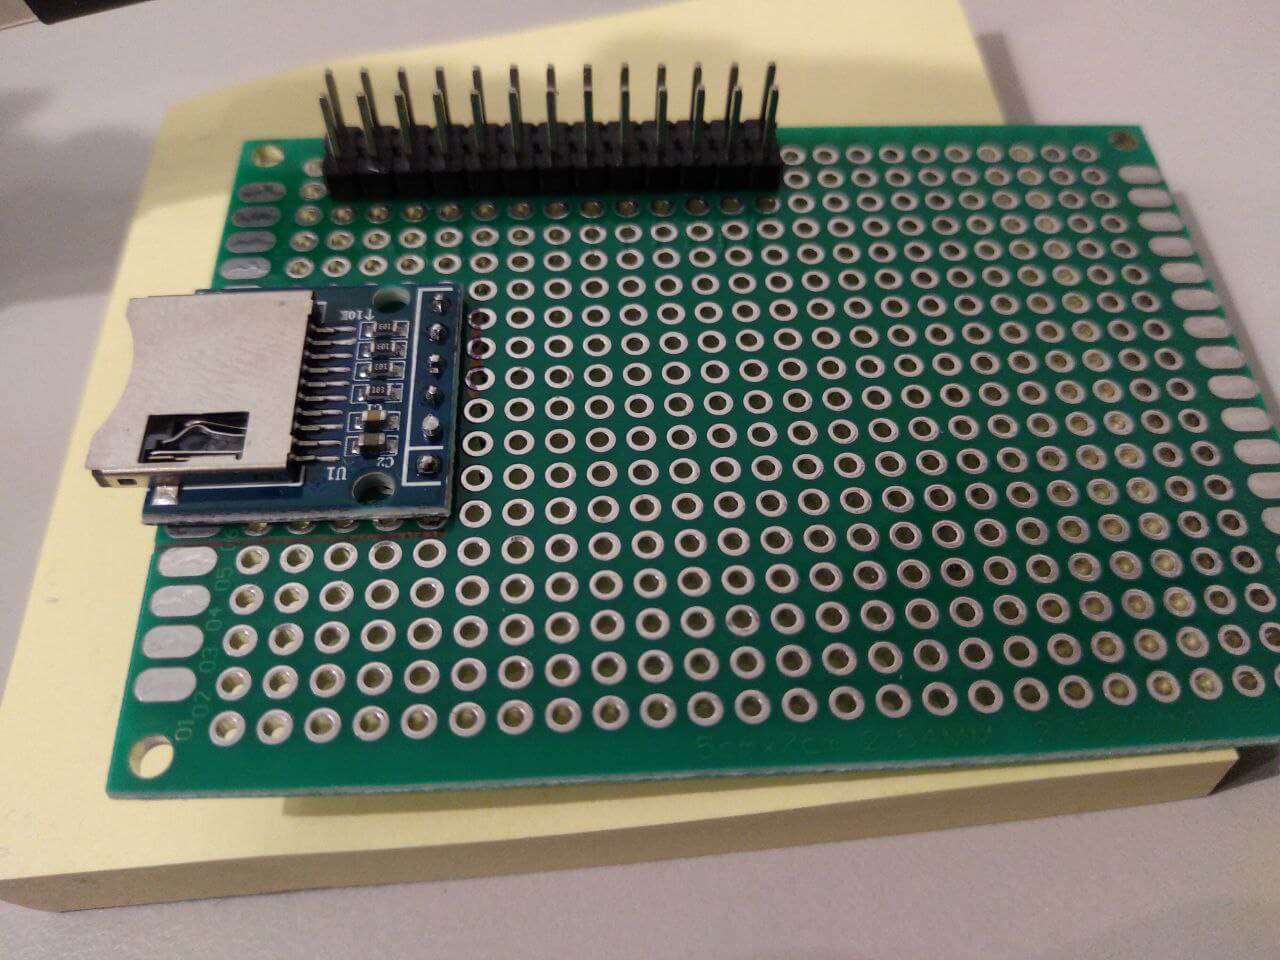
MicroSD Module 0.43 euro
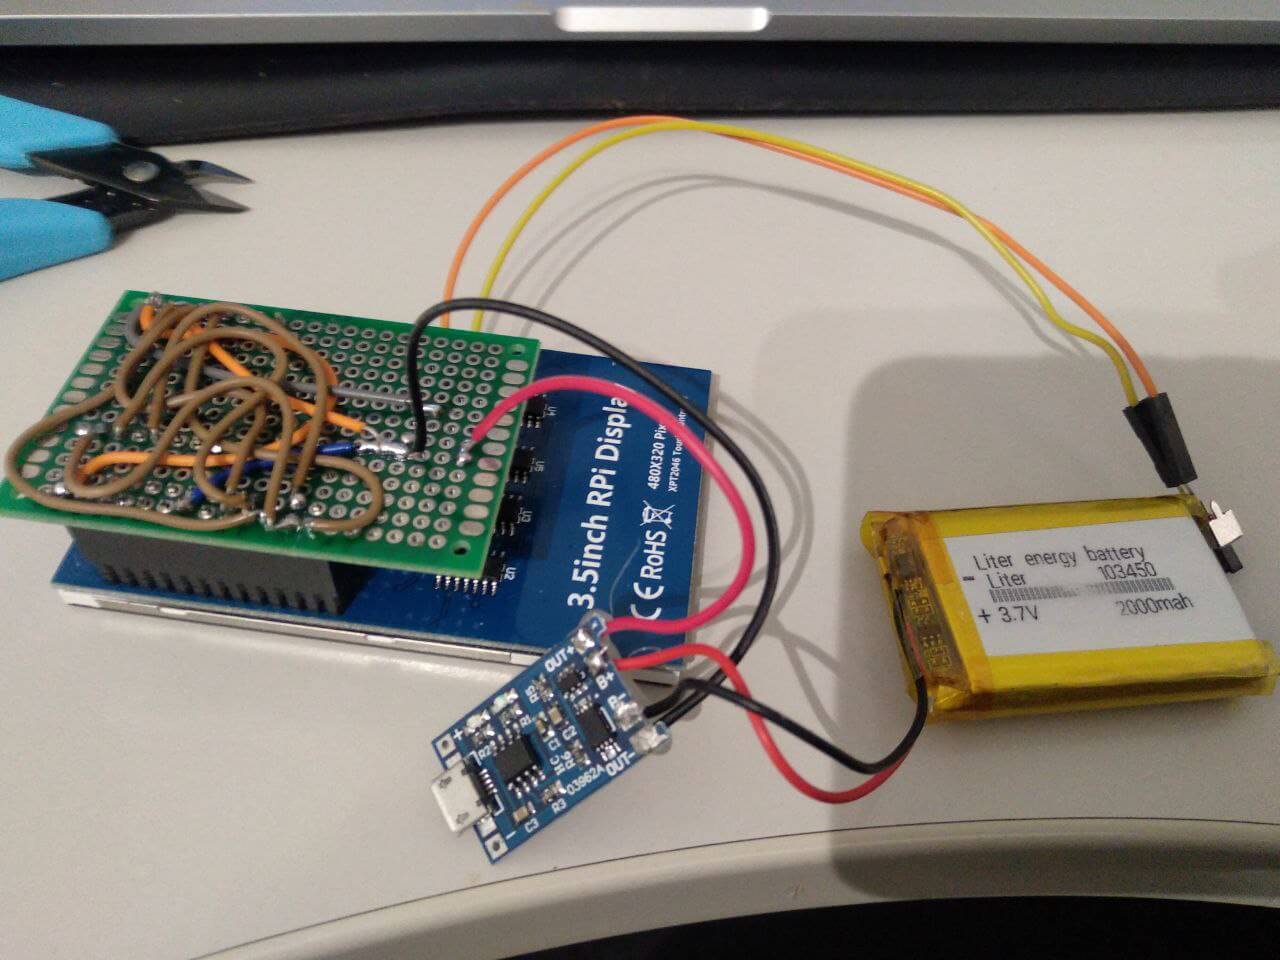
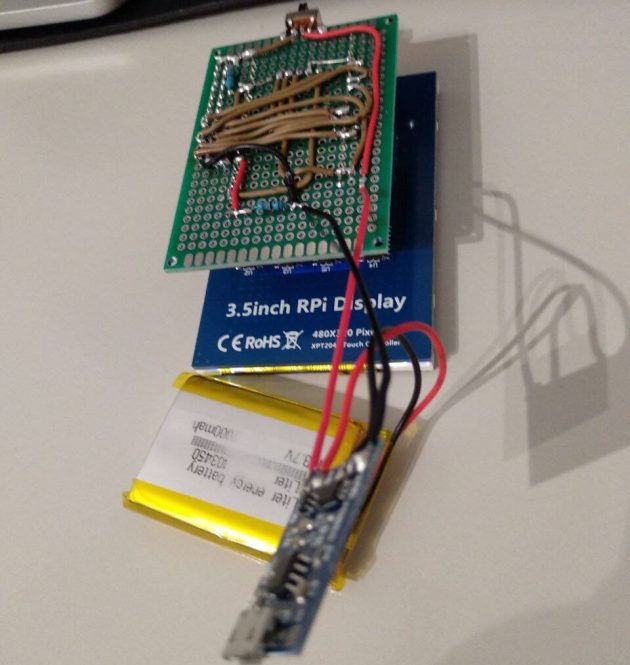
Lithium Polymer Battery 3.7V 103450, price 4.87 euros
TP4056 Charging Board 0.30 euro
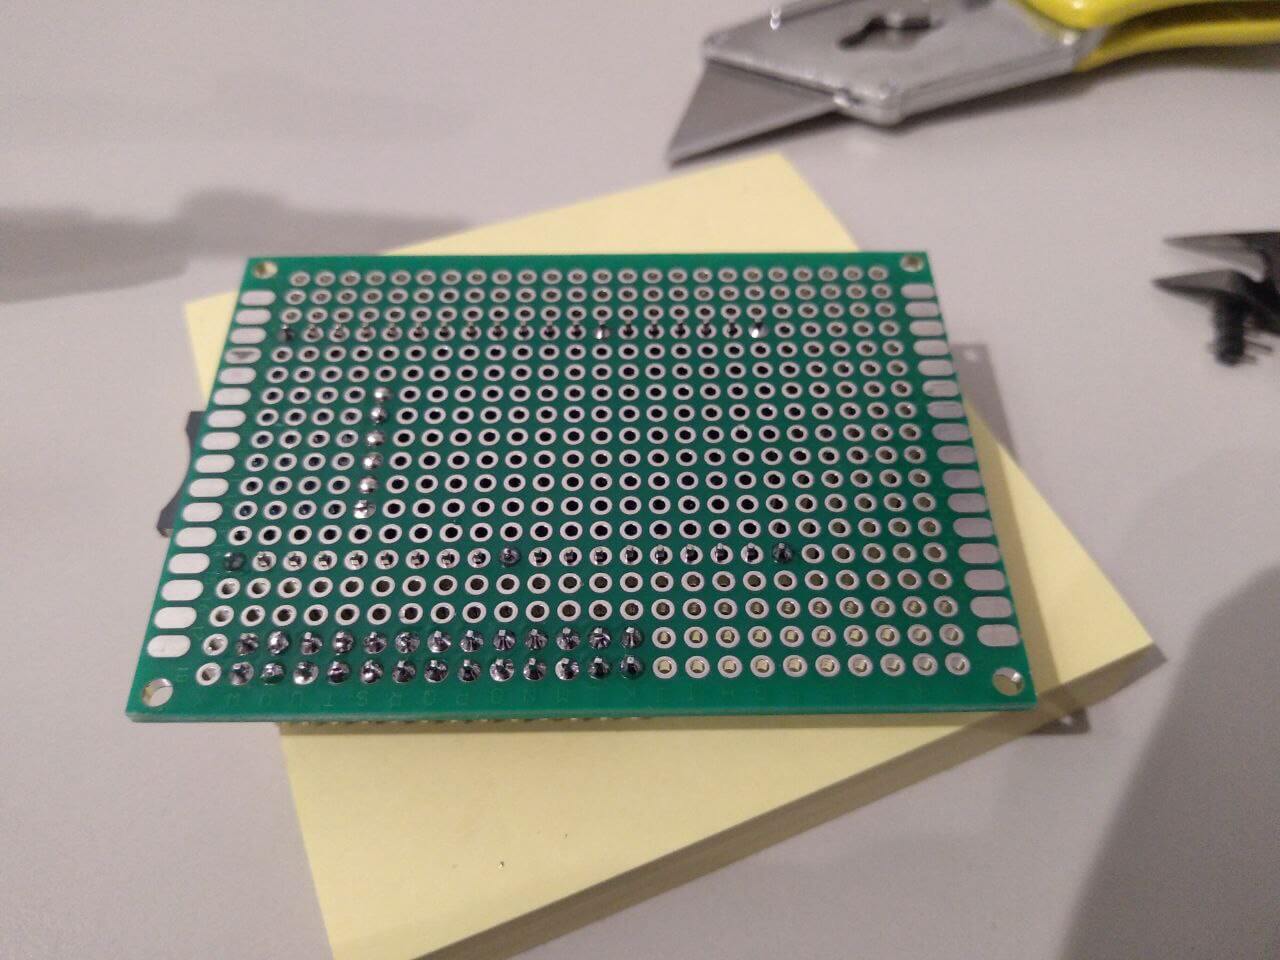
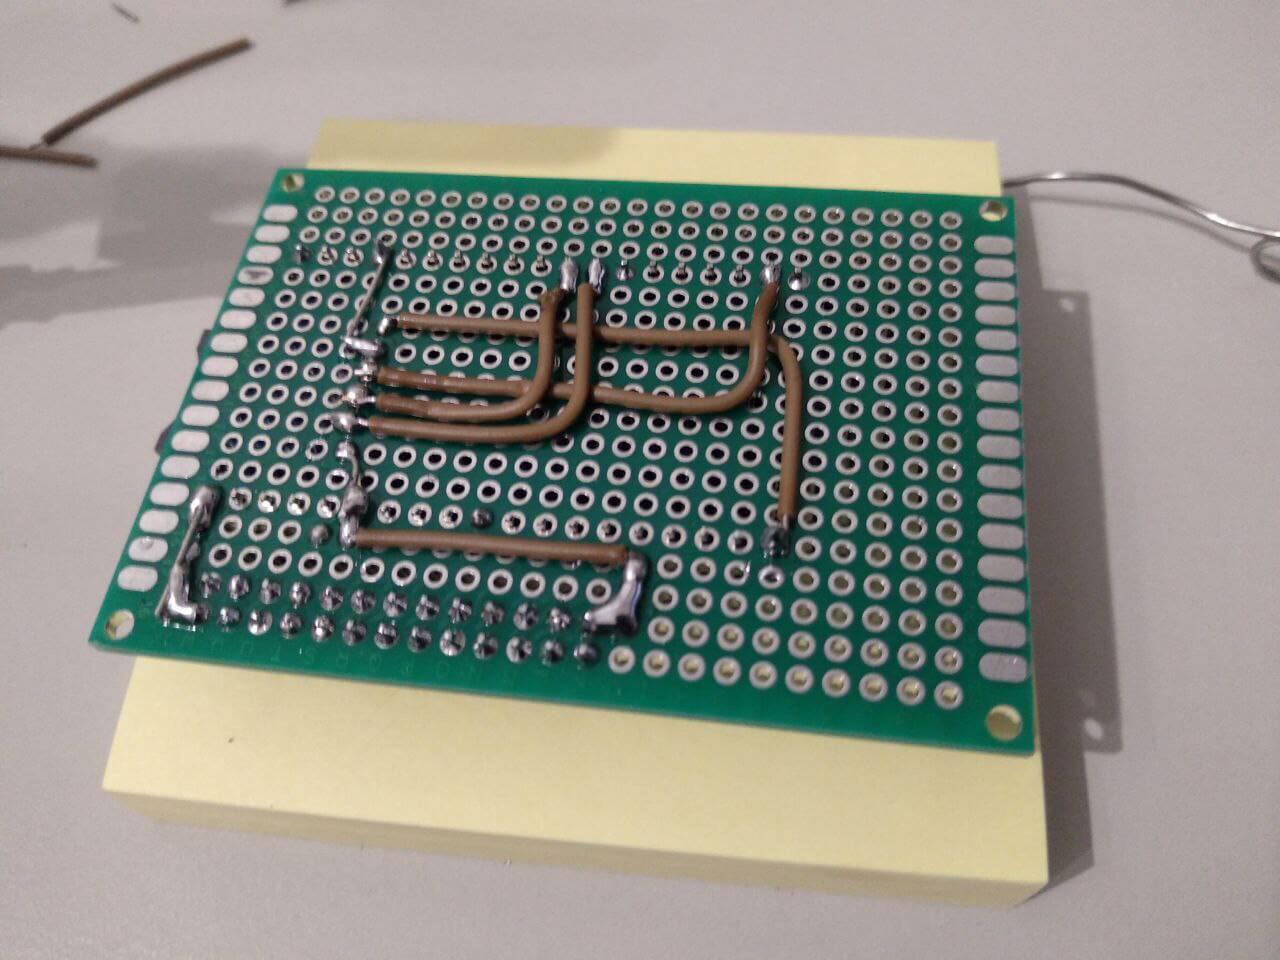
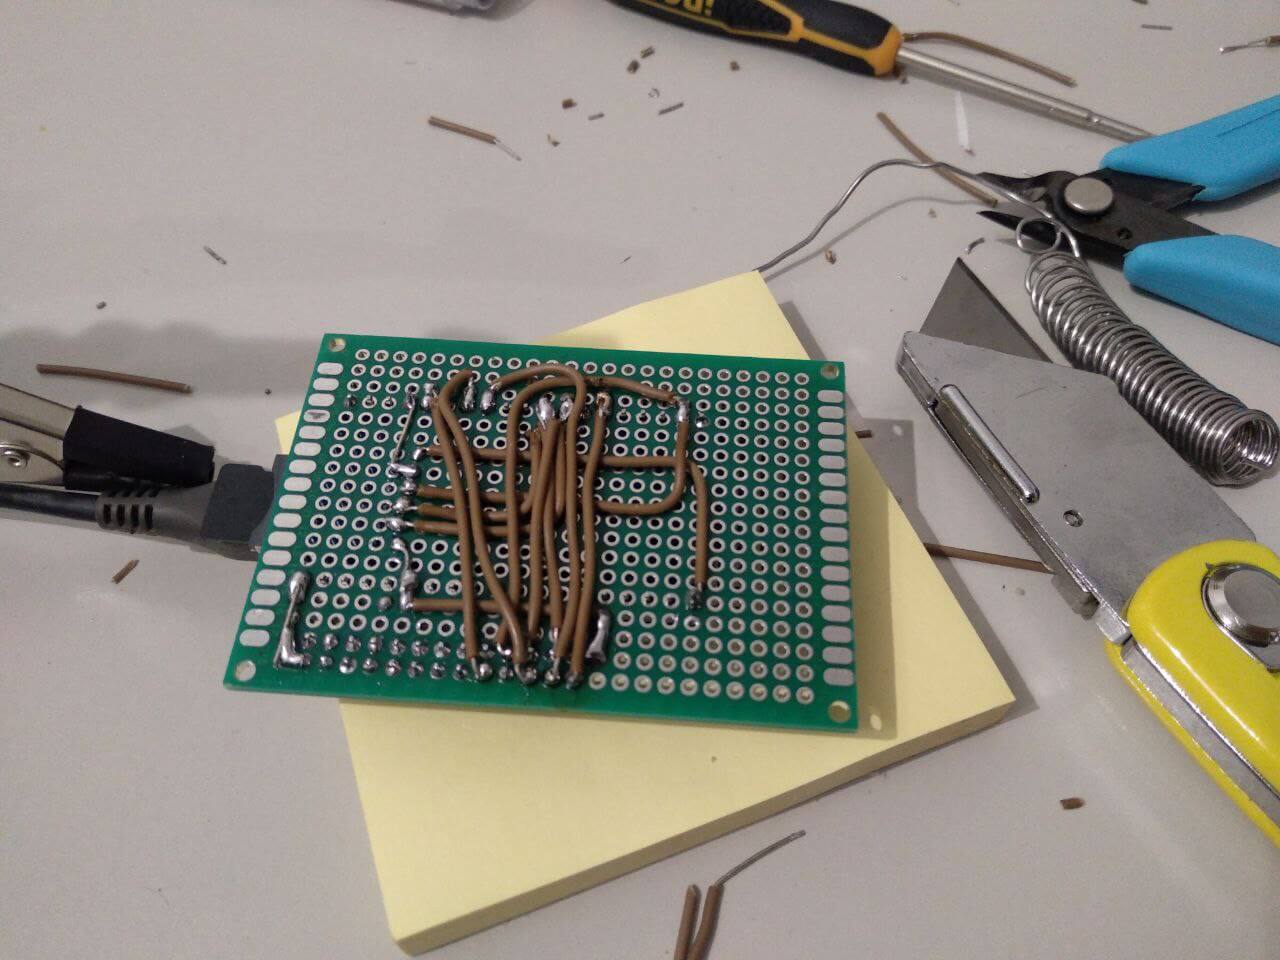
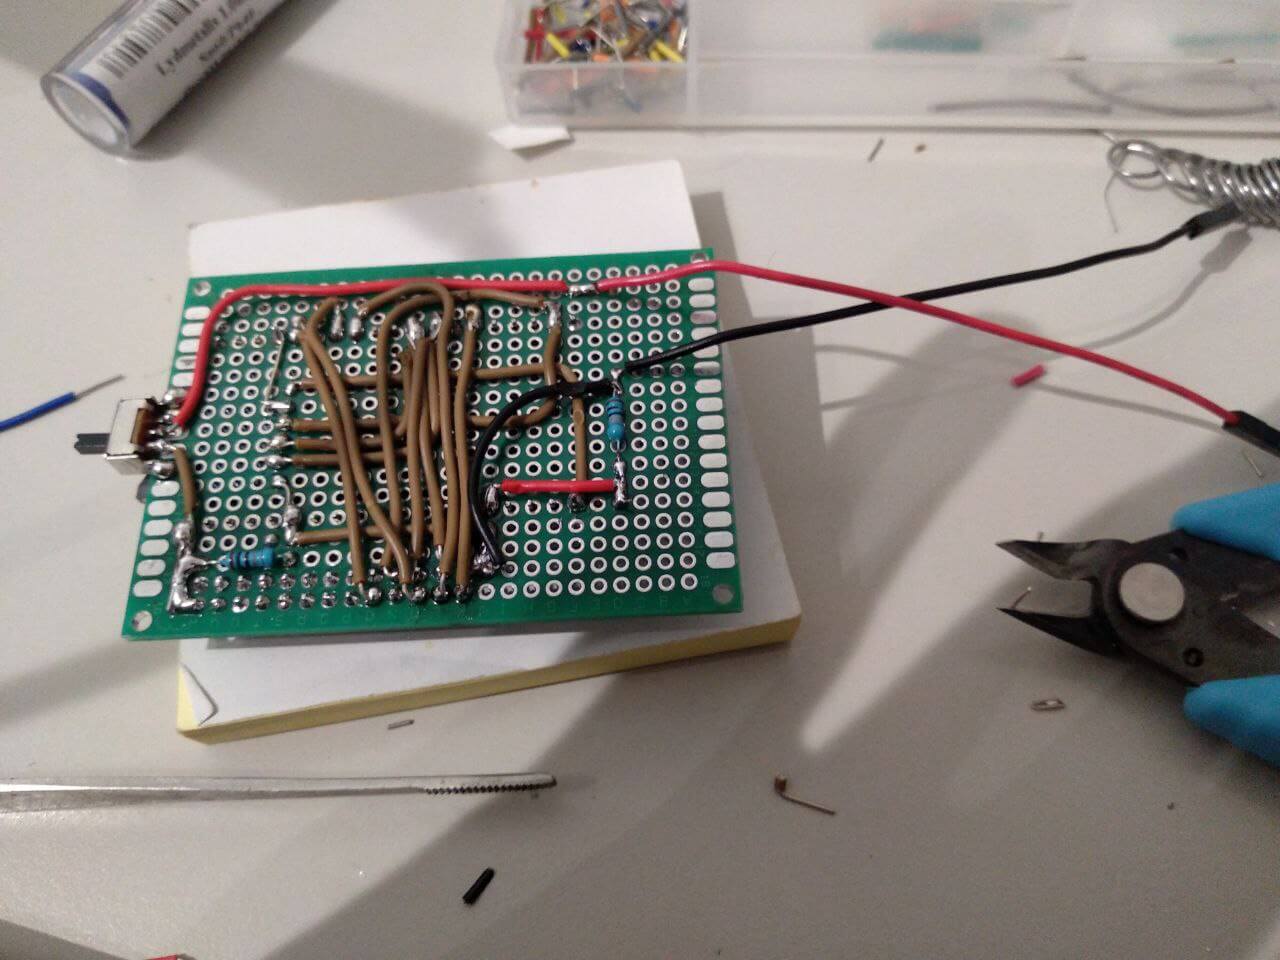
Double-sided Breadboard 5×7 cm, Copper Green, 1.61 euro
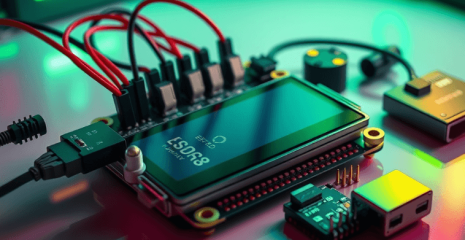
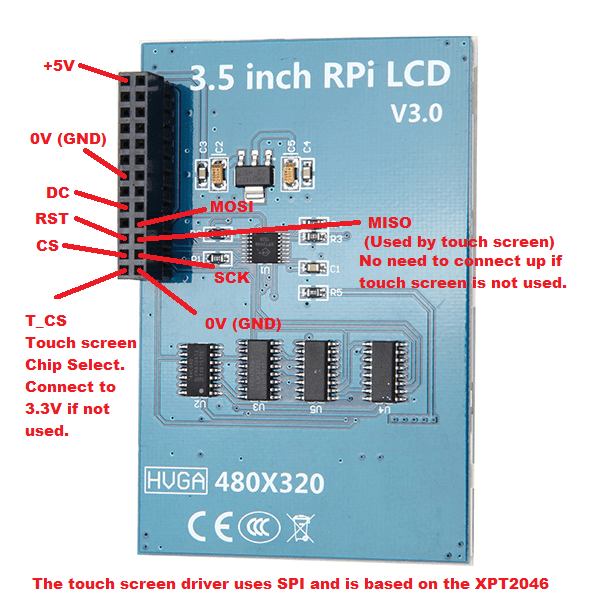
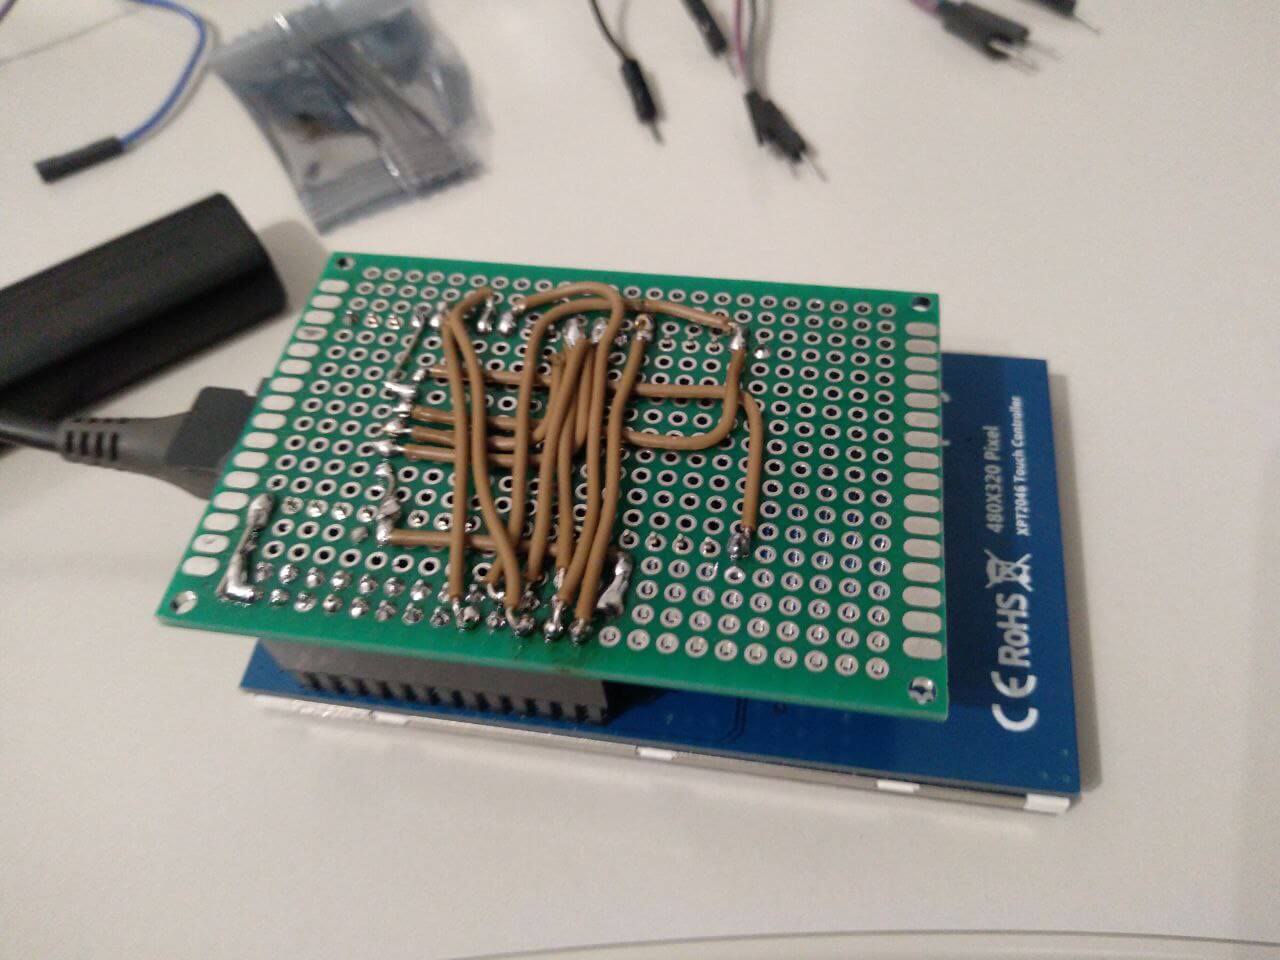
3.5-inch TFT Touchscreen LCD for Raspberry Pi ILI9486, 14 euro
Copper Wire 26 AWG, 5 meters, solid, 1.50 euro
Two 100kΩ Resistors, price 0.45 euros
Soldering Wire 3.20 euro
Soldering Skills
Estimated project budget: 34.7 euros. Estimated project time: 2 to 8 hours.
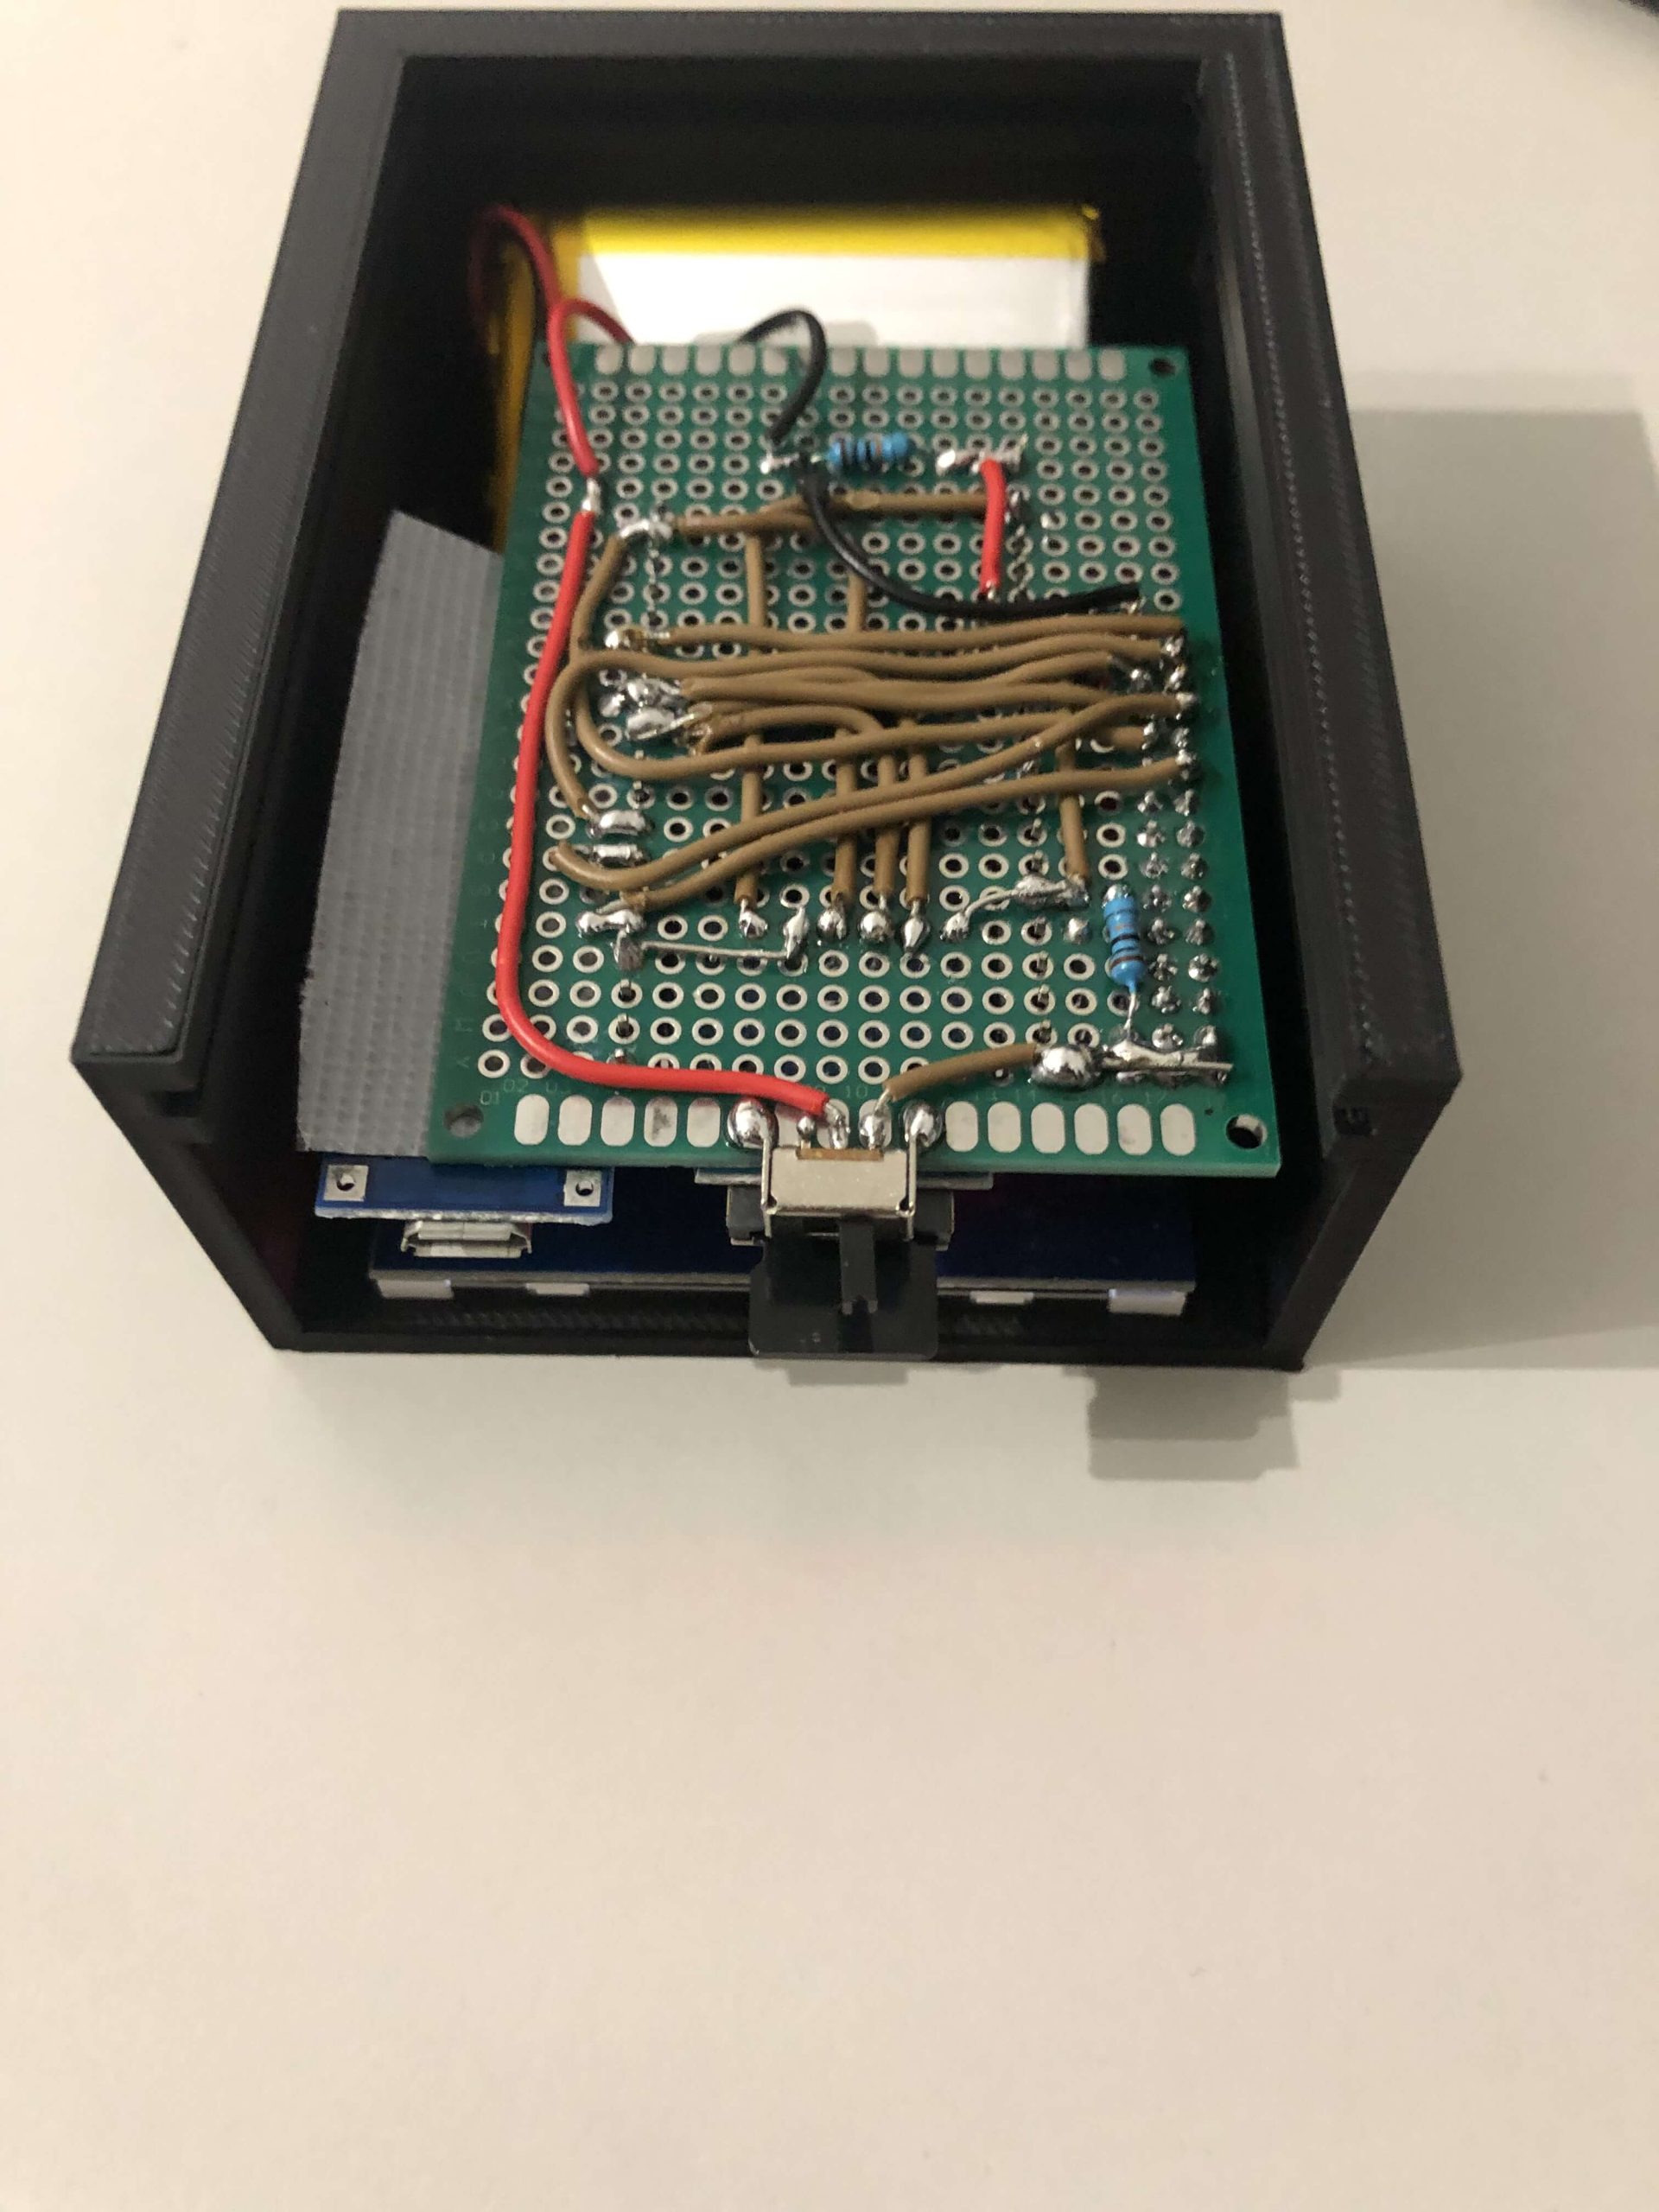
battery + -> 100 kΩ resistor -> ESP32, pin 34
battery -> 100 kΩ resistor -> ESP32, pin 34
Infill density: 45%
Layer height: 0,18mm
Raft: Yes
The STL and SketchUp files are located here.
Installing the Arduino Development Environment
In the Arduino development environment, go to File>Preferences
Add the following URL to the Additional Boards Manager URLs: https://dl.espressif.com/dl/package_esp32_index.json
Go to Tools>Board>Boards Manager, search for esp32, and install esp32 by Espressif Systems
Install the SimpleList library from Spacehuhn in your Arduino development environment. Download the SimpleList repository. In the Arduino development environment, go to Sketch>Include Library>Add .ZIP Library… and add the file SimpleList-master.zip you just downloaded.
Install Bodmer’s TFT_eSPI library in your Arduino development environment. Download the TFT_eSPI repository In the Arduino development environment, go to Sketch>Include Library>Add .ZIP Library… and add the file TFT-eSPI-master.zip you just downloaded.
Follow these instructions to install the ESP32 Spiffs Tool.
Set the compiler options to C:\Users\<USERNAME>\AppDate\Local\Arduino15\packages\esp32\hardware\esp32\2.0.3\platform.txt (Windows) or /Users/<USERNAME>/Library/Arduino15/packages/esp32/hardware/esp32/2.0.5/platform.txt (Mac), add -w to the end of each line: build.extra_flags.esp32; build.extra_flags.esp32s2; build.extra_flags.esp32s3; build.extra_flags.esp32c3
Also add -zmuldefs to the following lines (at the end): compiler.c.elf.libs.esp32; compiler.c.elf.libs.esp32s2; compiler.c.elf.libs.esp32s3; compiler.c.elf.libs.esp32c3
Install the CH340 drivers (if you have Windows)
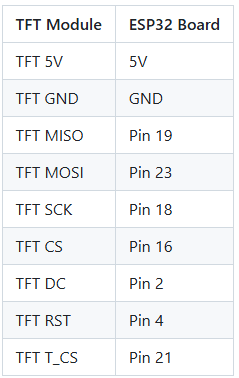
Copy User_Setup.h from the root of the project repository to ~/Documents/Arduino/libraries/TFT_eSPI . If you change the configuration of any pins, you should also change the definitions in this file, as well as in configs.h in the project.
Download or clone this repository.
OPEN esp32_marauder/esp32_marauder.ino
Connect the ESP32 to a USB port and select the COM port in Tools>Port
Select LOLIN D32 in Tools>Boards
Select Tools>Partition scheme>Minimal SPIFFS (Large APPS with OTA)
Click ESP32 Sketch Data Upload and wait for the SPIFFS upload to complete.
Click the upload button.
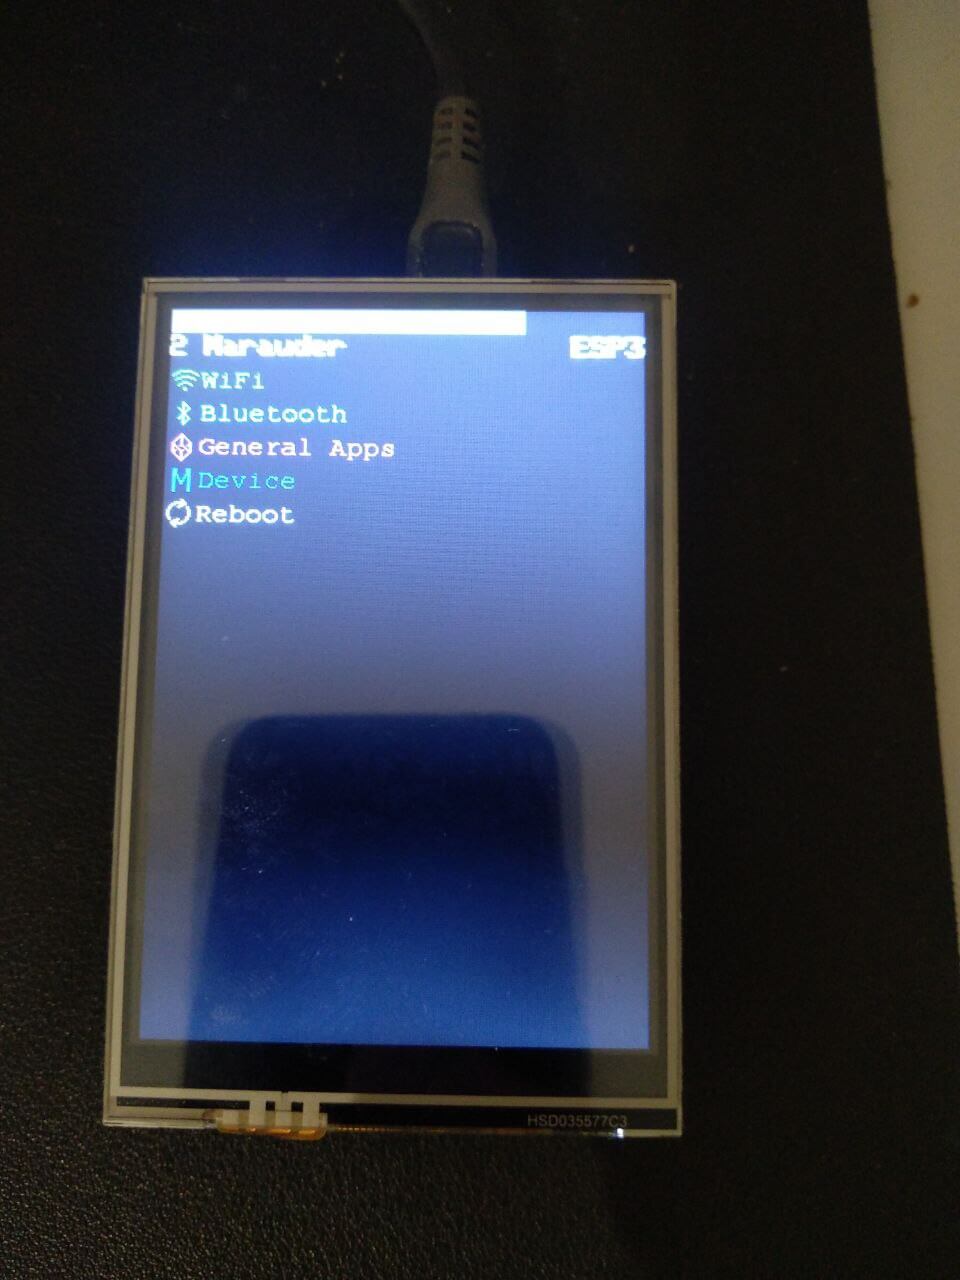
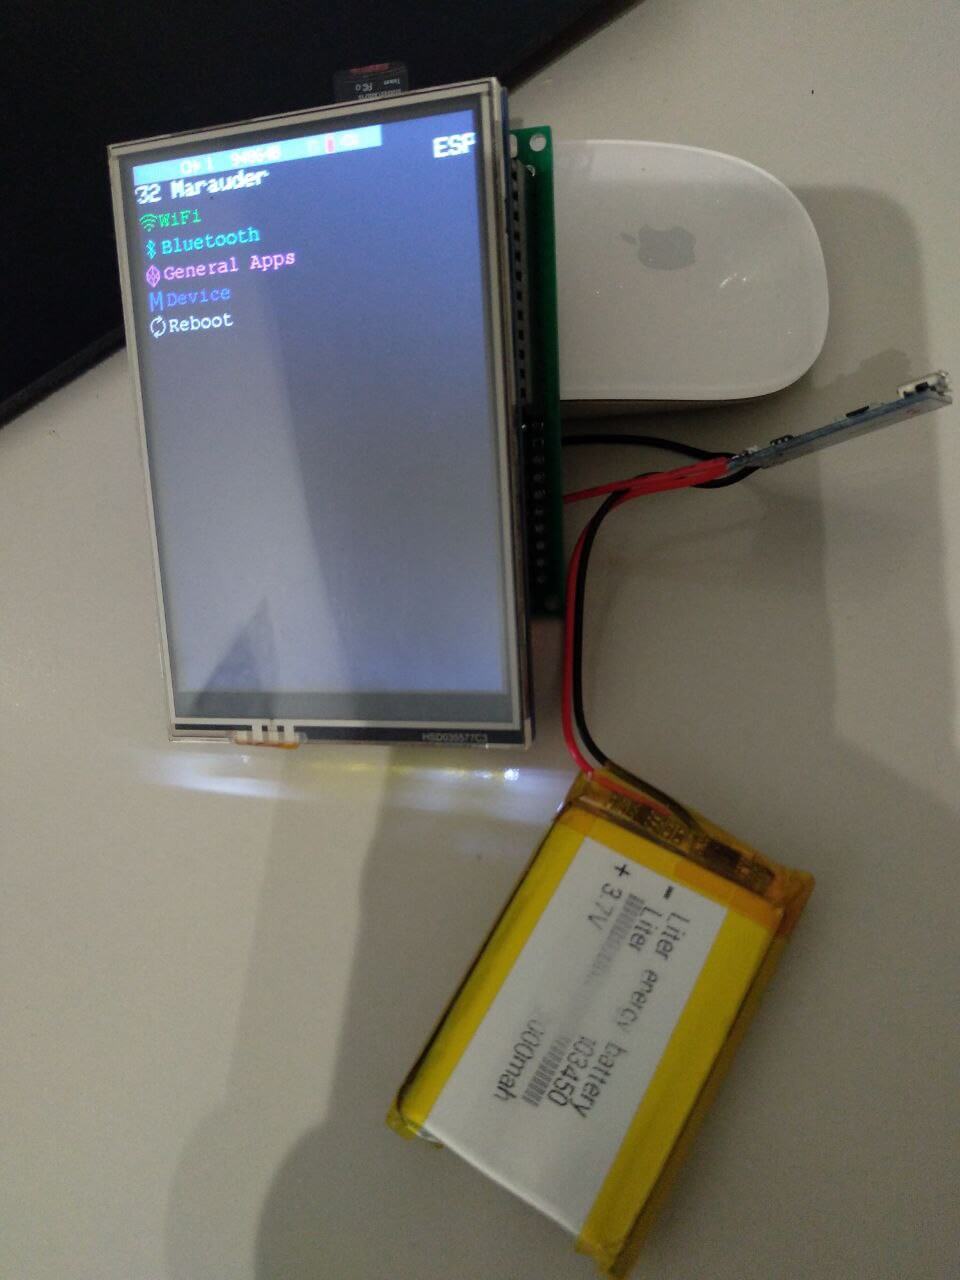
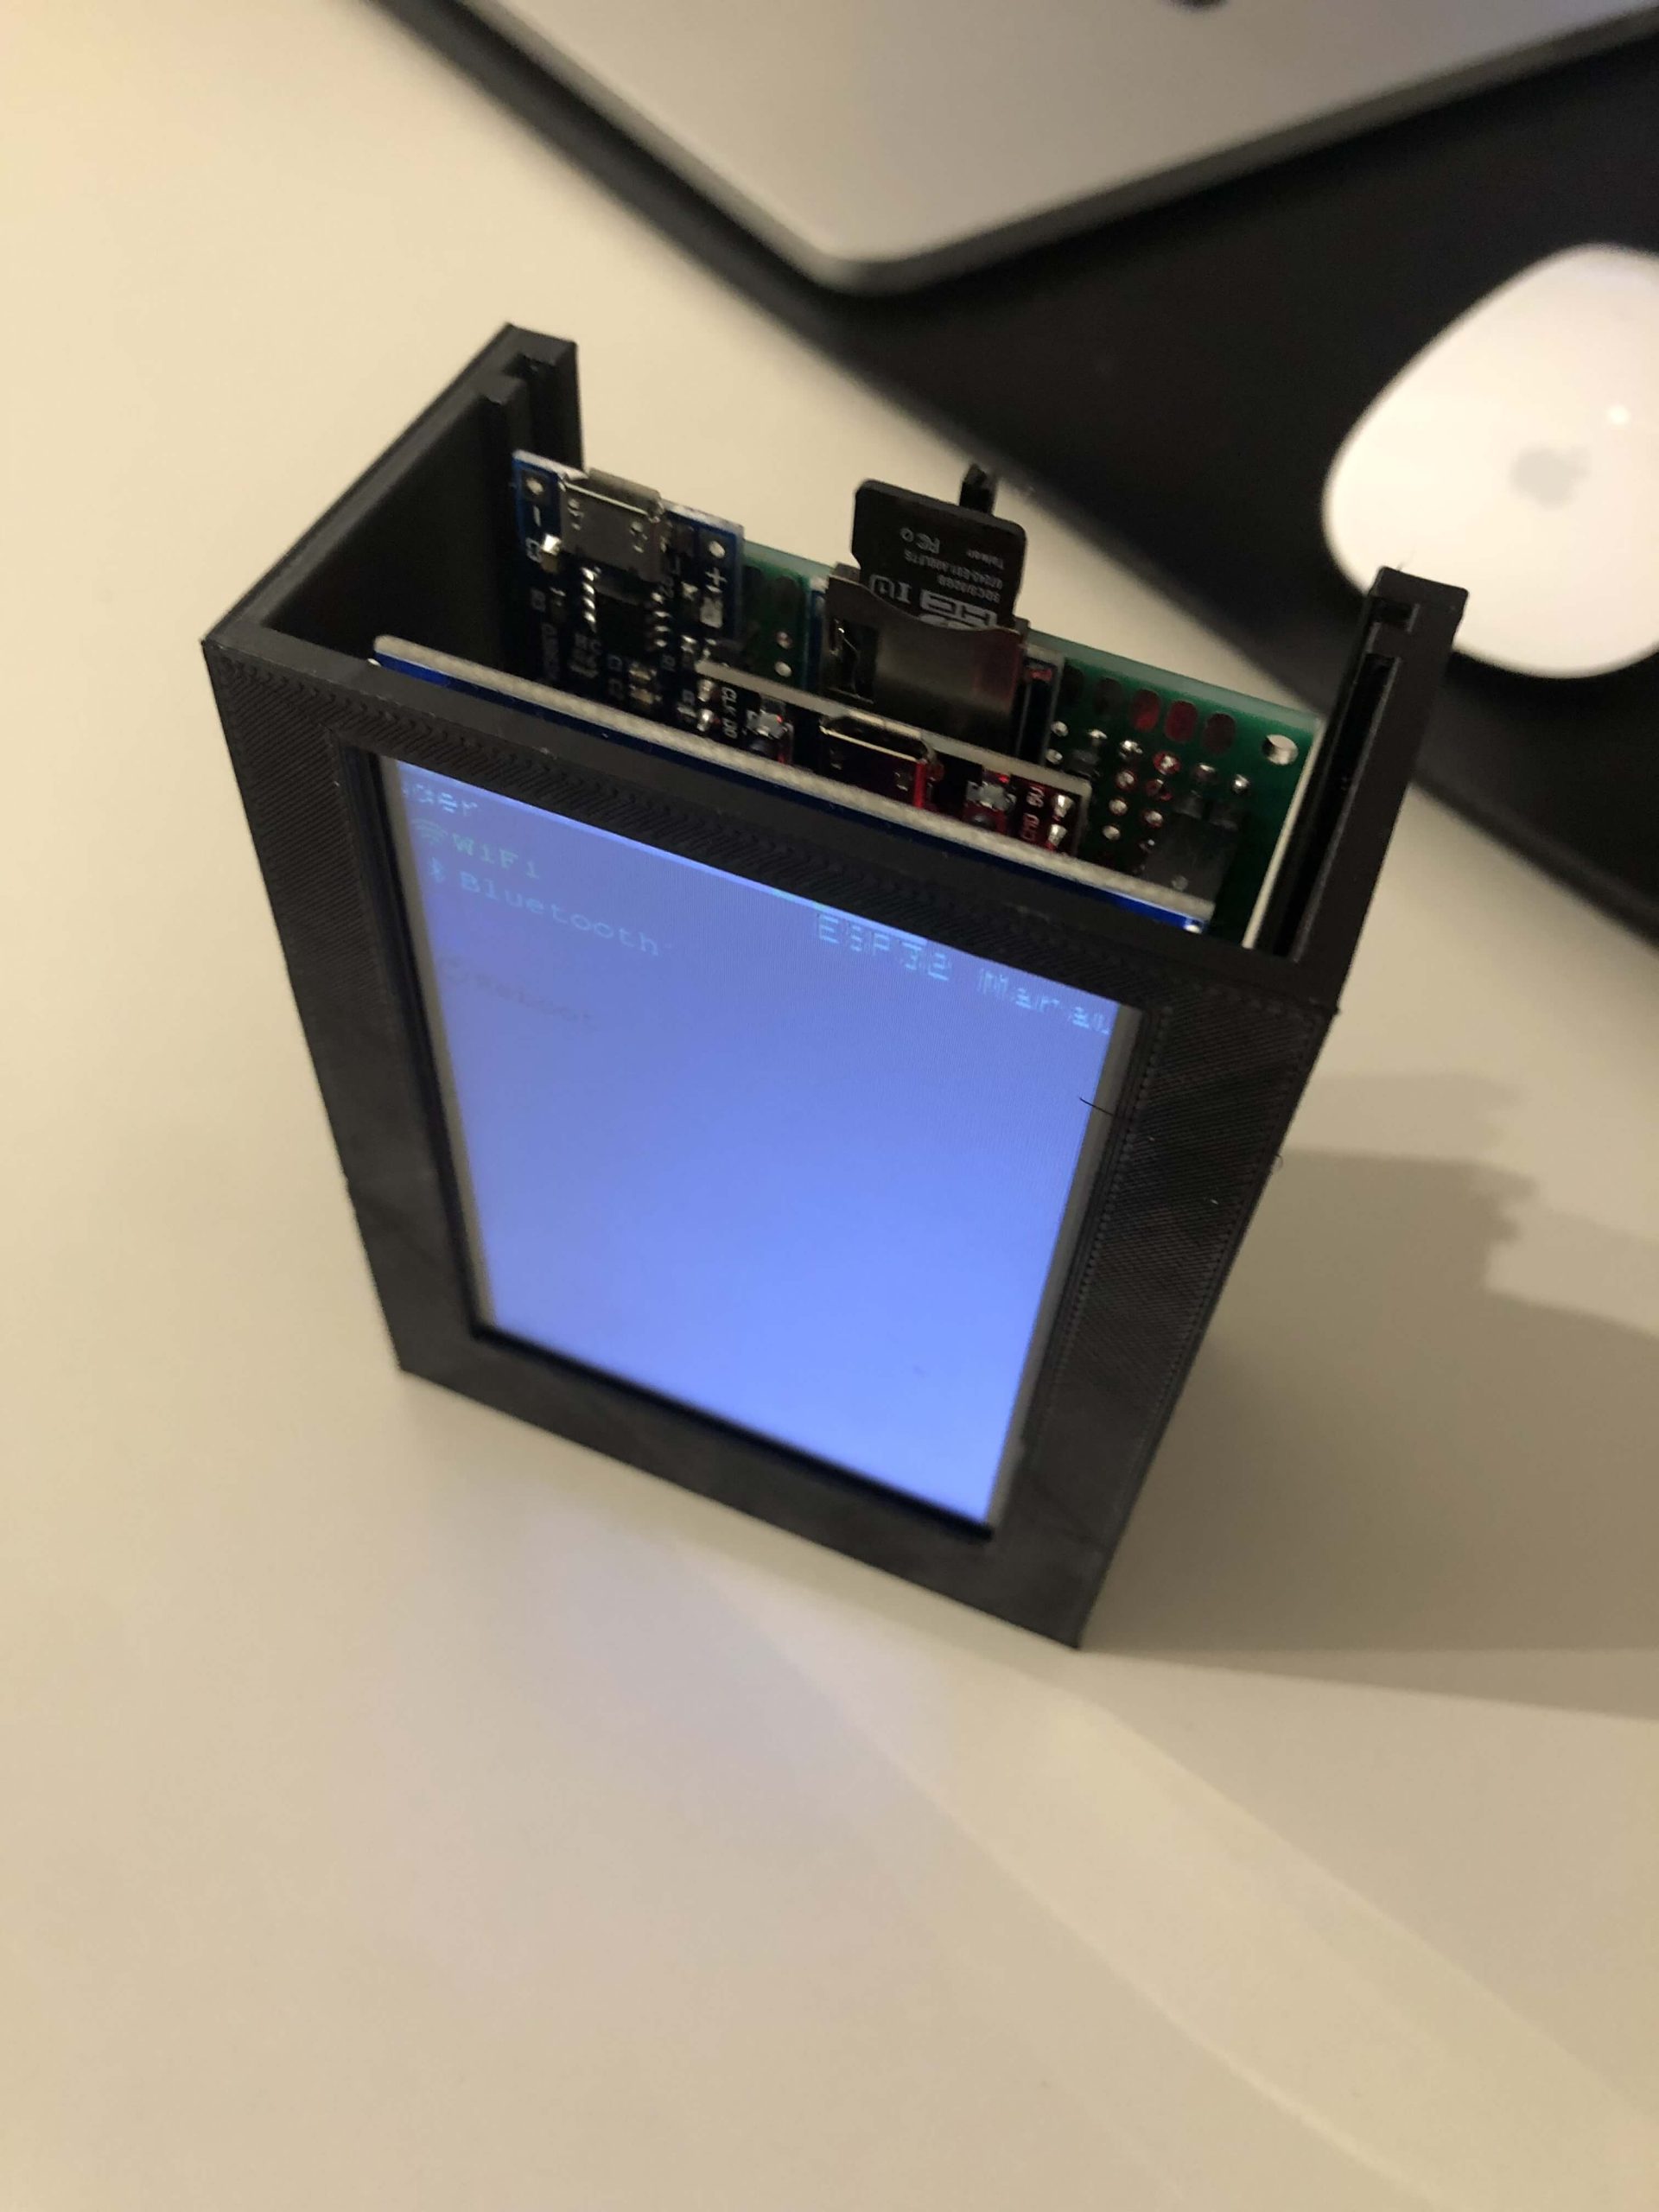
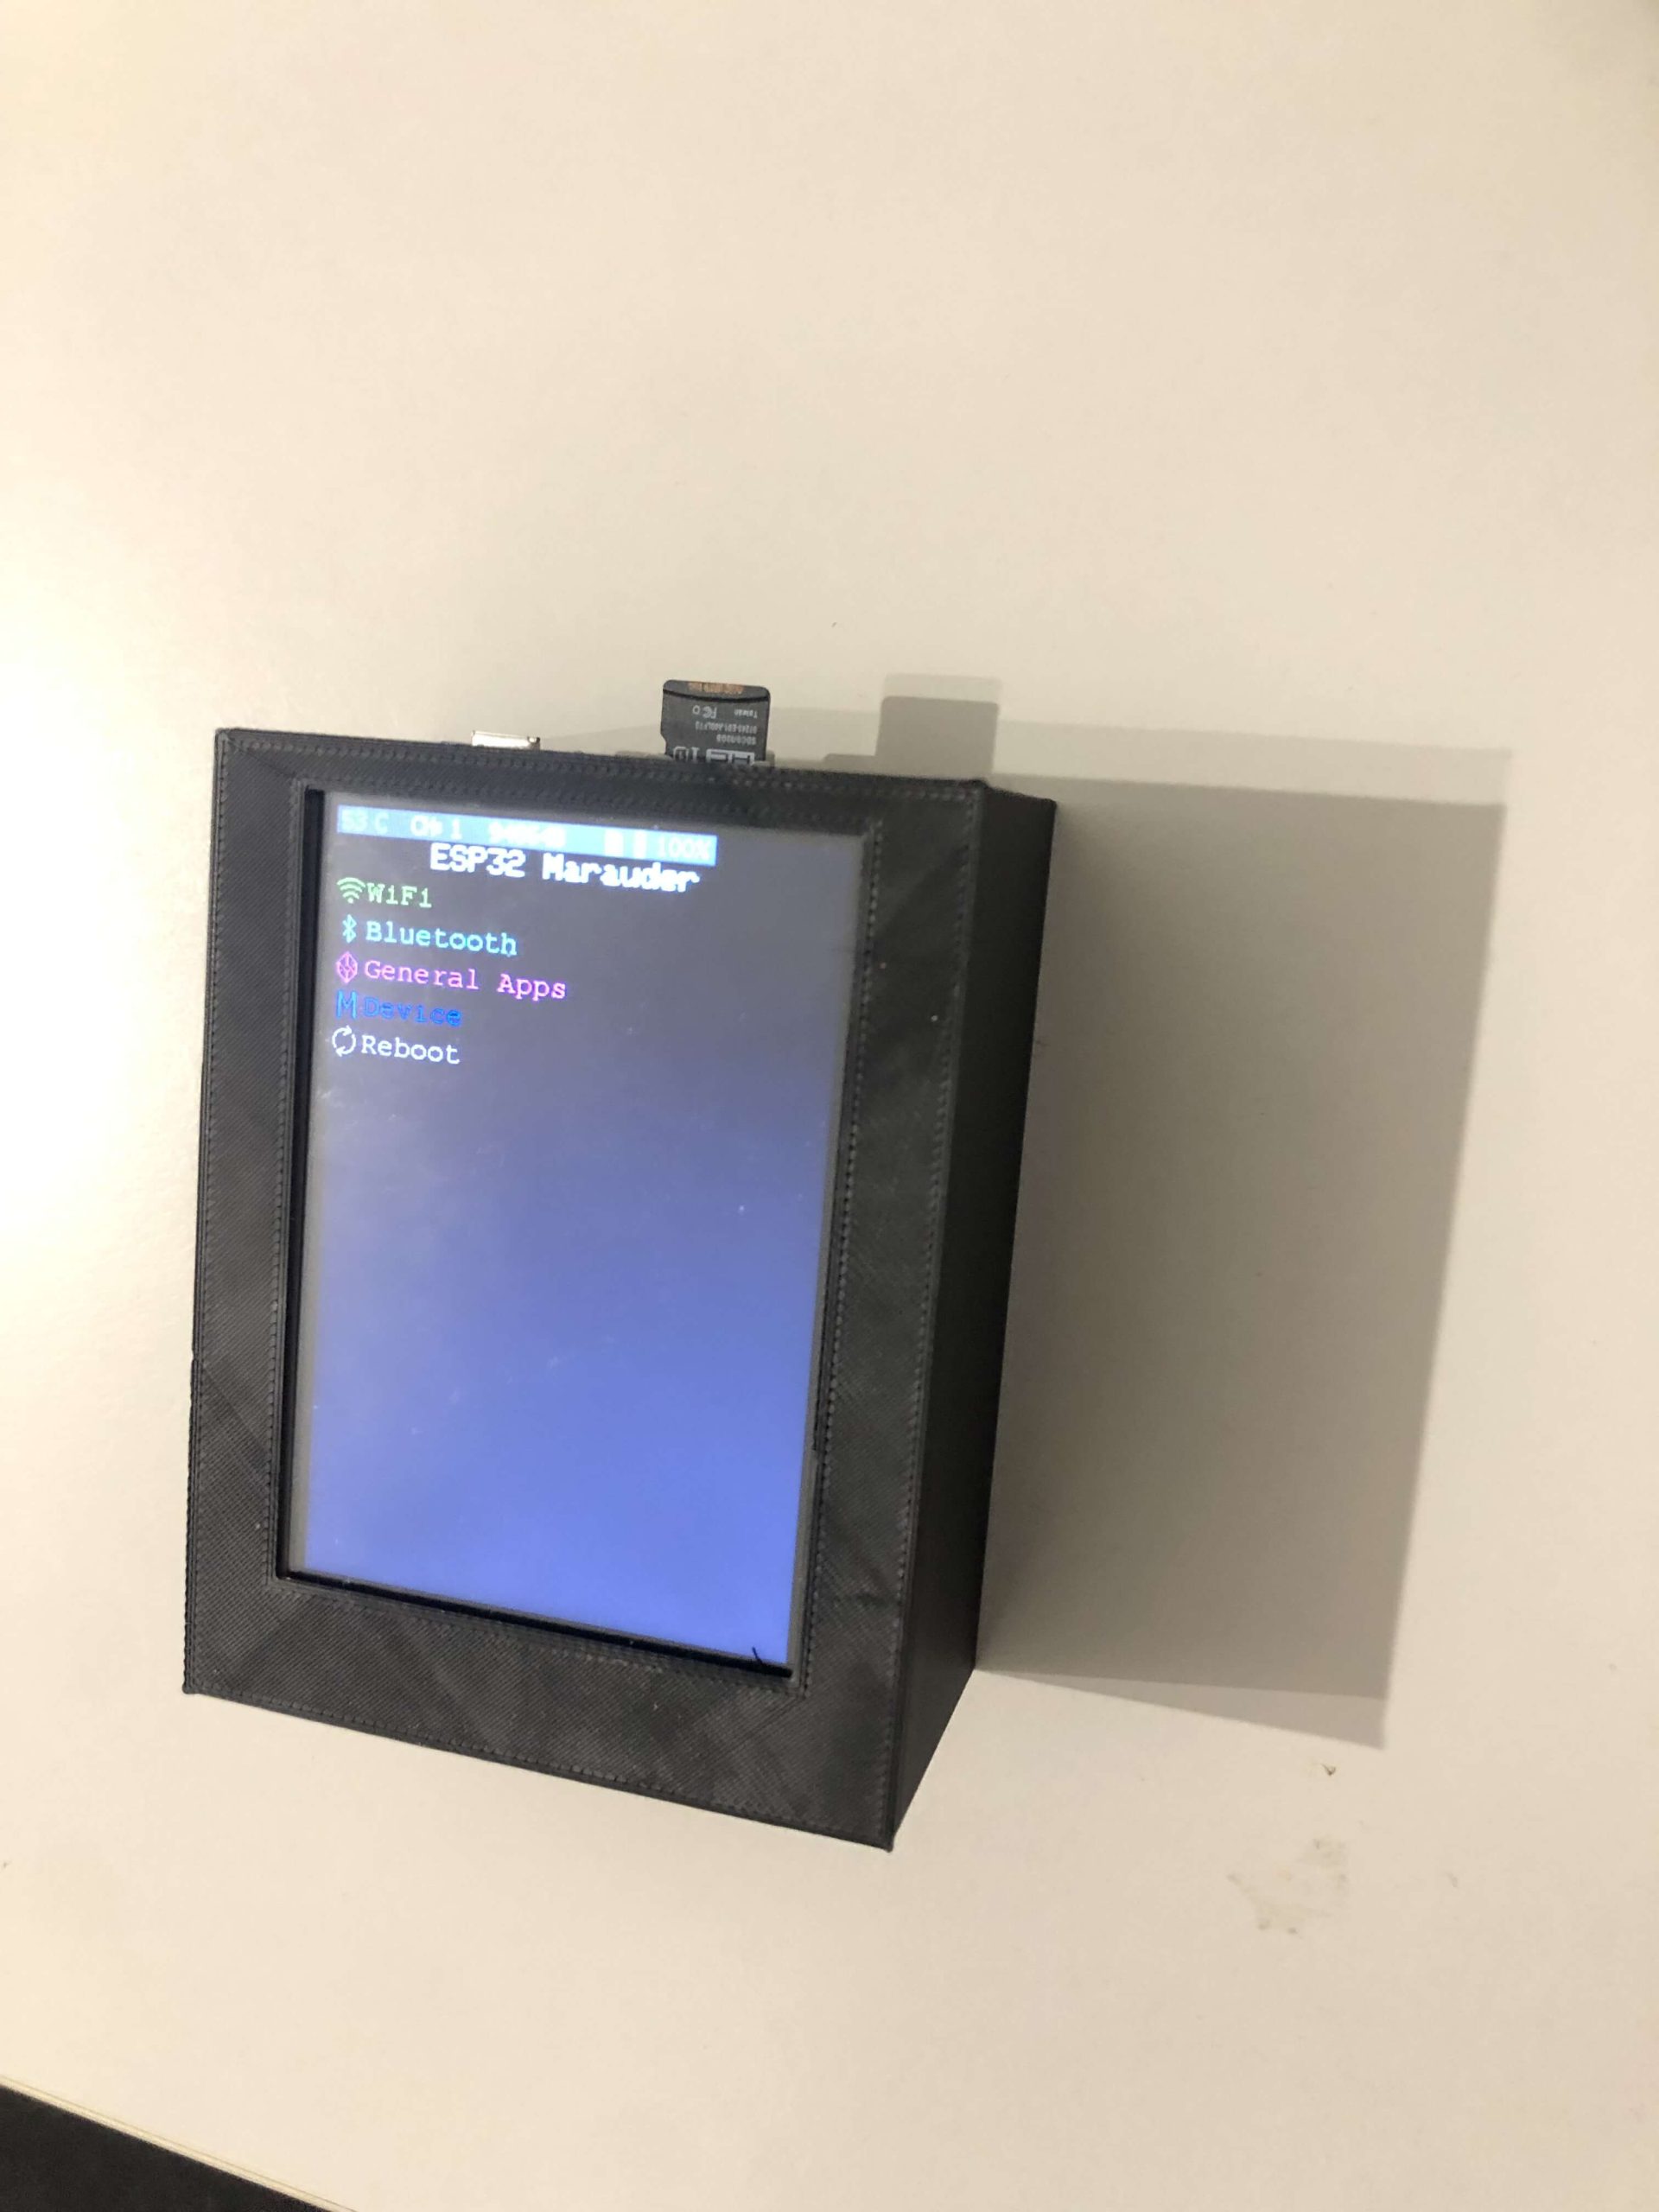
When the device reboots, you should see the upload logo on your TFT screen.
For more information, please read the official wiki.