29.04.2025
21 min
1178

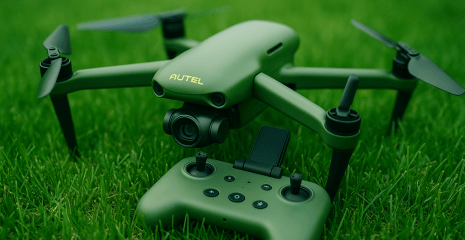
In the final part of the EVO Lite quadcopter manual, you will learn how to properly and safely launch the drone, how to prepare it for flight, control it during filming, and avoid critical mistakes. It also discusses important restrictions that you should consider — from weather conditions to permitted flight zones. This section will help you better control the quadcopter, extend its service life, and film confidently in any conditions.
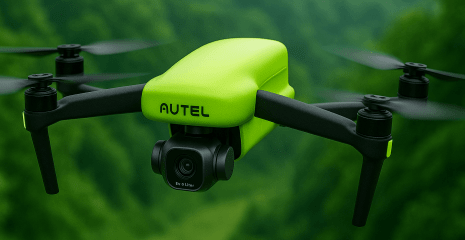
The EVO Lite series quadcopter features high-quality factory assembly and a compact design, making it convenient for transportation and use. To ensure safe operation of the drone, please carefully read the instructions and warnings below before your first flight.
When operating the quadcopter, always comply with applicable laws and local regulations. Use only those areas designated for drone flights and set altitude and range limits via the Autel Sky app. It is strictly forbidden to launch the drone during adverse weather conditions – heavy fog, rain, hail, snow or wind over 7 points on the Beaufort scale.
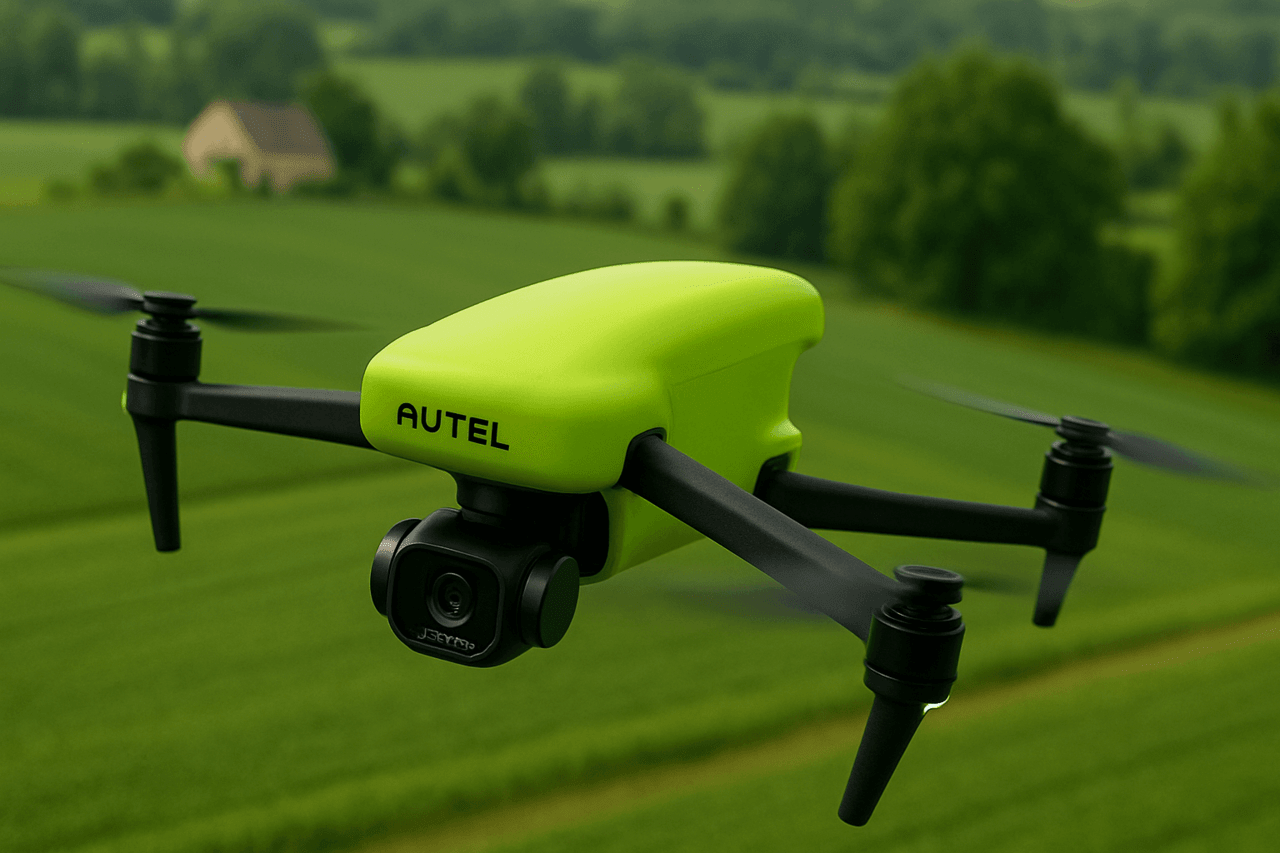
It is recommended to fly in open spaces, away from densely populated areas, buildings and sources of electromagnetic interference. Large concrete structures with metal structures can cause compass malfunctions or loss of GPS signal, which will lead to inaccurate positioning. The minimum safe distance to such objects should be at least 5 meters. In addition, it is recommended to fly at altitudes no higher than 4000 meters above sea level.
Indoors, some functions of the quadcopter may be limited due to poor lighting, lack of GPS or insufficient space for maneuvering. During flight, it is important to always keep the drone within direct line of sight and avoid approaching obstacles, crowds of people, or open bodies of water (no lower than 3 m above the surface).
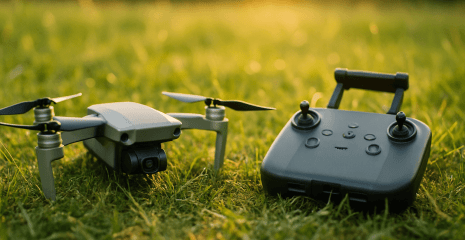
Before flying, make sure the quadcopter battery, remote controller, and mobile device are fully charged. The protective cover on the stabilizer should be removed, and the camera and sensors should be clean. Make sure the propellers are installed correctly and are not damaged, and all drone components are assembled according to the instructions.
After turning on the device, check the operation of the motors, stabilizer, and camera. Carefully monitor the warnings and error messages in the Autel Sky application. Always use the latest software updates. Familiarize yourself with the operating principles and functionality before first use. Use only original accessories from the kit or officially approved by the manufacturer Autel Robotics – third-party items can be dangerous and void the warranty.
During takeoff and landing, the drone should be kept away from people, vehicles, and other moving objects. The quadcopter should never go beyond the operator’s direct line of sight. When operating the visual positioning system, keep a safe distance from reflective surfaces—such as water or a snowy field—as they may interfere with stability. In the event of a weak GPS signal, the drone should be in a well-lit area.
If the device warns of a low battery, do not cancel the automatic return to base—this may result in the loss of the drone. When any system message appears in the Autel Sky app, follow the instructions according to the situation. It is strictly forbidden to operate the quadcopter while intoxicated, under high pressure, dizzy, tired, or under any other physical conditions that may affect flight safety.
After impacts or drops, check all components of the quadcopter for damage. Store the device and accessories in a place inaccessible to children and animals. Avoid moisture, direct sunlight and heat sources. The ideal storage temperature is between 22 and 28°C.
Before installing the battery into the drone, make sure the drone is powered off. Then carefully insert the battery into the battery compartment until it is fully seated.
Charging the quadcopter battery and remote control.
1) Charge the quadcopter battery. Press and hold the latches on both ends of the battery. Then connect one end of the charging cable to the charging port of the remote controller and the other end to an AC outlet via a power adapter with a rated power of 63.75W.

2) Charging the remote control.
Connect one end of the charging cable to the USB Type-C port located on the bottom of the remote control and the other end to an AC power source using a power adapter rated at 63.75W.

It is recommended to use a charging cable and power adapter from the official manufacturer.
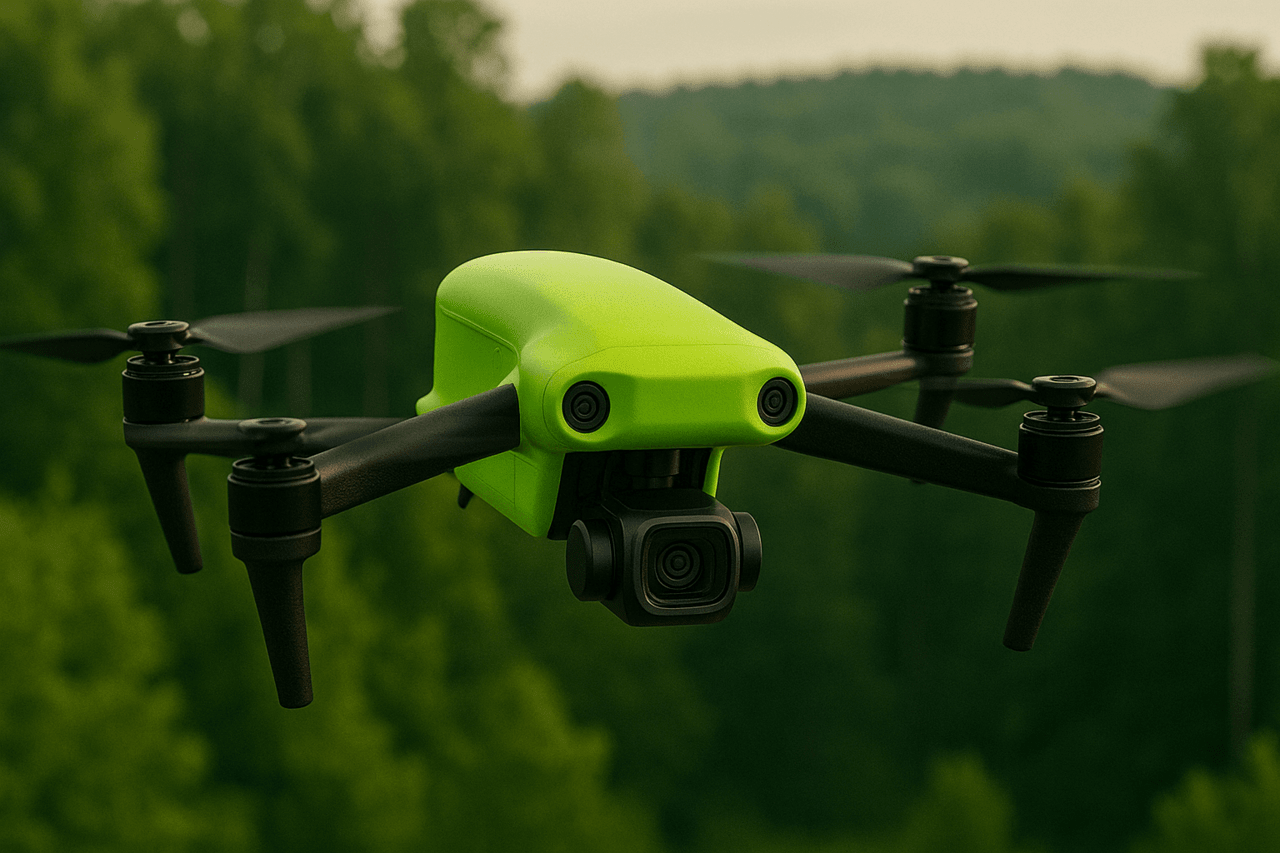
1. Connecting a mobile device
Slide the remote holder to place your mobile device, then carefully insert your smartphone or tablet into the holder. Connect your mobile device to the remote control using the appropriate cable. You can use a Micro USB, USB-C, or Lightning interface adapter to do this, depending on your mobile device model. Make sure your mobile device is securely locked into the holder and firmly seated in the slot without any play or distortion.
2. Turning on the remote control
Щоб увімкнути пульт дистанційного керування, натисніть кнопку живлення й утримуйте її протягом 2 секунд.
1. Assembling the quadcopter.
Before turning on the drone, carefully remove the protective cover from the stabilizer. Then, unfold the structure in the correct order:
First the front beams,
then the rear beams,
after that the propellers.
Importantly:
Before turning on, make sure that the stabilizer cover is removed and all the beams are unfolded.
Always start by unfolding the front beams, then the rear ones.
Before folding the beams, you must turn off the power to the quadcopter. Also, be sure to turn off the remote control before doing so. After the flight, the folding order should be reversed: first the rear beams with propellers, then the front ones.
2. Turn on the quadcopter.
Press and hold the power button for 3 seconds to activate the drone. The battery indicator will light up and show the current battery level.
3. Synchronize the remote control with the quadcopter.
The procedure for binding the remote control to the drone is described in section 3.4 of this manual.
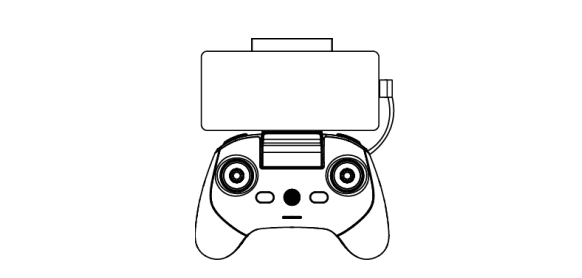
Place the quadcopter in an open area, away from obstacles. Stand at least 3 meters behind the drone.
Turn on the remote controller first, then the quadcopter.
Open the Autel Sky app, connect your mobile device, and go to the camera interface.
Wait until the rear LED turns green and starts flashing slowly. Then use the remote controller to start the motors.
Slowly move the control stick forward, the drone will start to take off smoothly.
Carefully monitor the flight and always keep the drone in your field of vision.
To land, move the stick back.
After landing, hold the stick in the down position for about 2 seconds, the motors will automatically turn off.
Then turn off the quadcopter first, and then the remote controller.
Flight is not possible if the battery charge level is 15% or lower.
Do not approach running propellers and engines – this is dangerous to life and health.
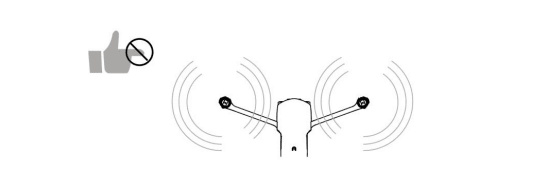
1) To start the engine, press the left and right levers and hold them for 1 second, as shown in the picture.
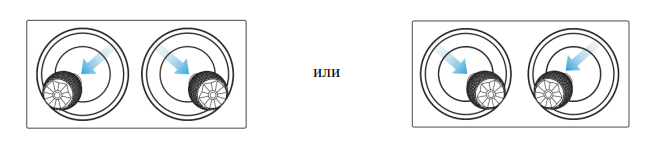
2) Slowly move the control lever forward.

The quadcopter’s motors become hot during operation. Be careful to avoid burns.
If this is your first time flying a quadcopter, move the control sticks slowly and carefully until you are familiar with how the device reacts.
Enable One-touch Takeoff. In the camera interface of Autel Sky app, click the “Takeoff” button and confirm the action by moving the slider.
Auto-lift. After activating the function, the drone will automatically lift to a height of about 2.5 meters. During the lift, you can adjust its position with the left control stick.
Warning: Never take off from moving objects – including boats, cars, or any other moving vehicle.
Determine the landing location of the drone in advance.
When the quadcopter hovers over the selected point, release the control stick – the drone will hover in the air.
Slowly move the left stick back to begin the descent.
After the drone touches the ground, move the left stick to the down position and hold it for 2 seconds until the motors stop completely.

To activate one-touch landing, tap the corresponding button in the app’s camera interface and slide the confirmation slider. During automatic landing, you can adjust the drone’s position using the right control stick.
Note
If necessary, you can take control by pressing the pause button on the remote control.
Automatic landing is also supported in ATTI mode, but in this mode the drone may drift – it is important to control its altitude.
If the low battery warning is triggered, the rear LED will flash red. In this case, you must immediately return to a safe landing area.
According to airspace usage rules set by ICAO and local aviation authorities, the quadcopter should only fly in authorized areas. For safety reasons, the following restrictions are enabled by default:
maximum flight altitude;
maximum distance;
no-fly zones.
Note: The operator is obliged to comply with the applicable regulations and restrictions established in the country of use.
All restrictions are divided into two classes:
Class I – areas near major airports and low-altitude areas for manned aircraft.
These include:
The main prohibited zone is a radius of 2.4 km from the center (according to the law).
Height restriction zone – a radius of 2.4 to 8 km. The flight altitude is automatically limited depending on the distance: the closer to the center, the lower the altitude (from 120 m to 10.5 m).
Warning zone – a message will appear in the application 8.1 km from the airport.
Class II — protected objects, military units, state borders, etc. They are divided into:
Prohibited zone – radius 1 km.
Warning zone – a message will appear when approaching 2 km.
The user can change the flight altitude and radius limit in the Autel Sky app. When there is a GPS signal, the drone will be limited in both altitude and distance according to the geofences. If the GPS signal disappears, only the altitude limit will remain.
Note
Flight altitude means the vertical distance from the return point. Flight distance is the horizontal distance between the drone and the return point.
The default flight altitude is 120 m (can be changed in the range of 30–800 m), the maximum distance is from 30 m and above, the return altitude is 30 m.
In beginner mode, the parameters are fixed: altitude – 30 m, distance – 100 m, speed – up to 11 km/h, return altitude – 30 m. Changing the mode in this case is not available.
Maximum altitudes may vary depending on the country. For exact limits, please contact your local aviation regulator.
The flight section is a key stage in getting to know the capabilities of the EVO Lite quadcopter, as it is here that the foundation for safe and effective operation of the drone in real conditions is laid. Proper preparation before the flight, careful attitude to launch and landing, understanding the limits of the device’s operation and compliance with flight restrictions – all this not only protects the drone itself from damage, but also ensures the safety of people around it.
Thanks to automatic take-off and landing functions, flexible control modes and reliable positioning systems, even novice users can confidently control the quadcopter. And understanding the structure of restricted areas and the rules of operation in them allows you to avoid violations of the law and critical errors.