
15.04.2023
11 min
1632

This guide explains how to scan network addresses for vulnerabilities in routers, modems, and cameras using specialized software. Knowing IP addresses, logins and passwords is key to accessing network equipment. Using standard logins and passwords and vulnerabilities in the software makes it easy to gain access. Network scanning programs can quickly identify potential targets, and specialized search engines can provide detailed information about network devices. These methods can be used to improve information security.

The main machine – all software is licensed (paid, in extreme cases free, but not cracked), scanned for viruses, the fastest VPN connection is installed (or automatic connection to any country or to the country with the largest number points of connection, most often it is the USA, Great Britain, or China).
Virtual machine – also all software is licensed (paid, in extreme cases free, but not cracked), it is also scanned for viruses, but a VPN connection is installed from the territory of the aggressor country (in our case, from the Russian Federation) Why is this necessary?
Because the enemy is also awake, he also monitors and knows where the attack may come from. By the way, IP addresses from Ukraine are blocked in Russia, but they will not block themselves, therefore, if we pretend that we are accessing the network from the territory of the aggressor country, then we have a more likely possibility of not being blocked (this is not a mandatory condition , maybe even from the IP address of the aggressor country it is not possible to enter, then we use the IP addresses of neighboring or friendly countries, in the case of Russia, these are the countries of the former CIS). First, prepare the computer before starting and only after we have configured our working machines with created two-factor (double, or double) VPNs (see the instructions on Preparing the working platform for work and video https://www.youtube.com/watch?v=Nz2dXM6mP04) we can proceed to a specific task. This instruction describes actions for scanning IP addresses located on enemy territory.
If the instructions are not comprehensive for you, you can offer your edits through the bot, because we are always open to CONSTRUCTIVE suggestions: https://t.me://HackYourMom_reg_bot
Having selected the login and password for any automated system (home router, router at the enterprise, router in the military unit, video surveillance cameras, any household appliances, smart homes…) anything related to the Internet, we will have access to of these systems and we will be able to, at least, remind ourselves of ourselves, scare the enemy… And at the most – take control of the systems that we can reach. For this, our IT army must find these loopholes and hand them over to the competent authorities. We need access to their networks!
change the login and password to the router so that only we have access;
change the name of the WI-FI network to the one specified by the curator;
If you work independently, then change the passwords to something like: PutinHuilo, so that others know that the router has already been hacked;
We take a screenshot of the changed data of the router and save it in a folder with the city that was scanned.
We have a working machine (main machine with a virtual one) turned on. I remind you once again about the two-factor (double, or tunnel in the tunnel) VPN connection. On the main machine, the VPN connection is the fastest with any country, and on the virtual machine, the VPN connection is preferably from the country of the aggressor. It is also necessary to use different VPN programs! In my example, a VPN connection using the Proton program will be used on the main machine, and the Hotspot Shield program on the virtual machine.
Now we need a tool to work with. We use the Router Scan program as a tool for scanning IP addresses. You can download it from the link or carefully find a newer one on the Internet, if there is one.
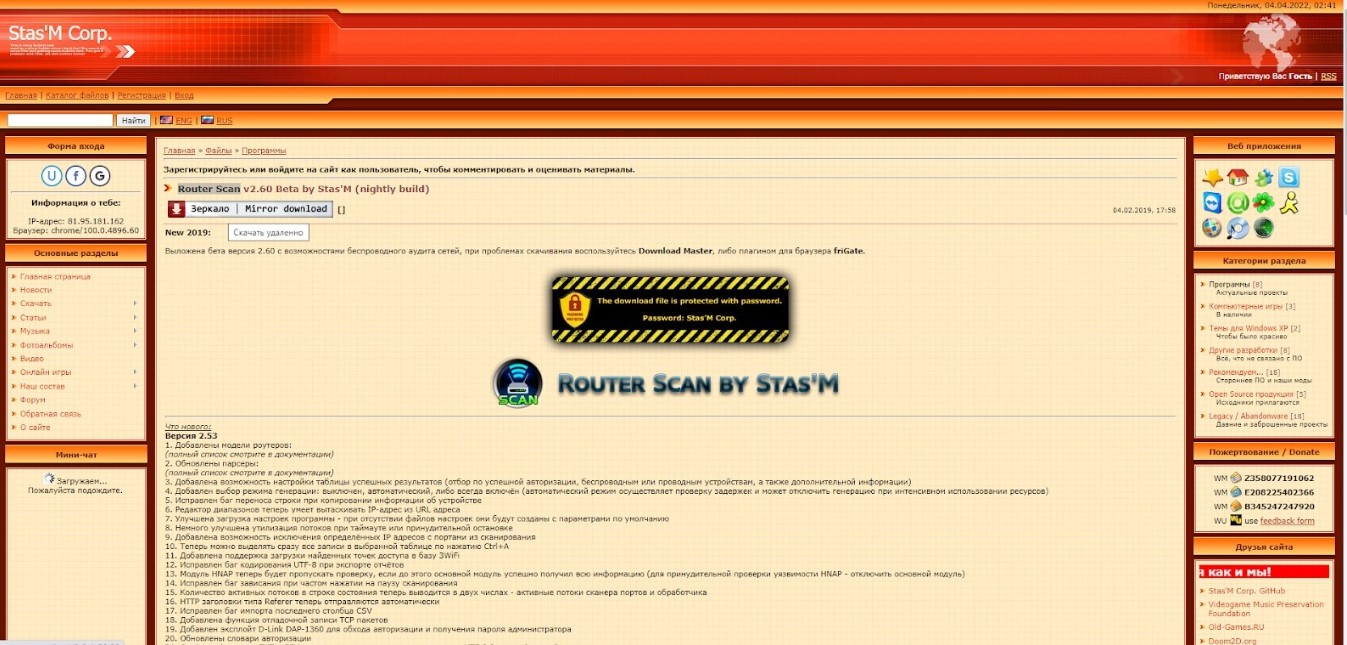
Importantly! It is potentially dangerous to download software on the official website of Router Scan (pictured below)!
1) If the download fails, it is necessary to replace https with http in the link. In my case it worked. We unpack and run the program.
We use the site https://4it.me/getlistip to find targets of the attack (IR addresses in a specific city). Or another that gives the IP ranges of the city.

2) In the cell where “City” is indicated, enter the city we want to scan in Russian and press “Search”. For example, I scan the city of Kursk.
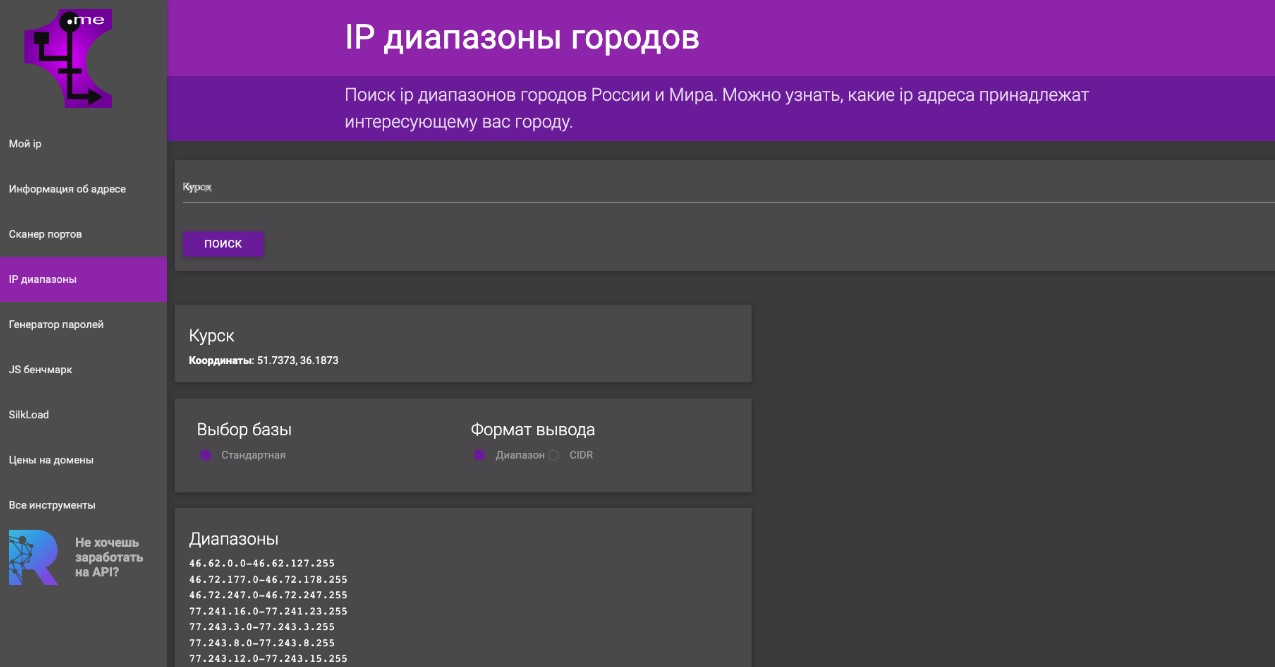
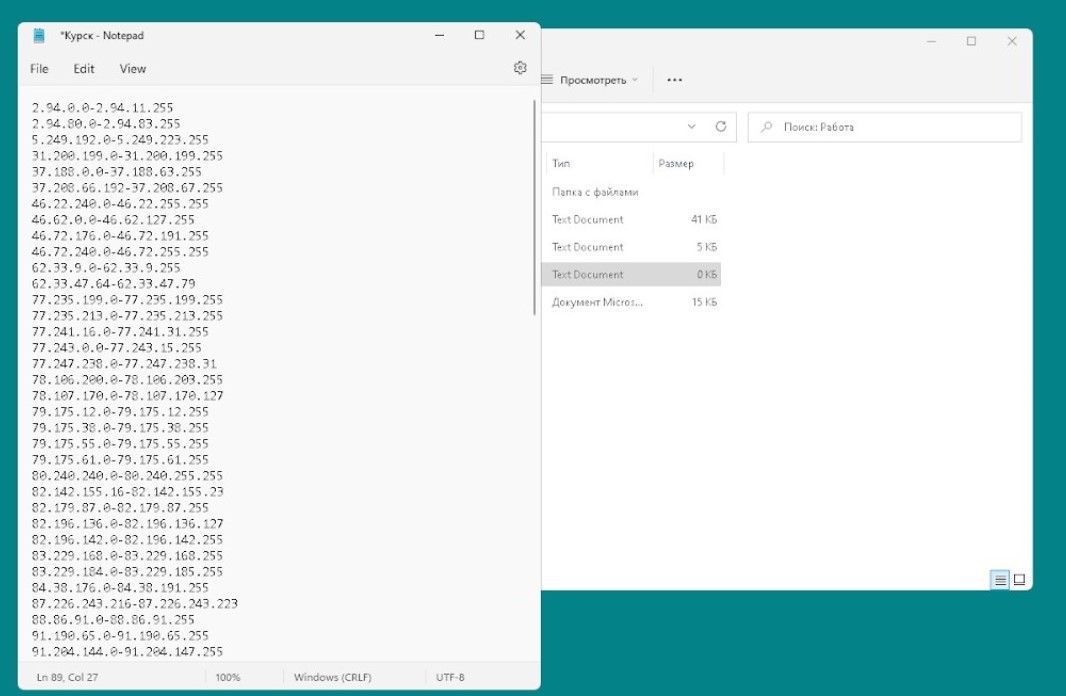
3) We have a bunch of IP addresses that are registered in this city. IP ADDRESSES CAN BE SEARCHED IN OTHER WAYS, BUT NOT IN PRINCIPLE! We copy and paste it into the newly created file on the virtual machine to save all these addresses and save the file (for convenience, we name the city we are scanning).
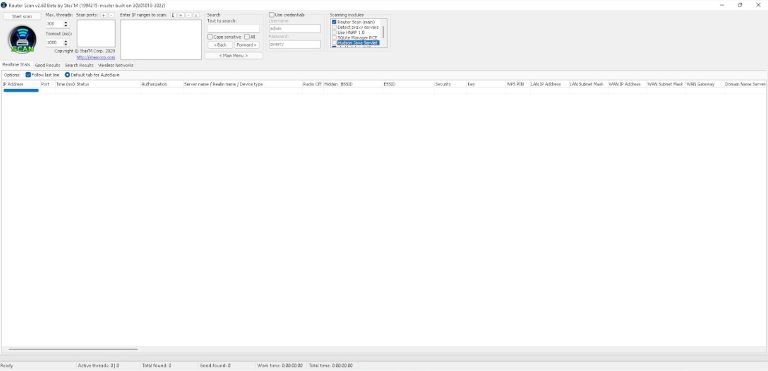
In the folder with the program there is a manual for working with the program in Russian for a more detailed study, but the main installation data are as follows:
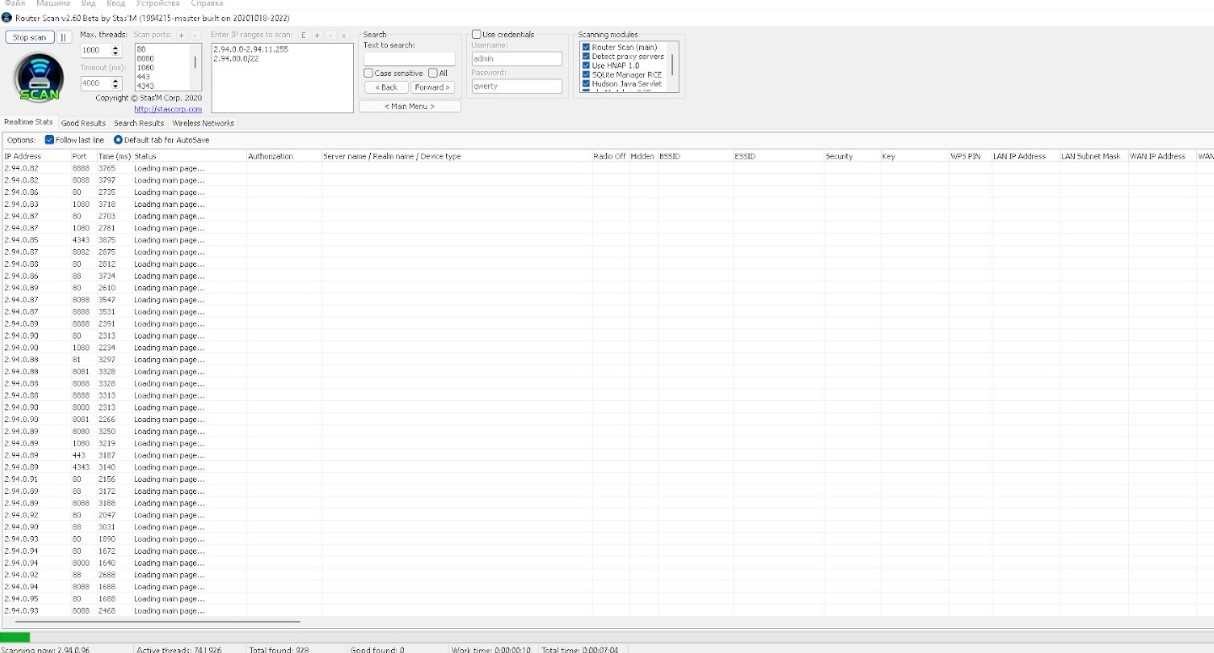
Main button. At first, it is for starting the scan, but then it is divided into two buttons – for stopping and pausing the scan.
Maximum number of threads. This parameter sets how many devices can be scanned in parallel and simultaneously. Depends on the capacity of the working machine and the virtual machine. More power means more value.
Connection timed out. Sets the threshold for waiting for a connection to a device in milliseconds. Note: Depending on the provider, the speed and stability of the connection, this parameter will have to be varied intuitively to obtain stable scanning results without loss of connection. If you think that the program is not using enough threads and your system can give more resources, try changing the scanning mode in the program settings (by default we do not change it).
List of ports to scan. Defines which TCP ports will be checked when scanning IP ranges. All ports are scanned using the standard HTTP/1.0 protocol, except for ports 443, 4343 and 8443 – they are scanned over HTTPS using the OpenSSL library. To increase the viewing angle in the network, you can add ports 81, 88, 8000, 8081, 8082, 8088, 8888 and others to the list. You can also change the list of ports in the ports.txt file.
List of IP ranges to scan. We take them from a text file in which we wrote down all the IP addresses from the website https://4it.me/getlistip, for which city we saved the addresses (in our case, the city of Kursk). For convenience and in order not to overload the machine, we choose several IP addresses, not all at once and add them to form 5 or to the list of ranges in the ranges.txt file.
Scanning modules. We choose all.
Next, when all the settings are made, start scanning by pressing button 1. We are waiting for the result. In the program, there will be a green bar at the bottom, which indicates the percentage of the scan. There is also data on the used scan time and expected.
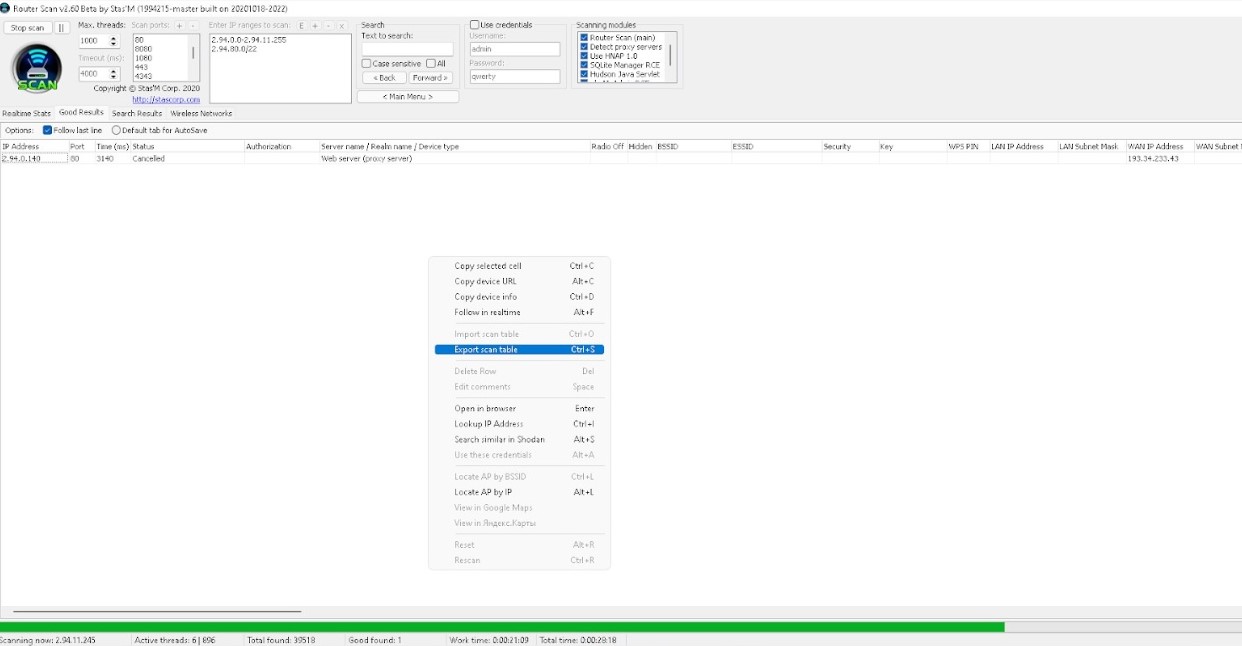
Після сканування переходимо до вкладки «Good Results» і натиснувши правою кнопки миші на вільному місці вибираємо експорт сканованої таблиці. Формат для зручності обираємо .csv. Відкриваємо збережену таблицю з гарним результатом і зберігаємо у форматі ексель у папці ЗАГАЛЬНИЙ СКАН на диску.
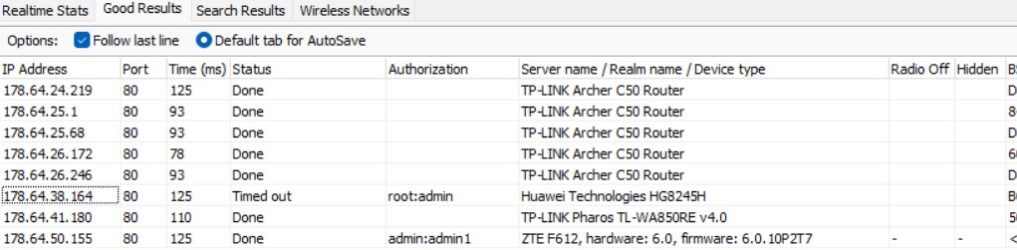
Then, from the table of successfully scanned addresses, we select only those that contain the administrator’s data and password and save them in a new excel file in the GOOD RESULT folder. In this way, we will have a database of ready-made samples and their passwords. Then our admins will send it to the superiors to make a decision! Our task now is to do everything possible to inflict maximum damage on the enemy, being sofa troops! We ship the results as described in the “where to send Results” section.
In some cases, it happens that rescanning using the Router Scan program is not possible and an error pops up. In this case, it is necessary to restart the program, and even better, after each scan, it is advisable to clear the cache memory, or even better, just restart your working machine and continue working!
We are interested in those results that have login data in the Authorization field:
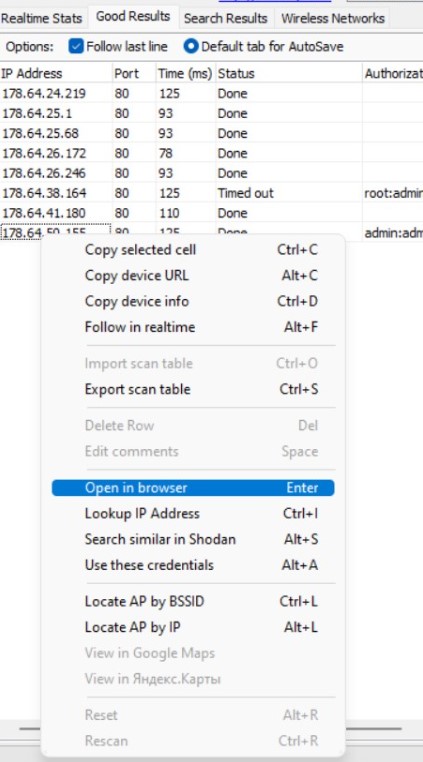
After a successful scan, go to the router management page. You can do this either from the Router Scan program by clicking the right mouse button, as in the image, by clicking Open In Browser, or simply by entering the victim’s IP address in the address bar through the browser.
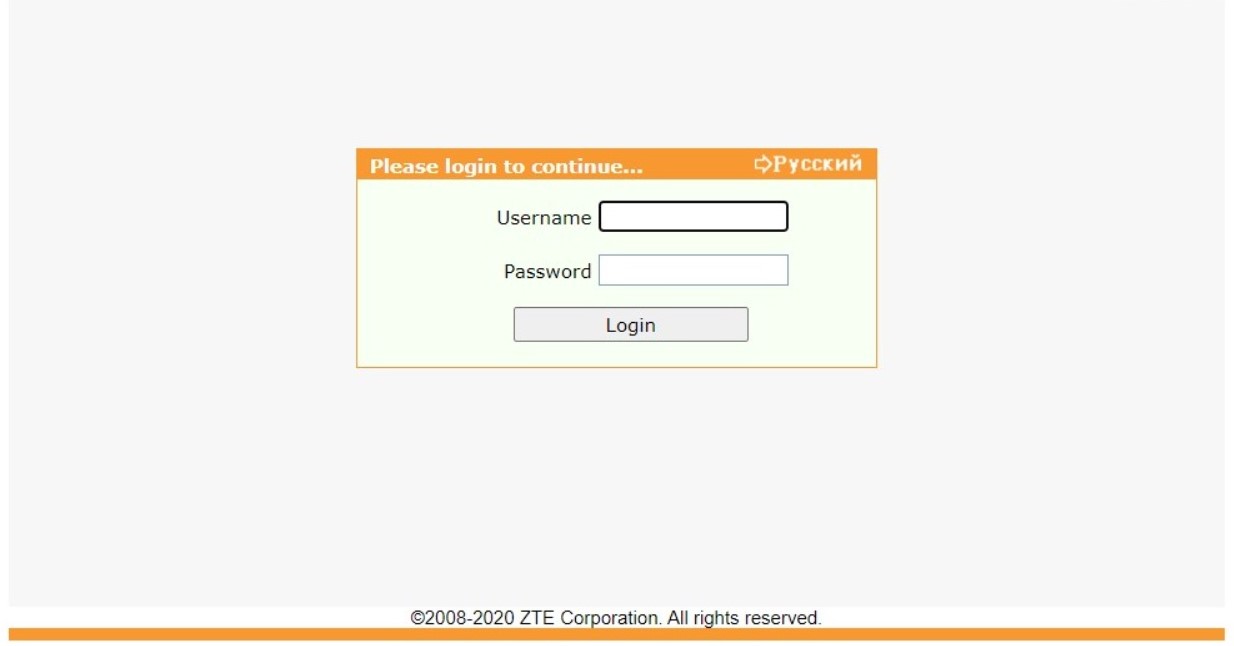
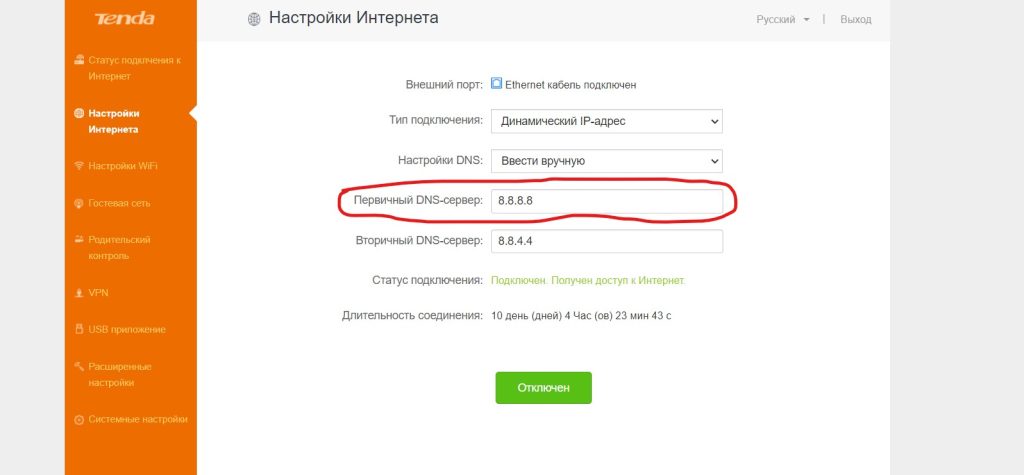
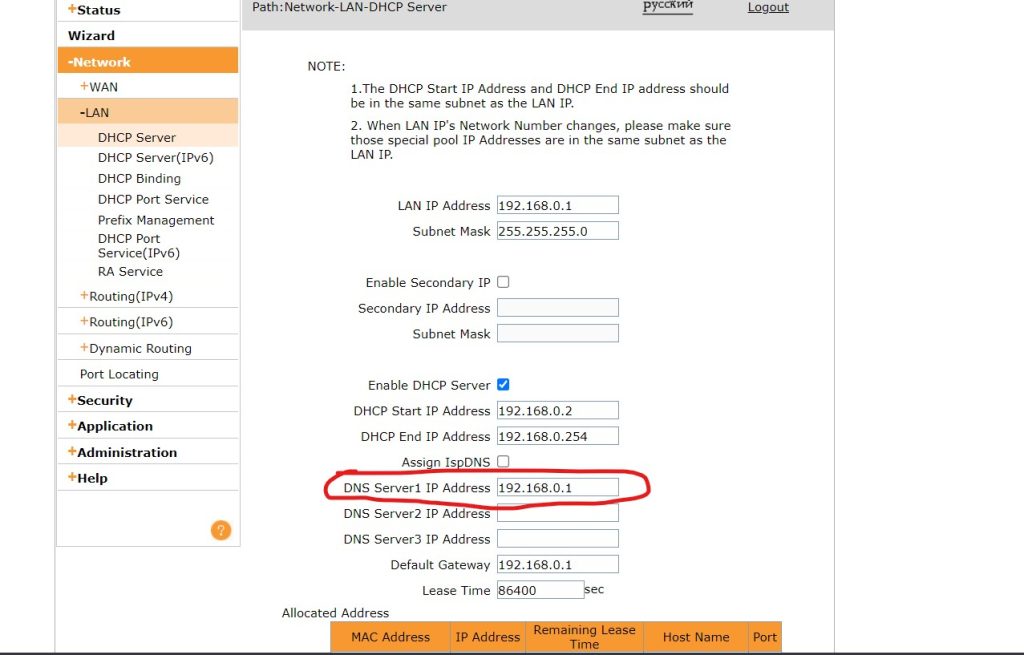
With the help of the login and password that we received during the scan, we enter the router settings. It will be necessary to find where to change the DNS server settings, each router has its own interface. Usually DNS settings are in the “WAN”, “LAN” or “Network Settings” tabs, and some interfaces have a search by settings. Change the DNS server addresses to the following:
217.28.140.2 and 217.28.140.3 or 91.200.81.2 and 91.200.81.3
In addition to information about the war, when the victim of our attack goes to the page, a DDoS attack on Russian sites will be launched from her IP address. And this is important now, because most important sites block IPs not from Russia. Also, you can change the password for access to the administration of the router, so that you have to reset the router (for an untrained person, this is done only by calling a technician home).
WARNING! Do not change the password for accessing the Wi-Fi network. The owner will immediately understand that something is wrong with the router.
As with RouterScan, you can also search/scan using Shodan.io and Censys search engines, if you know how.
https://habr.com/ru/post/237787/
We have collected the simplest instructions and software for massaging. You can hack anything in the Russian Federation in any convenient way!
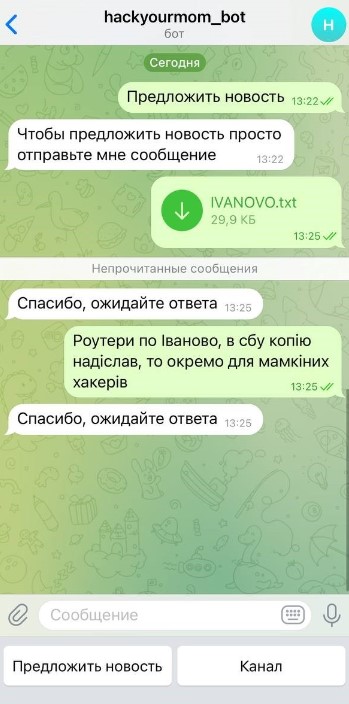
We write the description before sending the file, not as on the screen! Ideally, the file and its description should be in one message! But name the files so that they reflect the essence, for example “selected routers with logins and passwords from the RouterScan program in Moscow”. You can also send to the Mamkini Hacker bot https://t.me://HackYourMom_reg_bot , only if it was sent to the SBU, tell me about it, because I will forward everything to them!
For example: “Routers in the city of Ivanovo, already sorted with passwords, I changed the DNS for everyone, sent a copy to the SBU, I am sending a copy to my mother’s hackers” Or “TV IP cameras in the city of Belgorod to adjust the fire, the SBU is not famous, I am sending only to you because SBU to write”.
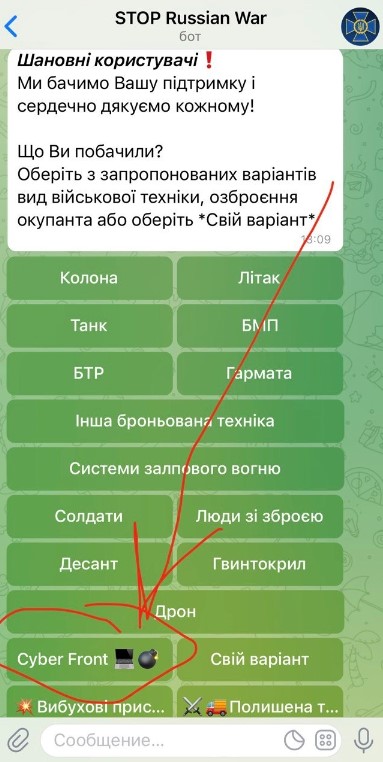
To the official bot of the SBU https://t.me/stop_russian_war_bot , which they officially placed in their telegrams https://t.me/SBUkr/3762, in the bot we find the CyberFront section as in the picture below!
Thank you for your attention. Together to victory! Glory to Ukraine!