


13.05.2023
4 min
2030

Ready-made virtual machine is software that allows users to create a full-fledged operating system inside their own PC. The functionality of such software allows you to use a virtual operating system as a regular personal computer. You will also be able to install any software, use a browser, connect a VPN and perform other necessary tasks. I will tell you how to configure the virtual machine so that it works for our anonymity and network security. Connecting a virtual machine will allow anonymous surfing on the Internet, which is almost impossible to track either for regulators or for attackers.

The speed of Internet connection and ease of use will not be affected. Virtual machine with Microsoft Windows or any other operating system (user’s choice) can be used for various tasks: for complete anonymity and security when visiting the Internet, to check for dangerous and suspicious files, to study the operation of certain virus programs, to run programs incompatible with the user’s operating system, for dual authorization in applications, games and various forums / portals. Virtualization creates a level of abstraction on hardware that divides the hardware of one computer into several virtual, called virtual machines (VM) ). Each virtual machine runs under its own operating system and behaves like a stand-alone computer, although it runs on only part of the actual hardware.
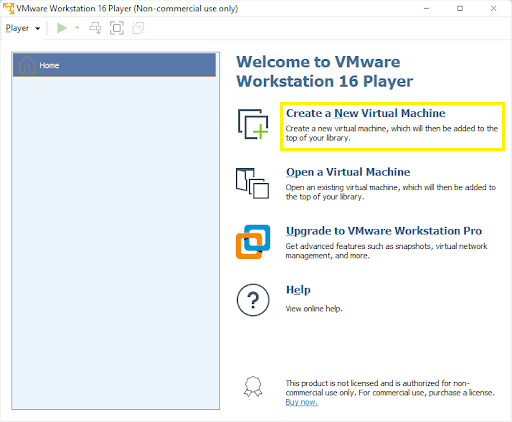
Launch VMware. In the program window, click on Create a New Virtual Machine.
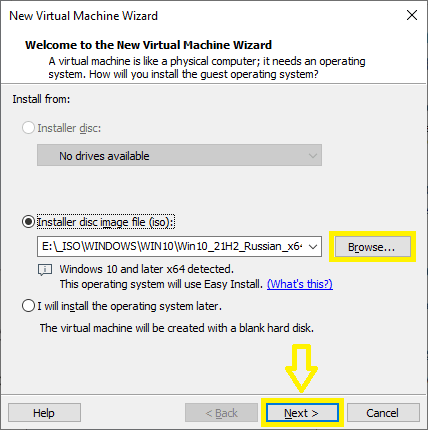
By clicking on Browse … we select the path to our .iso file with the Windows distribution kit (in our case, this is Win 10 version 21H2).
If you do not know where to download, then there is an excellent Windows and Office ISO Downloader program. It can be found on the Internet.
P.S. I advise you to always use clean installation images of the OS. In the so-called “assemblies” can always be planted all sorts of things
After all the procedures, click Next.
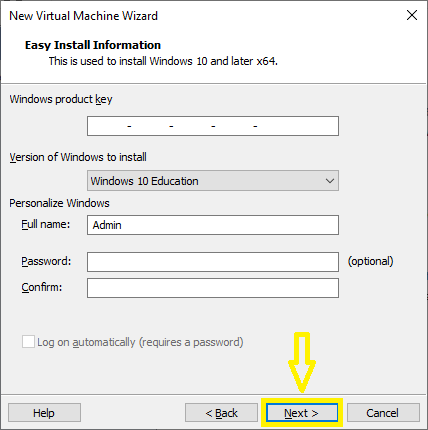
In the next window, if possible, you are asked to enter a license key (optional), select the version of Windows (not always VMware can determine it on its own, especially if it is an unofficial image), set a username (with admin rights) and a password.
When everything is selected and filled, click Next.
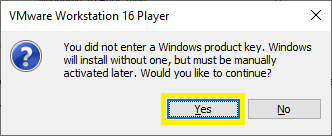
If you did not immediately enter the product key, a warning window will pop up. Click Yes.
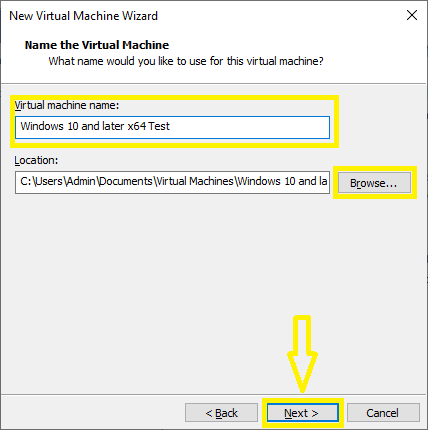
The next point, we are offered to rename the virtual machine and change the place where its files will be stored. If you plan to use multiple virtual machines in the future, it’s a good idea to give them unique names to avoid confusion.
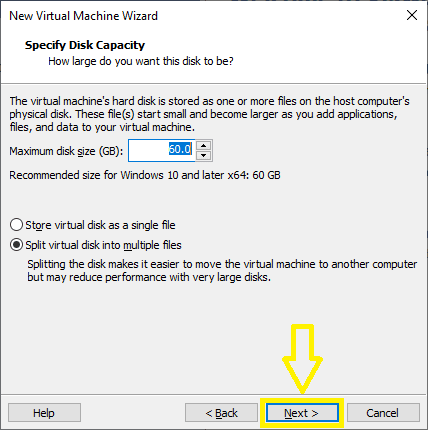
Attention! For the correct operation of the virtual machine with Windows, we need at least 60GB of disk space. It is better to select a physical disk in advance on which there will be free space.
When you’re done, click Next again.
We select the size of the disk of our virtual machine (it can be changed in the settings) and the storage method (one file or divided into several). Leave everything as it is and click Next.
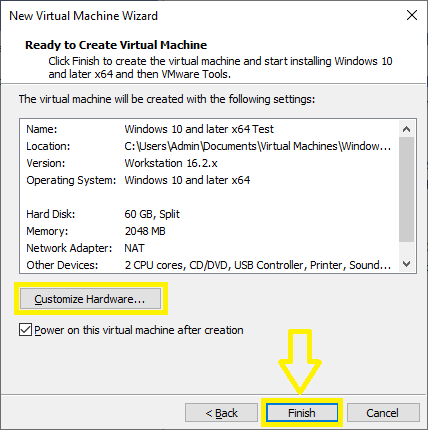
In the next window, we can change the settings by clicking Customize Hardware, leave or uncheck Power on this virtual machine after creation (automatically start the virtual machine after creation) or confirm everything by clicking Finish.
Clicking Finish will begin the process of creating the disc.
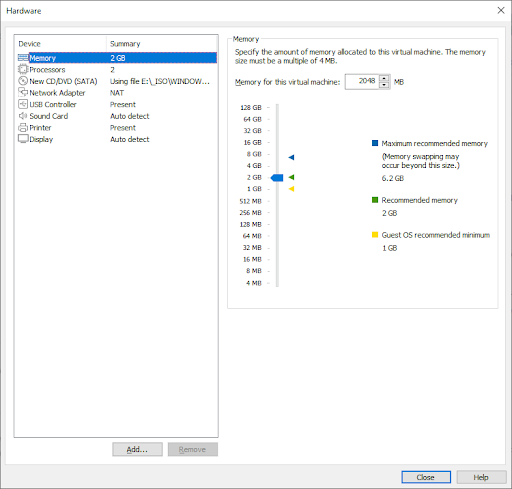
Customize Hardware, in this window you can configure our virtual machine in detail. You don’t have to change anything here.
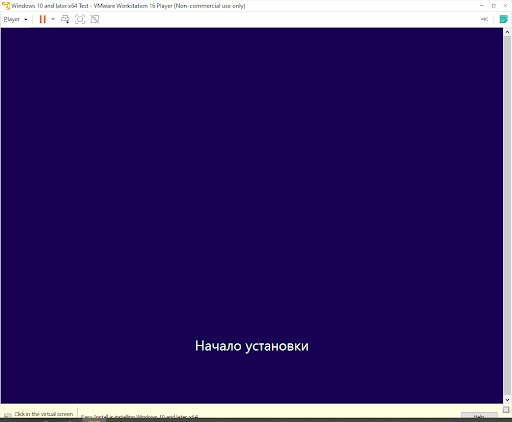
If everything was done correctly, VMware Player will install the OS automatically.
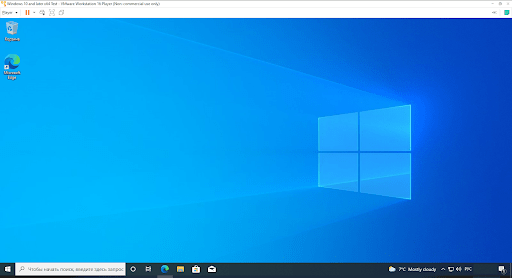
Congratulations! Windows 10 Virtual Operating System Installed!


