01.07.2025
6 min
1379

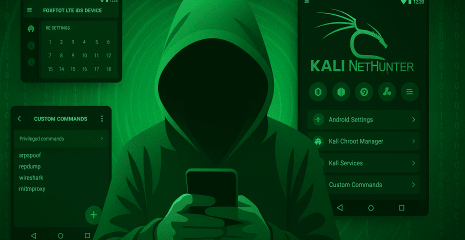
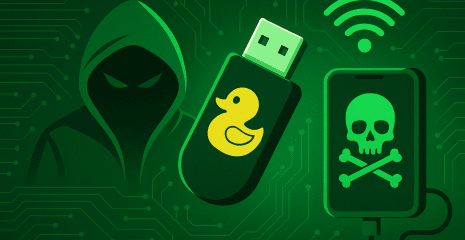
Installing Kali NetHunter on OnePlus 7 Pro is a complete guide for those who want to turn their smartphone into a full-fledged hacking platform. Step-by-step instructions: firmware, root access, TWRP, Magisk and NetHunter. Learn how to set up a security testing environment, launch HID attacks, use Wi-Fi adapters and work via chroot on Android. Suitable for Android 10 (OxygenOS).

In this post, we will look at installing NetHunter with full kernel support on the OnePlus 7 Pro. The main advantage is the support for drivers for internal or external devices such as Wi-Fi, Bluetooth, HID, BadUSB and SDR gadgets. Our goal will be to flash the stock OOS 10, unlock the bootloader, flash the custom TWRP recovery, gain root rights, install a custom kernel and flash NetHunter.
NetHunter is a chroot (the rootfs is called Kali NetHunter) and not a custom ROM that can be flashed. Simply put, it is a system within a system. Because of this, it requires some prerequisites to install, such as the exact version of the operating system with a specific version of Android that must be installed on the device. At the time of writing, NetHunter can only be installed on stock OxygenOS 10 and 11. In the following steps, we will install OOS 10 using the official MSM Emergency Download (EDL) tool provided and tested by OnePlus. This will reset all your data to factory settings, so be sure to create a backup.

As a prerequisite, you need to download the Android SDK tools (adb and fastboot) on your computer. You can download them from the official Android website for your platform.
Disable drivers signing verification on Windows computer using CMD executed with Admin privileges and reboot PC.
bcdedit /set testsigning on
Download and install Qualcomm drivers
Download OOS 10 ROM: guacamoleb_14_P.32_210127.zip
Unzip downloaded ROM, and run
MsmDownloadTool V4.0.exe
Power off OnePlus 7 Pro. Simultaneously press volume up and volume down buttons for 5 seconds and connect the device to computer. Once the MSM Download Tool recognizes the device (connected instead of N/A) click on Start button. You have to do it within around 15 seconds, since after ~30seconds the device will go into bootloader mode and it will not be recognized. After a few minutes device will reboot
Setup device
Enable USB debugging and unlock bootloader Go to
Settings->About Phoneand tap 7 times onBuild NumberTap back button and to goDevelopers optionsand enableUnlock bootloaderandADB debugging
Reboot Android into bootloader mode using adb command:
adb reboot bootloader
From bootloader unlock OEM, using command:
fastboot oem unlock
Device will be wiped
The device should now be successfully flashed with the stock OOS 10 firmware and have an unlocked bootloader.
After successfully unlocking the bootloader, we can install a custom recovery. From the recovery, we will install Magisk; this will fix the boot image and allow us to root. Without a custom recovery, we will not be able to root the device and install NetHunter.
Enable USB debugging (mentioned above)
Download and copy to Android both TWRP and Magisk: twrp-3.4.0-10-guacamole-unified-installer-mauronofrio.zip and Magisk-v23.0.zip
Download TWRP: twrp-3.4.0-10-guacamole-unified-Q-mauronofrio.img
Reboot Android into bootloader mode using adb command:
adb reboot bootloader
Boot downloaded TWRP from PC using command:
fastboot boot twrp-3.4.0-10-guacamole-unified-Q-mauronofrio.img
From booted TWRP install copy TWRP (
twrp-3.4.0-10-guacamole-unified-installer-mauronofrio.zip) and Magisk (Magisk-v23.0.zip)
Reboot to system
Open and setup Magisk app (update & install)
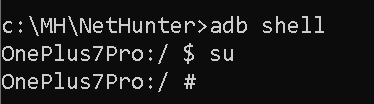
For clarification, you can verify if device was successfully rooted via adb commands:
adb shell and su
We need to disable force encryption of data partition, to read user data. Disable dm-verity, which is a kernel feature to check the integrity of boot image. Flashing the zip file mentioned in Instruction section, allows user to also enable or disable disk quota, that grants the system to get storage statistics faster and it should even improve system stability, necessarily it don’t have to be disabled.
Download and copy to Android Disable_Dm-Verity_ForceEncrypt_11.02.2020.zip
Reboot Android into recovery mode using adb command:
adb reboot recovery
Got to Wipe and tap on
Format data, write “yes” as confirmation.
Reboot to recovery
From TWRP install Magisk (
Magisk-v23.0.zip) again
From TWRP install
Disable_Dm-Verity_ForceEncrypt_11.02.2020.zip
Reboot to system
Setup device (don’t enable any lock screen security)
Open and setup Magisk app (update & install)
Now we are ready to install NetHunter. We will flash the custom kernel separately, then the NetHunter image, and again we need to flash Magisk and dm-verity.
Enable USB debugging
Download and copy to Android: kernel-nethunter-2021.3-oneplus7-oos-ten.zip, and latest version of NetHunter image for OnePlus 7 / 7 Pro / 7T / 7T Pro (Ten)
Reboot Android into recovery mode using adb command:
adb reboot recovery
Install kernel (
kernel-nethunter-2021.3-oneplus7-oos-ten.zip)
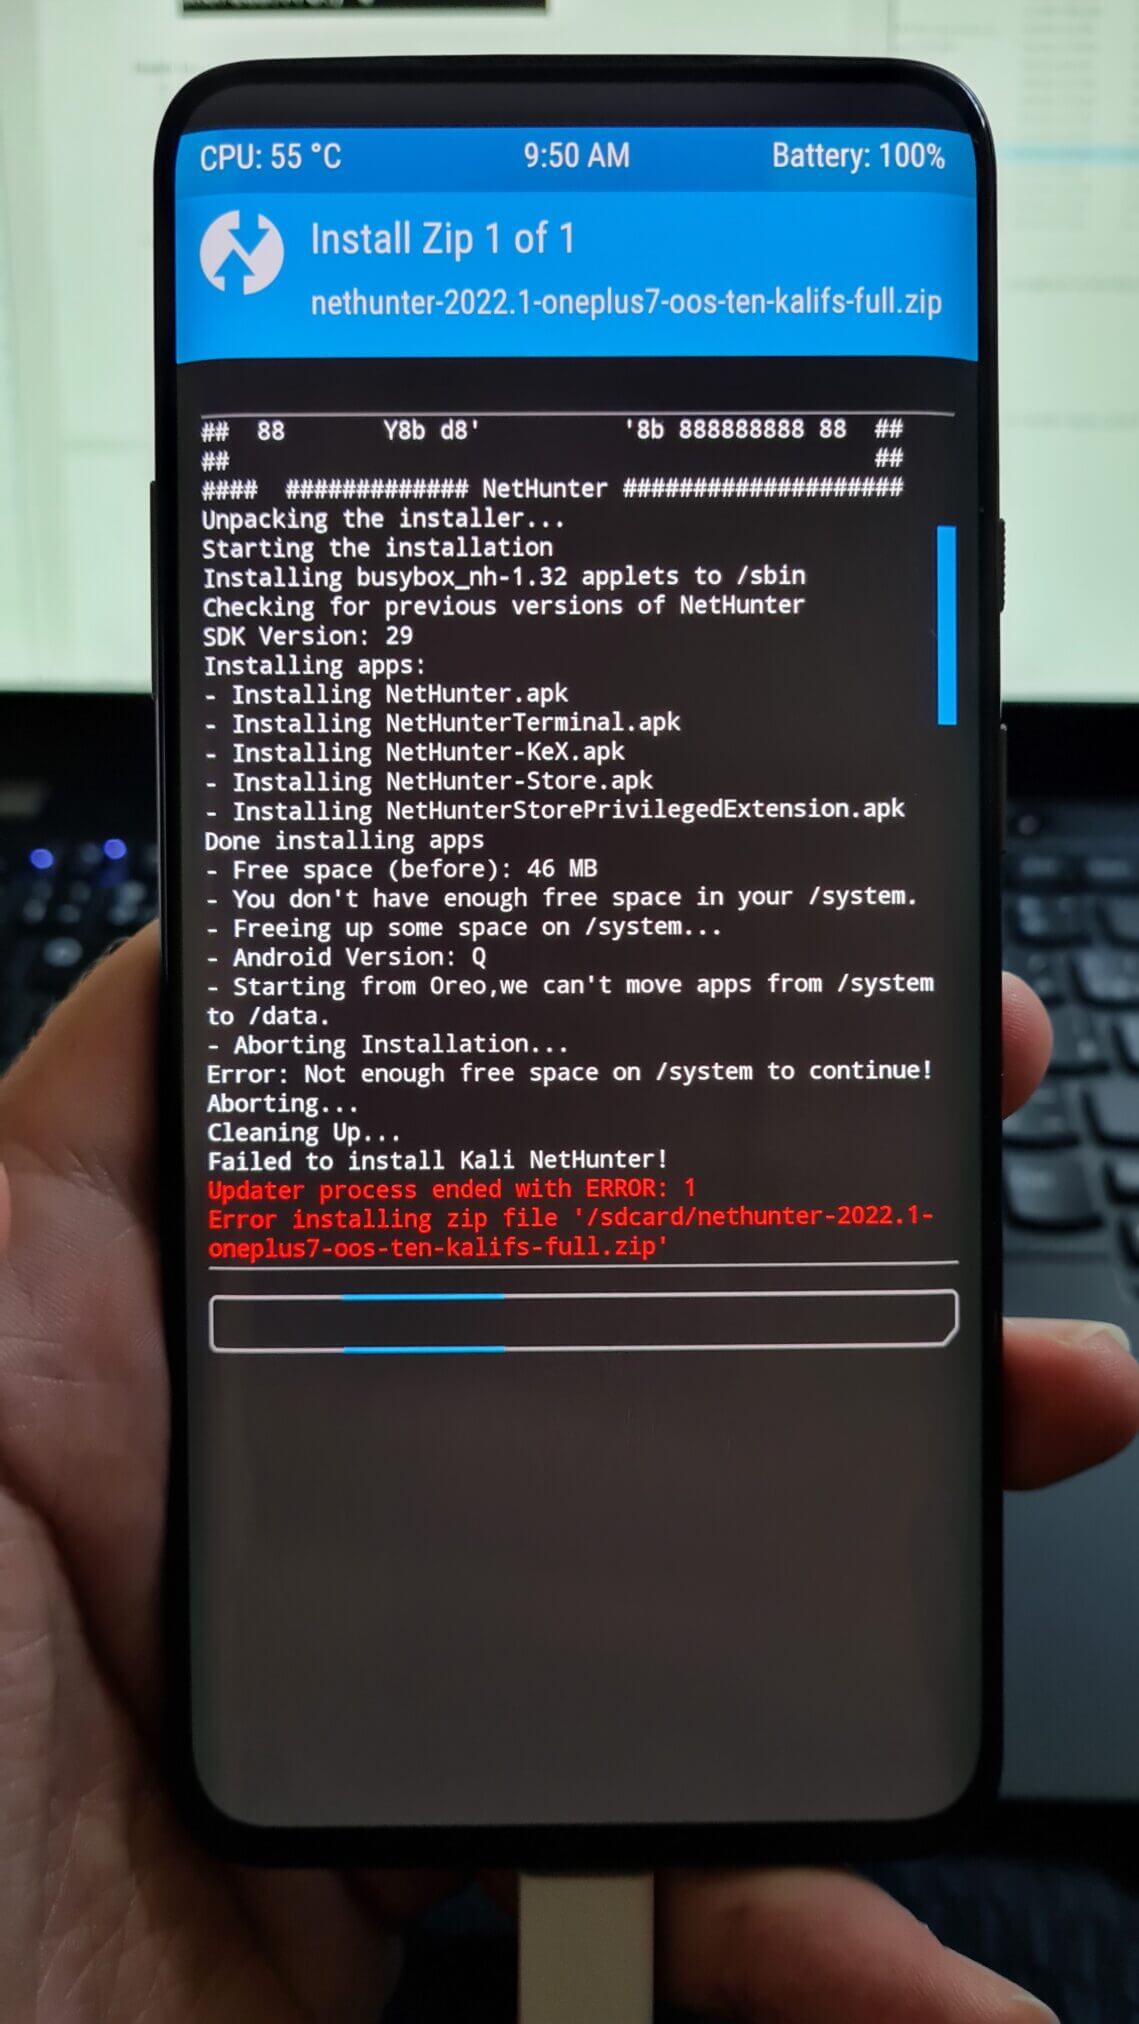
Install NetHunter image (in my case
nethunter-2022.4-oneplus7-oos-ten-kalifs-full.zip) If installation ends with error, “Not enough free space in your /system to continue!“, as you can see in Figure 3, then you have to resize /system partition. Fix it by going toWipe->Advanced wipe-> select/system->Repair or Change File System->Resize File SystemRepeat step 5)
Install Magisk
Install dm-verify
Reboot to system
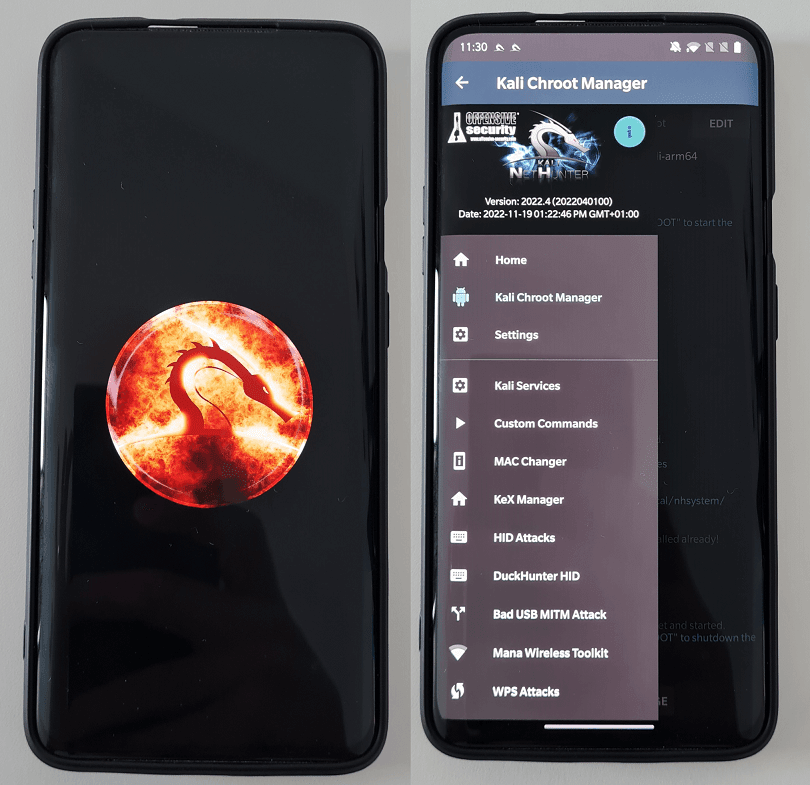
Open NetHunter app and update via NetHunter App Store (not necessary)
Start chroot in NetHunter
Restart device
Disable system updates:
su -c pm disable com.oneplus.opbackup
In
NetHunter Terminalapp, launch upgrade and update command:sudo apt update && sudo apt full-upgrade -y
Congratulations! If you followed all the steps carefully, Kali NetHunter should be successfully installed on your OnePlus 7 device.
Installing Kali NetHunter on your OnePlus 7 opens up a world of possibilities for mobile penetration testing and ethical hacking. By following the step-by-step instructions outlined in this blog post, you can unleash the power of Kali Linux on your OnePlus 7, transforming it into a powerful tool for assessing the security of networks and systems.
We discussed the prerequisites, such as unlocking the bootloader and enabling USB debugging, and explained how to flash the NetHunter image on your device using TWRP Recovery. We also emphasized the importance of creating backups and ensuring compatibility with your specific OnePlus 7 model.
After successfully installing Kali NetHunter, you will have access to a wide range of powerful tools and capabilities specifically designed for mobile penetration testing. You can perform network scans, exploit vulnerabilities, and analyze traffic – all from the convenience of your OnePlus 7.