01.07.2025
6 min
1380

Learn how to use MAC Changer, run Kali desktop via KeX, and configure USB Arsenal in Kali NetHunter. In the sixth part of the guide, we will look at practical tools for anonymity, HID attacks, and full-fledged work with Linux on Android. Effective pentest scenarios – right from your smartphone.

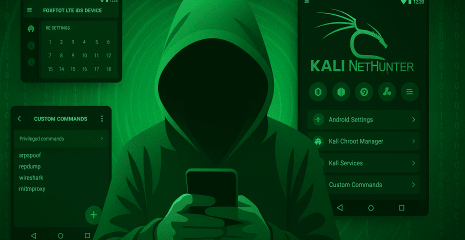
Today, we’ll dive into three tools available in the NetHunter system: MAC Changer, KeX Manager, and USB Arsenal. We’ll look at the features of MAC Changer, explain its importance for ensuring privacy during security testing, and provide step-by-step instructions on how to effectively change your MAC address using this tool. I’ll demonstrate how KeX Manager can significantly improve your productivity and efficiency during mobile hacking, and I’ll also cover USB Arsenal, as this will be a prerequisite for the next blog.
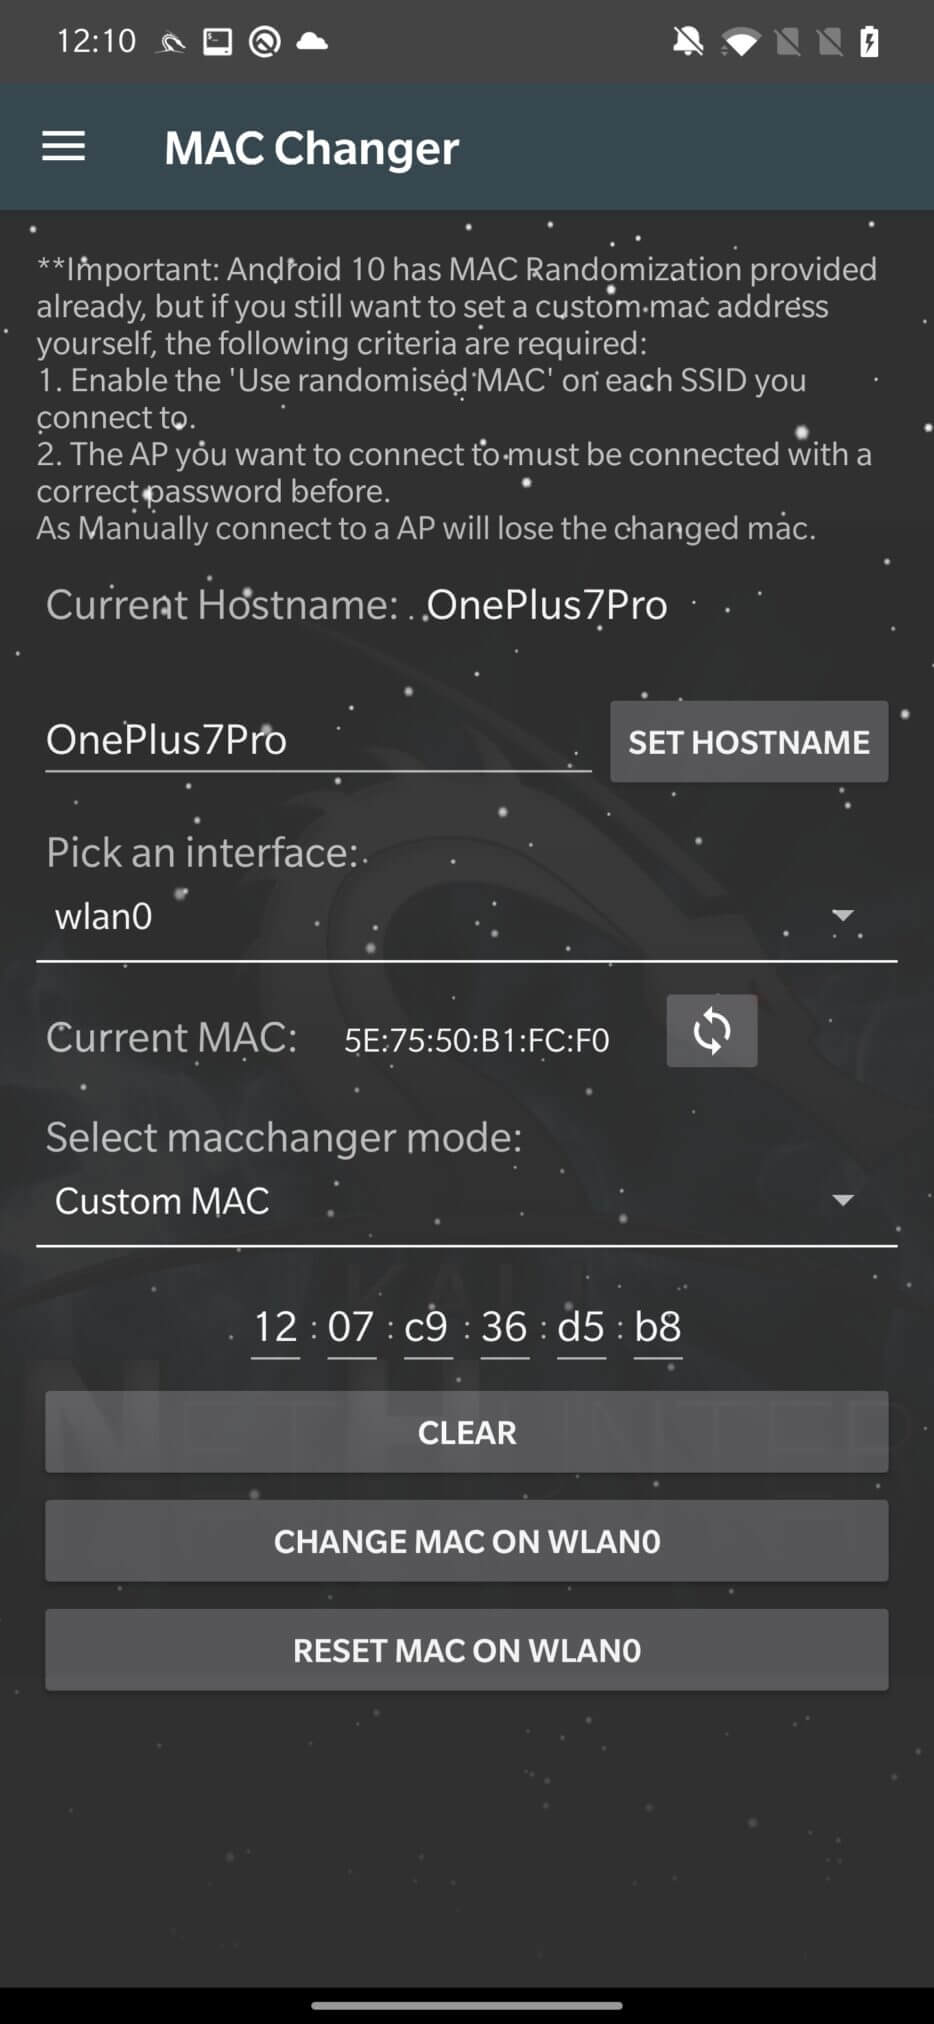
NetHunter’s MAC Changer is a GUI for the macchanger utility that allows you to change your device’s MAC address, which is a unique identifier assigned to each network device. This can be used to spoof the device’s identity, making it difficult to track and monitor a specific smartphone.
Android versions 10 and above already support randomizing MAC addresses. The purpose of this program is to manually generate or set a custom MAC address for an interface and change the device hostname.
Changing your device’s MAC address can be useful in several situations, such as:
Bypassing MAC address filtering: Some networks may only allow devices with certain MAC addresses to connect, and changing your device’s MAC address may allow you to bypass this type of restriction.
Anonymizing your device: Changing your device’s MAC address can help hide your identity on the network, making it harder for others to track your online activity.
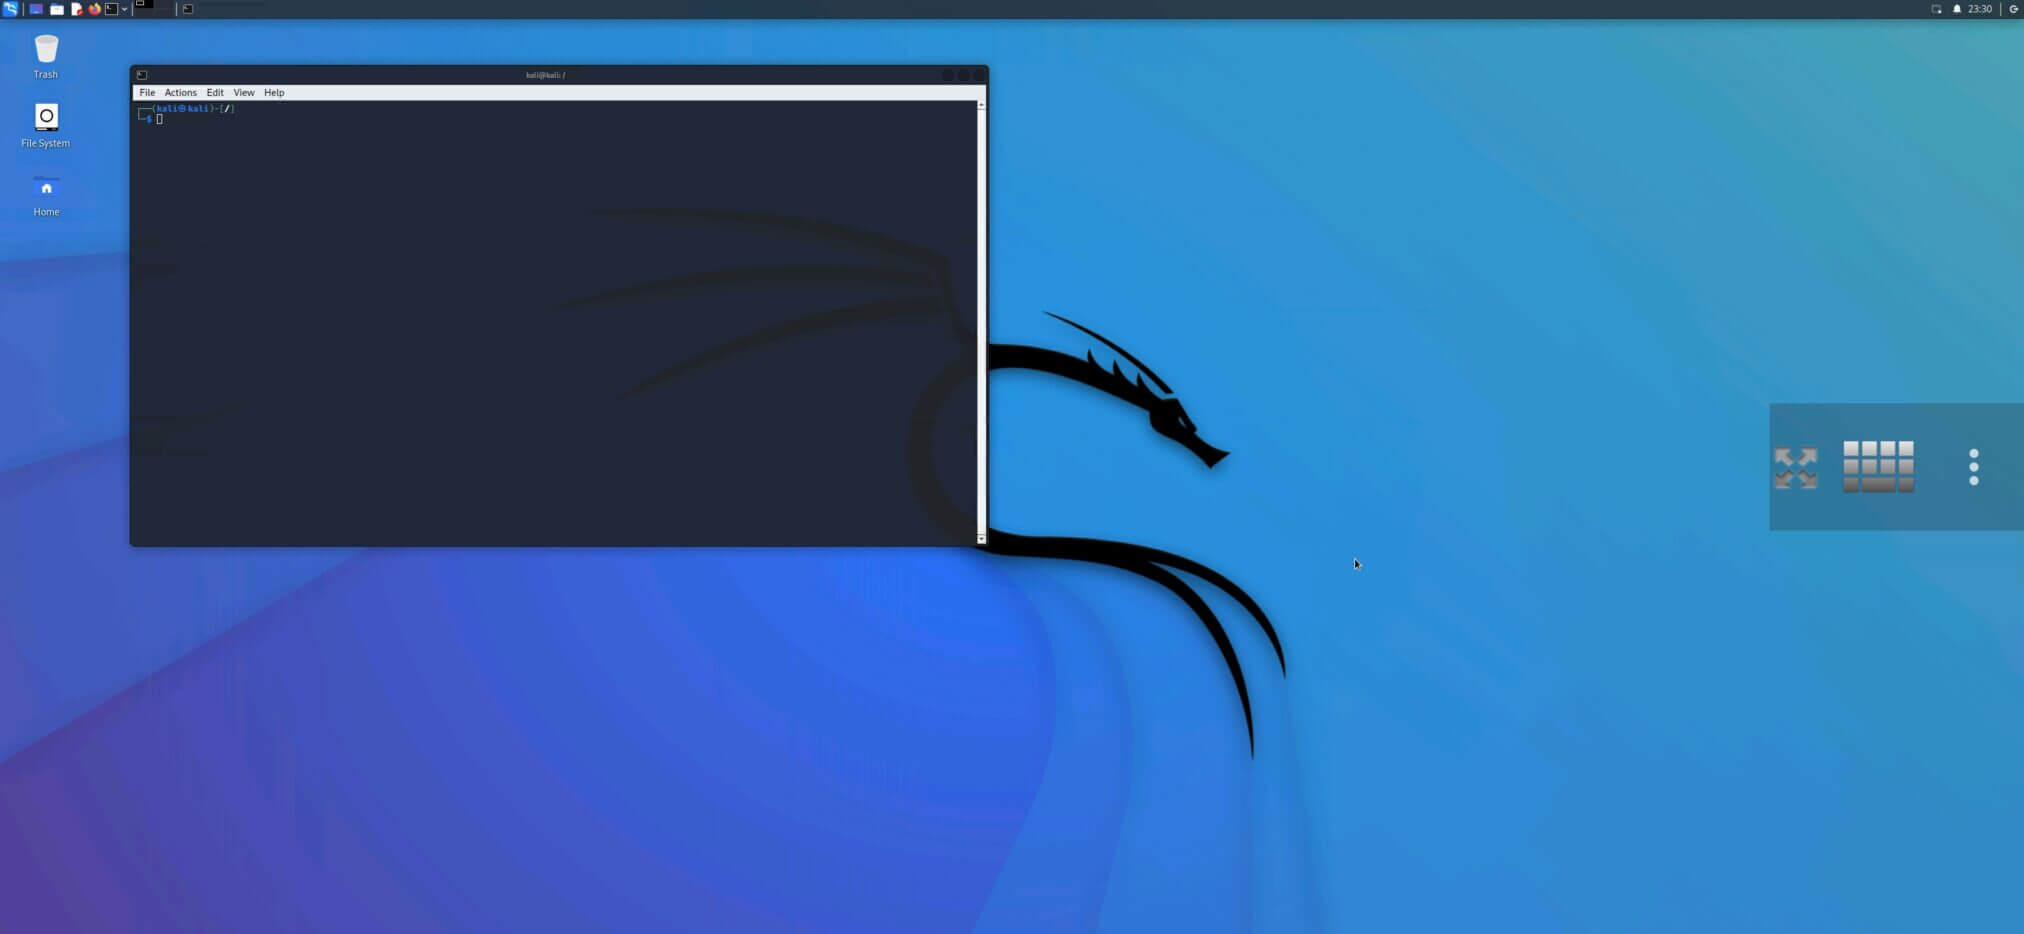
You can use the Kali Desktop Experience (KeX) feature on your Android device using the KeX Manager tool. This is a feature that allows you to use a graphical desktop environment on your Android device, just like you would on a desktop computer.
You can change several KeX settings, including the resolution and color depth of the desktop, and start or stop the KeX service using the KeX Manager.
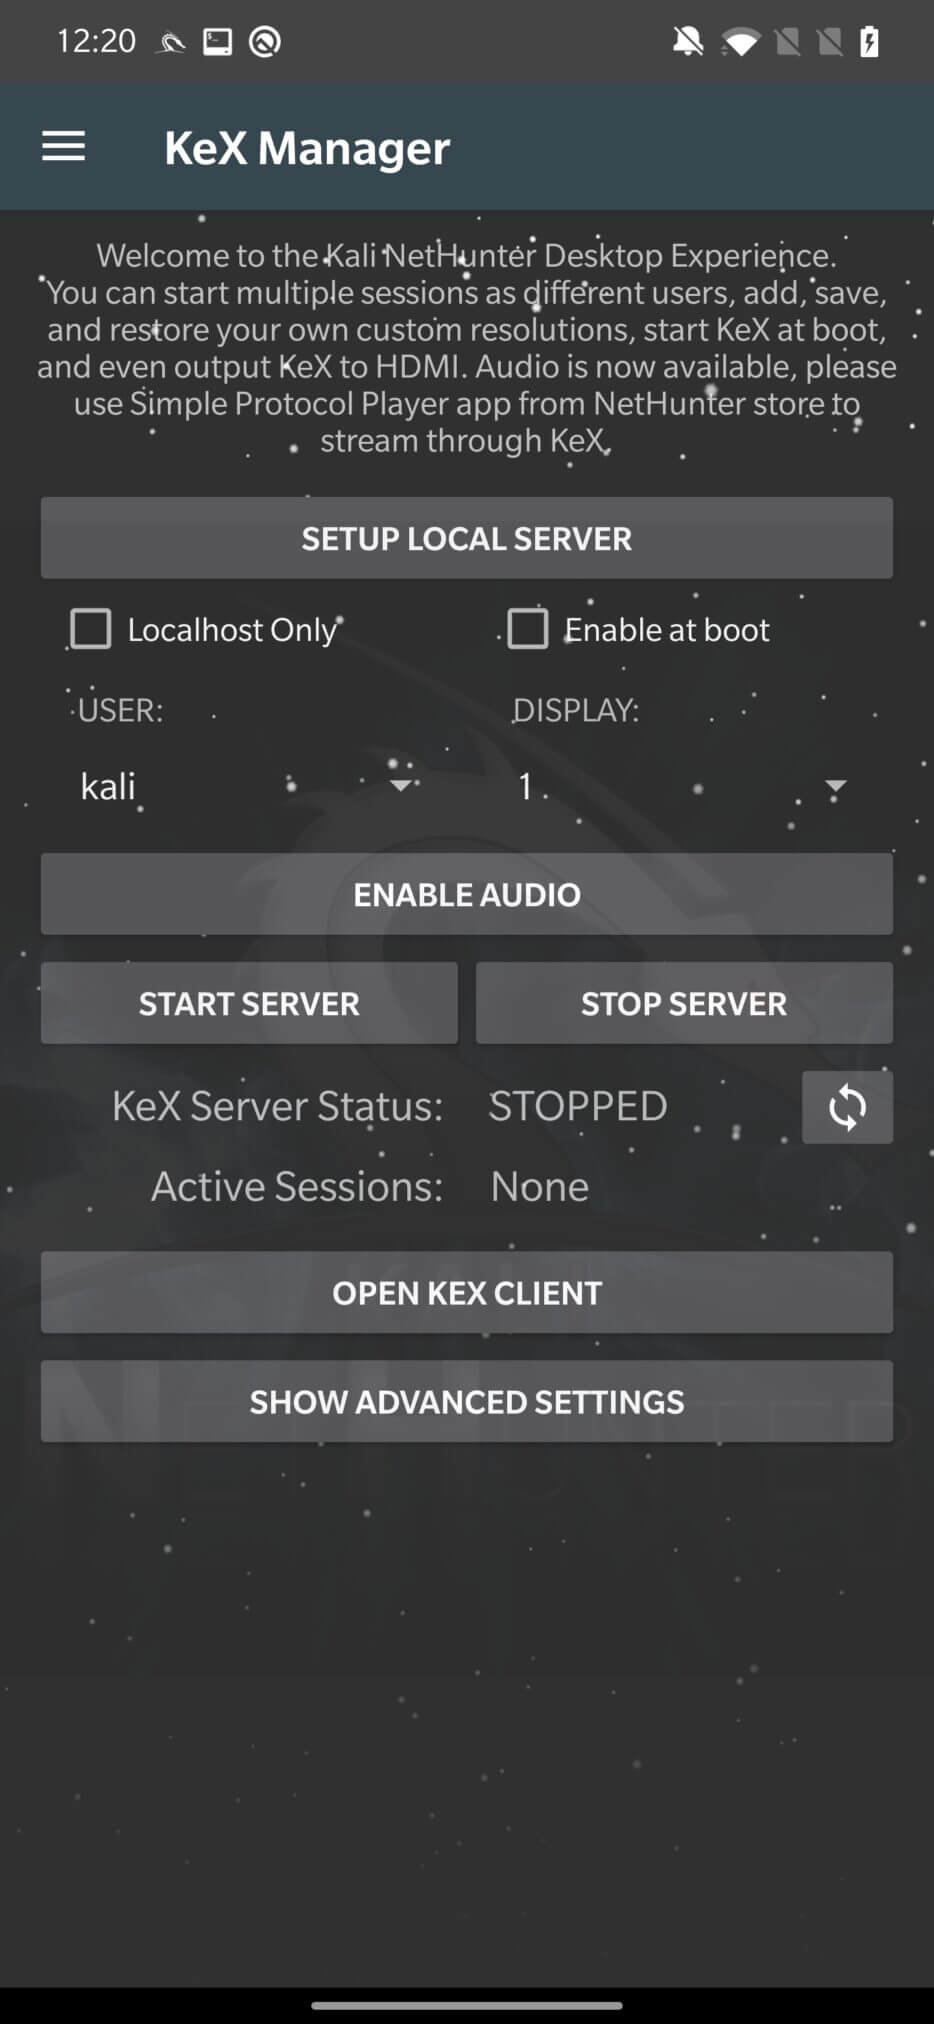
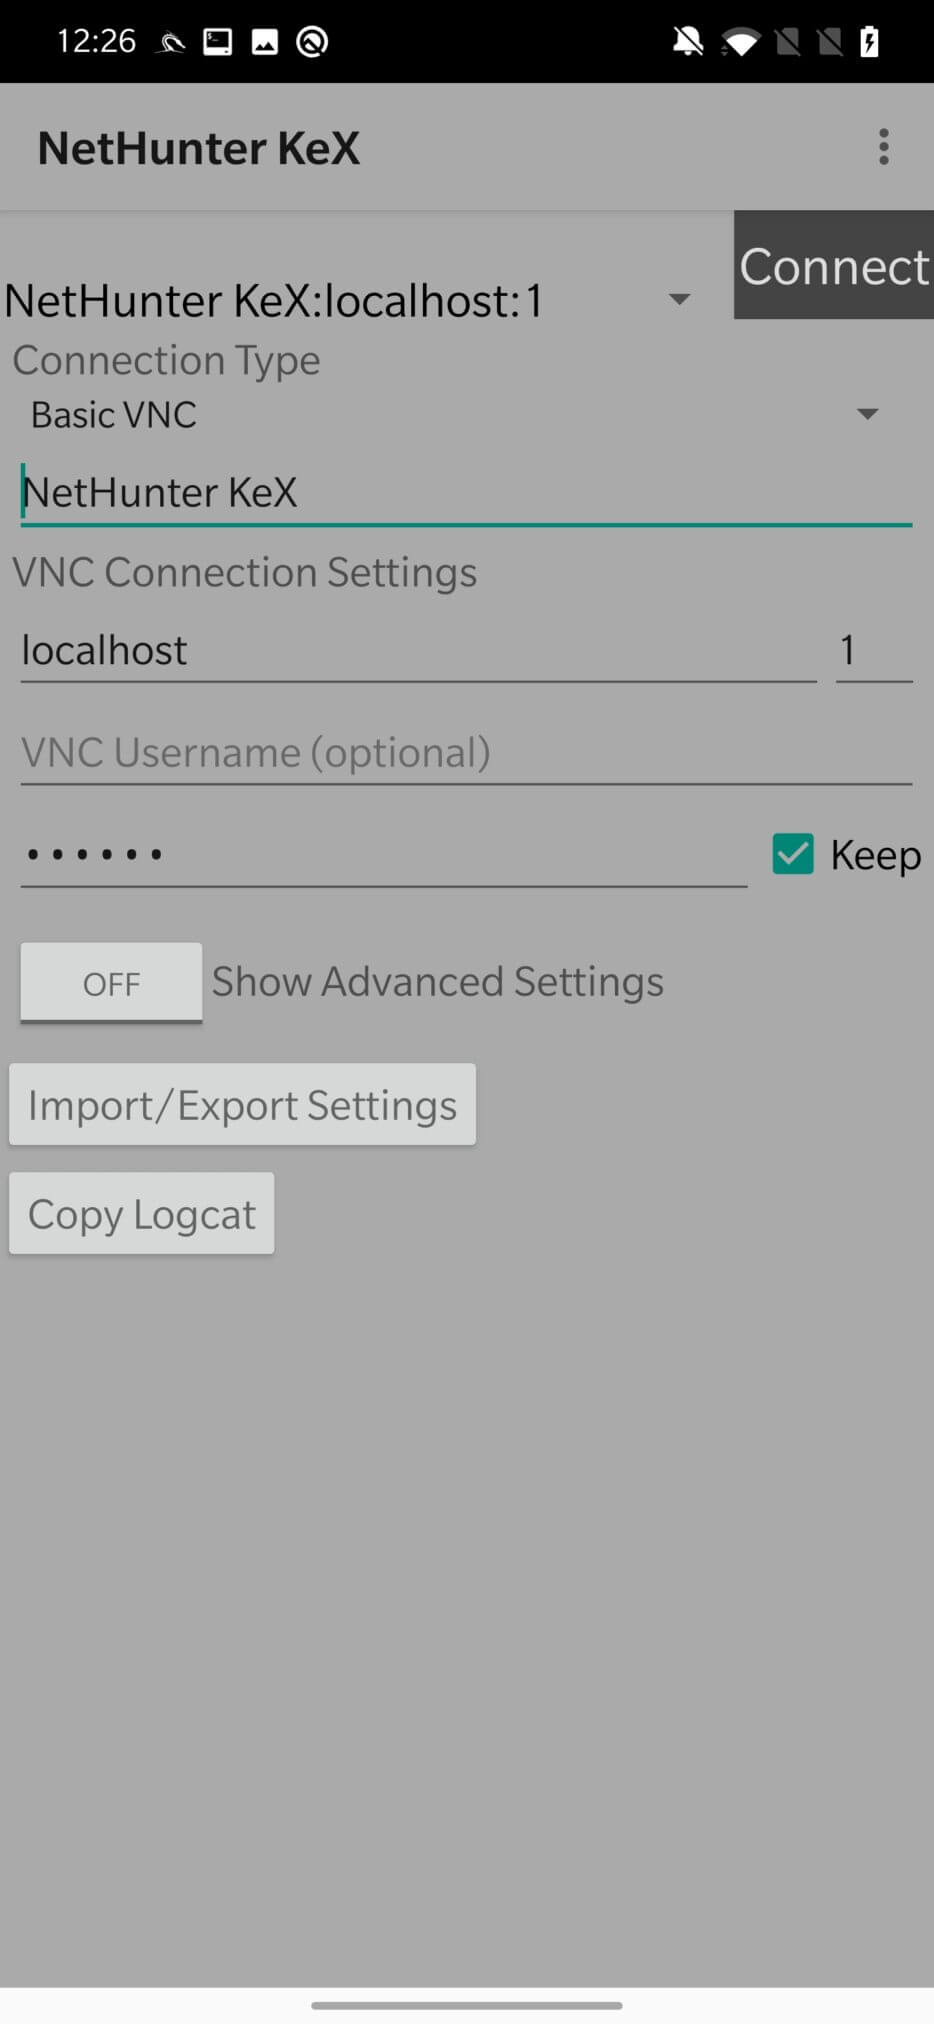
As already explained in the post about installing Kali NetHunter without root, first you need to SETUP LOCAL SERVER, setting a password to access the server. Choose the kali or root user, or create a new one. Then you need to START SERVER and OPEN KEX CLIENT. In the client application, you only need to enter the VNC password, you just set and click “Connect” to create a desktop session, as you can see in Figure 3.
After successfully establishing a local VNC connection, you can use Kali on Android as a desktop. If some tools are missing, I recommend installing them manually or adding the necessary metapackages from Kali Chroot Manager.
You can configure it using the “three dots” option provided by the client application. Here you can set the input mode, change the zoom, send additional keys and combinations, and disconnect from the session. If you end the session, I advise you to do it by STOP SERVER in KeX Manger, so as not to waste your smartphone’s resources.
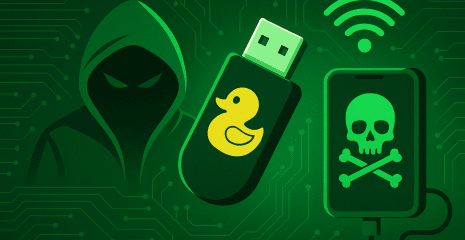
A very important feature, USB Arsenal, allows you to emulate a number of USB devices and use them against the target system. This can be used to launch attacks, bypass authentication measures, and possibly gain access to the target system.
You can choose different target systems such as Windows, Linux, and Mac OS. After connecting your Android device to the target system, you can choose USB Functionhow the operating system will recognize your smartphone.
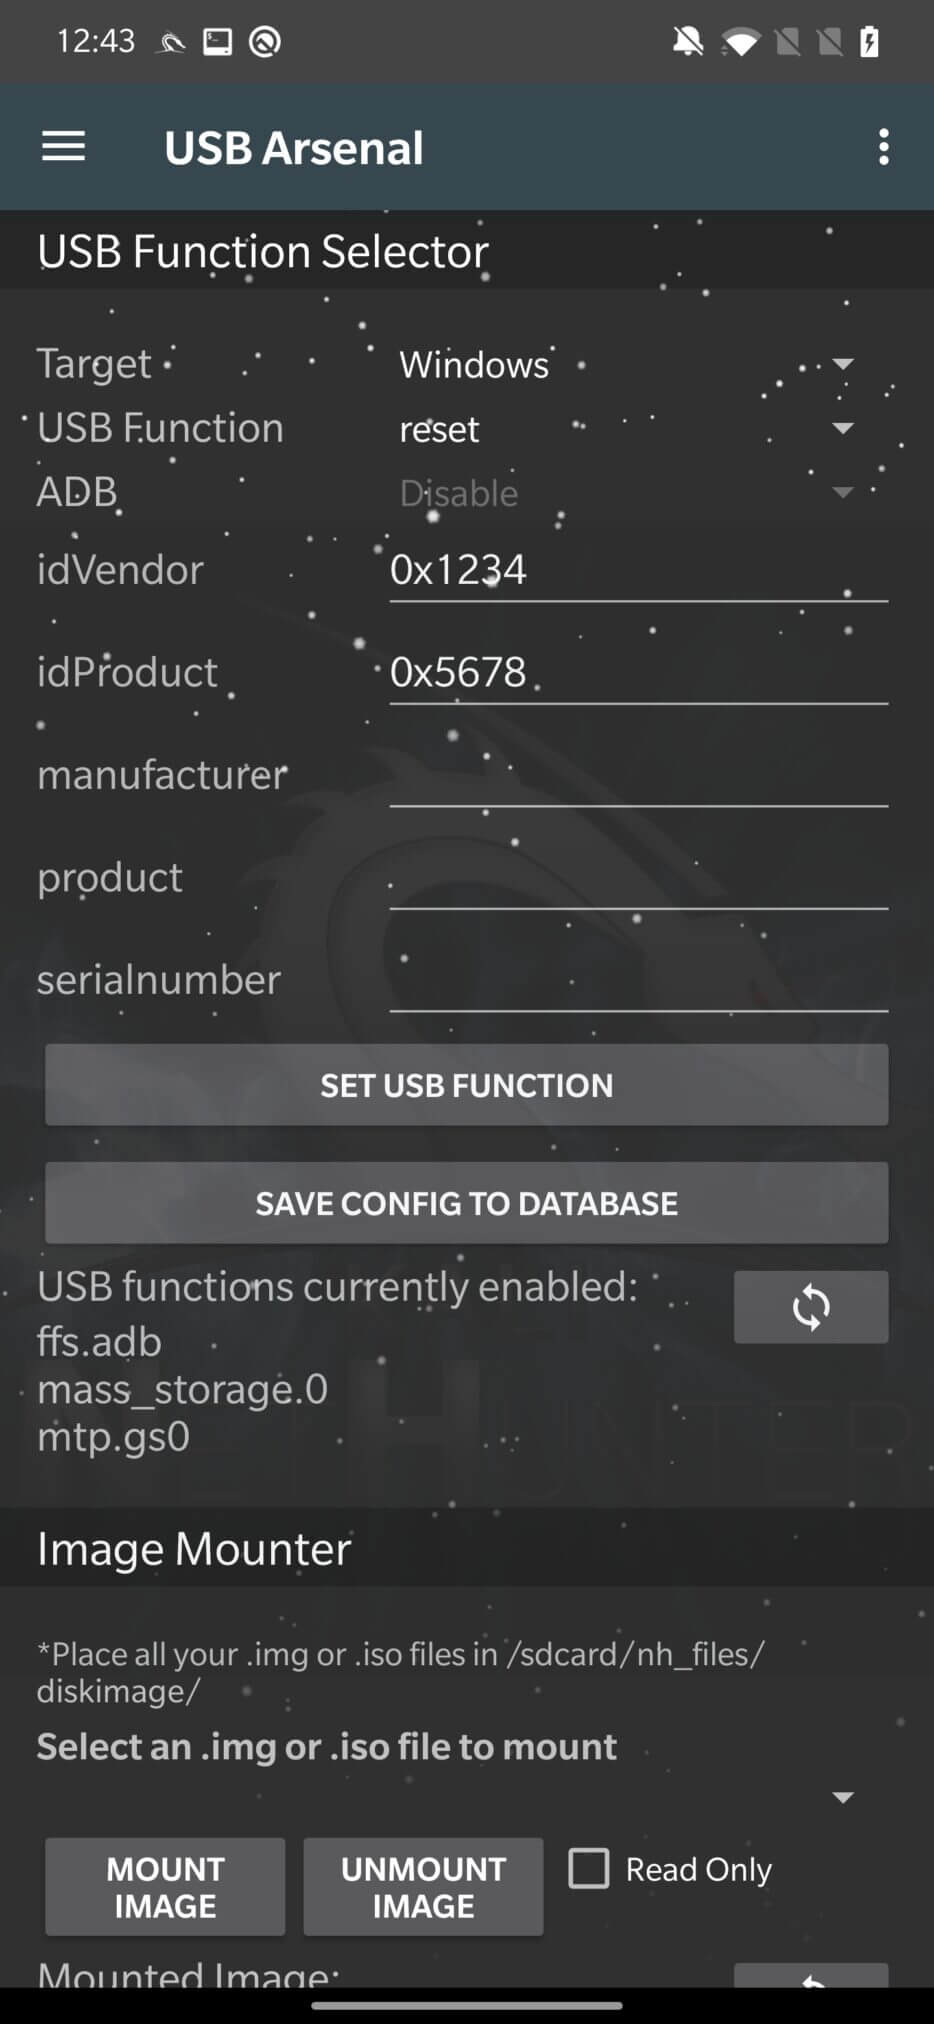
From the available functions, it can behave as or as a combination of these options:
hid – This feature allows you to use your Android device as a Human Interface Device (HID). Using the HID tool can be a useful method for providing input to a target device that recognizes it as a keyboard or mouse. It is used for HID attacks and running Rubber Ducky scripts.
mass_storage – Allows you to use the device as a mass storage device for file transfers.
rndis – You can use the device as an RNDIS (Remote Network Driver Interface Specification) device. The host device can communicate with and control the remote device using the RNDIS communication protocol over a USB connection. Used for BadUSB and USB network tethering.
From advanced settings, you can enable or disable ADB commands and set detailed device information. With Image Mounter, you can select a disk image from the repository and mount it to your computer as if it were a real or virtual disk.
After reading this post, you should know how to change and configure the MAC address for your interfaces, set up and use Kali Linux on Android for desktop, and how our device may behave differently after switching from different USB features.
In the next blog, we will focus entirely on how to configure NetHunter as BadUSB, how HID attacks work, testing Rubber Ducky scripts, and much more.